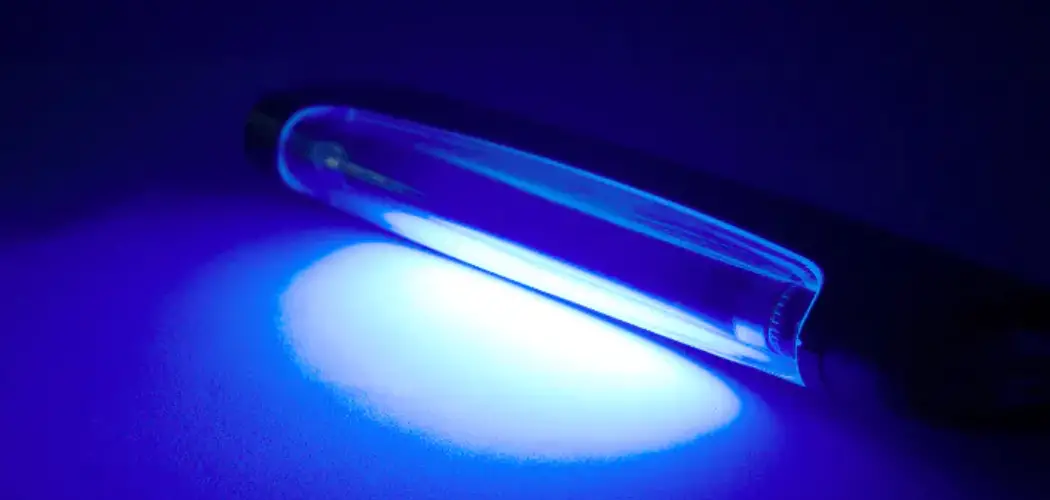
Ultraviolet (UV) light, a type of electromagnetic radiation, is widely used in various applications, from sterilization and fluorescence to tanning and detecting counterfeit currency. While natural sunlight contains UV light, it’s possible to create artificial sources for specific needs. Understanding how to make UV light involves knowledge of the components and mechanisms required to generate and emit this type of radiation safely.
In this guide, we will explore the methods and materials needed to produce UV light, along with important safety considerations to ensure effective and secure usage. Whether for scientific experiments or practical applications, being able to produce UV light opens doors to numerous possibilities.
Safety Precautions
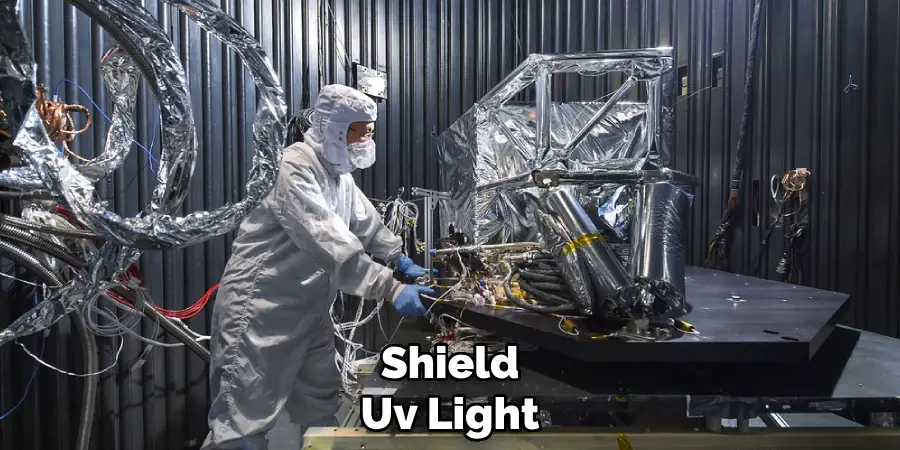
When working with UV light, it’s crucial to prioritize safety to prevent potential harm. UV radiation can cause skin burns and eye injuries, so wearing protective clothing, such as long sleeves and gloves, along with UV-blocking goggles, is essential. Ensure the workspace is well-ventilated, and avoid direct exposure to skin or eyes. Use shields or enclosures to contain the light, and always operate UV-emitting devices in controlled environments.
It’s also important to monitor exposure times closely, as prolonged exposure can increase health risks. Being informed about the equipment and following manufacturer guidelines can help mitigate the dangers associated with UV light usage.
Materials Needed
To make UV light, you will need the following materials:
High-intensity Discharge (HID) Lamp:
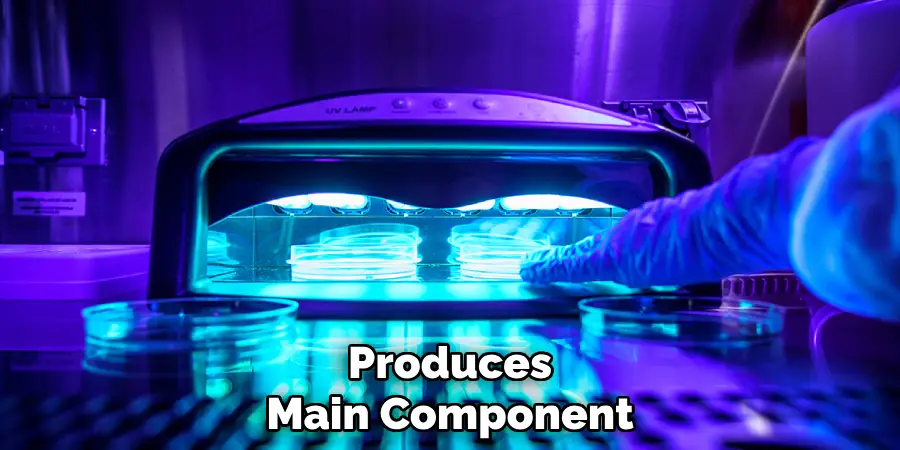
This is the main component that produces UV light. You can choose from different types of HID lamps, such as metal halide or mercury vapor lamps, depending on your needs. These lamps emit a broad spectrum of UV light, including UVA, UVB, and UVC.
Ballast:
A ballast is needed to regulate the electrical current flowing through the HID lamp. It prevents the lamp from overheating by controlling the voltage and current levels.
Transformer:
A transformer is used to convert the electricity supply from AC to DC. This ensures that the HID lamp receives a steady flow of power.
Reflector:
A reflector helps direct and concentrate the emitted UV light in a specific direction, making it more efficient for targeted applications.
Enclosure or Shielding Materials:
As mentioned earlier, it’s essential to contain and shield the UV light for safety purposes. You can use materials such as glass, plastic, or metal to create a shield or enclosure for your UV light source.
Power Source:
A stable and reliable power source is required to operate the HID lamp and other components effectively. Make sure to choose an appropriate power supply that meets the voltage and current requirements of your equipment.
8 Step-by-step Guidelines on How to Make Uv Light
Step 1: Choose the Type of HID Lamp to Use
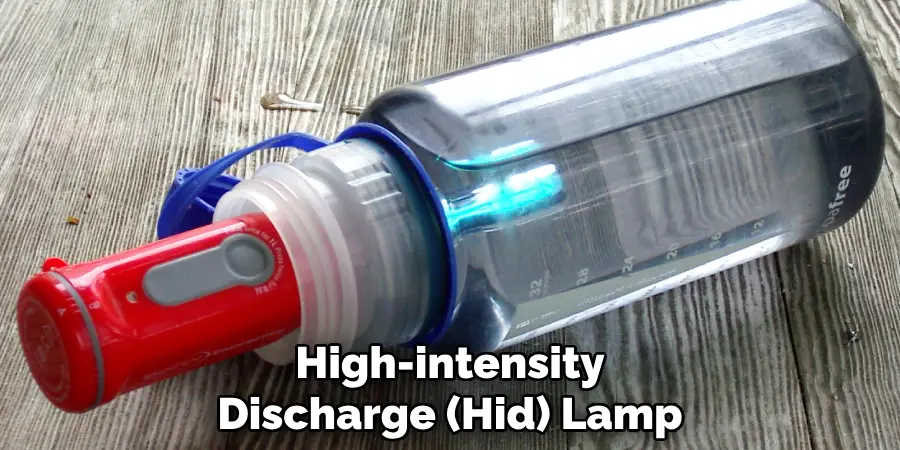
Begin by selecting the type of High-intensity Discharge (HID) lamp that best suits your purpose for creating UV light. The two common choices are metal halide lamps and mercury vapor lamps. Metal halide lamps are known for their broad spectrum emission and high efficiency, making them suitable for applications that require a strong and consistent UV output. On the other hand, mercury vapor lamps are often preferred for their intense UVB and UVC light production, which can be beneficial for sterilization and disinfection purposes.
Consider the specific requirements of your project, including the desired UV wavelength range and intensity, before making a decision. Additionally, ensure that the chosen lamp is compatible with your ballast and other equipment to facilitate seamless integration and operation.
Step 2: Prepare the Workspace
Before starting, make sure to set up a clean and well-ventilated workspace. The area should be free of any flammable materials or objects that could react with UV light. It’s also important to have easy access to power outlets and other necessary equipment.
The workspace should also be shielded or enclosed to contain the UV light and prevent any potential hazards. If working in a shared space, make sure to inform others about your project and take necessary precautions to avoid accidental exposure.
Step 3: Assemble the Components
Start by assembling all the required materials and components, including the HID lamp, ballast, transformer, reflector, shielding materials, and power source. Follow manufacturer instructions to ensure proper assembly and connection of each component.
The HID lamp should be securely attached to the ballast, which in turn should be connected to the transformer. The reflector should then be attached to the ballast and positioned according to your desired direction of light emission.
Step 4: Connect the Power Source
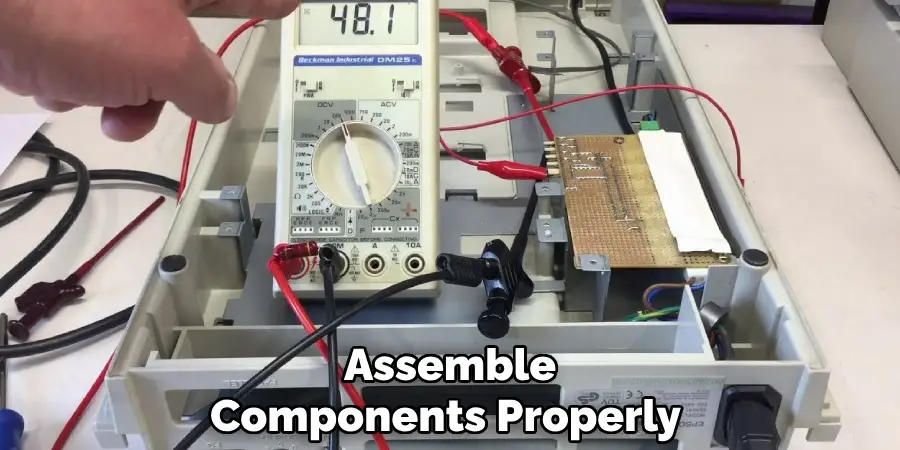
Once all components are properly assembled, the next step is to connect the power source to the system. Ensure that the power supply meets the voltage and current requirements specified for your HID lamp and ballast setup. Begin by securely connecting the power source to the transformer, which in turn supplies electricity to the ballast. Check all connections to ensure there are no loose wires or potential short circuits.
Once connected, double-check that everything is properly insulated to prevent any electrical hazards. It’s crucial to follow all manufacturer guidelines and safety measures during this process to maintain a safe operating environment. After ensuring all connections are secure, the system is ready for testing.
Step 5: Test the System
With all components connected and properly insulated, it’s time to test the system. Turn on the power source and observe if the HID lamp emits UV light. If everything is working correctly, you should be able to see a purple glow coming from the lamp.
If there are any issues or discrepancies, make sure to double-check all connections and follow troubleshooting guidelines provided by the manufacturer. It’s important not to skip this step as it ensures safe and effective operation of your UV light setup.
Step 6: Monitor Exposure Time
Once you have successfully created UV light, it’s crucial to monitor exposure times closely. Prolonged exposure to UV radiation can have adverse effects on health, including skin damage and eye problems. It’s essential to follow recommended exposure times and take necessary precautions, such as wearing protective gear when working with UV light.
It’s also important to keep a safe distance from the UV light source and avoid direct exposure. If necessary, install additional shielding or barriers to further minimize risks.
Step 7: Maintain and Clean the Equipment
To ensure efficient and safe operation of your UV light setup, it’s important to regularly maintain and clean all components. This includes removing any dust or debris from the reflector and replacing the HID lamp periodically.
It’s also crucial to keep an eye on the performance of each component and replace any faulty parts immediately. Regular maintenance can help prolong the lifespan of your equipment and prevent potential hazards.
Step 8: Dispose of Used Components Properly
Finally, when it’s time to replace any components or dispose of the entire setup, make sure to follow proper disposal guidelines. UV lamps and other parts may contain hazardous materials that require special handling and recycling methods. Check with your local waste management services for specific instructions on how to properly dispose of these items.
With these step-by-step guidelines, you should now have a better understanding of how to make UV light using an HID lamp. Remember to always prioritize safety and carefully follow all manufacturer instructions throughout the process. With proper precautions and maintenance, your homemade UV light setup can be a useful tool for various applications where targeted UV light emission is required. So go ahead and get creative with your projects!
Frequently Asked Questions
Q: What Are the Benefits of Using a Hid Lamp for UV light?
A: HID lamps have a broad spectrum emission and high efficiency, making them suitable for applications that require consistent UV output. They also come in various sizes and wattages, offering flexibility for different project requirements. The intense UVB and UVC light produced by HID lamps can also be beneficial for sterilization and disinfection purposes.
Q: Do I Need a Ballast for My HID Lamp Setup?
A: Yes, a ballast is necessary to regulate the voltage and current output of your HID lamp. It ensures safe operation and prolongs the lifespan of the lamp.
Q: Can I Use Any Type of Transformer with My HID Lamp?
A: No, it’s important to use a transformer specifically designed for use with an HID lamp. Using an incompatible transformer can result in damage to your equipment or potential safety hazards. Always follow manufacturer guidelines when selecting and using a transformer for your setup.
Q: Can I Use My Homemade UV Light Setup for Commercial Purposes?
A: It’s not recommended to use a homemade UV light setup for commercial purposes as it may not meet industry standards and safety regulations. It’s best to purchase a professionally made UV light system for commercial applications.
Conclusion
Creating a UV light setup using an HID lamp can be an effective way to experiment with targeted UV light emission for various personal projects. By carefully following these step-by-step guidelines on how to make uv light and maintaining a strong focus on safety through each phase of the process, you can successfully harness the power of UV light. However, it’s essential to recognize the importance of adhering to all safety precautions, including monitoring exposure times and wearing protective gear.
Additionally, it’s crucial to conduct regular maintenance and proper disposal of used components to ensure environmental and personal safety. While this homemade setup can serve useful purposes, it is not advisable for commercial use, where professional equipment adheres to strict safety standards and regulatory requirements. Engaging in safe practices and routine checks will ensure that your UV light projects contribute positively to your learning and creativity.

