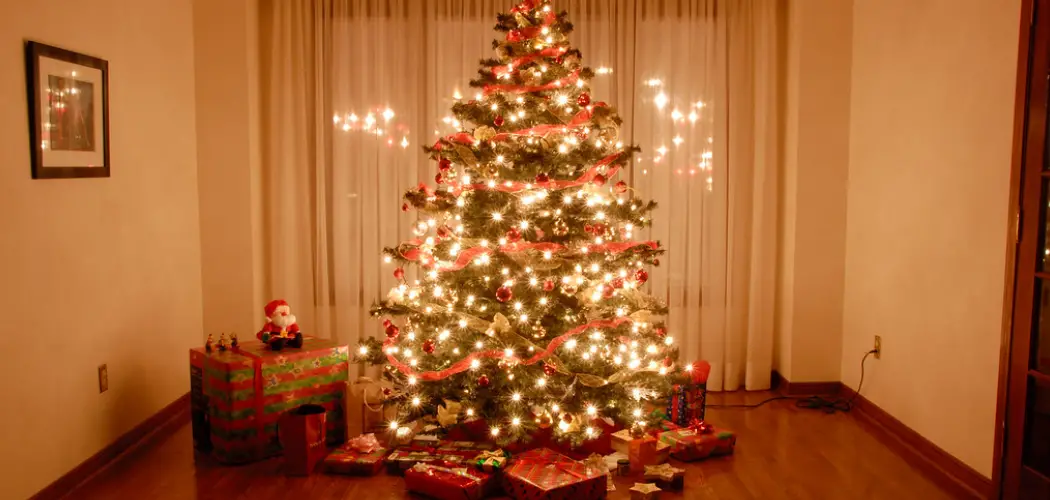
Adding a blinking effect to your Christmas lights can bring a festive and dynamic ambiance to your holiday decorations. Blinking lights create a lively and cheerful atmosphere, enhancing the aesthetic appeal of your home during the holiday season. Whether you’re adorning your Christmas tree, decorating your front porch, or illuminating your entire house, learning how to make your Christmas lights blink can elevate your holiday decor to a whole new level.
In this guide on how to make the christmas lights blink, we’ll walk you through the steps and provide helpful tips to ensure your lights flash beautifully and safely.
What is the Blinking Effect and Why is it Popular During Christmas?
The blinking effect in Christmas lights refers to the lights turning on and off in a rapid or rhythmic sequence. This effect is often achieved using controllers or special circuits that alter the flow of electricity to the bulbs, creating a dynamic, twinkling effect. During the Christmas season, blinking lights add a playful and eye-catching element to decorations, evoking a sense of wonder and delight.
The popularity of blinking lights can be attributed to their ability to mimic the glimmer of stars or the flicker of candles, contributing to the magical atmosphere of the season. Additionally, blinking lights come in various patterns and speeds, allowing for customization and creative expression, making them a staple in holiday decor worldwide.
Tools and Materials Needed
Before we dive into the steps on how to make your Christmas lights blink, ensure you have the necessary tools and materials on hand. These include:
Christmas Lights:
Choose either string lights or light bulbs in various colors to create a vibrant effect. You can opt for traditional incandescent lights or energy-efficient LED lights.
Controller:
Controllers are the heart of your blinking light setup. They regulate electricity flow to your lights, creating the desired blinking effect. You can purchase controllers with pre-programmed patterns or ones that allow you to customize the sequence and speed of the blinking lights.
Extension Cords:
Extension cords are essential to connect your lights and controller to a power source. Ensure you have enough extension cords to reach all areas of your decorations.
Power Source:
Depending on the size of your setup, you may need multiple power sources. Consider using surge protectors to prevent any electrical damage from power fluctuations.
8 Steps on How to Make the Christmas Lights Blink:
Step 1: Plan Your Lights Placement
Before setting up your blinking Christmas lights, it’s important to devise a clear and strategic plan for their placement. Begin by envisioning the areas you want to illuminate and enhance with your lights, such as the Christmas tree, window frames, porch railings, or the facade of your home. Take into account the layout and size of these spaces to determine how many lights you will need and where to position them for maximum visual impact.
Mapping out your design on paper can assist in organizing your thoughts, preventing overcrowding of lights in one area while other sections remain dimly lit. Additionally, consider the accessibility to power sources and the path for your extension cords, ensuring that all connections are safe and discreet. Proper planning will ensure a seamless setup process and a stunning holiday display.

Step 2: Test Your Lights and Controller
Before proceeding to the installation of your blinking Christmas lights, it’s crucial to test both the lights and the controller to ensure everything is in working order. Start by unpacking your lights and laying them out in a safe, flat area. Plug them into a power source to verify that all bulbs are functioning correctly. It’s essential to replace any faulty bulbs immediately, as they could affect the overall performance of your setup.
Next, connect your controller and test it with your lights to check the blinking patterns and speeds. Make adjustments as needed to align with your desired effect. Testing your equipment before installation saves time and reduces the risk of encountering issues midway through your holiday setup.
Step 3: Hang Your Lights
With your plan in place and lights tested, it’s time to hang your Christmas lights. Begin by carefully draping or securing the lights in designated areas according to your mapping. For trees, start from the base and work your way up, wrapping the lights evenly around the branches. If decorating your home’s exterior or windows, use hooks or clips designed for holiday lights to ensure they stay safely and securely in place.
Pay attention to symmetry and consistent spacing to enhance the visual appeal of your display. Keep cords tidy and concealed, using clips or tape if necessary, and be sure that any connections are kept away from water hazards. Taking time to hang your lights thoughtfully will result in a beautifully orchestrated festive ambiance that captures the spirit of the season.
Step 4: Connect Your Lights to the Controller
Once your lights are securely hung and positioned as planned, it’s time to connect them to the controller, which will bring your display to life with the desired blinking effect. Begin by locating the end plug of your light string and ensure it is compatible with the controller’s input. Plug the string of lights into the controller, making sure the connection is tight and secure to prevent any interruptions in the power flow.
It is advisable to read the manufacturer’s instructions for both the lights and the controller, as they often provide specific guidance on the connection to optimize performance and safety. Once connected, position the controller in a safe location, away from any moisture or heavy foot traffic, to avoid accidental disconnections or damage. Test the setup once more to ensure the lights blink according to your chosen pattern and speed. This step is vital for creating a cohesive and electrifying holiday display that captures the essence of festive cheer.
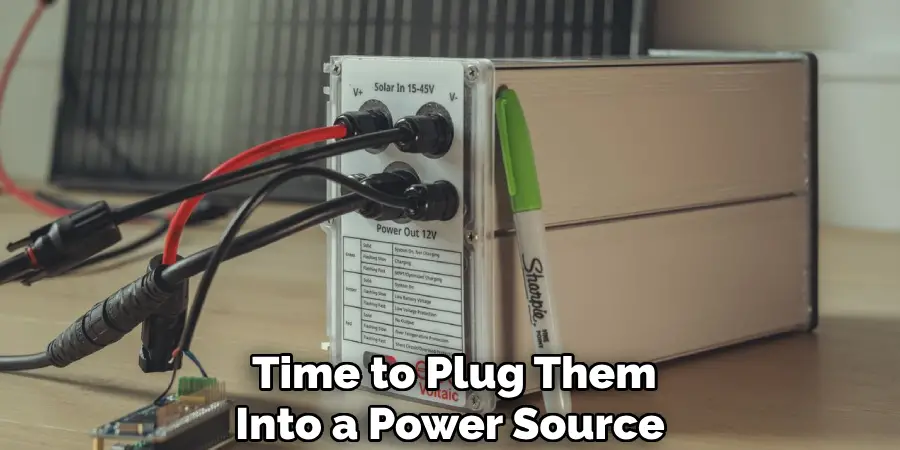
Step 5: Connect Your Controller to a Power Source
With your lights and controller connected, it’s time to plug them into a power source. If using multiple controllers, ensure they are all connected correctly and safely to the same power source. A surge protector is an excellent addition at this stage to safeguard against any electrical damage due to voltage fluctuations.
Follow the manufacturer’s instructions for any specific settings or precautions when connecting the controller to a power outlet. Once plugged in, turn on the power supply and watch your Christmas lights come to life with their dazzling blinking effect!
Step 6: Adjust Settings (Optional)
If your controller has customizable settings, you can adjust them according to your preference. Some controllers offer different patterns, speeds, and color options to enhance your display further. Play around with the settings until you achieve the desired effect that complements your overall Christmas décor theme.
The beauty of adjustable settings is that you can change the effect throughout the holiday season, keeping your display fresh and exciting for visitors and passersby.
Step 7: Maintenance Tips
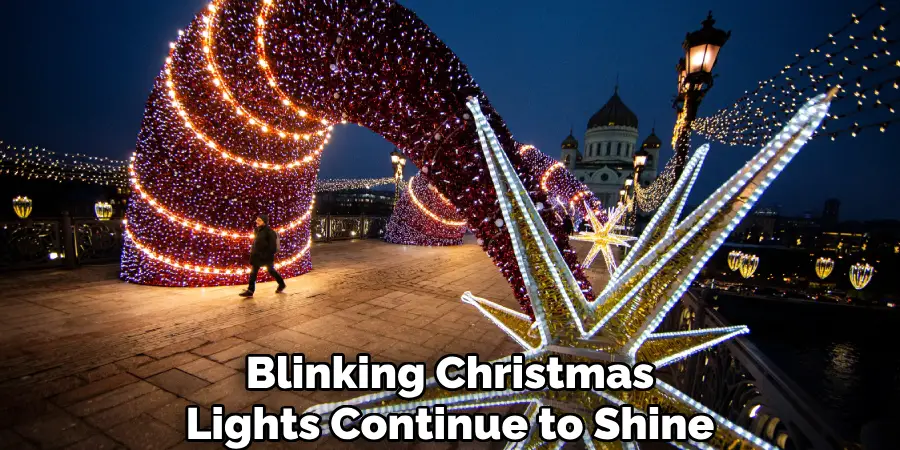
To ensure your blinking Christmas lights continue to shine throughout the holiday season, it’s essential to perform regular maintenance checks. Look out for any loose connections or damaged bulbs and replace them promptly. If using incandescent lights, pay attention to heat buildup, which could cause damage or fire hazards if left unattended. Unplug the lights when not in use and avoid overloading power sources by spreading out your decorations among multiple outlets.
You can also prolong the lifespan of your lights by storing them properly after the holiday season. Wrap them carefully and store them in a dry, cool place to prevent any damage or tangling. With proper care and maintenance, you can enjoy your blinking Christmas lights for many joyful seasons to come.
Step 8: Share the Joy
Now that your blinking Christmas lights are up and shining, it’s time to share the joy with others. Invite friends and family over to admire your handiwork or host a neighborhood light tour to spread holiday cheer. You can also take photos or videos of your display and share them on social media, inspiring others to get creative with their own holiday decorations.
Following these steps on how to make the christmas lights blink, you can create a stunning and mesmerizing holiday display that will bring joy to all who see it. By taking the time to carefully plan, test, and maintain your lights, you can transform your home into a festive wonderland and spread holiday cheer to others. Happy decorating!
Additional Tips
- Consider using LED lights for their energy efficiency and longer lifespan.
- Use timers to automatically turn on and off your display at specific times.
- Have fun with your design! You can create unique patterns and effects by combining different types of lights such as icicle or net lights.
- Don’t be afraid to experiment with different settings until you find the perfect combination for your display.
- Remember to always follow safety precautions when handling electrical equipment.
- Consider donating your old or unused lights to a local charity or recycling program instead of throwing them away.
- Incorporate other festive elements such as ornaments, ribbons, and wreaths, to add depth and variety to your display.
- If you have young children, involve them in the decorating process by letting them help hang lights or choose the settings for the controller.
- Use outdoor extension cords specifically designed for holiday lights to prevent any hazards from water exposure.
- Get creative with placement! You can use lights on fences, bushes, and even along walkways to create a cohesive and enchanting holiday scene.
- Make sure to turn off and unplug your lights before leaving the house or going to bed for added safety. So, it’s better to set a timer for their automatic shut off.
- Don’t limit yourself to just one color – you can mix and match different colored lights for a more vibrant and lively display.
- Have fun and enjoy the process of creating a festive atmosphere with your blinking Christmas lights! After all, the holidays are all about spreading joy and cheer.
Conclusion
Creating a stunning display of blinking Christmas lights can be a rewarding and joyful endeavor that adds a magical touch to the holiday season. By thoughtfully selecting and connecting your lights, personalizing the settings, and ensuring safety precautions, you can design a vibrant and lasting spectacle that delights all who see it. The blend of creativity, technical know-how, and festive spirit ensures your decorations become a memorable highlight of the festivities.
Whether sharing your display with neighbors or capturing its brilliance for a wider audience, your blinking lights can be a beacon of holiday cheer, spreading warmth and happiness throughout the community. Enjoy the twinkling beauty as you celebrate this special time of year. Thanks for reading this article on how to make the christmas lights blink.

