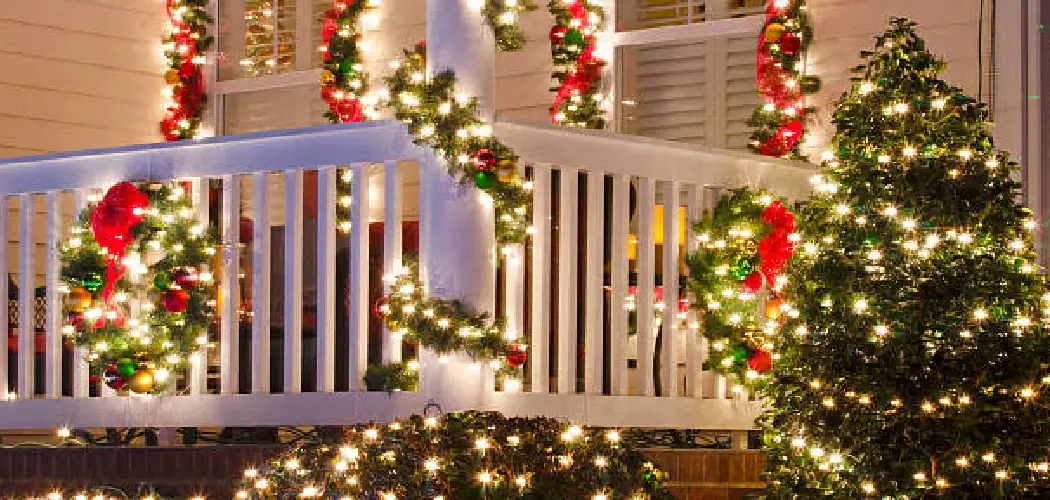
Creating a string light Christmas tree is a modern and space-saving alternative to the traditional holiday centerpiece. This creative DIY project allows you to transform an assortment of string lights into a dazzling display that fits perfectly into any space, whether indoors or outdoors.
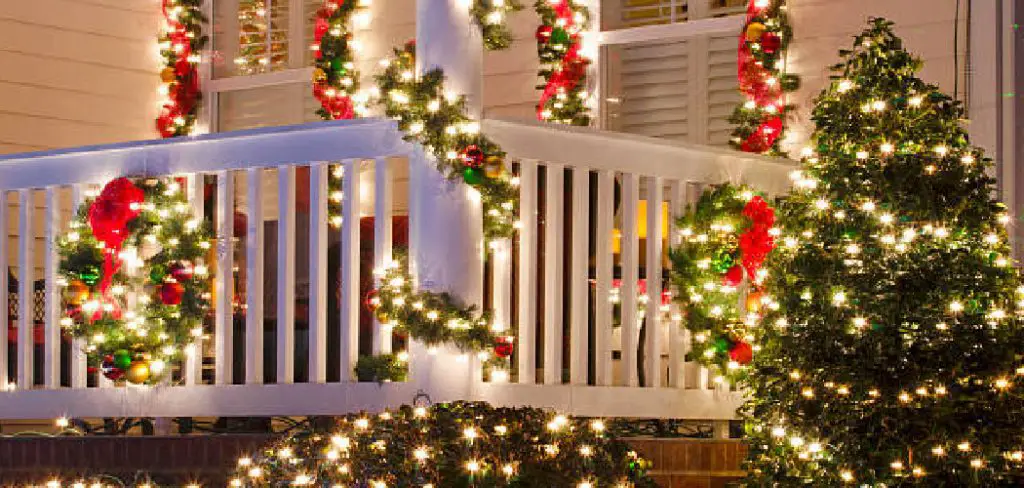
Ideal for those looking to conserve space or explore unconventional holiday designs, a string light Christmas tree can range from minimalist and elegant to vibrant and festive. Its versatility ensures it suits a variety of tastes and aesthetics, making it a wonderful project for any household.
This guide on how to make string light Christmas tree will walk you through the tools and materials needed, offer inspiring design ideas, and provide detailed step-by-step instructions. Whether you’re enhancing your living room or brightening your backyard, this project is sure to bring holiday cheer and creativity to your home.
Materials and Tools Needed
Materials
- String lights (LED for energy efficiency).
- A sturdy base or anchor (e.g., tree stand, wooden post, or wall hooks).
- Support structure: pole, PVC pipe, or tension wires (for freestanding designs).
- Optional: ornaments, zip ties, or garland for added decoration.
Tools
- Measuring tape, ladder, and scissors.
- Hooks, nails, or adhesive clips for securing lights.
- Outdoor extension cords and timers (if placing outdoors).
Having the right materials and tools prepared will ensure the assembly process is smooth and efficient. Furthermore, opting for LED string lights provides energy efficiency while adding brilliance to your design.
Whether you’re aiming for a minimalist look or a festive masterpiece, these components will help you craft a stunning string light Christmas tree that’s both functional and visually appealing.
Choosing a Design for Your String Light Tree
Wall-Mounted Tree
A wall-mounted string light tree is an excellent choice for small spaces or minimalistic decor. Start by using adhesive hooks or small nails to outline the shape of a Christmas tree on your chosen wall. Then, drape your string lights along the hooks, zigzagging back and forth to mimic the branches of a tree.
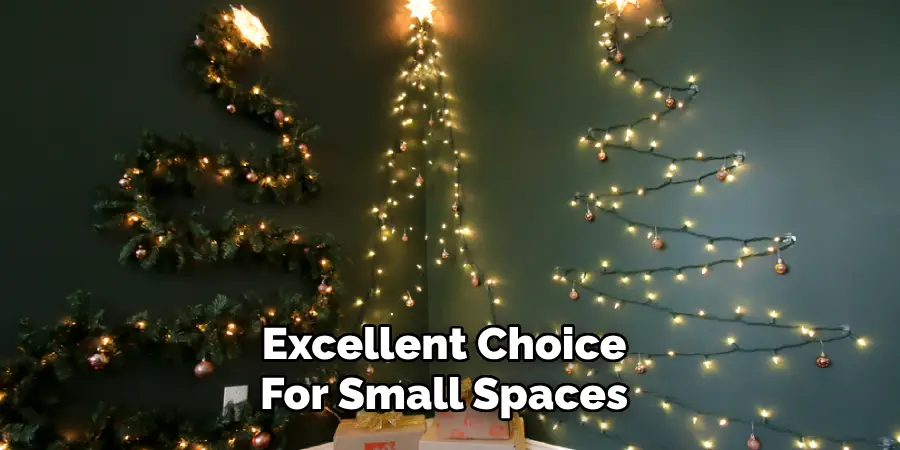
This design allows you to get creative with spacing, shapes, and patterns while taking up no floor space. To enhance the look, you can add lightweight ornaments or garlands. Wall-mounted trees are perfect for creating a festive vibe in apartments, dorms, or rooms with limited square footage.
Freestanding Cone-Shaped Tree
For a freestanding tree, create a cone-shaped structure using a central pole as the base. Secure the bottom of the pole with a stand or anchor it in the ground if displayed outdoors.
Attach string lights to the top of the pole and drape them downward in a spiral or vertical pattern, evenly spacing them to form a tree-like cone. Adding decorations such as garlands or additional lights can enhance the effect. This versatile design works well indoors or outdoors and is ideal if you’re looking to make a big visual statement with your display.
Outdoor Ground Tree
To create an outdoor ground tree, use stakes to outline a triangular shape on your lawn or patio. Run tension wires or rope between the stakes to provide a framework for your string lights. Secure the lights along the wires, ensuring even spacing for a uniform look.
This design creates a dramatic, glowing tree that stands out beautifully in open spaces, perfect for holiday lawn decorations or community displays. For added impact, consider using multicolor lights or integrating solar-powered options for energy efficiency.
Safety Precautions Before Starting
Before you begin your lighting project, it’s essential to take a few safety precautions to ensure a smooth and hazard-free experience. Start by thoroughly inspecting all string lights for damage, such as frayed wires, cracked bulbs, or loose connections, and replace any faulty components.
For outdoor setups, always use lights and extension cords specifically rated for outdoor use, as these are designed to withstand weather conditions. Fire safety is crucial—do not overload electrical outlets, and keep lights away from flammable materials like dry leaves, fabrics, or decorations.
If your project requires reaching elevated areas, ensure you use a sturdy ladder placed on a flat, stable surface. Always maintain three points of contact on the ladder, and consider having someone nearby to assist. Taking these precautions can help prevent accidents and ensure your decorative display is both stunning and safe.

How to Make String Light Christmas Tree: Step-by-Step Guide
Step 1: Plan the Placement
The first step in creating your string light Christmas tree is to carefully plan its placement. Choose a location that best fits your vision–this could be a blank wall for a wall-mounted tree, an open freestanding space indoors, or a spot in your yard for an outdoor setup.
Once you have selected the location, take measurements to determine the height and width of the tree you wish to create. These measurements will ensure your design fits the space perfectly and help you decide how much string lighting you’ll need.
Step 2: Set Up the Structure
Prepare your tree’s framework based on your chosen location and type of tree.
- For wall-mounted trees: Use adhesive clips or hooks to create a triangular outline on the wall. These will act as anchor points for your lights and help maintain the desired shape.
- For freestanding trees: Secure a central pole or PVC pipe vertically in your space. Ensure the base is stable to prevent tipping over.
- For outdoor ground setups: Insert stakes or rods into the ground, arranging them in a triangular frame that mimics the tree shape. This will provide the structure for holding the lights in place.
Step 3: Arrange the Lights
Begin arranging the string lights to form your tree. Start at the top point of the design and work your way downward, systematically creating the triangular tree shape. For wall-mounted setups, secure the lights along the hooks or clips you placed earlier.
For freestanding or outdoor trees, wrap the string lights around the central pole or attach them along your stakes to create the desired effect. Take your time to ensure that the lights are evenly spaced and that the shape remains symmetrical. Adjust as necessary to perfect the look.
Step 4: Add Decorations (Optional)
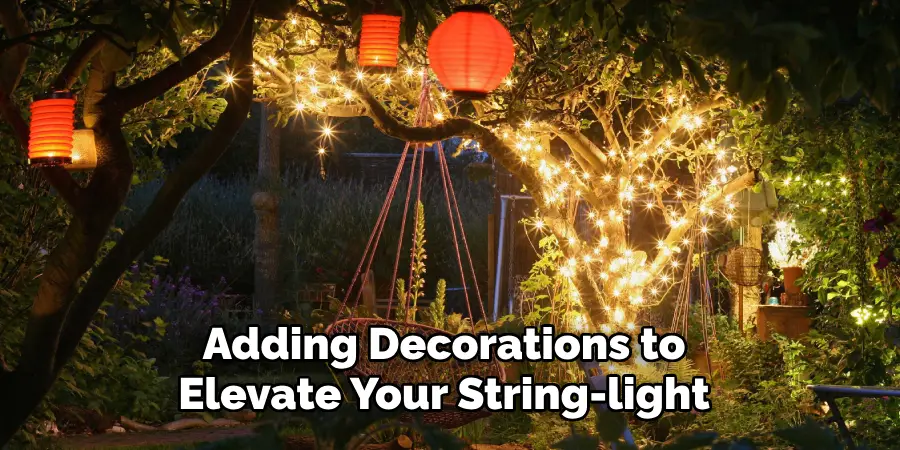
Consider adding decorations to elevate your string-light Christmas tree’s festive appeal. You can attach lightweight ornaments, garlands, or ribbons along the string lights for a more traditional look.
Ensure that any decorations you use are securely attached, and do not put too much weight on the structure. This step is optional but is a great way to bring a personalized touch to your design.
Step 5: Test the Lights
Once your string light tree is complete, it’s time for the moment of truth—plug in the lights to test their functionality. Check that all sections are lit and that there are no dim or flickering bulbs. If any issues are noticed, replace faulty bulbs or adjust connections.
Use this opportunity to make any final tweaks to your tree’s placement, symmetry, or decorations. After everything is set, step back and admire your glowing, festive creation!
Tips for Customizing Your String Light Christmas Tree
Customizing your string light Christmas tree can make it stand out and reflect your personal style. Here are some tips to help you elevate your design:
Color Themes
Choose a color scheme that complements your overall holiday decor. Using single-color lights, such as warm white or icy blue, creates a sleek, minimalist look, while multicolored lights bring a cheerful and playful vibe. You can also experiment with color patterns, such as alternating stripes or gradients, for a unique visual effect.
Adding Ornaments
Enhance your tree’s appearance by hanging lightweight ornaments along the string lights. Small baubles, miniature snowflakes, or even handmade decorations can add dimension and personality. Ensure the ornaments are light enough not to disrupt the structure or pull on the lights.
Tree Topper Ideas
Complete your string-light Christmas tree with an eye-catching topper. Consider traditional options like a glittering star or angel, or add a festive bow for a classic touch. Explore unique designs such as illuminated toppers or themed icons for a modern twist.
Outdoor Enhancements
If your string light tree is part of an outdoor display, pair it with other festive decorations. Add ground lights, illuminated inflatables, or decorative pathway markers to create a cohesive and enchanting holiday scene. A well-curated outdoor space enhances the festive spirit for everyone to enjoy.
Common Mistakes to Avoid
Overloading Circuits
One of the most common mistakes when setting up a string light Christmas tree is overloading electrical circuits. Connecting too many light strands to a single outlet can lead to overheating, tripped breakers, or even electrical fires.
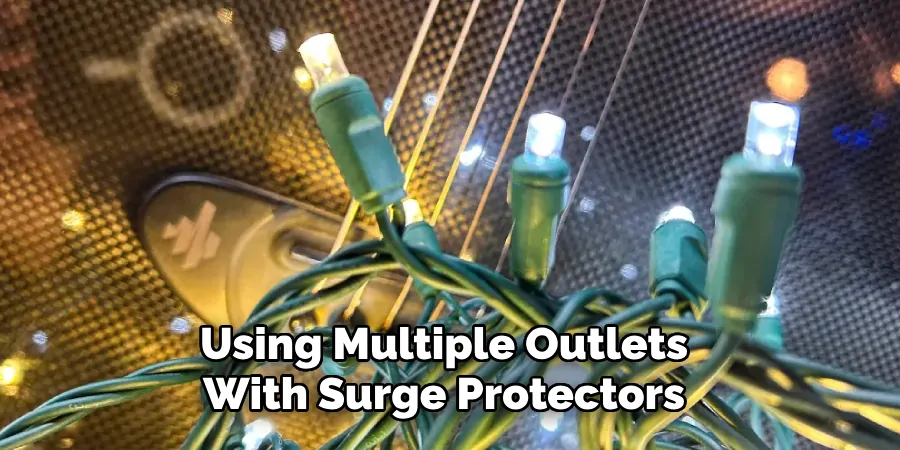
Always check the manufacturer’s guidelines on how many light strands can be safely linked together, and consider using multiple outlets with surge protectors for added safety.
Improper Anchoring
Improperly securing the tree can cause major issues, particularly for outdoor setups. Strong winds, heavy snow, or rain can topple a poorly anchored tree. Use sturdy, weatherproof supports to ensure your tree stays in place, and avoid positioning it in areas prone to harsh elements.
Uneven Light Distribution
An unbalanced look can occur if lights are placed haphazardly. Take time to distribute lights evenly, ensuring the tree maintains a symmetrical and polished appearance. Begin from the top or base and work methodically to avoid any gaps or overcrowded areas.
Neglecting Safety Ratings
Using indoor-only lights or incorrect cords for outdoor string light trees can lead to exposed hazards. Ensure your lights and equipment are weather-resistant and rated for external use. This precaution protects both the display and the safety of your household and visitors.
Maintenance and Storage Tips
During the Season
Check lights periodically to ensure they remain secure, functional, and free of damage. Inspect for any loose connections or weather-related wear, and make necessary adjustments to keep the display safe and pristine.
Post-Holiday Storage
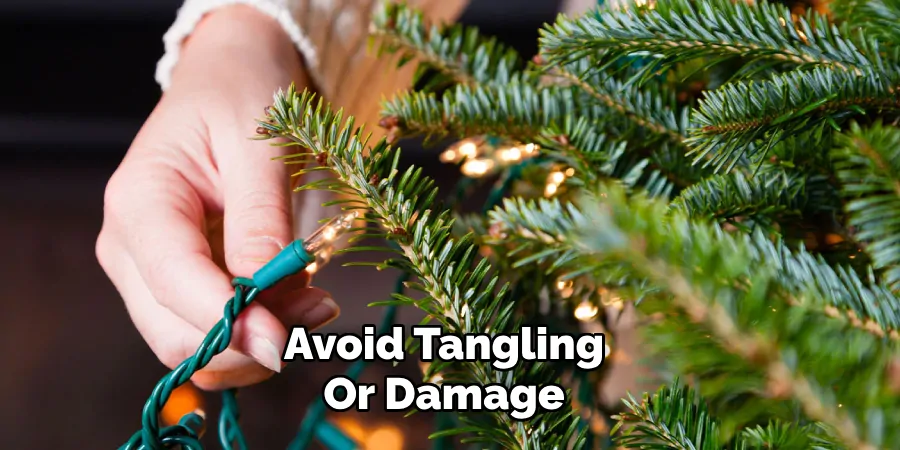
Carefully remove the lights to avoid tangling or damage, coil them neatly, and store them in a labeled waterproof container. Organize supports such as poles, hooks, or anchors, ensuring they are clean and ready for reuse. Proper storage saves time next year and extends the lifespan of your decoration materials.
Conclusion
Creating a string light Christmas tree offers a customizable, space-saving, and festive alternative to traditional holiday trees. This creative project allows for endless design possibilities, enabling you to personalize your decoration to suit your space and style.
By learning how to make string light Christmas tree displays, you can craft a unique and enchanting centerpiece for your holiday celebrations. Experiment with different lights, patterns, and materials to bring your vision to life. Wishing you a joyful and creative holiday season filled with warmth and the magic of your DIY string light tree!

