Neon lights, with their bright and colorful glow, have been captivating people for decades. These distinctive lights are created by exciting gas particles, such as neon or argon, within a sealed glass tube, producing a mesmerizing illumination. They have long been a staple in eye-catching business signage, but their use has expanded into home decor, DIY art projects, and retro-inspired designs. From vibrant signs to creative lighting pieces, neon lights add a unique charm to any space.
This article is designed to provide a comprehensive overview of how neon lights function and highlight the steps for crafting your own version. Whether you’re looking to design a custom piece or simply understand the science behind these glowing shapes, this guide will offer valuable insights into how to make neon light creations safely using LED alternatives, which are accessible, energy-efficient, and perfect for DIY enthusiasts.
Understanding How Neon Lights Work
Traditional Neon Tubes
Traditional neon lights are made from glass tubes filled with noble gases like neon or argon. When a high voltage is applied through electrodes at each end of the tube, it excites the gas atoms, causing them to emit light. The characteristic glow of a neon light depends on the type of gas used.
For instance, pure neon gas produces a vivid red light, while argon may emit blue or purple hues when combined with traces of mercury vapor. To create a broader range of colors, phosphor coatings are often applied inside the tubes, or various gases are mixed, allowing for vibrant and customizable lighting effects.
Modern Alternatives
Innovations in technology have led to the development of LED flex neon lights, offering a modern and versatile way to create neon-like effects. These lights use flexible, durable materials that mimic the look of traditional neon, but without the need for glass tubes or high-voltage electricity.
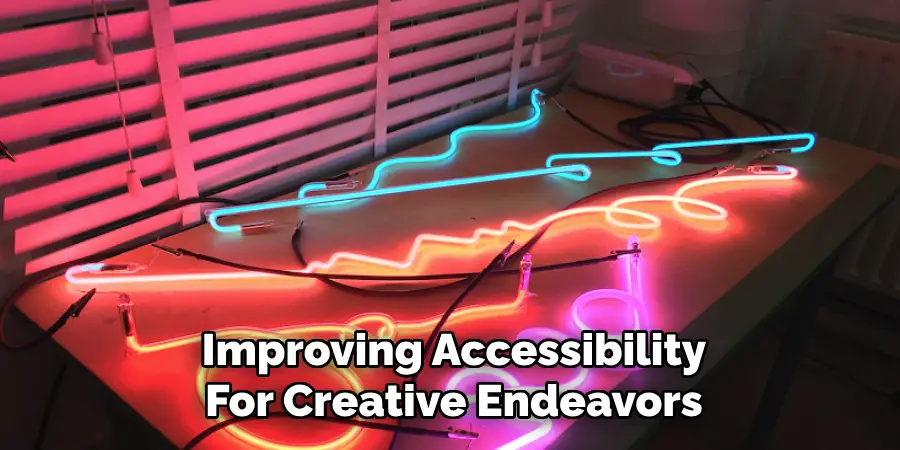
LED flex neon lights are safer, more energy-efficient, and easier to handle, making them an ideal choice for DIY projects. They also offer a wider range of colors, allowing enthusiasts and designers to achieve stunning effects while reducing environmental impact and improving accessibility for creative endeavors.
Safety Considerations and Legal Notes
Traditional Neon Safety
Working with traditional neon involves handling high-voltage electricity and pressurized gas, which poses significant safety risks. These systems are not recommended for beginners due to the complexity and potential for accidents. Proper training and professional tools are essential to create or repair traditional neon signs safely. Without adequate expertise, there is a heightened risk of electrical shock or gas leakage, which can lead to serious injuries or damage.
Legal Considerations
Depending on your location, working with pressurized gas or high-voltage systems may require specific certifications or permits. Local regulations often dictate how these materials and tools can be used, especially in commercial or public spaces. Always research and adhere to legal requirements to avoid fines or other legal consequences.
DIY Safer Alternative: LED Neon Flex
For DIY enthusiasts, LED neon flex lights offer a much safer and more accessible alternative. These flexible lights do not involve high-voltage systems or hazardous gases, making them ideal for novice users. Perfect for indoor decorative projects, they eliminate many concerns associated with traditional neon while still providing vibrant, customizable lighting effects.
Materials and Tools for DIY Neon LED Project
Materials Needed
- LED neon flex strips (silicone or PVC).
- Power adapter or controller compatible with LED strips.
- Mounting clips or channels to secure the lights in place.
- Acrylic or wood base (optional, for mounting your design and providing a stable platform).
Tools Required
- Scissors or sharp blade for cutting the flexible LED strips to the desired length.
- Hot glue gun or mounting tape to affix the LED flex lights securely.
- Wire strippers and connectors if you need to cut and reconnect LED segments for customization.
- Soldering iron (optional) for advanced customization, ensuring clean and robust connections at cut points.
Having the right materials and tools on hand will make your DIY neon LED project smooth and enjoyable. Whether you’re crafting intricate wall art or simple lighting accents, these essentials will help you achieve professional and safe results with ease. Always follow the manufacturer’s guidelines when handling and modifying LED components to ensure an optimal and safe experience.
How to Make Neon Light: Designing Your Neon Light Shape
Sketch Your Design
Start by brainstorming ideas for your neon light shape. Choose simple shapes or text such as hearts, stars, initials, or even abstract patterns. Simplicity ensures the design is easy to create and allows the neon effect to stand out. Once you’ve decided on a design, roughly plan the layout to estimate the length of LED strips required. This step is crucial to ensure you purchase the right amount of materials for your project.
Create a Template
After finalizing your design, transfer it onto paper by sketching or printing a template. This template will act as a guide when bending and mounting the LED strips. Be sure the template includes clear lines to follow, as precision is key to achieving a professional look. It’s helpful to tape the template onto your workspace to keep it stationary during the assembly process.

Select Colors
Choosing LED colors is one of the most exciting parts of the process. Mix and match colors to create a dynamic and unique effect. Consider whether you want warm tones for a cozy atmosphere, cool tones for a modern vibe, or a mix of both for a balanced aesthetic. Carefully planning the colors ensures your neon light complements its intended space beautifully.
Assembling the LED Neon Light
Step 1: Prepare the Base
Start by attaching your template to a solid backing, such as an acrylic or wooden board, to provide a sturdy foundation for your design. Make sure the template is secure and flat, as this will guide the accurate placement of your LED strip.
Step 2: Shaping the LED Flex Strip
Carefully bend the LED flex strip to follow the lines of your design template. Avoid twisting or bending the strip too sharply, as it could damage the internal components. Take your time during this step to maintain a smooth and precise shape.
Step 3: Mounting the Strip
Once the strip is shaped, use mounting clips, hot glue, or strong adhesive tape to secure it onto the base. Ensure that it stays aligned with your template and that all parts are firmly held in place. Be cautious not to apply too much pressure, which might damage the LED strip.
Step 4: Connecting to Power
Plug the LED strip into a compatible power adapter with the correct voltage. If your design requires cutting and rewiring LED segments, use appropriate connectors or soldering methods to reattach the wires. Confirm that all connections are secure and insulated to prevent short circuits.
Step 5: Test the Light
Finally, connect the power source and turn on your neon light. Check for uniform brightness and color, ensuring the light transitions smoothly along the design. Make adjustments if necessary before displaying your finished creation.
Tips for a Polished Finish
Hide Wires and Connectors
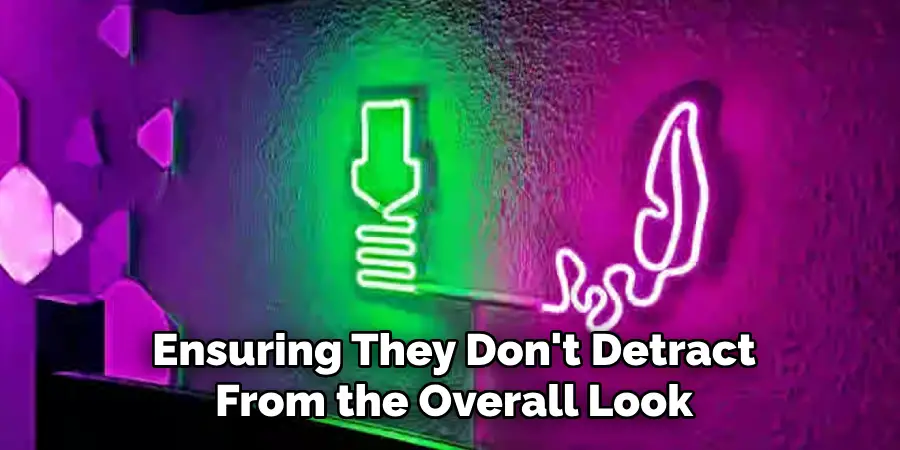
To maintain a clean and professional appearance, take steps to hide wires and connectors. Use cable covers, adhesive clips, or route the wiring behind furniture or walls. Planning the placement of your neon light design can also help conceal power connections naturally, ensuring they don’t detract from the overall look.
Secure the Backing
Properly securing the backing of your neon light is essential for both safety and aesthetics. If your design is mounted on a panel or frame, make sure it is stable and level before hanging it. Use sturdy wall hooks, brackets, or adhesive strips that can handle the weight of the finished piece. For tabletop or freestanding displays, position the light on a stable surface to avoid tipping.
Optional Add-ons
Enhance your neon light with practical or decorative add-ons. A dimmer switch allows you to adjust the brightness to suit your environment or mood. For more dynamic effects, consider integrating a remote control or RGB controller to switch between colors and lighting modes, adding versatility and charm to your design.
Maintenance and Troubleshooting
Keeping It Clean
To maintain your neon light’s appearance, wipe it gently with a soft, dry cloth. Avoid using water or chemical cleaners, as these can damage the materials or impact the lighting performance.
Troubleshooting Common Issues
If your neon light doesn’t turn on, start by checking the power adapter and ensuring all wire connections are securely plugged in. For uneven lighting or dim spots, inspect the light for any faulty segments, bends, or damage in the strip that may be affecting performance.
Replacing Components
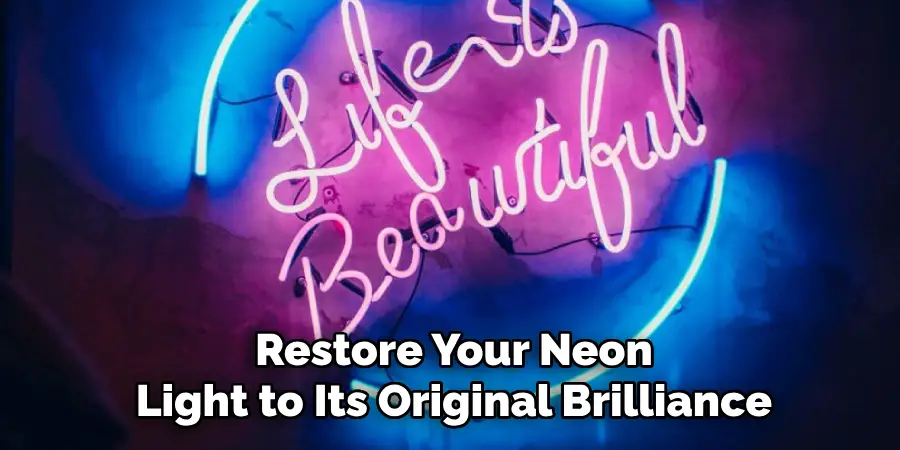
One of the advantages of neon lights is their modularity. LED strips and power adapters are easily replaceable, allowing you to fix issues without having to discard the entire piece. Simply source compatible components and follow the installation process to restore your neon light to its original brilliance.
Conclusion
Creating your own neon light is an exciting and rewarding DIY project. From planning your design and gathering the necessary materials to assembling and finishing your custom neon sign, the process is both creative and manageable.
With the right tools and a bit of patience, anyone can master how to make neon light decorations that add a personal touch to any space. For a traditional glass neon look, consult a professional to ensure safety and quality. However, for decorative purposes, LED neon is a safe, energy-efficient, and stylish alternative, perfect for all skill levels. Start glowing today!

