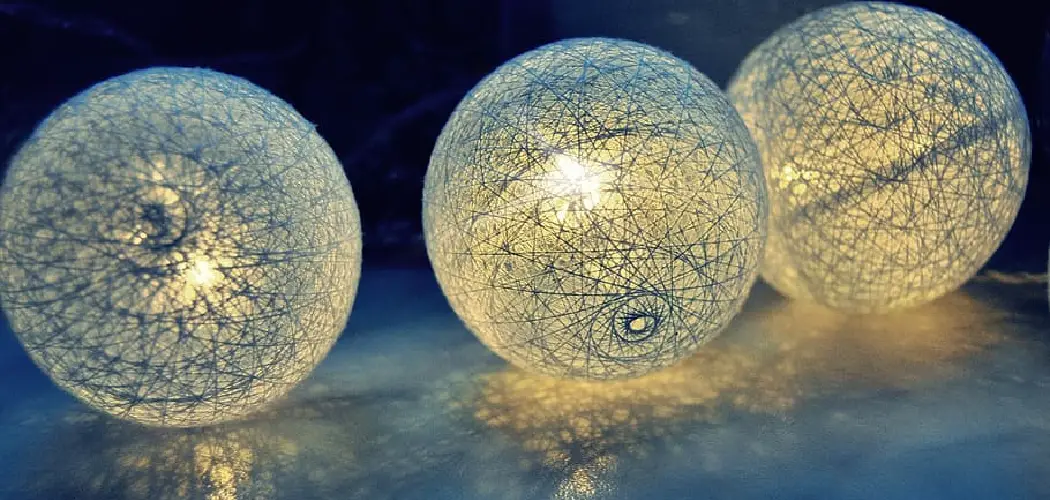
Adding lights to your trees is a great way to make your outdoor spaces look beautiful and festive, but traditional string lights can be difficult to wrap around tricky tree branches. Light balls can be a great alternative DIY option for lighting up your trees this holiday season. In this guide, we’ll show you how to make light balls for trees using a few supplies and simple steps.
Can You Make Light Balls for Trees?
Have you ever looked into your backyard and wished for extra decoration during the winter months? Making light balls for trees might just be the solution you’ve been looking for. These enchanting ornaments can brighten up any space by providing a warm and cozy ambiance. Not only are they easy to make, but they are also affordable.
All you need is a few supplies and some creativity, and you’ll be well on your way to making your own light balls for your trees. Create a magical winter wonderland, a la Narnia, by hanging these sparkling ornaments on your favorite trees. So, transform your backyard into a beautiful and cozy oasis with these DIY light balls for trees.
Why Should You Make Light Balls for Trees?
Have you ever walked around your neighborhood during the holidays and noticed the beautiful light balls hanging from trees? These simple decorations can add a touch of magic to any outdoor space.
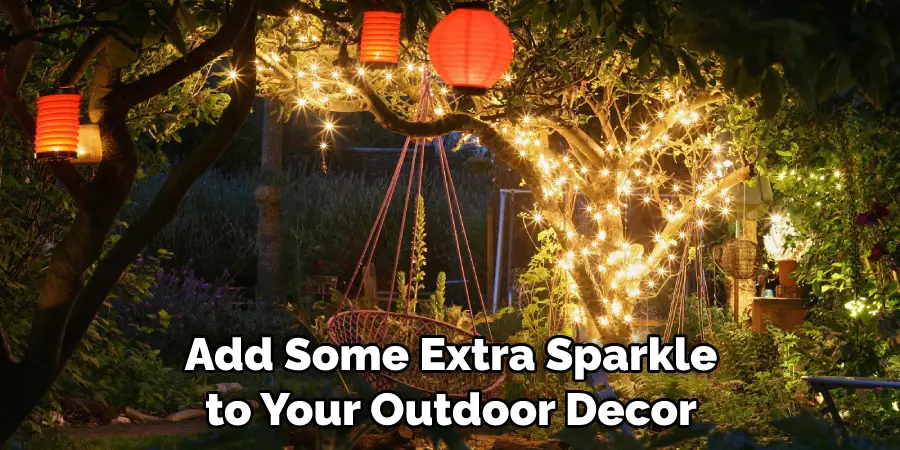
Not only are they visually appealing, but they are also a fun DIY project that the whole family can enjoy. Making light balls can be a fun way to get into the holiday spirit and bring some joy to your community. They can also be customized to fit your style and taste, from classic white lights to colorful patterns. So why not give it a try and add some extra sparkle to your outdoor decor this holiday season?
How to Make Light Balls for Trees – in 7 Easy Steps
Step 1: Gather Materials
Let’s gather the necessary materials before we start making the light balls. You’ll need a few black zip ties, outdoor string lights (preferably LED), wire cutters, and a small amount of chicken wire. You’ll only need the same materials and a solar panel if you prefer a solar option. For this tutorial, we’ll assume you’re using electric lights.
Step 2: Create the Wire Ball Frame
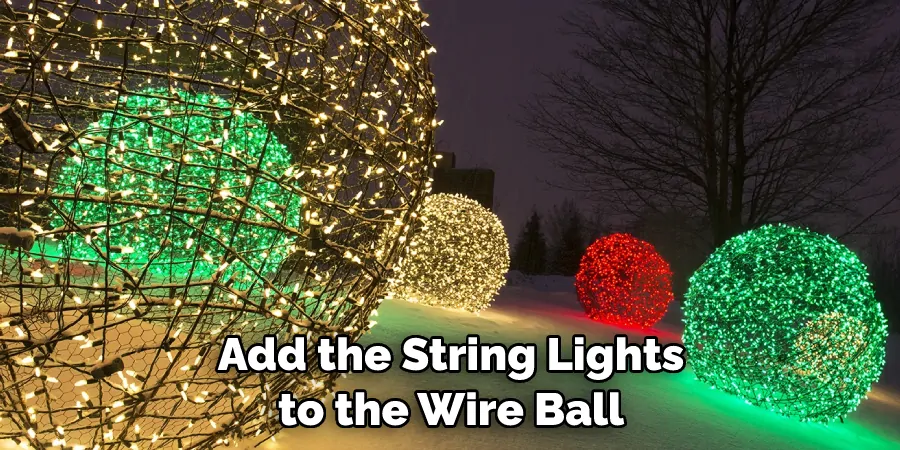
The wire ball frame is the foundation of your light ball. Cut a length of chicken wire using the wire cutters, then mold it into a ball shape. The size of your wire ball will depend on the size of your tree and the number of lights you want to use. A good rule of thumb is to use around 100 lights for a small tree and up to 400 for a larger one.
Step 3: Add the Lights
Add the string lights to the wire ball by weaving or wrapping them around the chicken wire. Don’t be afraid to get creative with your light placement, and make sure to leave a few inches of cord hanging out at the bottom to plug in or connect to your solar panel. Once you are happy with the light placement, use black zip ties to secure the light ends, trimming off the excess plastic.
Step 4: Hang the Light Ball
You can now hang your light ball from a tree branch using a sturdy ribbon or twine. Simply loop the ribbon or twine around the top of the chicken wire and tie it tightly. Make sure the ball is hanging level and secure before plugging it in. Alternatively, for a solar panel, no hanging is needed.
Step 5: Test and Troubleshoot
Test your light ball by plugging it in or activating the solar panel. This will give you a good idea of how the lights are distributed throughout the ball frame. If you find that some sections don’t have enough lights, simply add more and secure them with zip ties as needed.
Step 6: Seal the Ball Frame
Once you’re sure the lights are evenly distributed, it’s time to seal the ball frame. Take a few more zip ties and secure the chicken wire around its edges so it is completely sealed. This will help protect your light ball from rain or wind damage.
Step 7: Enjoy Your Handiwork!
You did it! Now just sit back and enjoy your new light ball. You can hang several to create a festive atmosphere or combine them with other outdoor decorations for the perfect holiday display. No matter how you choose to use them, these light balls are sure to add style and charm to any outdoor space.
That’s it! You’ve now learned how to make light balls for trees. With a few simple materials and steps, you can create beautiful, custom decorations that are sure to be the envy of your neighborhood. So go ahead and start crafting your own unique light ball today!
5 Considerations Things When You Need to Make Light Balls for Trees
1. Size of the Balls
One of the first things you need to consider when making light balls for trees is the size of the balls. You will need to make sure that the balls are large enough to fit around the tree trunk and branches. If they are too small, they will not provide enough light. If they are too large, they will be difficult to put up and take down.
2. Number of Balls
Another thing to consider is the number of balls you will need. This will depend on the size of the tree and the amount of light you want to provide. You may only need a few light balls if you only have a few small trees. However, you may need dozens of light balls if you have a large tree or several trees.
3. Type of Lights
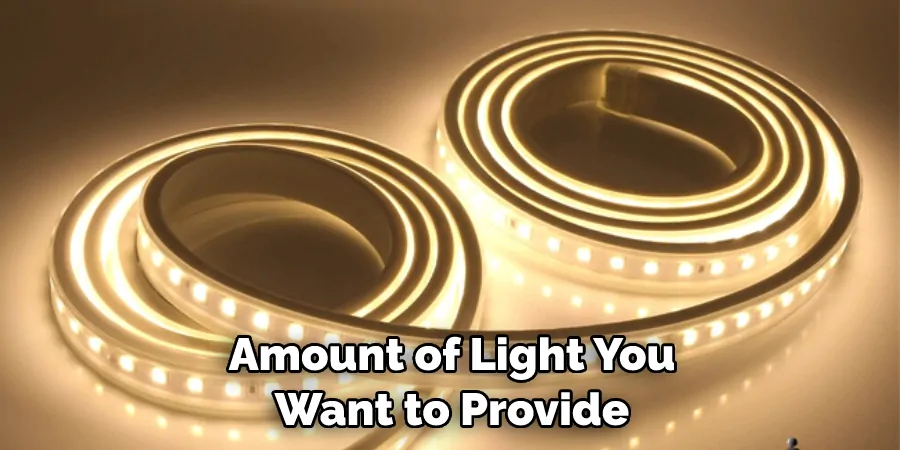
There are many different types of lights that can be used for light balls. The most common type is mini-lights, which are small bulbs that can be strung together. These are typically used for Christmas trees. However, there are also LED lights, which are more energy-efficient and last longer than traditional bulbs. You must decide which type of lights you want to use before making your light balls.
4. Materials Needed
In addition to lights, you will also need some other materials to make your light balls. This includes a ball or globe mold, fishing line or string, scissors, and tape. You may also want to use a funnel to help get the lights into the mold.
5. Instructions
Once you have gathered all the materials you need, you will need to follow some instructions to make your light balls. First, you will need to cut a hole in the bottom of the mold using scissors. Next, thread the fishing line or string through the hole and tie it off to secure it.
Then, start adding lights into the mold using a funnel if necessary. Once the mold is full, carefully remove it from the string and tie off the top with more string or tape. Finally, hang your light balls on the tree and turn them on to enjoy your new creation!
Making light balls for trees is a fun and creative way to spruce up any outdoor space. With the right materials and instructions, you can easily create these beautiful decorations to illuminate your outdoor area. Just remember to keep these five considerations in mind, and you will be on your way to making beautiful light balls for your tree! Good luck!
Benefits of Making Light Balls for Trees
Adding light balls to trees is a simple yet effective way to bring some extra magic to your outdoor space. Not only do they create a twinkling and inviting atmosphere, but they also have several benefits. Firstly, they can increase visibility in your outdoor area, making it easier for you and your guests to move around at night.
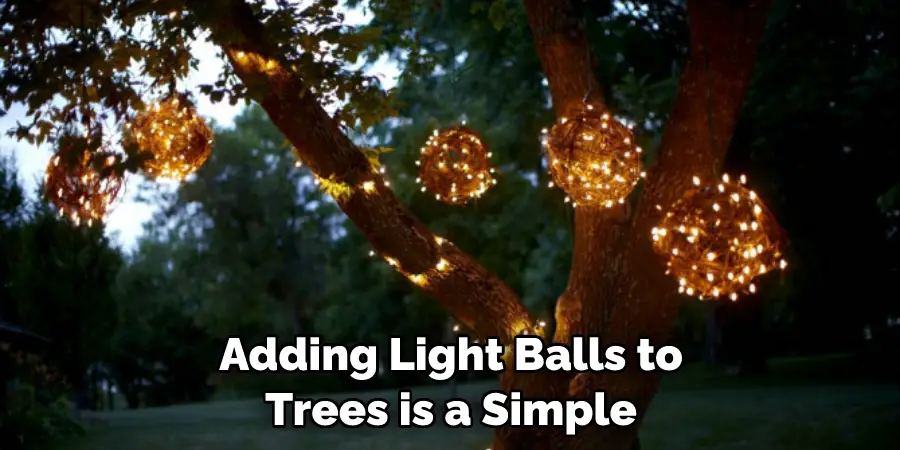
Additionally, light balls can help deter animals from your trees, protecting them from damage. Lastly, they can also serve as a stunning focal point, turning your yard into an enchanting wonderland. So why not try your hand at making some light balls for your trees and experience the many benefits they bring?
Some Common Mistakes People Make When Trying to Make Light Balls for Trees
Stringing up light balls on trees can be a beautiful touch to any outdoor space. However, people make some common mistakes when creating these magical light installations. One mistake is using too few lights, resulting in sparse, lackluster light balls.
Another error is using the wrong type of string or wire, making the balls difficult to shape and hang. Failing to weave the lights through the ball properly can lead to electrical issues and uneven light distribution. Avoid these mistakes, and you’ll be sure to have stunning, twinkling trees that brighten up any space.
How Long Do These Light Balls Last Outside in Winter Weather?
If you’re someone who loves to decorate your home with beautiful light balls during the winter season, you may be wondering how long they’ll last through the colder weather. Fortunately, a few factors can determine their resilience in the face of frigid temperatures and snow. One important factor is the quality of the materials used to make the light balls.
Those made with high-quality waterproof materials are much more likely to survive the winter season. Additionally, proper placement of the light balls can help protect them from harsh winter elements. Overall, if you take the necessary precautions, you can enjoy the festive glow of your light balls for the entire winter season.
Conclusion
With these simple steps, you can create beautiful light balls for your trees in no time! Not only are they easy and affordable to make, but they’ll also add a unique touch of charm to your outdoor spaces.
Experiment with different colored lights, ball sizes, and light placements to make your trees look even more magical. Whether you have a small backyard or a sprawling forest, everyone can enjoy the warm glow of these easy-to-make light balls. Thanks for reading our post about how to make light balls for trees.

