Have you ever fumbled around in the dark during a power outage or wished you had a better light source on your last camping trip? That’s where a bright flashlight becomes your glowing hero in the night! Whether you’re out trailing the wilderness, tinkering under your car, or facing an unexpected blackout, knowing how to make bright flashlight solutions that shine like a beacon is invaluable.
This article will walk you through the steps to create a torch that could rival a lighthouse, using materials you likely have lying around. Besides saving you a few bucks, DIY projects like this let you customize the design to fit your style and needs, maybe adding extra beam power to impress your friends. Let’s light up the world, one homemade flashlight at a time!
Understanding Flashlight Components
Alright, let’s crack open the case of what makes a flashlight flicker so majestically. At its core, your trusty flashlight comes with several key components: the bulb, battery, reflector, lens, and housing. The bulb is your beacon, typically an LED or sometimes an incandescent or halogen if you feel retro. However, LEDs are the reigning champions of brightness and sippy-cup-level efficiency.
Housed inside your flashlight’s shell like a treasure chest is the battery, traditionally AA or AAA for the classics, but you can go all fancy with rechargeable lithium-ion for extended hauls and low-battery stress walks. The reflector is the shining star, metaphorically speaking, that bounces light into a focused beam, while the lens keeps your beam crisp, not fuzzy.
Each piece plays a part in your flashlight’s identity, impacting everything from how far you can shine your light to how long you can strut around with it blazing. Whether hunting for those elusive car keys beneath the couch or taking the dramatic lead of “campfire sing-alongs,” your flashlight’s ensemble is built to perform; let’s flip the metaphorical switch and delve into the inner workings of this handy gadget!
Safety Precautions
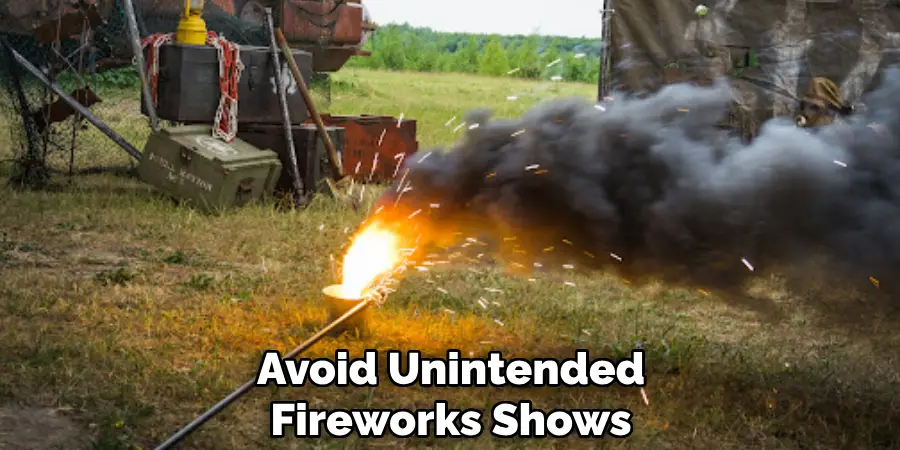
When it comes to working with electrical components, safety should be your priority to avoid unintended fireworks shows—aka short circuits or accidents. Let’s start with the basics: handle batteries carefully and ensure you keep their orientation proper. Trust me, zapping yourself isn’t as fun as it sounds in cartoons. Moving on to our toolbox of fun pointy things—when using tools like soldering irons, wire strippers, and screwdrivers, remember that they’re not just props for looking cool—they’re hot and sharp, respectively.
Keep your fingers intact by following the instructions and using them with care. Oh, and let’s not forget our protective gear! Channel your inner superhero by donning safety goggles and gloves. They might not help you fly, but they’ll protect you from burns and flying debris while you’re channeling your DIY superpower. Playing it safe ensures that your flashlight doesn’t become a (painful) flashbang.
Tools and Materials Needed
Armed with the right tools and materials, you’re halfway to crafting your flashlight masterpiece. Here’s the essential shopping list.
Essential Tools
- Soldering Iron: For those bulletproof connections.
- Wire Cutters and Strippers: To slice and dice your wires like a pro.
- Multimeter: Useful for ensuring your circuit isn’t a sneaky saboteur.
- Screwdriver: A trusty sidekick for assembling and disassembling components.
Materials
- LED Bulb: Seek out high-lumen output for performance that’ll make the sun jealous.
- Battery Holder: Keep those power cells snug and secure.
- Batteries: Choose those that match your LED’s appetite—no hangry circuits!
- Switch: Go for a toggle or push-button for on/off power at your fingertips.
- Reflector and Lens: Optional marvels for those who want laser focus.
- Housing: Think PVC pipe or aluminum can—your flashlight’s suit of armor.
Where to Purchase
Hit up your local hardware store or explore the endless aisles of the internet. Online platforms offer convenience and variety, while hands-on folks might enjoy the in-store experience. Remember, a well-stocked garage is a DIYer’s paradise!
How to Make Bright Flashlight: Step-by-Step Guide
Creating your very own powerhouse flashlight is not only a fun project but also a rewarding one. Follow these steps, and soon you’ll have a beam that could challenge the stars.
Step 1: Prepare the Housing
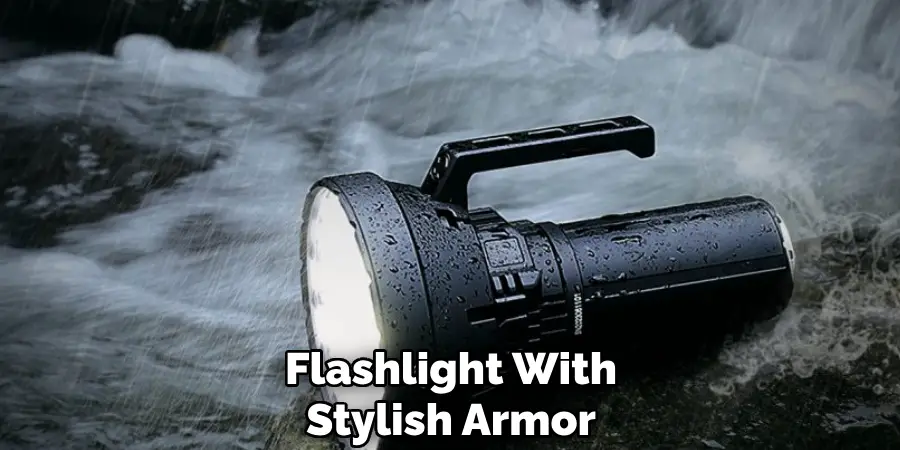
First things first, let’s outfit your flashlight with stylish armor. Whether you’re opting for a sturdy PVC pipe or a sleek aluminum can, the process is similar. Measure your components to determine the right length, then cut your housing material to size—safety goggles and steady hands are recommended! Make sure it’s roomy enough inside to accommodate all the parts without a space battle yet snug enough to keep everything secure.
Step 2: Install the Battery Holder
Now, to power up, place the battery holder inside your prepared housing. Align it to be ready to host its battery guests without a hitch. Secure it firmly with glue or screws, ensuring it won’t play hide-and-seek when your flashlight is jostled. An aligned holder makes for smooth battery insertion and a trouble-free connection.
Step 3: Connect the LED Bulb
Your LED is the show’s star, so let’s give it the electrifying support it deserves. Connect the LED bulb to the battery holder using wires. Remember, positive (red) to positive and negative (black) to negative—cross them, and you’ll have more drama than your average soap opera. If you’re feeling extra, break out the soldering iron to seal those connections with permanence. Just be cautious; precision here prevents future flickers and failures.
Step 4: Add the Switch
Time to give your flashlight its heartbeat with a switch, enabling you to turn it on and off without fuss. Install the switch into the circuit by connecting it along the positive wire, making sure it’s easy to reach and doesn’t interfere with the housing. A nifty toggle switch or a clicky push-button will do the trick and allow for swift control of your lighting masterpiece.
Step 5: Install the Reflector and Lens
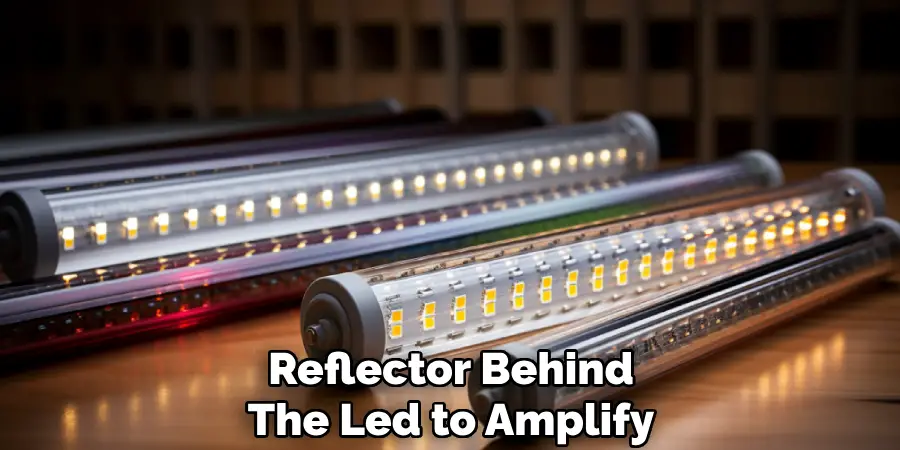
If you’ve opted for that extra beam focus, now is the time to fit your reflector and lens into place. Position the reflector behind the LED to amplify the brightness, and place the lens at the front to sharpen the beam direction. These elements can make your light travel farther, cutting through darkness like a blade.
Step 6: Final Assembly
It’s time to seal the deal with all components in their spots. Ensure everything is well-secured inside the housing, checking that no loose wires or parts are rattling around. Depending on your choice of housing, seal the ends with appropriate caps or tape to keep everything in place and shielded from the elements.
Step 7: Testing the Flashlight
Moment of truth! Pop in the batteries, turn on the switch and watch your creation illuminate. Test the switch and beam for consistency and brightness; a dazzling light with seamless operation means your mission is accomplished. Bask in your ingenuity—or tweak if necessary—and let your custom flashlight guide your nighttime escapades.
Enhancing Your Flashlight
Adding Features
Fancy jazzing up your freshly minted flashlight with some high-tech flair? Consider integrating a dimmer switch for on-the-fly brightness adjustments—perfect for when you don’t need to rival the sun. Multiple brightness settings offer versatility, from mood lighting to blinding brilliance, catering to every possible situation. Feeling eco-friendly? Opt for a rechargeable battery setup, saving you money and the environment from disposable battery waste. Toss in a USB charging port for convenience, and you’ve got yourself a cutting-edge gadget!
Improving Battery Life
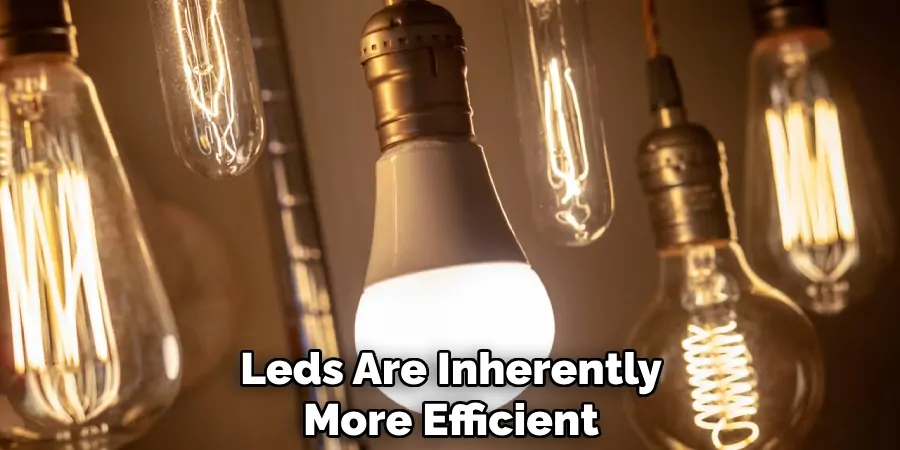
Worried about the juice running low mid-adventure? Fear not! Efficient power use is as easy as choosing batteries with a higher mAh rating—these pack more energy and last longer. Turn off your flashlight when it’s not needed to save power. And remember, LEDs are inherently more efficient than traditional bulbs, so you’re already ahead in extending battery longevity. Regularly check and replace batteries before your flashlight dims to a whimper; proactive care can be illuminating!
Customizing Appearance
Why settle for a plain flashlight when you can bedazzle it into a statement piece? Go nuts with vibrant paints, reflective tapes, or decals to give it a splash of your personality. For a rugged vibe, wrap the handle with paracord—it provides a secure grip and doubles as emergency gear. Let your creativity beam bright, making your flashlight not only a source of light but also a unique reflection of you!
Troubleshooting Common Issues
Flashlight Won’t Turn On
If your trusty beam refuses to shine, don’t panic! First, double-check the battery orientation—positive to positive, negative to negative. Ensure the battery contacts are clean and free of corrosion. Next, inspect the connections between the battery holder and the LED bulb. A loose or broken wire could be the culprit. If everything seems in check, try swapping in fresh batteries to rule out a power issue.
Dim Light Output
When your flashlight flickers more than flares, it might be time for a quick check-up. Confirm that your LED bulb is securely connected and free of damage. Poor contact or an old bulb may need replacement. Take a peek at the battery health—low battery can drain performance, so replace or recharge as needed. Clean any grime that might be dimming the glow for max brilliance.
Switch Malfunctions
If the switch seems to have taken a break, assess its connection to the circuit. Ensure it’s snug and properly integrated along the positive wire. If the problem persists, inspect the switch itself for mechanical damage or wear. Sometimes, a gentle jiggle or realignment can do wonders. If all else fails, consider replacing the switch to restore your hand-held beacon to full working order.
Conclusion
Knowing “how to make bright flashlight” empowers you to create a tool designed specifically to meet your needs. You ensure optimal brightness and functionality by carefully assembling key components such as the battery holder, LED bulb, switch, and reflector. The DIY approach offers myriad benefits, including customizing materials and designs that reflect your style. Experiment freely with different features to craft a flashlight that’s as unique as you are. Completing this project provides a reliable light source and immense satisfaction in your craftsmanship, channeling ingenuity into a practical, everyday tool.

