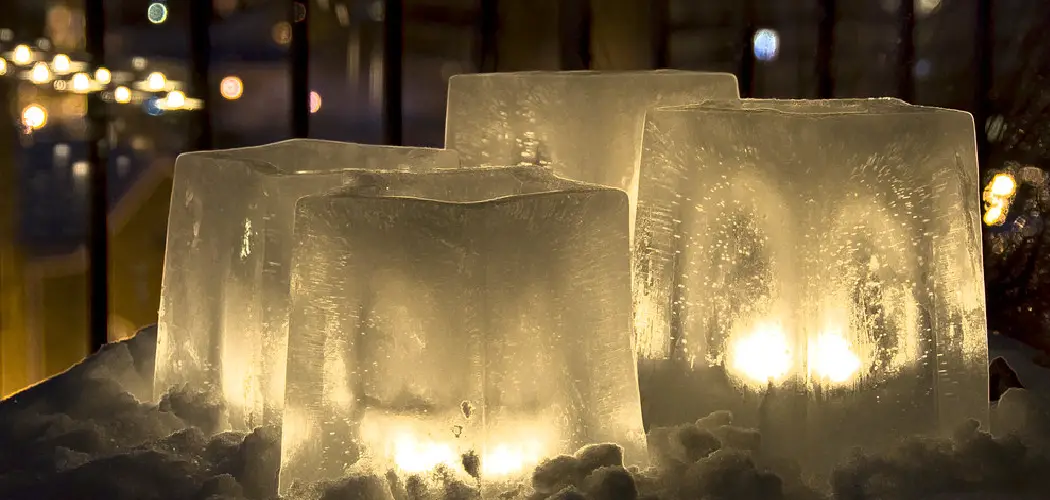
Ice lanterns are a stunning, eco-friendly way to illuminate outdoor spaces during the winter months. Their ethereal glow and natural beauty have made them a popular choice for seasonal décor, adding a touch of magic to holidays, festivals, and winter gatherings.
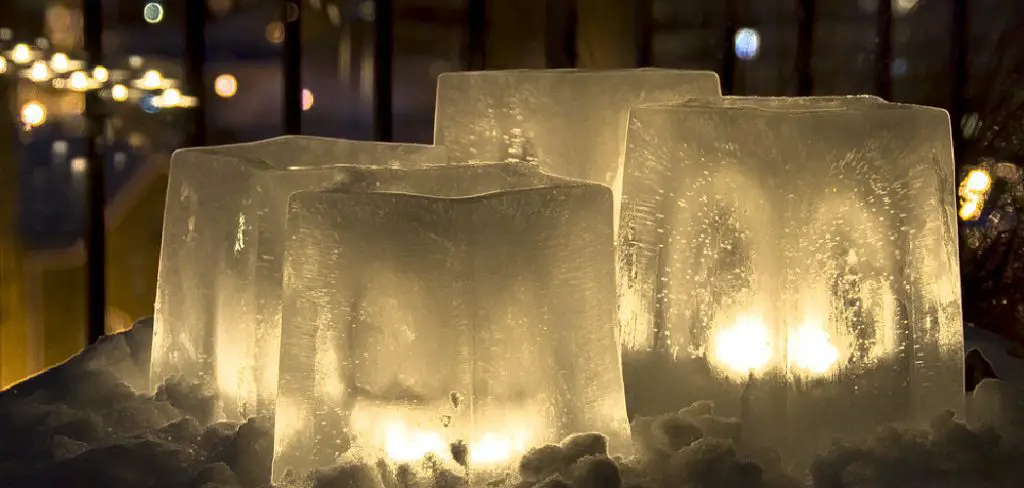
These frozen creations are charming and remarkably versatile, serving as centerpieces, pathway lights, or decorative accents that elevate the ambiance of any event. Whether made with simple designs or adorned with colorful embellishments, ice lanterns offer endless opportunities for creativity.
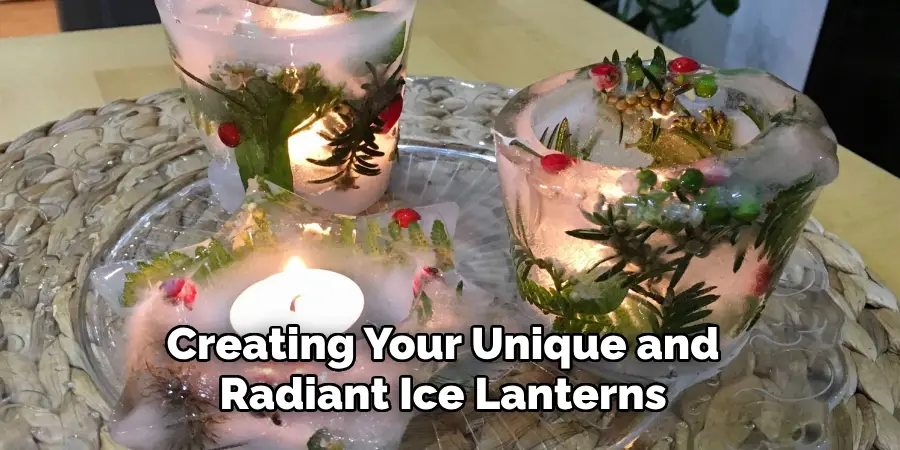
This guide will teach you exactly how to make an ice lantern, covering everything from the materials you’ll need to unique decoration ideas. Perfect for both crafting enthusiasts and beginners, making ice lanterns is a delightful activity that blends art with nature. Prepare to transform the cold season into a canvas for radiant beauty and unforgettable memories.
Materials and Tools Needed
Creating ice lanterns requires a few basic materials, tools, and optional decorations to customize your creations.
Basic Materials
- Water (preferably distilled for clear ice).
- Containers: Buckets, bowls, or molds (silicone works best).
- Candles, tea lights, or LED lights for illumination.
Optional Decorations
- Natural items like leaves, berries, or pinecones for a rustic touch.
- Food coloring to create beautifully tinted ice.
- Glitter or small ornaments for added sparkle and a festive feel.
Tools
- Freezer or an outdoor freezing area (if temperatures are below freezing).
- Sharp knife or scissors to safely remove ice from molds.
These materials and tools will provide the foundation for creating your unique and radiant ice lanterns, allowing for both simplicity and creativity in design.
Choosing the Right Molds for Ice Lanterns
Selecting the perfect mold is key to crafting stunning and unique ice lanterns. The type of mold you choose will determine the lantern’s overall shape and aesthetic, so consider what works best for your vision.
Simple Shapes
For traditional designs, bowls or buckets are excellent choices. These create classic round or cylindrical lanterns with a timeless appeal, perfect for any setting.
Creative Options
To add a touch of flair, explore silicone molds in creative shapes such as stars, hearts, or geometric patterns. These molds make it easy to produce eye-catching and whimsical designs that are sure to stand out.
DIY Alternatives
Repurposing everyday household items is a cost-effective and sustainable option. Milk cartons, plastic bottles, or yogurt containers can be transformed into impressive ice lantern molds.
To create the hollow center for your lantern, use two containers—place a smaller container inside a larger one and fill the space in between with water. Use weights in the smaller container to prevent it from floating during freezing.
Tips for Best Results
Choose molds made of sturdy material that can withstand the expansion of freezing water. Flexible molds, such as silicone, make removal easier, reducing the risk of breakage. With the right molds and proper techniques, you can produce ice lanterns that are both durable and visually striking.
How to Make an Ice Lantern: Step-by-Step Guide
Step 1: Prepare the Mold
Begin by selecting a larger container for the outer layer and a smaller container to create the hollow center of your ice lantern. Fill the larger container halfway with water. Carefully place the smaller container in the center of the larger one, ensuring that it does not touch the sides.
Add weights, such as small stones or coins, to the smaller container to prevent it from floating during the freezing process. This step sets the foundation for your lantern’s shape.
Step 2: Add Decorations
For a personal and decorative touch, place items such as small pine branches, berries, glitter, or even drops of food coloring between the walls of the two containers.
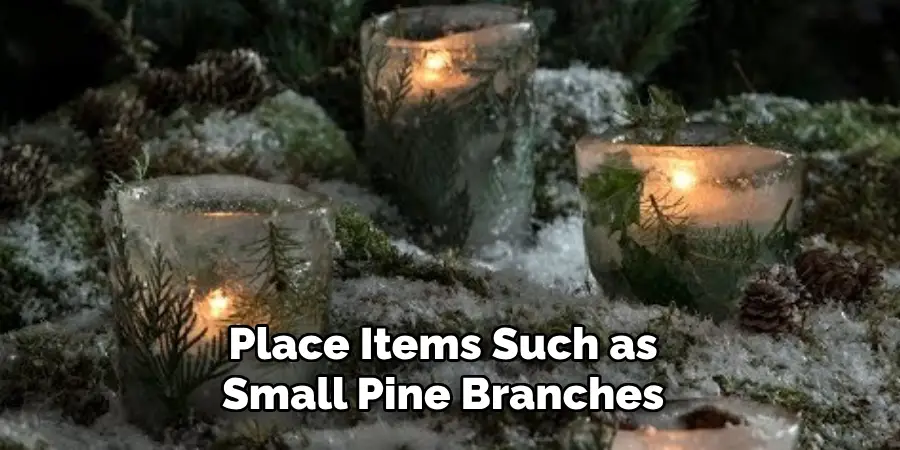
These decorations will freeze into the ice, creating a stunning visual effect. Ensure the items you add are evenly distributed and fully submerged in the water to ensure a balanced design. You can get creative with seasonal themes or color patterns!
Step 3: Freeze the Lantern
Place the prepared mold in a freezer or, if you live in a cold climate, outdoors where temperatures are consistently below freezing. Situate the mold on a level surface to maintain an even shape.
Allow enough time for the water to freeze solid, which can typically take 12-24 hours, depending on the size and thickness of the mold. Patience is key to achieving a strong and stable ice lantern.
Step 4: Remove the Mold
Once the water is completely frozen, it’s time to remove the mold carefully. Gently run warm water over the outer surface of the larger container to loosen the ice. Do this slowly to avoid cracking or damaging your lantern.
After removing the larger container, take out the smaller container by running warm water around its outer surface. You should now have a beautifully formed ice lantern with a hollow center.
Step 5: Insert the Light Source
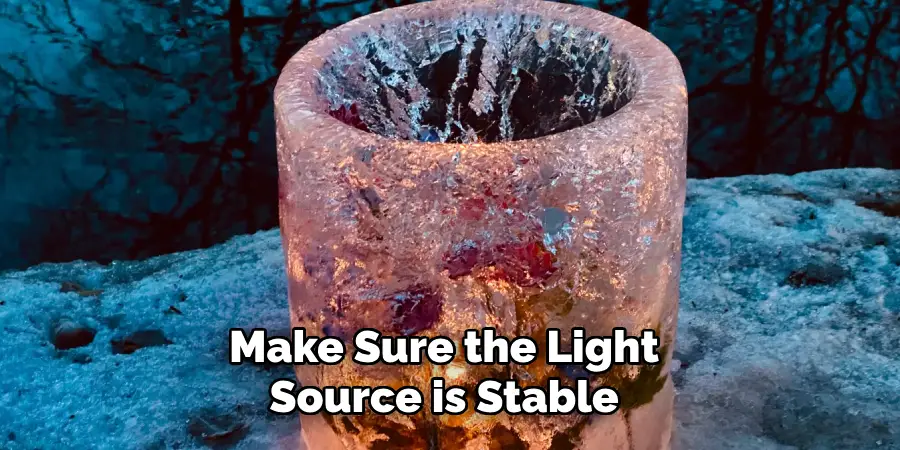
Place a candle, tea light, or battery-operated LED light inside the hollow center to complete your ice lantern. Make sure the light source is stable and stands securely in the base of the lantern.
Test for stability and adjust as needed. The soft glow of the light will illuminate the frozen decorations, creating a magical and enchanting effect perfect for winter evenings or special occasions.
Tips for Perfecting Your Ice Lanterns
Achieving Clear Ice
For a crystal-clear lantern, use boiled or distilled water. Boiling the water helps eliminate air bubbles that can cause cloudiness, while distilled water reduces impurities. This small step ensures your lantern has a flawless, glass-like appearance.
Layering Decorations
If you want decorations like berries, leaves, or flowers evenly frozen throughout the lantern, layer them as you freeze. Pour a small amount of water into the mold, add some decorations, and allow it to partially freeze before repeating the process. This technique keeps the decorations perfectly suspended instead of floating to the top.
Adjusting Size
Select molds of various sizes to customize your ice lanterns for different uses. Larger molds create dramatic centerpieces, perfect for outdoor displays, while smaller molds are ideal for intimate indoor settings like table decorations. Experimenting with sizes allows you to tailor your lanterns to match any occasion.
Safety Precautions
Handling Frozen Molds
Avoid using excessive force to prevent cracking or breaking when removing frozen molds. Instead, briefly run warm water over the outside of the mold to help loosen it gently. This ensures the mold stays intact and reduces the risk of damage.
Fire Safety
To illuminate your ice lanterns, use LED lights instead of candles. LED lights provide a safer, long-lasting glow without generating heat that could melt the lantern. This reduces the risk of accidents, especially in indoor or crowded settings.
Outdoor Placement
When placing ice lanterns outdoors, ensure they sit on stable, flat surfaces to minimize the chance of tipping over. Avoid areas with high foot traffic or uneven ground to keep the lanterns steady and safe. Proper placement enhances both the display and safety of your beautiful creations.
Creative Design Ideas
Thematic Lanterns
Ice lanterns can be tailored to fit any theme, adding a personalized touch to your decor. For a winter-themed lantern, consider embedding natural materials like pinecones, holly leaves, and cranberries in the ice to evoke the serene beauty of the season.
If you’re crafting lanterns for the holiday season, incorporate glitter, small ornaments, or festive ribbons to create a joyful and celebratory atmosphere. These thoughtful additions make your lanterns unique and perfectly align with the chosen occasion.
Colorful Lanterns
Elevate the vibrancy of your ice lanterns by adding drops of food coloring to the water before freezing. Experiment with different color combinations to achieve striking results that stand out against the natural frost.
Bright blues, warm reds, and soft greens are perfect choices for festive displays or themed events. The colors will shine brilliantly when illuminated, creating a captivating visual effect.
Cluster Displays
For a truly breathtaking showcase, group multiple lanterns of varying sizes together. Creating clusters allows you to play with proportions and arrangement, creating an intricate and artistic display. These clustered lanterns accentuate garden spaces, centerpiece displays, or photo backdrops.

Pathway Lighting
Transform walkways or driveways into enchanting paths by lining them with ice lanterns. The soft glow from their illumination will guide guests with an inviting and magical ambiance. This design idea works particularly well for events in the evening, leaving a lasting impression on all who arrive.
Maintaining Ice Lanterns
Preserving Longevity
Keep lanterns in shaded areas to slow the melting process. Avoid placing them in direct sunlight or near heat sources, as this will significantly reduce their lifespan. Optimal placement can prolong their beauty, allowing you to enjoy their glow for longer periods.
Refreshing the Look
If your ice lanterns begin to melt or lose their shape, simply re-freeze them to restore their original appearance. Alternatively, you can pour a bit of water over the lantern and place it back in colder conditions to refreeze uneven surfaces, ensuring they maintain their charm throughout your event.
Conclusion
Creating ice lanterns is a simple yet versatile way to elevate the charm and ambiance of any winter celebration. By learning how to make an ice lantern, you unlock endless possibilities for adding a magical glow to your outdoor spaces. Whether lining pathways or serving as unique centerpieces, these delicate creations captivate with their beauty and elegance.
Experiment with various designs, colors, and materials to craft personalized lanterns that reflect your style. Share the joy of this creative art with family and friends, and revel in the warmth and enchantment they bring to the frosty season.

