Are you tired of dim lights in your room and want to add some cozy lighting that will improve the ambiance of your space? A wall light is the perfect solution for you.
Creating a wall light can be an engaging and rewarding DIY project that combines creativity, functionality, and design. Whether you’re looking to add a personal touch to your home decor or reduce the cost of purchasing pre-made fixtures, making your wall light allows you to customize it to suit your style and needs. By using a few simple tools and materials, you can craft a unique lighting solution that enhances the ambiance of any room.
This guide on how to make a wall light will walk you through the steps needed to design and build your very own wall light.
What Will You Need?
Now that we’ve covered some of the benefits of making your wall lights, let’s get into the materials you will need to get started. These items can be easily found at most hardware or craft stores:
- Wooden Plaques or Frames: You can use any size and shape of wooden plaque or frame as your base for the wall light. Consider using reclaimed wood for a more rustic look.
- Lighting Kit: This includes all the necessary electrical components such as bulbs, wires, and sockets.
- Drill and Drill Bits: A drill will be needed to create holes in the wooden frame for wiring and mounting.
- Saw: If you need to cut your wooden frame to a specific size or shape, a saw will be necessary.
- Wood Stain or Paint: Choose a stain or paint that complements your home decor and personal style.
- Screwdriver: This is essential for attaching the light fixture components to the wooden frame.
- Decorative Accents: You can add your personal touch with additional decorative elements such as flowers, beads, or crystals.
10 Easy Steps on How to Make a Wall Light
Step 1: Gather Your Materials
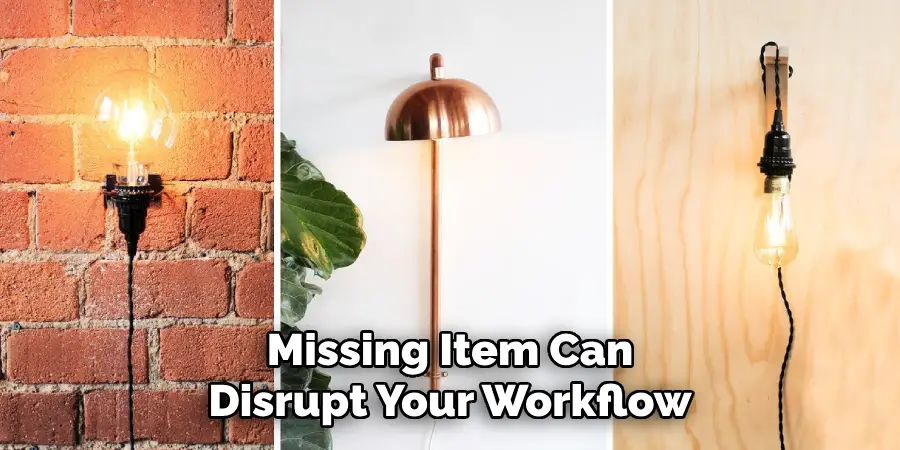
Before starting your project, take a moment to ensure you have all the necessary materials and tools on hand. This step is crucial to avoid interruptions mid-project, as running out to purchase a missing item can disrupt your workflow.
Start by gathering the wooden frame you plan to use as the base for your wall light. The frame can be pre-made or customized to your preferred size and shape. Next, collect your chosen light fixture and ensure it aligns with the dimensions of the wooden frame. Don’t forget essential tools such as a saw for cutting, a screwdriver for assembling components, and sandpaper to smooth any rough edges. You’ll also need wood stain or paint to match your desired aesthetic.
Finally, gather any decorative accents you’d like to incorporate, such as flowers, beads, or crystals, to add a personal and stylish touch to your wall light. Having everything ready at the start will make the process smoother and more enjoyable.
Step 2: Plan Your Design
Before you start constructing your wall light, take some time to carefully plan your design. Consider the overall style and theme of the space where the wall light will be installed.
Are you aiming for a modern, minimalist aesthetic, or do you prefer a rustic, vintage vibe? Sketch out your design on paper, detailing the size, shape, and placement of the wooden frame, as well as any decorative elements you plan to include. Think about the functionality of the light—will it be a soft, ambient glow, or a brighter, focused light for reading or working? Determine the placement of the light source and how it will be mounted within the frame.
Step 3: Cut the Wooden Frame
Once your design is finalized, it’s time to cut the wooden frame to match your measurements and requirements. Start by selecting the type of wood that aligns with your desired aesthetic and durability.
Pine or oak are popular choices for rustic or vintage looks, while maple or walnut offer sleek finishes for a modern style. Using a measuring tape, mark the dimensions carefully on the wood, double-checking each measurement for accuracy to avoid errors. A miter saw or hand saw can then be used to cut the wood to the correct lengths and angles, ensuring precision in every cut.
If your design includes decorative edges or curves, consider using specialized woodworking tools, such as a jigsaw or router, to carve out intricate details. Sand down the edges and surfaces of each wooden piece to remove splinters and achieve a smooth finish.
Step 4: Apply Stain or Paint
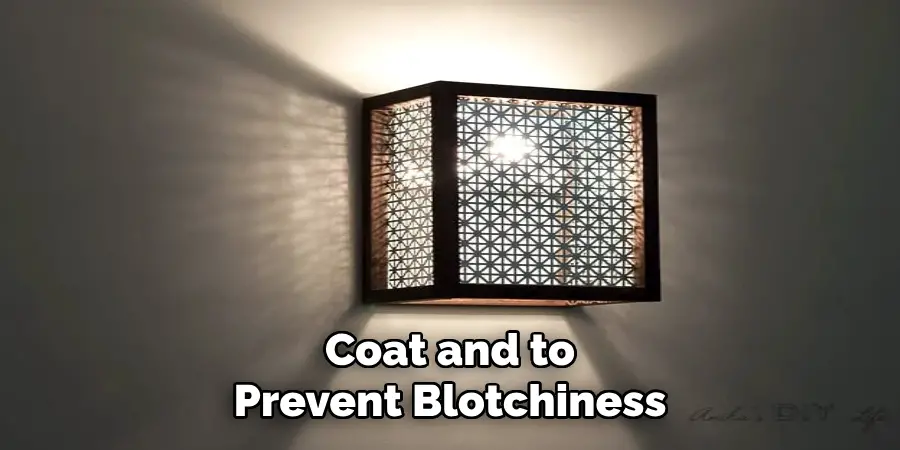
Once the wood has been sanded to a smooth finish, it’s time to elevate its appearance with a stain or paint. Begin by wiping down the surface with a clean, damp cloth to remove any dust or debris left from sanding. Choose a stain if you want to highlight the natural grain and texture of the wood, giving it a rich, warm look. For a more vibrant or colorful finish, choose a high-quality paint that suits the type of wood you are working with. Before applying your desired finish, consider using a wood conditioner or primer to ensure an even coat and to prevent blotchiness.
Step 5: Attach the Light Fixture
Carefully follow the manufacturer’s instructions for attaching the light fixture to ensure safety and proper installation. Begin by identifying the appropriate placement for the fixture. If you’re working with an electrical box, align the fixture’s mounting bracket with the pre-drilled holes on the box, securing it with screws. Ensure that the fixture is level before proceeding. Next, connect the fixture’s wires to the corresponding wires in your electrical supply—typically, this involves connecting the black (hot) wire to the black wire, the white (neutral) wire to the white wire, and the grounding wire to the green or bare copper wire. Use wire connectors, also known as wire nuts, to firmly secure these connections.
Step 6: Install Bulbs
Once the wiring connections are secure, carefully tuck the wires into the electrical box to ensure they are neatly arranged and out of the way. Next, take the bulbs specified for your fixture—be sure to check the manufacturer’s recommendations for the correct type and wattage. Using the wrong bulbs can damage the fixture or pose a safety hazard.
Screw each bulb into its socket gently but firmly, ensuring they are snug without overtightening, as this could damage the bulbs or the sockets. If your fixture uses LED or specialty bulbs, double-check that they are compatible with dimmer switches or other features if applicable. After installing the bulbs, verify alignment and adjust any movable elements of the fixture to achieve the desired look before proceeding. Finally, test the bulbs by turning on the power to confirm successful installation and connectivity.
Step 7: Add Decorative Accents
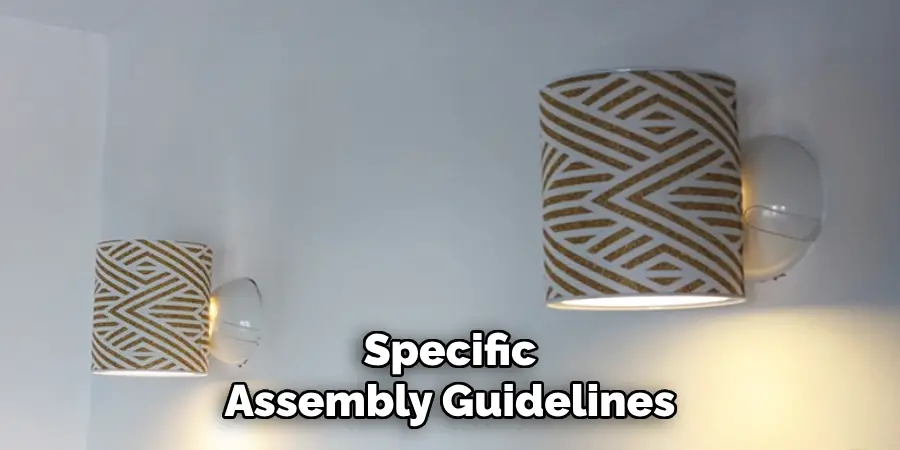
Decorative accents are a crucial element in elevating the aesthetic appeal of your newly installed light fixture. These accents may include details like glass shades, crystal embellishments, metal trims, or even fabric diffusers, depending on the fixture’s design. Begin by unboxing these components carefully to avoid scratches or damage, and refer to the manufacturer’s instructions for specific assembly guidelines.
Step 8: Mount the Wall Light
Mounting the wall light is an essential step that requires precision and attention to detail. Start by identifying the mounting plate or bracket included with your fixture. Attach the mounting plate securely to the wall using screws and wall anchors, ensuring that it is level and properly aligned with the electrical box. Double-check the tightness of the screws to prevent any wobbling or instability.
Step 9: Connect Wires
After mounting the fixture, it’s time to connect the electrical wires. Begin by turning off the power supply at the circuit breaker to avoid any accidents. Next, take a wire stripper and remove about 1/2 inch of insulation from each wire in the junction box. You should have a total of three wires – black (hot), white (neutral), and bare copper or green (ground).
If your fixture has a grounding wire, connect it to the bare copper or green wire in the junction box. Next, twist the corresponding wires from the fixture and the junction box together – black to black and white to white. Secure these connections with wire connectors by turning them clockwise until they are tight.
Step 10: Test and Enjoy
With all the wiring complete, it’s time to test your new light fixture. Make sure that all connections are secure and in place before turning on the power. Once you’ve confirmed everything is good to go, turn on the circuit breaker and flip the light switch.
If the light turns on, congratulations! You have successfully installed a new light fixture in your home. Enjoy the beautiful lighting and bask in the satisfaction of a job well done.
By following these steps, you can easily install a light fixture in any room of your home. Whether it’s to update the look or add much-needed light, this simple DIY project can make a big difference in your living space.

Conclusion
How to make a wall light is a rewarding DIY project that can enhance both the functionality and aesthetic of your space.
By carefully following the necessary steps—such as selecting the right materials, preparing the area properly, and installing the fixture safely—you can transform an ordinary wall into a stylish and illuminated feature. Always prioritize safety by turning off the power and consulting a professional if you’re uncertain about any step.
With patience and attention to detail, you can craft a wall light that adds charm and brightness to your home.

