How to make a UV-reactive display with LED is a fun and creative project that combines technology and design to produce stunning visual effects.
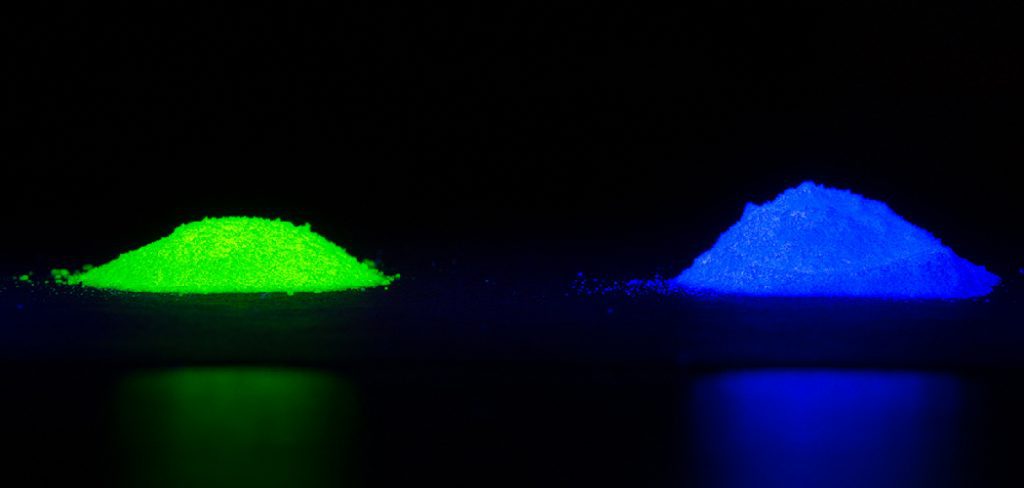
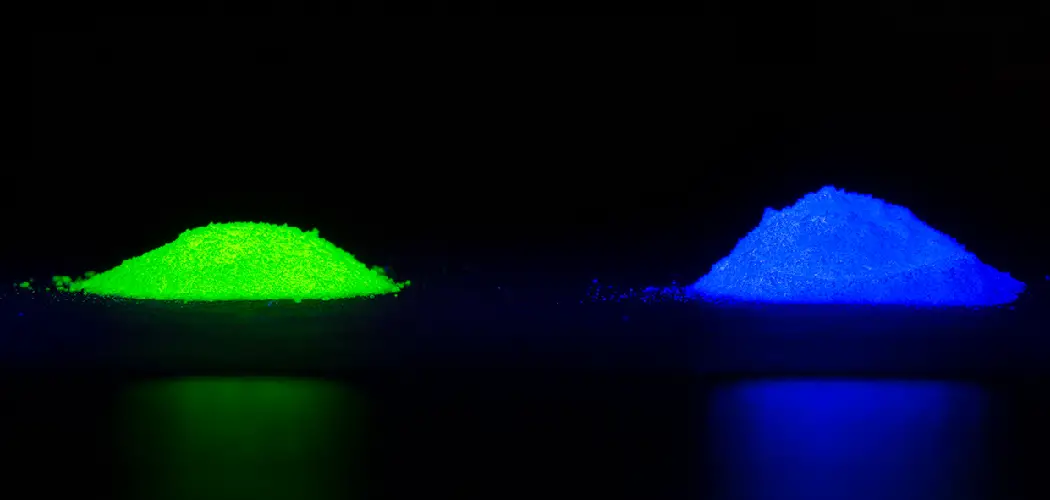
These displays glow vividly under ultraviolet (UV) light, making them ideal for artistic creations, party decorations, or even scientific demonstrations. By using UV LEDs and incorporating UV-reactive materials, such as specially designed paints or plastics, you can create a display that comes to life in mesmerizing ways.

This guide will walk you through the process step by step, covering the required materials, assembly techniques, and tips to optimize your display for maximum impact. Whether you’re a DIY enthusiast or a curious beginner, this project is a fantastic way to explore the world of UV lighting and LED technology.
What Are the Benefits of a UV LED Display?
A UV LED display offers several benefits, making it an attractive option for various applications. Some of the advantages include:
- Energy Efficiency: Compared to traditional lighting methods, UV LEDs are significantly more energy-efficient. They require less power to produce the same amount of light, making them an environmentally friendly option.
- Longevity: The lifespan of UV LEDs is significantly longer than that of other types of lighting, with some models lasting up to 50,000 hours before needing replacement. This makes them a cost-effective choice in the long run.
- Low Heat Emission: Unlike other forms of lighting that can generate high levels of heat, UV LEDs emit low levels of heat. This makes them safer and more comfortable to use in various settings, such as hospitals or food processing facilities where heat-sensitive materials are involved.
- Compact Size: UV LEDs are small and compact, making them ideal for applications where space is limited. They can be easily integrated into existing systems without taking up too much space.
- Versatility: UV LEDs have a wide range of applications due to their ability to emit light at different wavelengths. This makes them useful in various industries, including medical, industrial, and commercial sectors.

What Will You Need?
To work with UV LEDs, you will need a few key components. These include:
- UV LED: This is the main component that emits ultraviolet (UV) light.
- Heat Sink: UV LEDs produce a significant amount of heat during operation, so a heat sink is needed to dissipate this heat and prevent damage to the LED.
- Power Supply: A power supply is required to provide the necessary voltage and current for the LED to operate.
- Control Circuitry: Depending on your application, you may need control circuitry to regulate the power supply and control the intensity of the UV light emitted by the LED.
- Cooling Fan: In some cases, a cooling fan may be needed to dissipate heat and maintain an optimal operating temperature for the UV LED.
- Enclosure: An enclosure may also be needed to protect the UV LED from external elements, such as dust or moisture, that could impact its performance.
- Wiring and Connectors: Proper wiring and connectors are crucial for ensuring the UV LED operates correctly. It is essential to use high-quality materials and follow recommended guidelines for electrical connections.
10 Easy Steps on How to Make a UV-reactive Display With LED
Step 1. Gather Materials:
Start by gathering all the necessary materials, including UV LEDs, a power source (such as batteries or an adapter), a circuit board, resistors, wiring, connectors, and UV-reactive paint or objects for the display. Also, ensure you have basic tools like a soldering iron, wire cutters, and safety goggles.
Step 2. Plan the Design:
Before assembling your UV-reactive display, take the time to sketch out your design. Decide on the layout of the UV LEDs, the placement of the UV-reactive objects or painted area, and how the wiring will run to connect components efficiently. Consider factors such as the size of your display, how the light will illuminate the reactive surface, and where the power source will be housed.
Planning the design thoroughly will help you avoid mistakes during assembly and ensure the display functions as intended. Use a diagram or blueprint to visualize the final project and clearly mark the positions for each component. This will make the construction process smoother and more precise.
Step 3. Prepare the Circuit Board:
Before proceeding with assembly, it is crucial to ensure that the circuit board is adequately prepared for installation. Begin by gathering all necessary components such as resistors, capacitors, diodes, and any integrated circuits required for your project.
Scrutinize the circuit board for any defects or damage that could affect performance, such as scratched traces or loose connections. Once inspected, clean the board with isopropyl alcohol to remove dust, oil, or debris that could interfere with conductivity.

Step 4. Test the Circuit:
Before applying power to the circuit, it is crucial to conduct a thorough check to ensure all components are correctly placed and connected. Begin by visually inspecting the solder joints to confirm there are no cold joints or accidental solder bridges that could cause short circuits.
Use a multimeter to test the continuity of critical connections and verify that there are no unintended connections between traces. Check that all polarized components, such as electrolytic capacitors, diodes, and LEDs, are oriented correctly according to the circuit schematic.
Step 5. Create the Display Surface:
To create the display surface, begin by selecting a material that suits the specific application of your project. Common materials for display surfaces include acrylic sheets, glass panels, or even specialized projection films, depending on the intended use and environment. Ensure the material is cut to the required dimensions with clean, smooth edges to avoid interference during assembly.
Once the material is prepared, clean the surface thoroughly to remove any dust, grease, or debris, as these could affect the clarity or functionality of the display. If your project involves lighting elements like LEDs or backlighting, consider using a semi-transparent or diffused material to enhance light distribution and achieve a uniform appearance. Test fit the material with the rest of the components to verify alignment and make adjustments if necessary.
Step 6. Mount the LED Array:
Begin by positioning the LED array in the designated area, ensuring it aligns with the pre-marked guides or mounting points. Use appropriate fasteners, such as small screws or adhesive mounts, to securely attach the array.
Be cautious during this process to avoid applying excessive pressure that could damage the LEDs. If the design allows, use a heatsink or thermal pad to effectively manage heat dissipation, which enhances the longevity of the LED array. Finally, confirm that all electrical connections are secure and tight to prevent any potential hazards.
Step 7. Wire and Connect:
Begin by carefully planning the wiring layout to ensure it matches the schematic or design requirements. Use wires of appropriate gauge and insulation, suited to the current and voltage levels of your LED array. Strip the ends of the cables neatly using a wire stripper to expose the conductor, ensuring that you do not damage the strands inside.

Connect the wires to the corresponding terminals on the LED array, typically marked as positive (+) and negative (-). You can use soldering for a more permanent connection, ensuring the joints are clean and free of excess solder. Alternatively, use connectors if a detachable setup is preferred, but ensure they are rated for the required current and voltage.
Step 8. Enclose and Protect:
Once all connections have been made and tested, it is crucial to properly enclose and protect the circuitry to ensure safety and longevity.
Start by selecting an enclosure or housing that is both durable and appropriate for the environment where the LED array will be used. If the system is intended for outdoor use, opt for a weatherproof or waterproof enclosure to safeguard it against moisture, dust, and other environmental factors.
Step 9. Power On:
Before powering on the system, double-check all connections and ensure that they are secure and properly insulated. Verify that the power source matches the voltage and current requirements of the LED array to prevent overloading or damage. Once everything is confirmed, carefully connect the power supply to the circuit and turn it on.
Observe the LEDs closely as they light up, checking for uniform brightness and operation. If any irregularities, such as flickering or dim section,s are noticed, turn off the system and inspect the connections and drivers
Step 10. Fine-Tune the Display:
After ensuring the LEDs are functioning correctly, proceed to optimize the display for the best performance. Adjust the brightness levels to suit the environment where the display will be used, as excessive brightness can cause glare, while insufficient brightness might make the display hard to see.
Use the display control software, if applicable, to configure color settings, ensuring vibrant and balanced tones across the LEDs. Test the display across different angles to confirm consistent visibility and clarity from various perspectives. Pay attention to any calibration tools provided by the manufacturer, as these can help fine-tune pixel alignment, color accuracy, and response times.
Finally, simulate real-world usage conditions and monitor the display for any inconsistencies that may develop over extended operation, making adjustments as needed to maintain optimal performance.
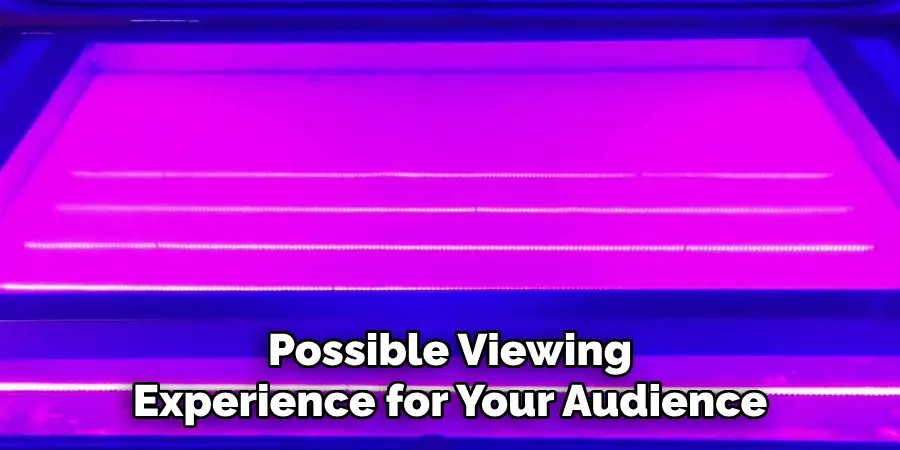
By following these steps, you can ensure that your LED display provides the best possible viewing experience for your audience.

Conclusion
How to make a UV-reactive display with LED requires careful planning and attention to detail.
Start by selecting high-quality UV LEDs that emit light at the desired wavelength for optimal fluorescence. Combine these LEDs with UV-reactive materials such as paints, inks, or films that will glow vividly under UV illumination. Ensure the LEDs are appropriately placed to achieve even and effective lighting across the display surface. Additionally, utilize a durable and light-diffusing substrate to enhance the visual impact of the glowing elements.
By balancing technical precision with creative design, you can construct a captivating UV-reactive display that highlights the stunning interplay of ultraviolet light and radiant colors.

