Tiffany lamps, celebrated for their exquisite stained-glass artistry, were popularized by Louis Comfort Tiffany in the late 1800s. These stunning pieces quickly became synonymous with elegance and craftsmanship, often featuring intricate designs inspired by nature and geometric patterns. While owning a Tiffany lamp offers timeless charm, creating your own Tiffany-style lamp provides a unique opportunity for personalization and creative expression.

It allows you to craft a functional art piece perfectly suited to your style and space. The process of how to make a tiffany lamp involves several detailed steps, including gathering materials, cutting and assembling pieces of glass, soldering, and mounting the finished design on a base. This advanced DIY project requires patience, precision, and a love for the art of stained glass, making it both a rewarding challenge and a testament to your creativity. Get ready to bring your artistic vision to life!
Materials and Tools Needed
Materials
- Stained glass sheets in various colors
- Tiffany lamp pattern or design template
- Copper foil tape
- Solder and flux
- Lamp base and light kit
- Patina (optional, for finishing)
Tools
- Glass cutter and running pliers
- Glass grinder (for smoothing edges)
- Soldering iron
- Safety gear (gloves, goggles, apron)
- Brush or sponge for flux application
- Heat-resistant work surface
The right materials and tools are essential to successfully creating your Tiffany lamp. Begin by selecting stained glass sheets in colors that complement your design. You will also need a pattern or template that guides cutting and assembling the glass pieces. Copper foil tape is crucial for wrapping the edges of each glass piece, allowing them to be soldered together. For structural integrity, choose solder and flux appropriate for stained glass work, a sturdy lamp base, and a compatible light kit.
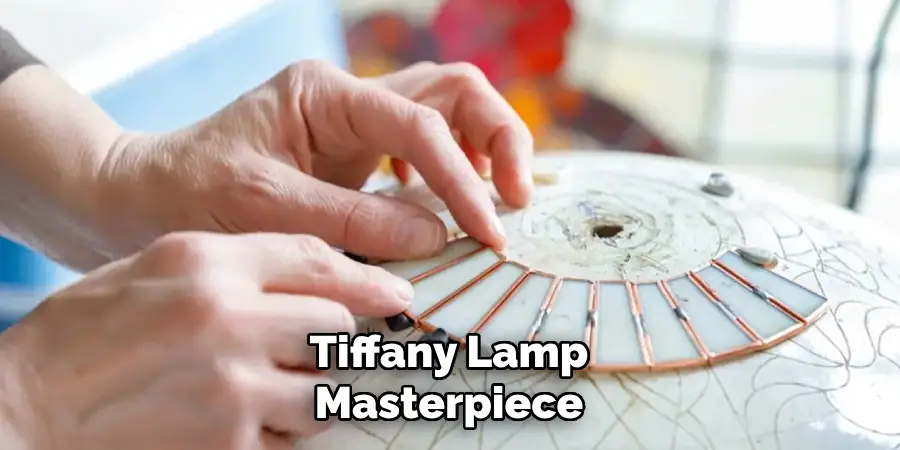
A variety of tools is necessary to complete your project. A glass cutter and running pliers help shape the glass, while a grinder ensures smooth, precise edges. A soldering iron lets you join the pieces securely, and safety gear protects you. Using a heat-resistant work surface and brushes or sponges for applying flux will further streamline your work and ensure a professional finish. An optional patina can also be added for an extra touch of elegance. Having these materials and tools ready will set you up for success as you begin crafting your Tiffany lamp masterpiece.
Choosing or Creating a Design
Using a Pre-Made Pattern
For those new to crafting Tiffany lamps or seeking a streamlined process, using a pre-made pattern can greatly simplify the creation. Authentic Tiffany-style templates can be sourced from specialty art stores, online marketplaces, or instructional books dedicated to stained glass artistry. These templates offer the benefits of proven aesthetic appeal, symmetry, and timeless design. They range from classic dome patterns to intricate floral styles, ensuring you find one that aligns with your vision.
Creating Your Own Pattern
If you have a creative flair and wish to personalize your Tiffany lamp, designing your own pattern is an enjoyable and rewarding option. Begin by sketching your design idea, focusing on symmetry to achieve a balanced and cohesive look. Floral and geometric patterns are ideal for beginners. Utilize tools such as a pattern board or create a full-size paper template to maintain consistency throughout your project. These tools will serve as reliable guides when cutting and arranging your glass pieces.
Glass Selection Tips
Your choice of glass is critical in bringing your Tiffany lamp design to life. Choose colors that contrast effectively to add visual impact while avoiding flat or monotonous results. Opting for opalescent glass can further enhance your lamp by providing depth and a soft, luminous character. Take time to explore different textures and hues, as the right combination will elevate the elegance and authenticity of your lamp.
How to Make a Tiffany Lamp: Cutting and Preparing the Glass Pieces
Transferring the Pattern
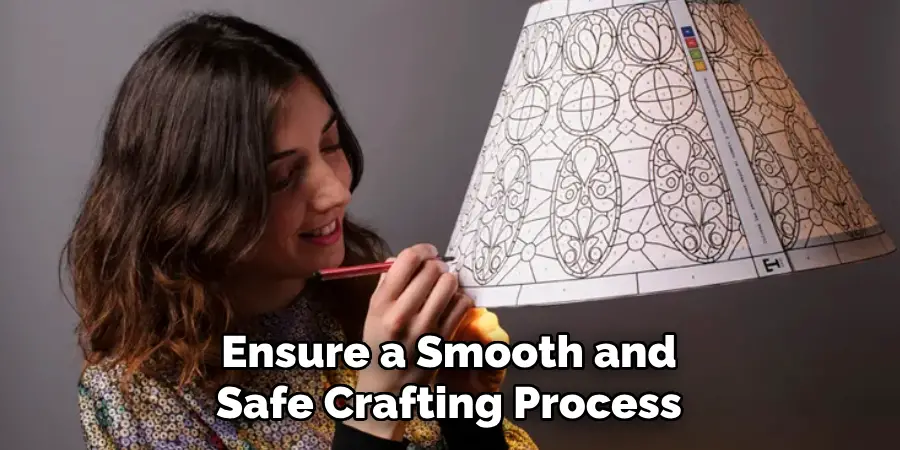
Begin by carefully transferring the pattern onto your chosen glass to ensure precision. Trace each pattern piece onto contact paper or the glass using a permanent marker for visibility. If you are working with a complex design, label each piece according to the template to keep track of their placement. This step is essential for maintaining accuracy and consistency throughout the project.

Cutting the Glass
Once your pattern is transferred, it’s time to cut the glass. Use a high-quality glass cutter to score along the traced lines. Apply steady pressure as you guide the cutter, ensuring clean and deliberate lines. After scoring, use running pliers to snap the glass along the score. This method will help you achieve clean edges with minimal risk of breakage. Take your time, as precision here will reduce complications in later steps.
Grinding the Edges
After cutting, smooth the edges of each glass piece using a glass grinder. This step is crucial for safety and for ensuring a proper fit. Grind each piece until the edges are smooth and all pieces align snugly within the template. Carefully test-fit the pieces into the design as you work, ensuring they fit together without any large gaps. Proper grinding will create a clean, professional look and make piecing your lamp together much easier.
Applying Copper Foil and Flux
Foiling the Glass Pieces
To begin the next step, wrap each piece of glass in adhesive copper foil. Ensure the foil is centered along the edge, leaving equal amounts on both sides of the glass. Once the foil is in place, carefully press it down using your fingers, and then burnish it with a fid or a similar tool. This will ensure the foil adheres tightly and smoothly to the edges, creating a secure foundation for soldering. Take your time to avoid wrinkles or uneven surfaces, as these could affect the final appearance and strength of the soldered seams.
Applying Flux
Once all the pieces are foiled, brush a thin, even layer of flux onto the foiled edges. Flux is a chemical agent that prepares the copper foil for bonding with solder, allowing for a strong, seamless connection. Be sure to cover all the foiled surfaces that will be soldered, but avoid applying excessive amounts to prevent drips or mess.
Safety Tip
When working with flux or any chemicals, it’s essential to prioritize safety. Work in a well-ventilated area to avoid inhaling fumes, and always wear gloves to protect your skin from irritation or potential harm. Proper safety practices will ensure a smooth and safe crafting process.
Assembling and Soldering the Lamp Shade
Arranging the Pieces
Begin by carefully placing all foiled glass pieces into the lamp mold or jig, ensuring they accurately align with your chosen design. Take your time to confirm that every piece fits snugly with minimal gaps. Once satisfied with the arrangement, secure the pieces in place using pins or temporary adhesive to prevent shifting during the soldering process. This step is critical for maintaining the integrity of your design.
Tack Soldering
With the arrangement finalized and secured, use your soldering iron to tack solder the pieces in place. Tack soldering requires applying small amounts of solder at key points along the seams to hold the structure together temporarily. This allows you to check the stability of your work before proceeding to the full soldering process. Adjust any misaligned pieces at this stage and ensure that the structure is firm and holds its shape.
Full Soldering Process
Now, it’s time to begin the full soldering process. Start by soldering along the seams on the interior side of the lamp shade. Use smooth, deliberate motions to create an even solder line. Once the interior seams are completed and cooled, carefully flip the lamp shade and begin soldering the exterior seams. Be sure to smooth over all joints and connections to achieve a clean, professional finish. Take breaks if necessary to allow the solder to cool, and check for any uneven or weak spots. By the end, you’ll have a beautifully soldered lampshade ready for further finishing touches.
Finishing the Shade and Installing the Base
Applying Patina (Optional)
Applying a chemical patina to the solder lines is an excellent option if you want to give your lamp a more traditional or antique appearance. First, ensure that the solder lines are clean and free from excess flux or debris. Use a soft cloth or sponge to apply the patina evenly across all soldered areas, following the manufacturer’s instructions. Allow the patina to dry fully, then gently buff the surface with a clean cloth to reveal a smooth, darkened finish. Finally, polish the entire lamp shade to enhance its shine and protect the patina.

Attaching the Shade to the Base
To assemble the lamp, begin by securing the shade to the base using a threaded rod or screw kit, ensuring it is firmly tightened without over-tightening, which could cause damage. Next, follow the instructions provided with your base kit to install the wiring, socket, and bulb. Carefully route the wires, ensuring they are properly connected and secured for both functionality and safety. Once the electrical components are in place, double-check all connections.
Final Touches
Before declaring your project complete, test the light to ensure it functions correctly. Inspect the lamp for any gaps, loose solder joints, or imperfections. Address any issues as needed. With everything in order, your custom lamp is ready to shine and be a conversation piece in your space.
Safety Tips and Maintenance
Handling Glass and Solder
Always wear gloves and safety goggles when working with your Tiffany lamp to protect yourself from sharp glass edges and hot solder. If you are using flux or lead-based solder during repairs, wash your hands thoroughly afterward to minimize exposure to harmful substances.
Cleaning Your Tiffany Lamp
To maintain the beauty of your lamp, dust it regularly with a soft, dry cloth. Avoid using abrasive cleaners, as they can damage the delicate glass. For spot cleaning, opt for a mild glass cleaner applied carefully to avoid damaging the patina or metal trim.
Storage and Handling
When moving or storing your lamp, always handle it by the base instead of the shade to prevent the risk of cracking or loosening the glass pieces. Proper care and maintenance will ensure your Tiffany lamp remains a cherished part of your décor for years to come.

Conclusion
Learning how to make a Tiffany lamp is a rewarding process that combines artistry, precision, and craftsmanship. Each step requires careful attention to detail, from designing intricate patterns to cutting and foiling the glass. Soldering the pieces together and applying the finishing touches bring your unique creation to life. By customizing colors and patterns to match your personal style or space, you can create a truly one-of-a-kind piece. Remember to work patiently, follow all safety guidelines, and take pride in the process. Crafting a Tiffany lamp is as much about the experience as the timeless beauty of the final product.

