String lights are a versatile and charming way to add a warm, decorative touch to any space. Whether for creating a cozy ambiance indoors or elevating the atmosphere of an outdoor gathering, string lights are both functional and aesthetically pleasing. Crafting your own string lights allows for customization and creativity, enabling you to tailor the design to your personal preferences and specific needs. With a few simple materials and some basic tools, you can create a unique lighting arrangement that complements any setting. Here’s a guide on how to make a string light.
What Are String Lights?
String lights, also known as fairy lights, are a series of small light bulbs connected by a flexible cord. They come in various sizes, shapes, and colors, making them highly versatile for different decorative purposes. Traditionally used for holiday decorations, string lights have evolved into a year-round favorite for enhancing both indoor and outdoor spaces. Their soft, diffused glow creates a welcoming atmosphere and can be used to highlight architectural features, adorn furniture, or illuminate gardens and patios. With options like LED, solar-powered, or battery-operated versions, string lights are not only energy-efficient but also easy to install and adapt to any setting.
Materials Needed
To create your own string lights, you will need the following materials:
- String of Lights: Choose a set of lights based on your desired style, such as LED, globe, or fairy lights. Make sure they are suitable for indoor or outdoor use, depending on your project.
- Power Source: Ensure you have access to a compatible power source, such as an electrical outlet, batteries, or a solar panel, depending on the type of your lights.
- Decorative Elements: These could include items like paper lanterns, mason jars, ping pong balls, or floral garlands to customize the look of your string lights.
- Adhesive or Fasteners: Use glue, zip ties, or twist ties for attaching decorative elements securely to the lights.
- Scissors or Utility Knife: For cutting materials like fabric, paper, or wire as needed.
- Hooks or Clips: These will help you hang or secure the string lights in your chosen space.
Gathering these materials beforehand will ensure a smooth and enjoyable crafting process!
10 Creative Ways on How to Make a String Light
1. Fairy Light Mason Jars
Take any ordinary string light set to the next level by pairing it with mason jars. Simply coil the lights inside each jar for a shimmering glow.
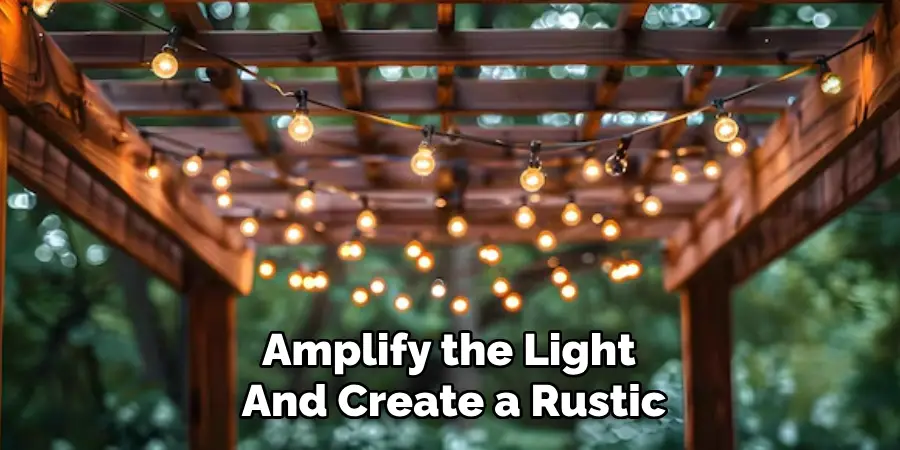
- Why it Works: Mason jars amplify the light and create a rustic or boho-chic aesthetic.
- Best Uses: Ideal for bedside lamps, wedding tablescapes, or backyard parties.
- Pro Tip: Combine jars with multicolored lights for a festive touch.
2. Ping Pong Ball String Lights
Transform basic LED string lights into glowing orbs by attaching ping pong balls to each bulb using a craft knife to make a small incision.
- Why it Works: The balls diffuse the harsh light into a soft, ambient glow.
- Best Uses: Perfect for patios, game rooms, or as whimsical bedroom décor.
- Pro Tip: Paint the balls in different colors for added flair.
3. Paper Lantern String Lights
Add a cultural touch with mini paper lanterns over your string lights. You can purchase pre-made lanterns or create your own using origami paper.
- Why it Works: Paper lanterns add a pop of color and charm to your setup.
- Best Uses: Great for outdoor garden parties or festival-themed events.
- Pro Tip: Opt for waterproof paper if using outdoors.
4. Faux Flower Garland Lights
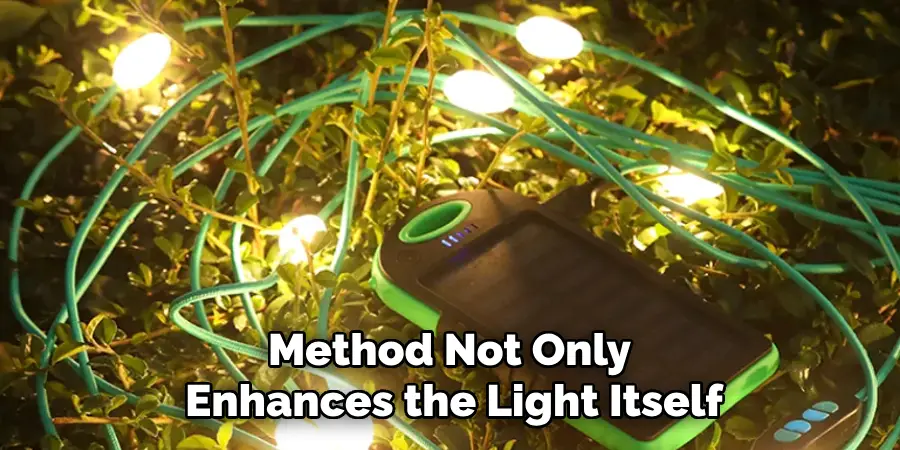
Pair string lights with artificial flowers by wrapping the light string through a faux floral garland. This method not only enhances the light itself but also doubles as eye-catching décor.
- Why it Works: The flowers add texture and sophistication.
- Best Uses: Beautiful for weddings, bridal showers, or spring-inspired decorations.
- Pro Tip: Use floral wire to secure the flowers snugly to the string lights.
5. Bottle String Lights
Turn your empty wine bottles or glass soda bottles into glowing décor pieces. Simply feed string lights into the bottles so they light up from the inside.
- Why it Works: Bottles create a stunning, crystal-like effect when illuminated.
- Best Uses: Perfect as table centerpieces or mood lighting in kitchens or bars.
- Pro Tip: Use fairy lights with USB chargers for easy portability.
6. Clothespin Photo String Lights
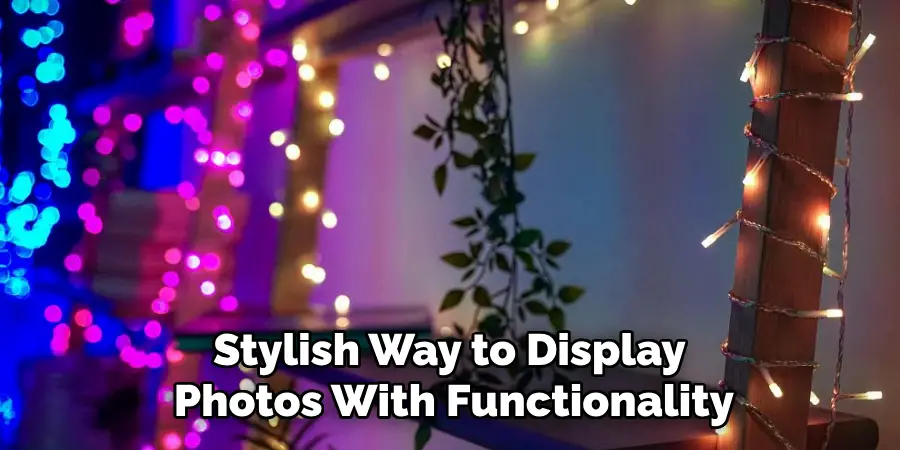
Combine your string lights with wooden clothespins to create a photo-hanging display that also lights up. Simply attach photos or small prints to the pins for a personalized touch.
- Why it Works: It’s a stylish way to display photos with functionality.
- Best Uses: Bedrooms, dorm rooms, or photo walls at events.
- Pro Tip: Sprinkle glitter on the clothespins for a glam effect.
7. Lace-Wrapped String Lights
Add elegance to your lights by wrapping them in strips of lace. The delicate fabric softens the light, giving it a vintage vibe.
- Why it Works: Lace textures create playful shadows and a romantic aesthetic.
- Best Uses: Unique décor for bridal showers, tea parties, or boudoir-inspired spaces.
- Pro Tip: Mix different lace patterns for depth and creativity.
8. Cotton Ball Lights
Wrap cotton balls around your string lights to create soft, fluffy glowing spheres. All you need is cotton balls and a bit of glue to keep them in place.
- Why it works: The cotton balls create a cozy, cloud-like effect that’s soothing.
- Best uses: Kids’ rooms, yoga studios, or rainy-night cozy décor.
- Pro tip: Use warm white lights for an extra relaxing ambiance.
9. Recycled Tin Can Lanterns
Upcycle empty tin cans into light covers by punching patterns into the sides and fitting the string light bulbs inside. Whether it’s stars, hearts, or geometric patterns, the punched designs glow beautifully.
- Why it Works: Repurposed materials give this a sustainable and rustic charm.
- Best Uses: Outdoor BBQs, camping trips, or rustic-chic home décor.
- Pro tip: Spray-paint the cans for a polished finish.
10. Seashell String Lights
Perfect for beach lovers! Glue small seashells around each bulb of your string lights. The shells create a coastal, nautical vibe.
- Why it Works: Seashells amplify the light and transport you to a summery, seaside setting.
- Best Uses: Beach houses, summer parties, or mermaid-themed events.
- Pro Tip: Use clear adhesive to keep the look seamless and clean.
Brighten Your Space with Handmade Charm
Creating your own string lights isn’t just a chance to flex your creative muscles—it’s an opportunity to add a personal touch to your living space or event. Whether you’re into rustic designs, whimsical styles, or modern chic aesthetics, these string light methods allow endless creative freedom.
Try one (or more) of these ideas and watch as they brighten not just your space but also your mood. Think you’re ready to take your DIY game to the next level? Share your creations with us—we’d love to see your glowing designs!
Maintenance and Upkeep
To ensure your DIY string lights last and continue to dazzle, proper maintenance and care are essential. Here are some simple tips to keep your creations in pristine condition:
- Inspect Regularly: Check the wiring and bulbs for any signs of wear or damage, especially if the lights are frequently moved or used outdoors. Replace frayed wires or burnt-out bulbs promptly.
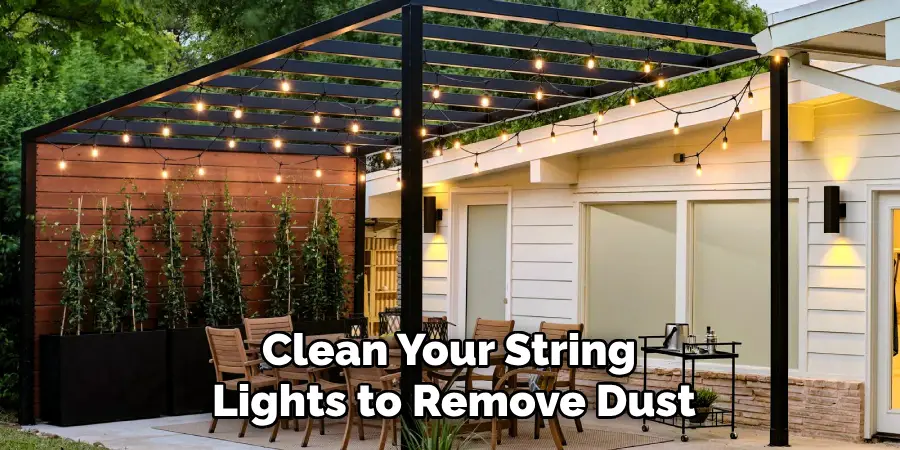
- Clean with Care: Gently clean your string lights to remove dust, dirt, or cobwebs. Use a soft, damp cloth to wipe down the surfaces, avoiding excessive moisture near electrical components.
- Store Safely: When not in use, store your string lights in a cool, dry place. Coil them neatly to prevent tangling, and consider using a storage box or wrap them around a piece of cardboard for added protection.
- Use Indoors or Weatherproof Options: If your string lights are designed for indoor use, avoid exposing them to rain, snow, or excessive humidity. For outdoor setups, choose waterproof or outdoor-specific string lights to prevent damage.
- Avoid Overloading Sockets: When plugging in your string lights, avoid connecting too many strands to a single socket to prevent overheating or electrical issues. Use a surge protector for added safety.
- Check Flower or Paper Add-ons: If your lights incorporate delicate materials such as faux flowers, lace, or paper, ensure these components are clean, secure, and free of damage. Replace them over time if necessary.
With a little attention and care, your DIY string lights will keep shining brightly, creating beauty and ambiance for many occasions to come!
Conclusion
DIY string lights offer a wonderful way to express your creativity while transforming the atmosphere of your space. With countless design options and easy-to-follow techniques, you can craft unique lighting pieces that reflect your style and add warmth to any setting. Whether you’re hosting an event, decorating your home, or simply looking for a fun project, these handmade lights provide beauty, functionality, and a touch of magic. Remember to maintain them properly to ensure they last for many dazzling nights. Now that you know how to make a string light, try it yourself today and feel good about completing such a big DIY job!
You Can Also Check It Out To Make String Light Pole

