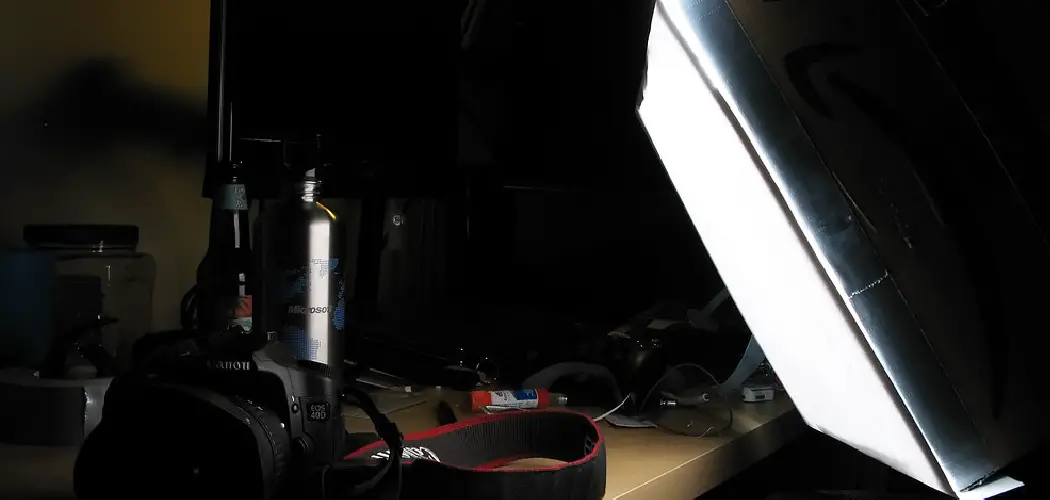
Creating a softbox light at home is a cost-effective and rewarding DIY project for photography and videography enthusiasts. A softbox is a valuable tool for diffusing light and reducing harsh shadows, enabling you to achieve evenly lit and professional-quality images.
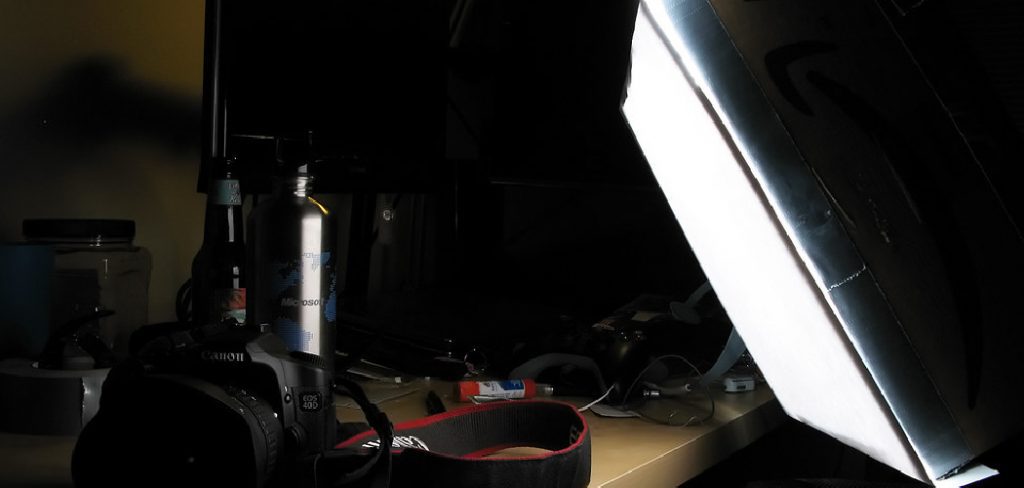
This guide will walk you through the the steps of how to make a softbox light with ease, using common household items or affordable materials. Whether you’re a beginner or an experienced creator, this project is perfect for enhancing your lighting setup on a budget.
What Is a Softbox and How Does It Work?
A softbox is a lighting accessory widely used in photography and videography to create soft, evenly distributed light. It typically consists of a frame that supports a fabric cover, which diffuses the light emitted from a bulb or flash inside. The inner reflective surface directs the light outward, while the diffuser panel softens it, reducing harsh shadows and glare.
This controlled lighting setup mimics the natural illumination of daylight, making it ideal for capturing subjects with subtle highlights and gentle shadows. Softboxes come in various shapes and sizes, such as rectangular, square, or octagonal, each offering different effects to suit specific creative needs. By using a softbox, photographers and videographers can achieve professional-quality results, even in controlled indoor environments.
Materials You’ll Need to Build a Softbox Light
To construct your own softbox light, you’ll need the following materials:
- Cardboard or Foam Board: These will form the frame of your softbox, providing a lightweight and sturdy structure.
- Aluminum Foil: Used to line the interior, aluminum foil helps reflect and diffuse light effectively.
- White Diffusion Fabric or Paper: This material will act as the front panel, softening the light and ensuring even illumination.
- Light Source: A bulb or LED light serves as the primary light source for your softbox.
- Adhesive Tape and Glue: Essential for assembling and securing the components together.
- Utility Knife or Scissors: These tools will be needed to cut materials to the desired size and shape.
- Ruler and Measuring Tape: To ensure precise measurements for an even and well-balanced design.
With these materials, you can easily build a functional softbox light, perfect for enhancing your photography or videography setup.
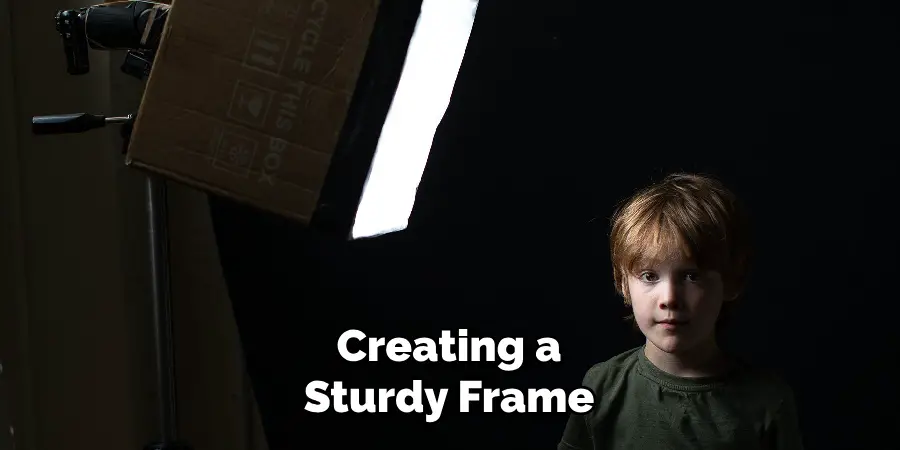
10 Methods How to Make a Softbox Light
1. Design the Frame Using Simple Materials
The very first step in building a softbox light is creating a sturdy frame that can house your light source and hold the reflective and diffusing materials in place. You can construct this frame using lightweight materials such as PVC pipes, wooden dowels, or even sturdy wire hangers bent into a square or rectangular shape.
If you prefer a collapsible design, tent poles or collapsible rods from old light reflectors work well. Make sure the frame has depth—typically at least 6 to 12 inches—to help shape the light. The more precise your structure, the more polished the final result will appear.
2. Line the Interior with Reflective Material
To maximize light output and prevent loss of intensity, line the interior of the softbox frame with a reflective surface. You can use materials like aluminum foil, silver car windshield reflectors, or Mylar sheets taped or glued to the inner sides of the frame.
This step ensures the light bounces around evenly inside the box before passing through the diffuser. Try to make the surface as smooth as possible to avoid creating hot spots or uneven light patterns. If you’re using aluminum foil, apply it with minimal crinkles for a cleaner reflection.
3. Add a Secure Back Panel for the Light Source
Once your frame is ready and lined, you’ll need a backing to mount your light source. This back panel can be made from cardboard, foam board, or even plastic storage bin lids. Cut a hole in the center that snugly fits your bulb socket or light head.
If using a clamp light or LED panel, create a bracket or strap to hold it in place firmly. It’s crucial to ensure that the light is secure and stable during operation, especially if you plan to reposition the softbox during use. Consider adding ventilation slits if you’re using bulbs that generate heat.
4. Use Daylight LED Bulbs for Consistent Output
Choose a light source that offers consistent, flicker-free output and won’t overheat the box. LED daylight bulbs (typically rated at 5500K) are an excellent choice for a soft, natural look. They consume less power, emit minimal heat, and provide stable color temperature. You can use a single bulb in the center or multiple lower-wattage bulbs spaced evenly inside the box for broader coverage. Always double-check the compatibility of your socket with the bulb wattage to avoid electrical hazards.
5. Create a Front Diffuser Using Fabric or Paper
The diffuser is what gives a softbox its signature gentle light. For the front panel, use a white translucent material such as a pillowcase, white shower curtain, parchment paper, or professional diffusion fabric like ripstop nylon.
Attach the diffuser tightly across the front opening of the box using Velcro strips, clips, or sewing it to the frame. The goal is to stretch it taut so the light spreads evenly without sagging or dimming unevenly. Test your chosen material beforehand to ensure it doesn’t yellow the light or block too much of it.
6. Incorporate a Removable Diffuser Layer
For more control over your lighting, consider adding a second, inner diffuser closer to the bulb. This layer can be suspended a few inches in front of the light source inside the softbox and helps smooth out any direct glare.
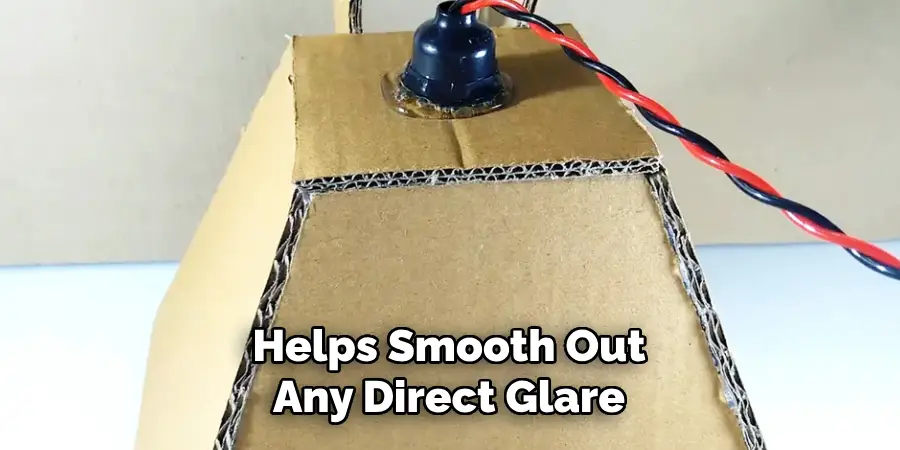
It can be made from the same material as the outer diffuser and held in place with elastic bands, clips, or sewn tabs. This added layer helps eliminate any harsh “hot spot” in the center of the light and further softens shadows.
7. Reinforce the Structure for Durability
A softbox built from household materials can be fragile, so reinforcing the corners and seams will help it last longer. Use strong duct tape, zip ties, or small brackets at the joints, especially if your frame is made of cardboard or light wood. If portability is important, design your box with detachable or foldable panels. Reinforcing also means attaching a solid mount or bracket that allows the softbox to connect to a light stand or tripod securely.
8. Make the Softbox Adjustable or Tiltable
For more versatility in your setup, add an adjustable or tilt function to your softbox. You can attach a small ball head mount, swivel clamp, or even a DIY hinge to the back panel where the light is mounted.
This way, you can tilt or rotate the softbox to better shape your lighting, whether you’re highlighting a face or shooting products from different angles. Use washers and wingnuts if you’re crafting your own mount, so you can tighten and loosen with ease.
9. Add a Black Exterior or Flag to Prevent Spill Light
To control where your light goes and prevent it from spilling into unwanted areas, cover the exterior of your softbox with black material. Black fabric, black duct tape, or blackout foil work well for this.
Some creators even add “barn doors” or flags—movable flaps made of cardboard or foam board—to further direct the light. This technique helps concentrate your lighting and avoid unintentional overexposure or background glare in your shots.
10. Test and Adjust for Optimal Lighting Performance
Once assembled, test your softbox by turning on the light and placing it in front of a subject or surface. Check for even light distribution, color temperature, and unwanted shadows.
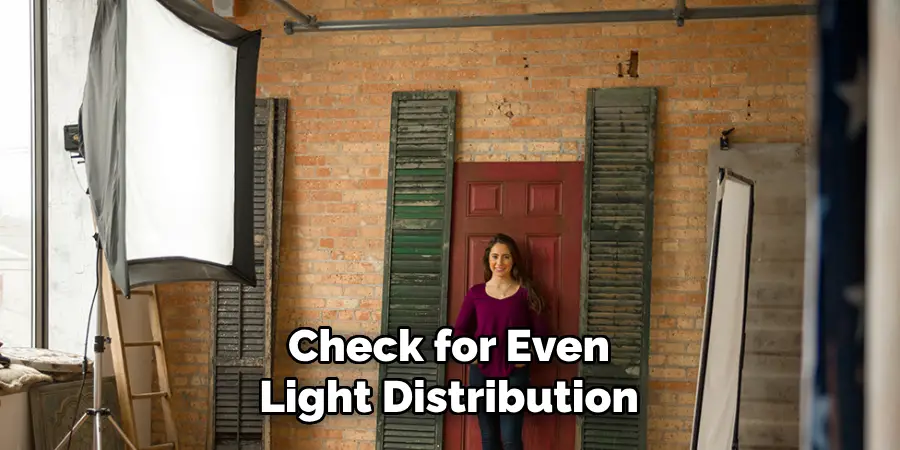
Move the softbox closer or farther away to see how it affects softness. Make any necessary adjustments, like tightening the diffuser, repositioning the bulb, or adjusting the angle. Take a few test photos or videos to fine-tune your setup. Over time, you may wish to tweak your design or build multiple sizes for different creative needs.
Things to Consider When Using a Softbox
- Lighting Angle: The placement and angle of the softbox significantly impact how the light falls on the subject. Experiment with different angles to achieve the desired effect.
- Distance from Subject: The closer the softbox is to the subject, the softer and more diffused the light will appear. Conversely, increasing the distance will create harder shadows and a more defined look.
- Background Interference: Be mindful of how the light interacts with your background. Adjust the softbox to ensure that it doesn’t introduce unwanted reflections or patterns.
- Color Temperature: Check that the color temperature of your light source matches your overall setup to maintain a consistent and natural look in your photos or videos.
- Power Output: Depending on your subject and surroundings, you may need to adjust the power of your light source to prevent overexposure or underexposure.
- Portability and Space: Consider the size of your softbox and the space you’re working in. Larger softboxes may require more room and can be less portable.
Conclusion
Building your own softbox light is a practical and satisfying project that doesn’t require expensive tools or materials. With a little ingenuity, you can create a professional-looking lighting setup tailored to your specific style and needs.
These ten methods offer a comprehensive blueprint, whether you’re lighting a YouTube set, conducting interviews, or photographing art. And best of all, you can build it at a fraction of the cost of commercial softboxes. Thanks for reading our blog post on how to make a softbox light! We hope you found it helpful and informative.

