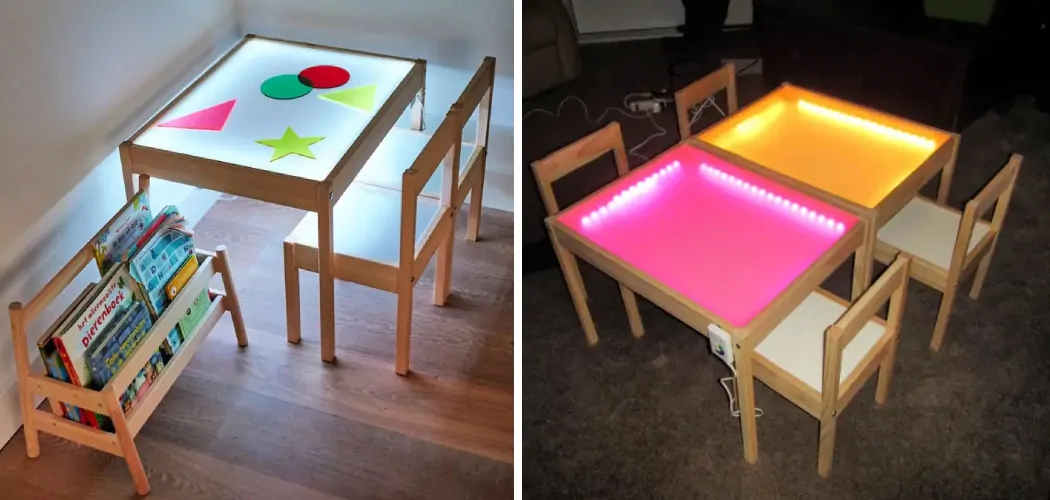
Are you looking for an innovative way to explore your creativity? A light table provides a unique medium for artistic expression, allowing artists and imaginative minds alike the ability to create beautiful works. With its simple nature and versatile uses, they have gained immense popularity over the years due to their effectiveness in producing astounding results.
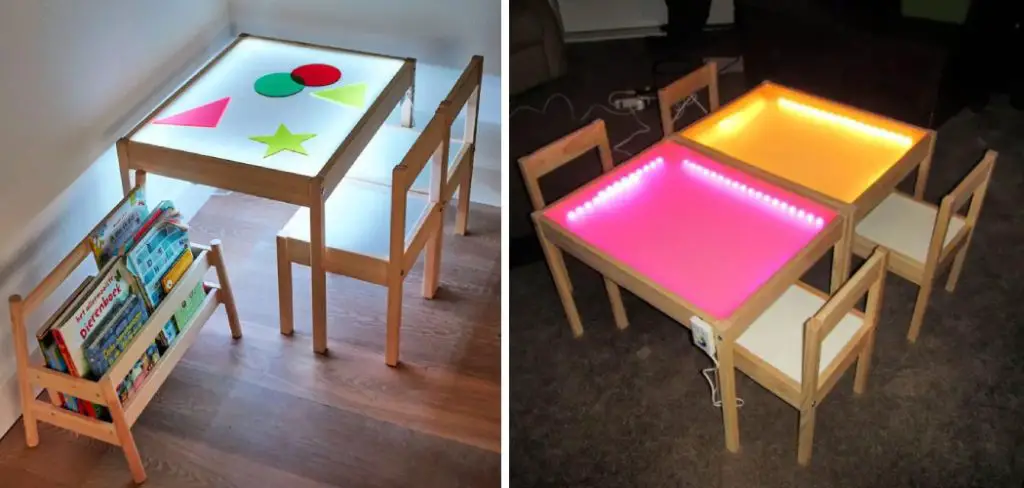
This article will provide an overview of what a light table is as well as guide readers through the process of creating one, so that anyone can enjoy this exciting craft tool without breaking the bank. Read on to learn more about how to make a light table!
Making your own light table can be a great way to add both form and function to any room. Not only is it a unique addition that will bring some warmth and personality to any space, but with the right materials, you’ll also have access to an incredibly useful tool in the art of photography and digital imaging.
In this blog post, we’ll walk you through how to create a basic light table at home – from procuring supplies all the way up to displaying your project proudly!
Why May You Want to Make a Light Table?
1. To Enhance Creativity While Working
One of the reasons why people may want to make a light table is to enhance their creativity while they work. Light tables are great for artists and designers because it allows them to see the fine details of an image or sketch more clearly. It can also help them explore different color combinations and create interesting patterns.
2. To See Through Transparent Material
Light tables are also useful for seeing through the transparent material. This is especially helpful when working with X-rays and photosensitive film, as it allows you to get a better picture of what’s underneath the surface. It can also help you make accurate cutouts or identify details that may not be visible without a light table.
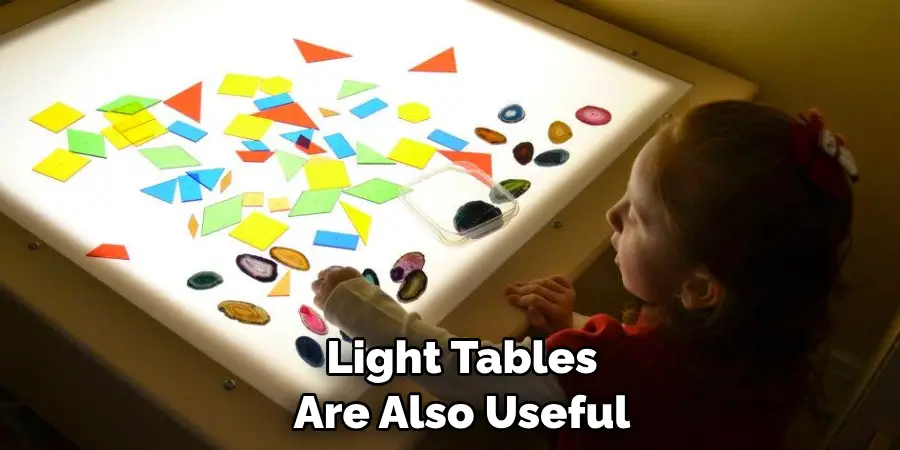
3. To Create Transparency Art
Finally, light tables can be used to create transparency art or “light art” which is a type of mixed media artwork that uses layers of transparent material such as film or plastic to create different visual effects. By using a light table, you can get creative with your artwork and add unique effects or elements that wouldn’t be possible without the use of a light table.
These are just a few of the reasons why people may want to make a light table and enjoy all of its benefits. Whether you’re an artist or designer, it can help you bring your work to life and explore new possibilities with your medium.
How to Make a Light Table in 6 Easy Steps
Step 1: Gather All The Tools
The very first step is to gather all the necessary tools. You will need a piece of glass, a light source such as an LED or fluorescent bulb, and some kind of box or stand that will hold the glass up off the ground.
Step 2: Cut The Glass
Using a special cutting tool, carefully cut the glass to size. Make sure you measure twice and cut once – you don’t want to ruin your piece of glass by cutting it too small.
Step 3: Mount The Glass
Once the glass has been cut, mount it securely onto a box or stand. Make sure that all four corners are secure and that the light table will not move when you turn it on. Also you have to make sure that the glass is evenly distributed.
Step 4: Place The Light Source
Place the light source underneath the glass, making sure it is securely fastened in place. Depending on what type of light source you are using, you may need to adjust the height and angle for proper light coverage.
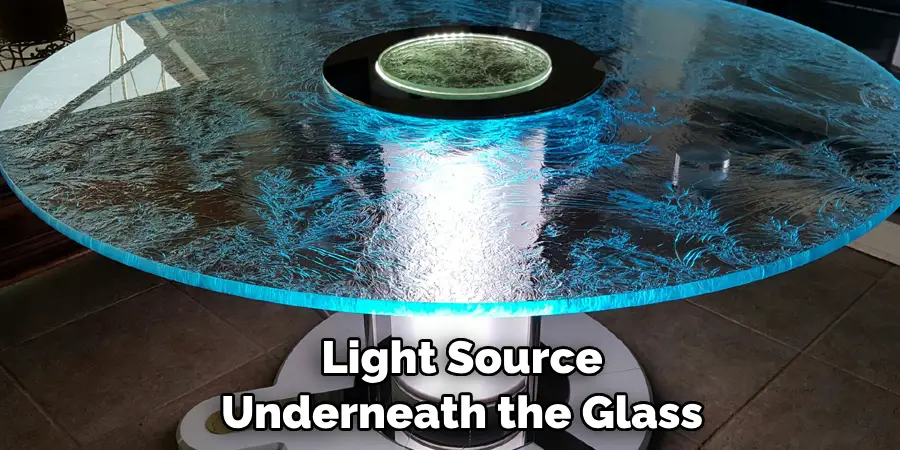
Step 5: Connect The Power Source
Connect the power source to the light source, being sure not to overload it. If you are using an LED or fluorescent bulb, be aware of their electrical requirements before attempting to use them.
Step 6: Test The Light Table
Now that everything is set up and connected properly, turn on the light table and test it out. Make sure all four corners are evenly illuminated and that the light is not too bright or dim for your needs. If it looks right, you’re ready to start creating!
Congrats! You have successfully made a light table. Now, go out and put your newfound knowledge to good use! With practice, you can become an expert at light table making. Happy creating!
Some Tips On to Make a Light Table
1. Do Not Overcomplicate it
Making a light table can be as simple or complex as you want. It does not have to involve any complicated machinery or expensive equipment. You can make one with everyday items such as transparent plastic, a box, electrical tape, and lights!
2. Choose the Right Light Colors
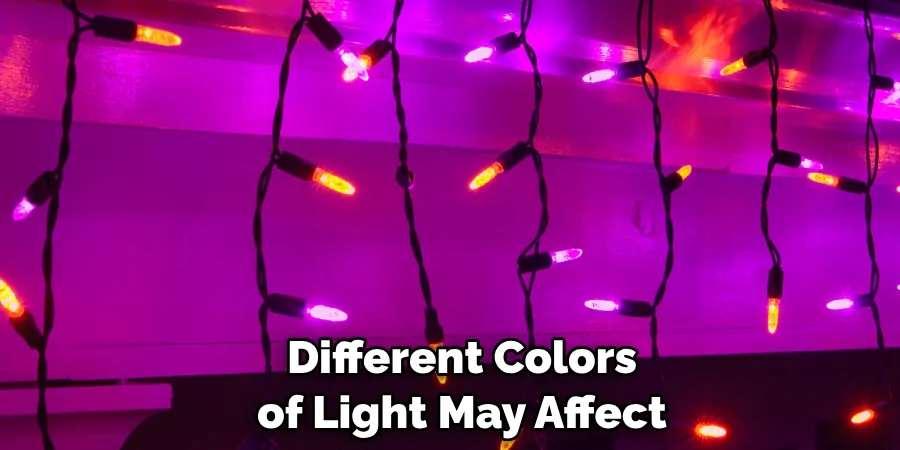
Different colors of light may affect how your artwork looks, so choose wisely. Soft white light is the most common choice since it replicates natural daylight and helps to reduce glare. However, if you want to experiment with different colors, consider spotlights of various hues such as yellow or red.
3. Consider Batteries or Rechargeable Lights
If you are making a portable light table, it is important to consider the power source. You may want to opt for battery-powered or rechargeable lights so you can easily move and transport your light table without needing an outlet.
4. Use a Transparent Surface
One of the main components of making a light table is having a transparent surface that allows the light to pass through. This could be anything from a piece of thick plastic or acrylic to a glass pane. Make sure the surface you choose is durable and won’t easily scratch or break.
5. Keep it Clean
When making your light table, ensure that it remains free of dust and dirt to preserve its clarity. Regularly wipe down the surface with a damp cloth and keep away from direct sunlight which can cause it to discolor.
By following these simple tips, you will be able to make your own light table quickly and easily! With the right materials and some creativity, you’ll be creating beautiful artwork in no time. Good luck!
Frequently Asked Questions
What Precautions Should I Take When Making a Light Table?
When making a light table, it is important to be aware of the potential risks involved. Be sure to wear safety glasses and other protective gear when working with electrical components and lights. It’s also essential to create a space that’s well-ventilated and away from any flammable materials.
Take care to avoid any contact with exposed electric wires. Finally, make sure that the lightbox you create is securely mounted and not likely to tip over or be bumped into easily. Following these precautions will ensure your safety while creating a stylish and useful light table.
What Materials Do I Need to Make a Light Table?
Making a light table requires some basic materials and tools. You’ll need a piece of plywood, several pieces of wood for the frame, some electrical components such as sockets and switches, an acrylic sheet for the diffuser, and LED or another type of lighting. Finally, you’ll also need screws, nuts, bolts, and other fasteners to assemble the light table securely.

What Are the Benefits of Having a Light Table?
Light tables can be used for many different applications, from tracing artwork and designing clothing patterns to crafting jewelry or analyzing photos. Not only that, but they also provide an even distribution of light for precise work.
With a light table, you can easily see details that are difficult to detect with regular lighting. Furthermore, they add a stylish touch to any room and give the space an interesting and unique design element.
How Much Time Does It Take to Make a Light Table?
The amount of time it takes to make a light table depends on the complexity of your design. If you’re making a simple model with minimal components, you can complete the project in a few hours.
More complex designs might take several days or more to assemble and test. Additionally, be sure to factor in time for gathering materials and safely mounting the light table.
Can I Make a Light Table for Outdoor Use?
Yes, you can make a light table for outdoor use. However, it’s important to keep in mind that if the lightbox is exposed to the elements, you’ll need to use weather-resistant materials and components.
The enclosure should also be sealed tightly and double-checked before using it outdoors. Finally, be sure to use outdoor-safe power cords and other electrical components.
Should I Use a Pre-Made Kit or Build My Own Light Table?
Whether you use a pre-made kit or build your own depends on the complexity of the design, your budget, and available materials. If you’re looking for an easy way to make a light table, ready-made kits are available that provide all the necessary components.
Also, if you’re a beginner and don’t have much experience with electrical components, pre-made kits can be a great way to start. On the other hand, building your own light table from scratch allows you to customize it according to your needs and design preferences.
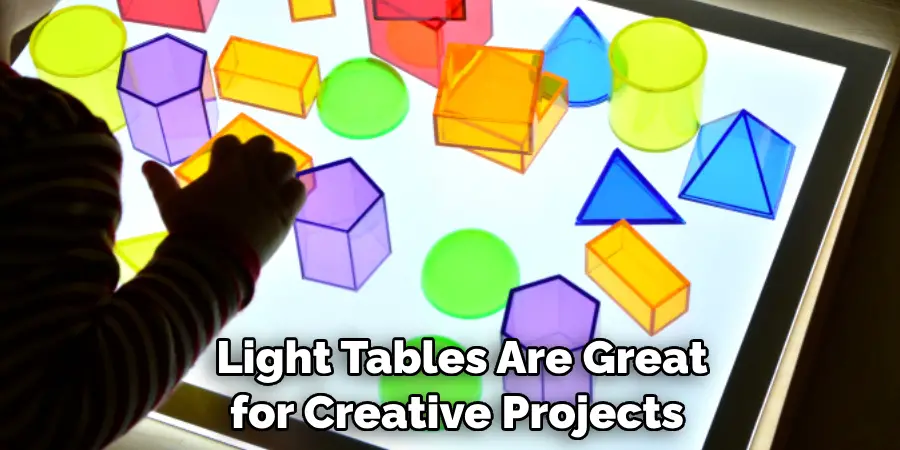
Using a light table can also help reduce eye strain from looking at a computer screen for long periods of time. Working with one helps your eyes adjust to different levels of brightness and improves your focus. Finally, light tables are great for creative projects because the even illumination allows you to see colors accurately.
Conclusion
Making your own light table is an easy and creative way to get the most out of your crafting or art projects. Not only can you control the lighting, but now you can also incorporate fun designs and colors in your projects.
Light tables are a fun and easy way to bring extra brightness and beauty to your work. Even if you don’t have the technical tools necessary to make one, there are still simple hacks that can help replicate the same results.
Now you know how to make a light table! With careful planning, dedication, and creativity you will have created a light table that rocks! You never know what new possibilities this DIY project may unlock for you. So take some time today to create a light table that will be sure to bring joy and satisfaction into your crafting world.

