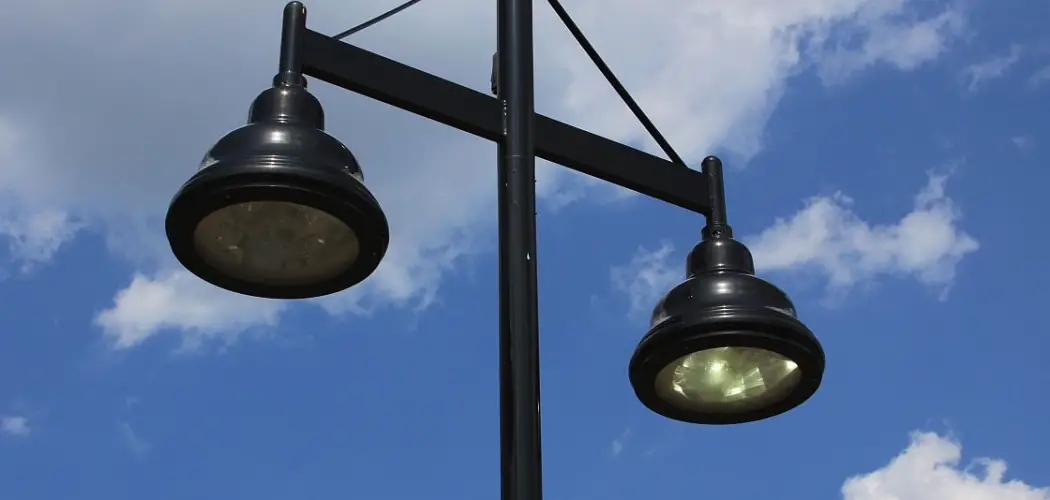
Creating a light post can be a rewarding project that combines functionality and style to enhance outdoor spaces. Whether you’re aiming to illuminate a driveway, garden, or patio, building your own light post allows you to tailor its design and features to suit your preferences. This guide will walk you through the essential steps of how to make a light post, ensuring both safety and aesthetics.
Planning Your Light Post Design
Before you begin constructing your light post, it’s essential to plan the design carefully. Start by determining the purpose of your light post—whether it will primarily provide functional lighting, serve as a decorative feature, or both. Consider the location where the light post will be installed, ensuring it complements the surrounding environment and provides adequate illumination.
Next, select the materials and style that best match your outdoor space. Common materials include wood, metal, or PVC, each with its own aesthetic and durability features. Decide on the height and base design to ensure stability and proper light coverage.
Additionally, choose a light fixture that aligns with your design vision, whether it’s a modern LED lamp, a classic lantern, or a rustic vintage bulb. Thoughtful planning will result in a light post that is both practical and visually appealing.
Materials and Tools You’ll Need
To assemble and install your outdoor light post, you’ll require the following materials and tools:
- Materials:
- Light post or fixture of your choice
- Concrete mix for securing the base
- Screws and bolts for assembly
- Electrical wiring and connectors
- Protective casing or conduit for wiring
- Weatherproof sealant
- Tools:
- Shovel or post hole digger
- Screwdriver set
- Drill with drill bits
- Wire stripper
- Level for accurate positioning
- Safety gloves and goggles
Having these materials and tools readily available will streamline the installation process and ensure a sturdy and reliable setup.
10 Methods How to Make a Light Post
1. Plan the Purpose, Style, and Location of Your Light Post
Before picking up tools, it’s crucial to define the purpose of your light post. Are you lighting a garden path, marking a driveway, or creating ambient backyard lighting? Consider the scale, style, and brightness you need. Traditional lamp post styles often evoke a vintage or colonial look, while modern posts may be minimalist and sleek.
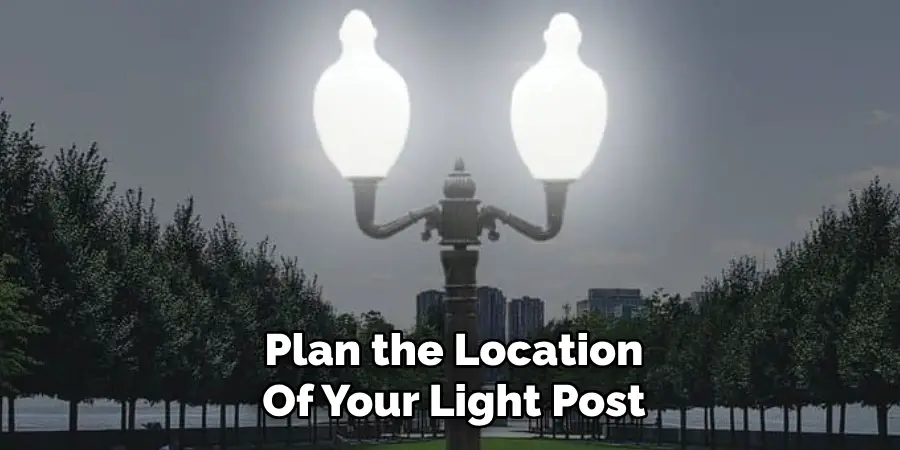
Choose a location with both visual appeal and practical reach for wiring—ideally near an existing power source. Also, ensure the spot isn’t obstructed by tree limbs or shrubbery. A well-chosen location enhances functionality and adds charm to your landscape design.
2. Select Materials for the Post
Light posts can be built from a range of materials depending on the aesthetic and durability you desire. Pressure-treated wood, such as a 4×4 cedar or pine post, is a popular and affordable option. For a more modern or industrial look, you might opt for galvanized steel or aluminum tubing. PVC pipe can also work for a budget-friendly and weather-resistant solution. Consider material longevity, weight, and whether you’ll paint, stain, or leave it natural. If you’re in a damp or coastal region, prioritize rot- and rust-resistant options. The post material forms the backbone of the entire structure.
3. Choose the Right Light Fixture
Selecting the right light fixture is as important as the post itself. You’ll want to match the size and style of the fixture to your chosen post and intended use. Fixtures come in many designs—lanterns, globe lights, or box-style sconces—each casting different light patterns. Also choose between low-voltage, 120V, or solar-powered options depending on your wiring preferences. Make sure the fixture is UL-rated for outdoor use, weather-resistant, and compatible with energy-efficient bulbs like LEDs.
4. Dig and Set a Sturdy Foundation
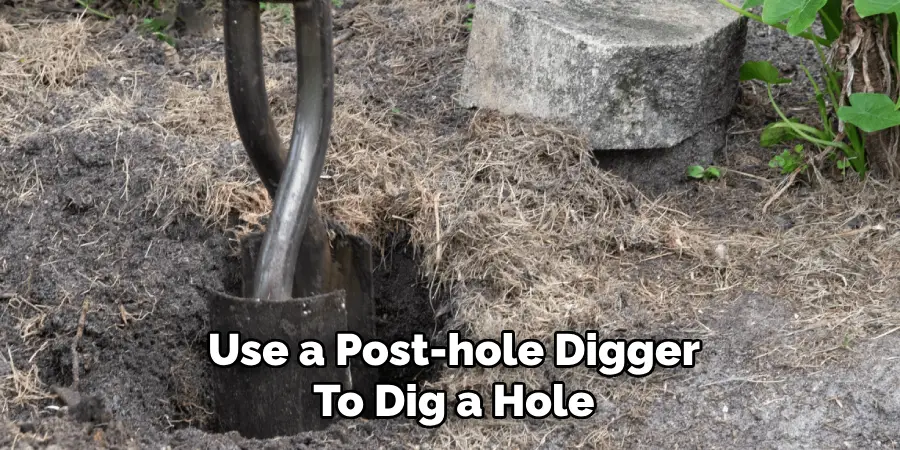
A solid foundation ensures your light post stands firm in all weather. Use a post-hole digger or shovel to dig a hole about 24–36 inches deep and at least 10 inches wide. The depth may vary depending on the height and weight of your post. Add 4–6 inches of gravel at the bottom for drainage.
Place the post in the center and fill the hole with fast-setting concrete, checking that the post is level and plumb as you go. Allow it to cure for at least 24 hours. This step is critical for safety and long-term stability.
5. Run Electrical Wiring or Choose Solar Power
Now comes the decision between traditional electric wiring and solar options. If you’re wiring your light post to your home’s power, use outdoor-rated conduit and UF (underground feeder) cable. Run the wire from the nearest power source, following local building codes for burial depth (typically 18 inches). If installing a solar-powered fixture, simply mount the solar panel in a location that receives full sunlight. Either option should include a switch or automatic sensor, such as a dusk-to-dawn sensor or motion detector. Ensure all connections are weatherproof and secure before continuing.
6. Drill Access Holes and Feed the Wiring
If you’re using a wooden or PVC post, you’ll need to drill access holes to run wiring up the center to the fixture. Use a long spade bit or hole saw to create a channel through the post from the base to the top. Feed the wire through gently, using fish tape or a pull cord if necessary. Be careful not to damage the insulation as you work. If the post is hollow (such as metal tubing), feeding the wire is simpler, but still requires gentle handling. This method hides the wiring and creates a clean, professional appearance.
7. Mount the Light Fixture Securely
Once the wiring is in place, install the light fixture according to the manufacturer’s instructions. Attach the mounting bracket to the top of the post, then connect the fixture wires: black to black (hot), white to white (neutral), and green or bare to the grounding screw.
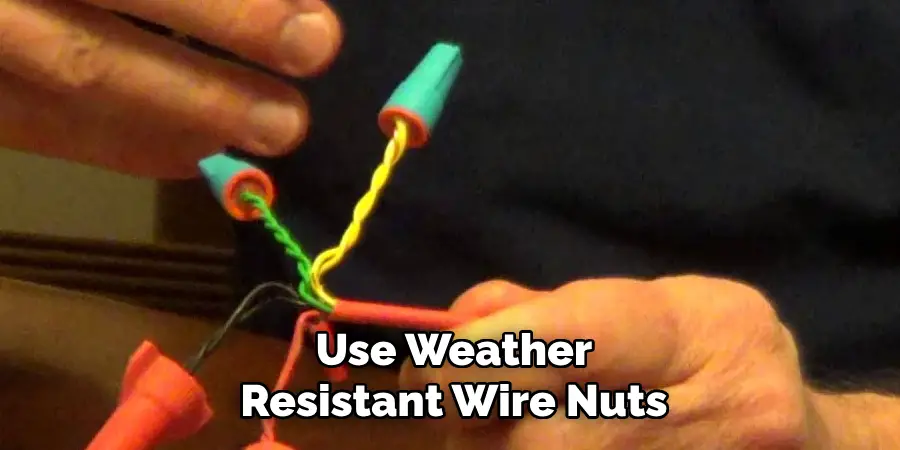
Use weather-resistant wire nuts and wrap all connections with electrical tape for extra protection. Mount the fixture securely using rust-resistant screws or bolts. If your light uses a globe or glass casing, ensure it’s properly sealed to prevent moisture buildup. This step is where your light post finally starts to shine—literally.
8. Add Decorative Trim or Finials
To elevate the look of your DIY light post, consider adding decorative trim or a finial. You can install a base skirt or molding around the bottom to hide the concrete and add architectural interest. At the top, a wooden or metal finial adds polish and helps shed rainwater. Use outdoor wood glue and galvanized nails to attach trim, or use construction adhesive for non-wood materials. Paint or stain the trim to match or contrast the post for added visual effect. These small design touches make your light post look custom-built and elegant rather than just functional.
9. Paint, Stain, or Weatherproof the Post
Finish your post by painting, staining, or sealing it for weather protection. If using wood, apply an outdoor-grade paint or stain with a UV-resistant sealer to prevent fading and cracking. For metal posts, use rust-inhibiting primer and paint. PVC posts can be painted with specialty plastic-friendly spray paint if desired. This step not only enhances the look but also extends the life of your post by protecting it from moisture, sun, and insects. Be sure to coat all sides evenly and allow proper drying time between coats. This final finish sets the tone for your outdoor lighting style.
10. Test the System and Perform Final Checks
After everything is assembled, perform a thorough test of your light post. Flip the switch or wait for the solar sensor to activate, checking that the light turns on smoothly and shines evenly. Make sure all wiring connections are secure and that the post is still standing plumb. Inspect for loose screws, exposed wire, or water leaks. If everything checks out, you now have a functional, handmade light post that adds beauty and safety to your yard. Over time, clean the fixture lens and inspect the wiring seasonally to keep it glowing strong for years.
Maintenance and Upkeep
To ensure your light post remains in excellent condition, establish a routine maintenance schedule. Regularly clean the light fixture and surrounding area to prevent dirt and debris buildup that may reduce brightness. Check for any signs of rust or corrosion on the metal components, and apply a protective coating if needed.

Inspect the wiring and connections biannually, especially after severe weather, to ensure everything is intact and safe. Replace the bulb or solar batteries as necessary to keep the light functioning efficiently. If your light post is solar-powered, ensure the solar panel is free from dust and obstructions for optimal energy absorption. By staying proactive with upkeep, you can enjoy your light post’s beauty and functionality for many years to come.
Conclusion
Regular maintenance of your light post not only ensures its longevity but also enhances the overall safety and aesthetic appeal of your property. By dedicating time to proper care and timely repairs, you can maximize the functionality of your light post while preserving its charm. A well-maintained light post adds value to your outdoor space and provides reliable illumination for years to come. So, there you have it – a quick and easy guide on how to make a light post.

