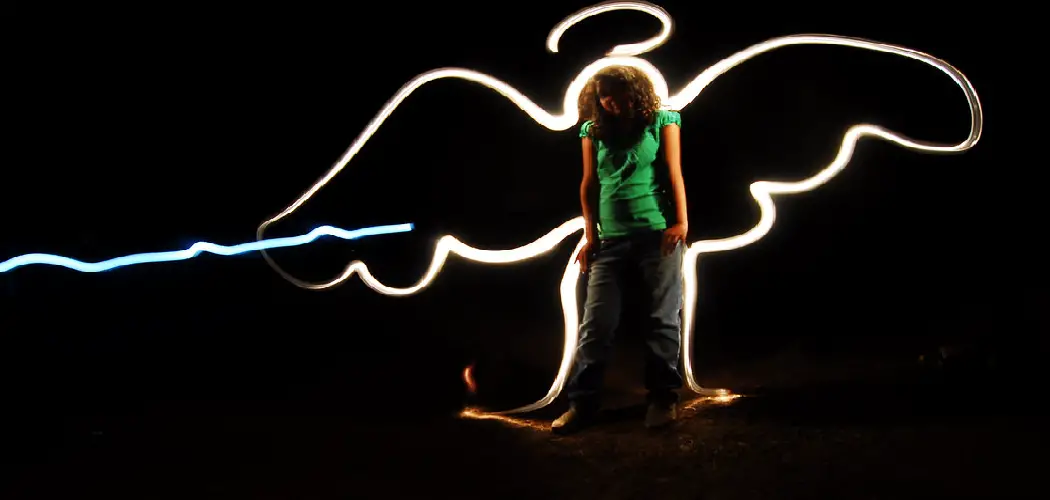
Light painting is a fascinating and creative photography technique that uses long exposure times and various light sources to craft stunning, glowing images. By deliberately moving light sources or capturing stationary ones over time, photographers can produce ethereal, otherworldly effects that elevate their artistic expression. This method transforms mundane subjects into captivating visual stories, making it a preferred choice for those looking to innovate in their photography.
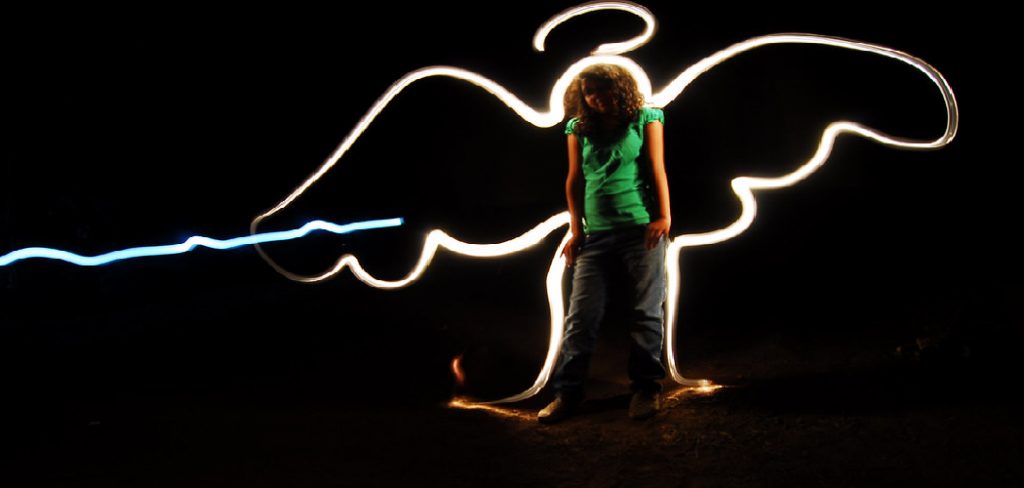
One of the reasons light painting has surged in popularity is that it seamlessly combines art with technology. It offers endless possibilities for creativity, allowing photographers, artists, and hobbyists to break free from conventional photography constraints. The freedom to experiment with colors, patterns, and techniques makes it an exciting venture for both beginners and seasoned professionals.
The purpose of this article is to provide a comprehensive, step-by-step guide on how to make a light painting, inspiring readers to unlock their artistic potential in captivating ways.
Materials and Tools Needed
Essential Equipment
To create stunning light paintings, you will need the following essential equipment:
- Camera with Manual Settings and Long Exposure Capabilities: A camera that allows you to adjust settings such as shutter speed, aperture, and ISO is crucial for capturing long-exposure shots.
- Tripod: To ensure your camera remains steady during long exposures, a tripod is indispensable. Stability is key to preventing blur and maintaining sharpness in your images.
- Light Sources: Tools like flashlights, glow sticks, LED lights, or any portable light-emitting device serve as your paintbrushes. Different light sources produce varying effects, adding versatility to your creations.
- Dark Environment: A controlled lighting environment, such as a completely dark room or an outdoor space at night, is necessary to maximize contrast and precision during your light painting sessions.
Optional Tools
For those looking to expand their creative possibilities, these optional tools can prove highly beneficial:
- Light Painting Brushes or Specialized Tools: These are designed specifically for creating intricate and unique light effects, giving your artwork a professional touch.
- Remote Shutter Release: This allows you to trigger the camera without physically touching it, reducing the risk of vibrations that could disturb your composition.
- Editing Software: Post-processing tools help refine your final images, enhancing colors, contrasts, and details to bring your artistic vision to life.
Having the right materials and tools ensures a smooth and enjoyable experience while exploring the art of light painting.
Setting Up for Light Painting
Choosing the Right Location
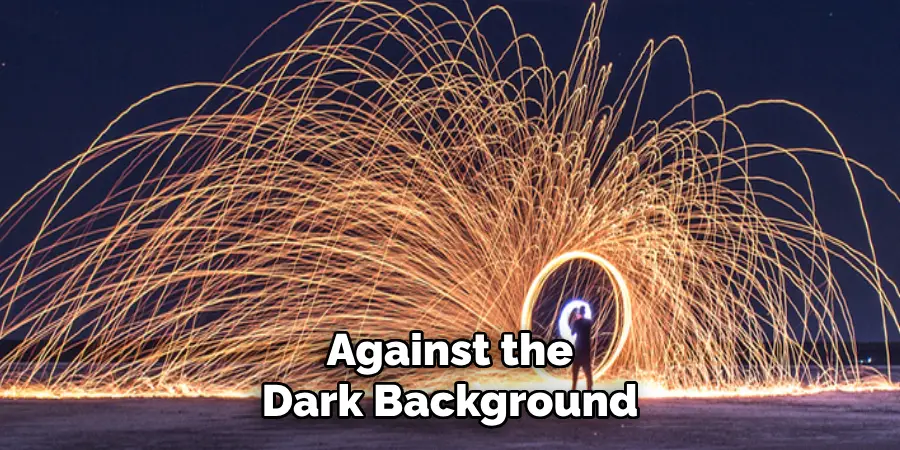
Find a dark area with minimal ambient light to avoid unwanted exposure. A small studio space, a dark room, or outdoor areas with low light are ideal for light painting. Avoid locations with bright streetlights, passing cars, or other light sources that may interfere with your composition. A controlled environment will give you greater precision and ensure that your creative light effects stand out against the dark background.
Setting Up Your Camera
Place the camera on a sturdy tripod to ensure stability during long exposure times. This is crucial to prevent any unintended motion blur. Use manual mode on your camera to have full control over exposure settings. Start with a low ISO, such as 100 or 200, to avoid graininess in your final image. Set your aperture to a mid-range value, such as f/8 or f/11, to achieve a greater depth of field and crisp focus. Finally, adjust your shutter speed to a longer exposure time, typically between 10 and 30 seconds, depending on the brightness and movement of your light sources. These settings will help capture intricate light trails and produce stunning light painting effects.
Choosing Light Sources and Tools
Types of Light Sources
Choosing the right light source is essential for achieving the desired effects in light painting. Here are some of the most effective tools:
- Flashlights: These are simple to use and easy to control, making them a great starting point for beginners. By attaching colored gels or using covers, you can create varied and dynamic lighting effects.
- LED Lights: LED lights are versatile and come in various shapes and sizes. They allow for greater precision and control, enabling you to create more refined designs or illuminate specific areas in your frame.
- Glow Sticks: Perfect for crafting light trails with an ethereal or dreamy aesthetic. Glow sticks are lightweight, portable, and ideal for adding vibrant colors with minimal setup.
- Light Painting Brushes: These are specially designed tools tailored for light painting. They offer the ability to craft intricate and detailed patterns, thanks to their specialized attachments and shapes.
Creating Different Effects with Lights
To enhance your creativity, experiment with various light techniques and combinations:
- Colors: Use colored gels or filters over your light sources to introduce a spectrum of hues into your light painting. This allows for vibrant and eye-catching effects.
- Shapes: Experiment with creating shapes such as orbs, lines, or circles to add visual interest. Moving your light source in specific patterns can result in captivating and unique designs.
- Multiple Light Sources: Layer your light painting by using several light sources simultaneously. Combining different colors and shapes can produce a rich, multidimensional effect that elevates your composition.
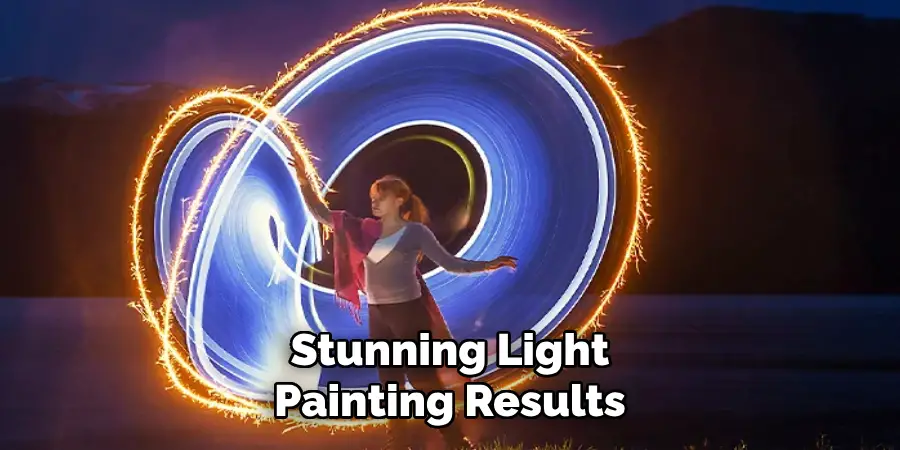
How to Make a Light Painting: Camera Settings and Techniques
To achieve stunning light painting results, understanding and adjusting your camera settings is crucial. Here are the key manual settings and techniques to consider:
Manual Camera Settings
- Shutter Speed: Set a long exposure time, typically between 15 to 30 seconds. This allows sufficient time to capture the intricate movements of the light source, creating smooth and well-defined trails.
- Aperture: Use a smaller aperture, such as f/8 to f/16, to ensure that both the light trails and any background elements remain in focus. A smaller aperture also helps control the amount of light entering the lens, preventing overexposure.
- ISO: Keep ISO levels low, around 100 or 200, to minimize digital noise and maintain image clarity. Lower ISO values are especially important in dimly lit environments where light painting typically occurs.
Using the Light Source
The movement of your light source plays a defining role in the final composition. Move the light source through the frame to create trails, shapes, or patterns. Experiment with different speeds for varied effects:
- Slow Movements: Deliberate, slower motions will generate softer, smoother light trails that produce a graceful feel.
- Fast Movements: Rapid movements result in sharper, more fragmented trails, adding dynamic and bold elements to your artwork.
Additionally, you can use your body or involve a helper to move the light source around the scene. This opens the door to more creative possibilities, like drawing intricate designs or writing text with light. By mastering these techniques and experimenting with settings, you can elevate your light painting to an art form.
Capturing Your First Light Painting
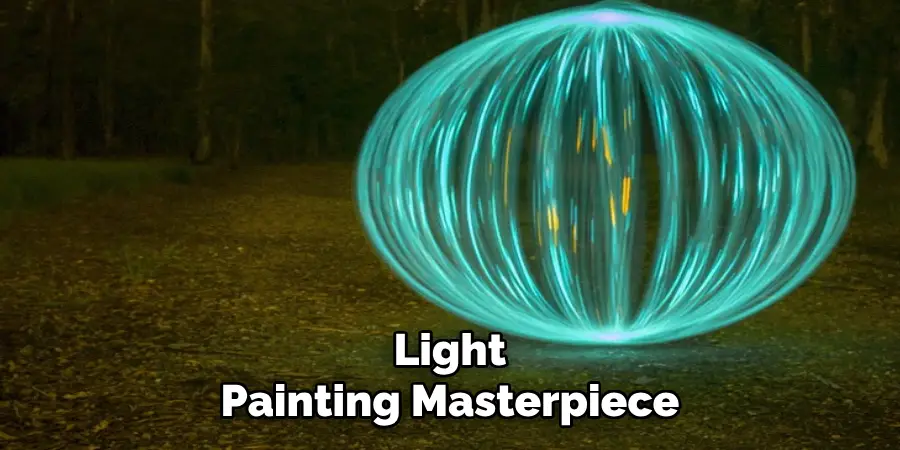
Light painting can seem daunting at first, but breaking it into simple steps makes the process manageable and enjoyable. Follow these steps to create your first light painting masterpiece:
Step 1: Focus and Set Exposure
Begin by setting your camera on a stable tripod to ensure sharp images. Manually focus on a fixed point in your scene before turning off the lights. Adjust your camera settings for long exposure photography, starting with a shutter speed between 10 and 30 seconds, an aperture around f/8, and a low ISO (100-200). If your light trails turn out too faint, gradually increase the exposure duration to capture more of the motion.
Step 2: Start the Exposure and Move the Light
Once you’re ready, press the shutter button to start the exposure and begin moving your light source creatively within the frame. Keep the light in constant motion to create smooth, fluid trails; avoid holding the light in one spot for too long to prevent overexposure. Experiment with different movements, such as creating loops, zigzags, or writing words. Don’t forget that your body should stay away from blocking the camera lens to keep the design clean.
Step 3: Review and Adjust
After finishing your exposure, review the resulting image on your camera’s screen. Look for elements that worked well and identify areas for improvement. If needed, tweak your camera settings, modify the angle or position of your light source, or try different movement patterns. This iterative process of trial and error is key to developing your unique style in light painting.
With patience and practice, your light painting skills will shine, and each shot will become more intricate and expressive.
Post-Processing and Enhancing Your Light Painting
After capturing your light painting shots, post-processing plays a crucial role in refining and enhancing your images. Here are some tips to bring out the best in your work:
Basic Editing
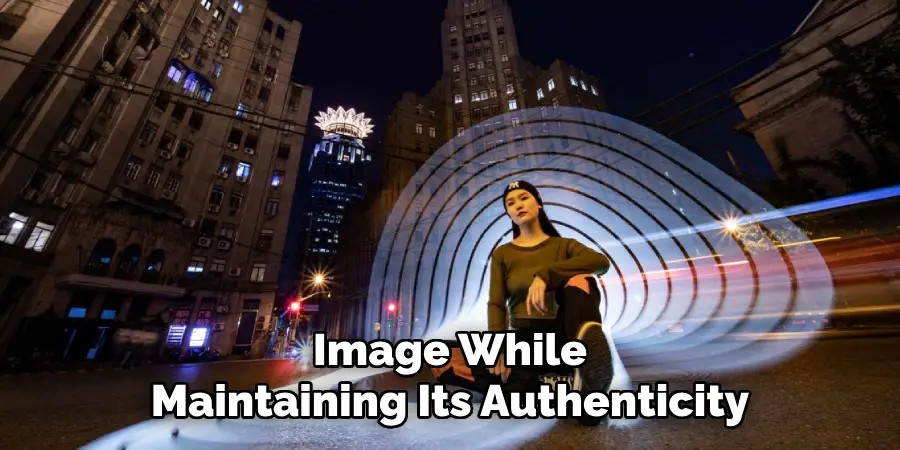
Start by using photo editing software like Photoshop or Lightroom. Adjust the brightness, contrast, and saturation to make the light trails pop against the background. Cropping can help remove distractions and focus attention on the most dynamic parts of the light trails. Simple adjustments can elevate the overall impact of your image while maintaining its authenticity.
Advanced Techniques
For a more polished and creative result, consider advanced editing methods. Adjust the white balance to create precise color tones that complement your vision, or use color filters to add vibrancy and depth. By working with layers, you can combine multiple light painting shots into one image, resulting in intricate and mesmerizing designs. Additionally, experimenting with effects like glow or blur can emphasize the ethereal quality of the light trails, adding a sense of motion and fluidity to the composition.
By leveraging basic and advanced editing techniques, you can take your light painting photography to the next level, making each image a unique and captivating piece of art.
Common Mistakes and How to Avoid Them
Overexposure or Underexposure
Achieving the right exposure is crucial in light painting photography. Ensure your shutter speed is long enough to capture the light trails but not so long that the image becomes overexposed. To avoid underexposure, verify that your light source is sufficiently bright and experiment with aperture and ISO settings to strike the perfect balance.
Camera Shake
A steady camera is essential for sharp and clean results during long exposures. Use a tripod or place your camera on a stable surface to prevent unintentional blur caused by movement. For added precision, consider using a remote shutter release or a camera timer to eliminate the risk of camera shake when pressing the shutter button.
Unwanted Light Bleeds
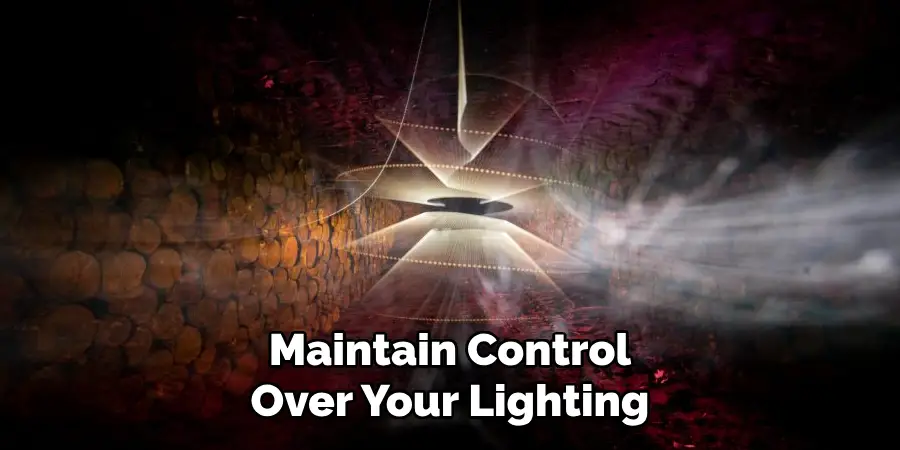
Extraneous light sources can easily disrupt your composition. Double-check that no unwanted lights—such as streetlights or reflections—are interfering with your frame. Use blackout cloths or strategically adjust your shooting location or angle to maintain control over your lighting.
Conclusion
Creating a stunning light painting involves several key steps. Start by properly setting up your camera on a stable surface or tripod. Choose the right light sources to suit your creative vision, whether it’s flashlights, LEDs, or custom tools. Use manual settings to control exposure, aperture, and ISO for optimal results. Finally, move the light creatively in your desired pattern to craft unique designs. “How to make a light painting” is all about experimentation and enjoyment. Don’t hesitate to try different techniques and settings. With practice and persistence, you’ll continually refine and elevate your light painting skills.

