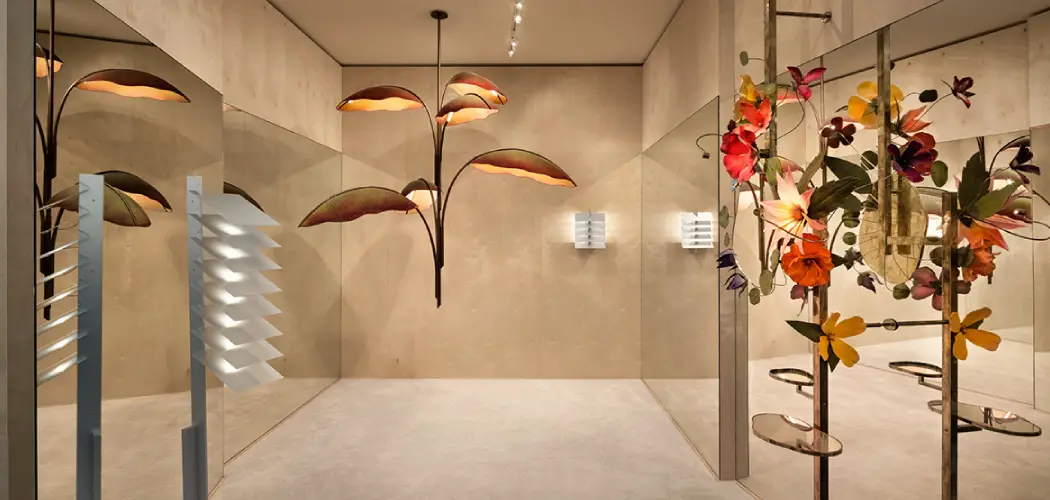
Creating your own light fixture can be a rewarding and fulfilling project, adding a personal touch to your home decor. Whether you are looking to save money, match a specific interior design, or simply enjoy a creative outlet, crafting a light fixture allows you to customize size, shape, and material to your preference. This guide will walk you through how to make a light fixture, helping you to understand the necessary tools and steps involved, ensuring that even if you’re a beginner, you’ll end up with a beautiful and functional piece. Let’s explore how to transform basic materials into an eye-catching light fixture that compliments your space perfectly.
The Growing Popularity of Diy Light Fixtures for Home Decor
The growing popularity of DIY light fixtures for home decor can be attributed to several compelling factors. Firstly, the rise of online tutorials and accessible materials has empowered individuals to take on projects that might have once seemed daunting. DIY enthusiasts are eager to explore their creativity, resulting in unique fixtures that reflect their personal style. Furthermore, crafting one’s own fixtures often proves to be more cost-effective than purchasing high-end designer options. This trend also aligns with the increasing emphasis on sustainability, as many opt to use recycled or repurposed materials. As a result, DIY light fixtures are not just functional; they have become a statement of individuality, sustainability, and creativity in contemporary interior design.
10 Methods How to Make a Light Fixture
1. Repurpose an Old Object into a Light Fixture
One of the easiest and most environmentally friendly ways to create a light fixture is by repurposing old objects. Think of items like vintage colanders, metal baskets, or even teapots—objects with a hollow center that can house a bulb and wiring. Begin by drilling a hole in the top or bottom of the object to fit the light socket. Insert the socket, secure the wiring, and mount the fixture to the ceiling or wall. This method not only creates a unique conversation piece but also gives a second life to objects that might otherwise be discarded. Repurposed light fixtures often carry an industrial or eclectic vibe, perfect for kitchens, dining areas, or loft-style spaces.
2. Create a Mason Jar Pendant Light
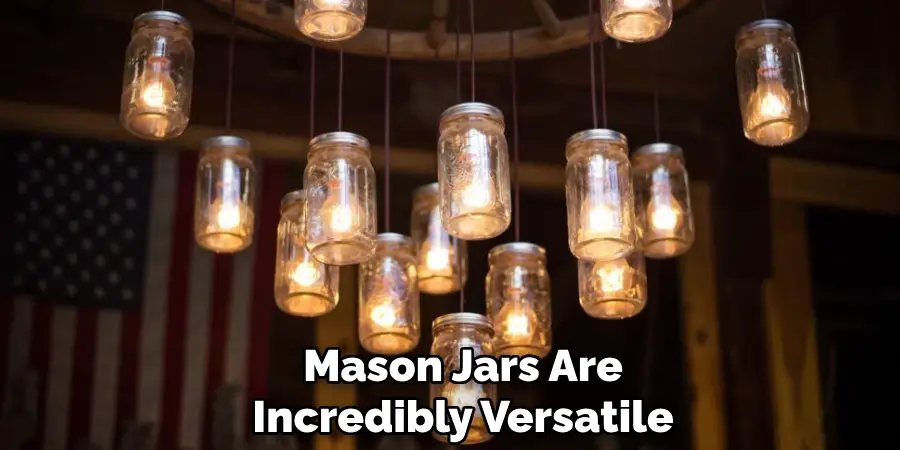
Mason jars are incredibly versatile and can be transformed into charming pendant lights. Start by gathering the necessary materials: mason jars, light sockets, wiring, and a ceiling mount kit. Drill a hole in the lid of each jar to fit the light socket, then wire the sockets to the ceiling mount. Secure the lids back onto the jars and install the fixture. Mason jar lights work wonderfully over kitchen islands or dining tables, offering a rustic, farmhouse aesthetic. To add extra flair, consider filling the jars with decorative items like string lights or colored glass stones for an ambient glow.
3. Make a Wooden Beam Chandelier
For a more dramatic and rustic look, a wooden beam chandelier can bring character to a room. Start by finding a sturdy wooden beam, such as a piece of reclaimed barn wood. Drill evenly spaced holes along the beam to hold light sockets, and wire the sockets through the beam to a central power source. The beam can be suspended from the ceiling using chains or thick rope for an added rustic touch. This type of fixture works particularly well in large dining rooms, entryways, or living spaces where you want to make a bold statement. You can customize the style of the bulbs, from exposed Edison bulbs to modern LED designs, depending on your preference.
4. Craft a Wire Basket Light
A wire basket can be turned into a stylish and modern light fixture in just a few steps. Start by selecting a wire basket that complements the size and style of your room. You’ll need to drill a hole in the center of the basket’s bottom to insert the light socket. Once the socket is in place, secure the wiring and attach the fixture to the ceiling. Wire basket lights provide a minimalistic and industrial vibe, and they cast interesting shadows on the walls and ceiling due to the basket’s open design. These are great for kitchens, patios, or loft-style homes where you want to keep the décor simple but functional.
5. Make a Paper Lantern Light Fixture
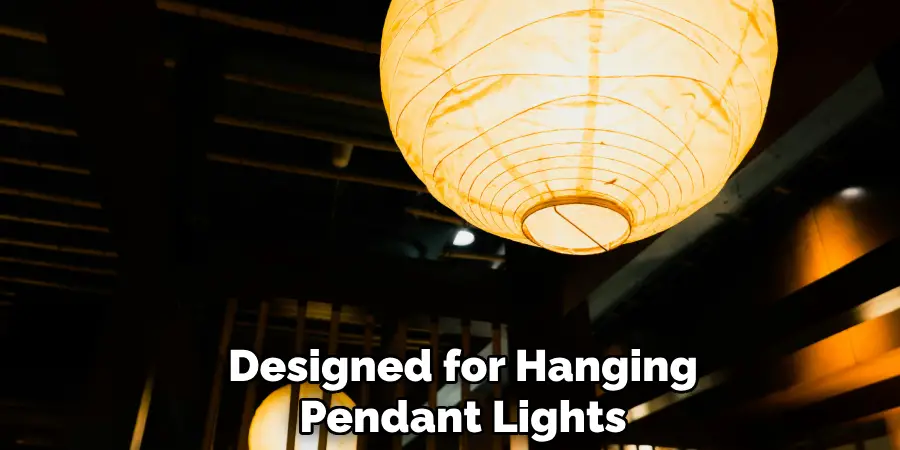
Paper lanterns are lightweight, inexpensive, and available in a variety of sizes and colors. To make a paper lantern light fixture, start by purchasing a large paper lantern and a light kit designed for hanging pendant lights. Most paper lanterns have a metal frame that helps them retain their shape and provides a spot to attach the light socket. Simply thread the socket through the lantern, secure the wiring, and mount the light fixture to the ceiling. Paper lanterns provide a soft, diffuse glow, making them ideal for bedrooms, living rooms, or dining spaces where you want a cozy ambiance. You can further customize them by painting or adding decorations to the lantern itself.
6. Build a Geometric Pendant Light
Geometric light fixtures are sleek and modern, and you can easily build one using copper or brass tubing. Begin by cutting the tubes into equal lengths and assembling them into a geometric shape—such as a triangle or hexagon—using metal connectors or glue. Once the shape is assembled, thread a light socket through the center and secure the wiring. Geometric pendant lights are perfect for minimalist or industrial-inspired interiors, offering a contemporary look that draws attention to the simplicity of the design. They work well over kitchen islands, workspaces, or in entryways, where their clean lines create a striking focal point.
7. Construct a Drum Shade Light Fixture
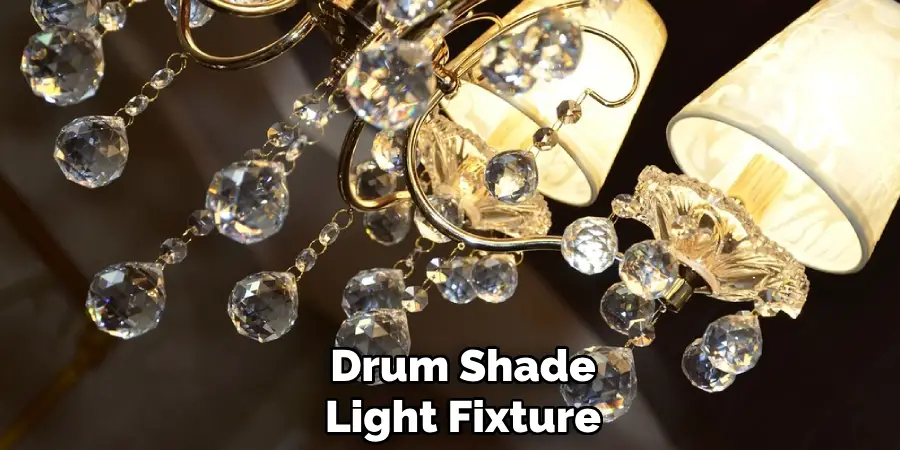
For a more traditional or elegant look, a drum shade light fixture is a great option. You can either purchase a pre-made drum shade or make one yourself using fabric and wire rings. Once the shade is ready, insert a light socket through the center, secure the wiring, and mount the fixture. Drum shade lights provide even, soft illumination and work well in living rooms, dining rooms, or bedrooms. The fabric on the shade can be customized to match your décor, from bold patterns to neutral colors. You can also embellish the shade with beads, trims, or other decorative elements to add personality to the fixture.
8. Create a Glass Bottle Chandelier
Glass bottles, such as wine or soda bottles, can be transformed into a beautiful and artistic chandelier. Begin by collecting several bottles of the same size or mix different sizes for a more eclectic look. Use a glass-cutting tool to carefully remove the bottoms of the bottles, then thread light sockets through the bottle necks and secure the wiring. Mount the bottles in a cluster or arrange them in a row, depending on your design preference. A glass bottle chandelier adds a unique touch to dining rooms or bars, with the glass offering an elegant and colorful glow when illuminated.
9. Weave a Rope Pendant Light
Rope pendant lights bring a nautical or bohemian vibe to any space. To make one, you’ll need thick jute or hemp rope, a light socket, and a pendant light kit. Start by tightly wrapping the rope around the light socket and wiring, securing it with glue as you go. You can create different patterns with the rope or leave it simple for a more rustic look. Once the rope is in place, mount the pendant light to the ceiling. Rope pendant lights are perfect for coastal-inspired interiors, outdoor patios, or even rustic kitchens. The texture of the rope adds warmth and an organic feel to the space.
10. Make a Beaded Chandelier
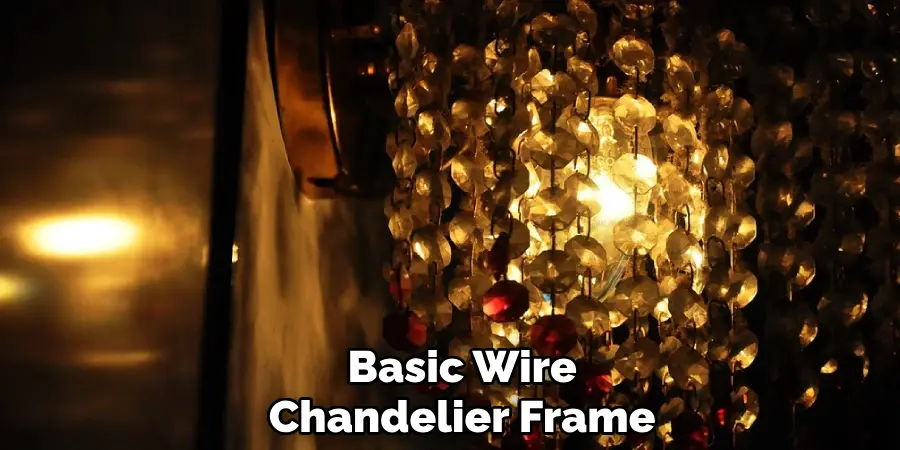
For a bohemian or vintage-inspired light fixture, a beaded chandelier can add a touch of elegance and whimsy. Start with a basic wire chandelier frame, and string beads (wooden, glass, or acrylic) along the frame using fishing line or wire. Continue adding beads until you’ve covered the entire frame or created the desired pattern. Insert light sockets into the center of the frame and wire them for hanging. Beaded chandeliers are perfect for bedrooms, living rooms, or dining areas, where you want to add a pop of color and texture. The beads create interesting light reflections, adding to the visual appeal of the fixture.
Conclusion
In conclusion, creating your own light fixtures allows for personalization and a unique touch that store-bought options often lack. Whether you prefer the rustic charm of a wooden beam chandelier or the modern aesthetics of a geometric pendant, there’s a DIY project to suit every style and taste. Experimenting with different materials like glass, rope, and fabric not only challenges your creativity but also helps craft a home environment that reflects your personality. Thanks for reading, and we hope this has given you some inspiration on how to make a light fixture!

