A light box is an essential tool for artists, offering a consistent and illuminated surface that aids in tracing, drawing, and various creative projects. Whether you’re a professional artist or a hobbyist, making your own light box can be a cost-effective and rewarding endeavor. This guide will walk you through the process of how to make a light box for art, allowing you to enhance your artistic workflow with ease.
What Is a Light Box for Art?
A light box for art is a flat, backlit surface that provides consistent illumination, enabling artists to see through paper or other translucent materials with ease. It is especially useful for tracing designs, transferring sketches, or aligning patterns accurately. The even light source eliminates shadows and helps reduce eye strain, making it an indispensable tool for tasks that require precision and attention to detail. Light boxes come in various sizes and styles, ranging from battery-powered portable versions to larger, plug-in models suitable for studio use. Regardless of its form, a light box streamlines artistic processes and supports creativity by providing a reliable workspace.
Why Make Your Own Light Box?
Creating your own light box is not only cost-effective but also allows you to customize it according to your specific needs. Store-bought light boxes can be expensive, especially for larger or higher-quality models, whereas building one yourself often requires basic materials and tools that are readily available. By making your own, you can tailor the size, brightness, and design to fit your projects and workspace perfectly. Additionally, constructing a light box can be a fun and fulfilling DIY project, offering a sense of accomplishment and pride in using equipment designed by your own hands. For artists who enjoy personalizing their tools, making a light box is an excellent opportunity to create something uniquely suited to their creative process.
Materials Needed to Build a Light Box
Building a light box is a straightforward process, and the materials required are often easy to find. Here’s what you’ll need:
- A Sturdy Box or Frame: This will serve as the base structure for your light box. A wooden picture frame, a shallow plastic container, or even a cardboard box can work, depending on your desired size and durability.
- Transparent or translucent surface: Acrylic or frosted glass works best for diffusing light evenly. This will form the top surface of your light box where you’ll place your paper or material.
- Led Strip Lights or a Light Panel: These provide the illumination for the light box. LEDs are energy-efficient, produce minimal heat, and offer bright, consistent light.
- Power Source: Depending on your lighting choice, this could be a battery pack, USB connection, or an adapter to plug into an outlet.
- Adhesive or Fasteners: Use glue, tape, or screws to secure components of the box together.
- Optional Dimmer Switch: If you want control over the brightness levels, a dimmer switch can be a convenient addition.
These materials will help you create a functional and durable light box tailored to your artistic needs.
10 Methods How to Make a Light Box for Art
1. Repurposing a Transparent Storage Box
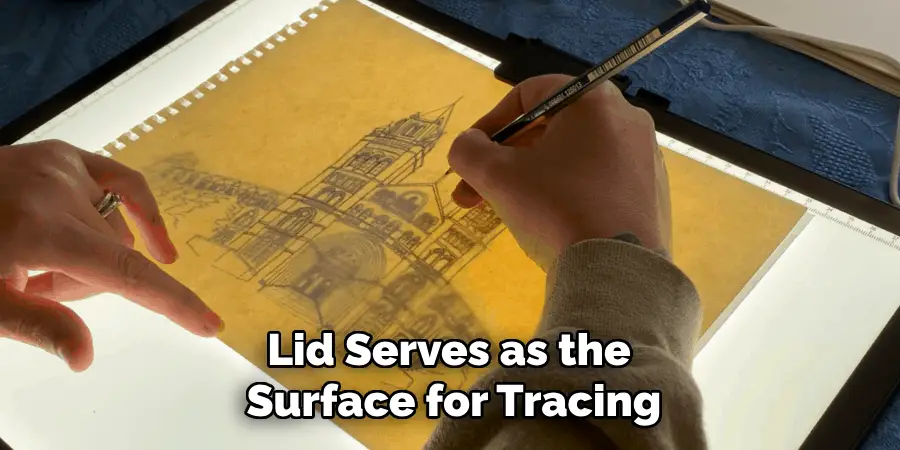
One of the simplest methods to create a light box is by repurposing a transparent or semi-transparent plastic storage box. Start by selecting a box with a flat, smooth lid. Flip the box so the lid serves as the surface for tracing. Inside the box, place a string of LED strip lights or a portable LED panel. Secure the lights to prevent movement and distribute them evenly for consistent illumination. Plug in the light source, and you have a basic light box. This method is cost-effective and requires minimal assembly, making it ideal for beginners.
2. Using a Picture Frame and Frosted Glass
A picture frame with frosted glass or acrylic can be transformed into a sleek light box. Remove the backing and insert a frosted glass sheet to diffuse light evenly. Attach LED strips to the inside of the frame, ensuring even spacing to prevent shadows. Reinforce the frame with a wooden or plastic casing to provide stability. This method yields a professional-looking light box that is both functional and aesthetically pleasing, perfect for small-scale art projects.
3. Crafting with a Wooden Shadow Box
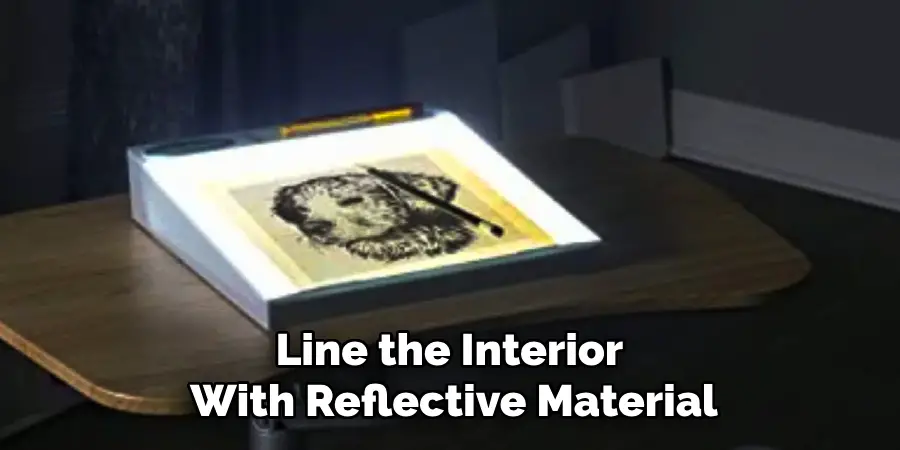
A wooden shadow box offers a sturdy foundation for a DIY light box. Begin by removing the back panel of the box. Line the interior with reflective material such as aluminum foil or white paint to enhance light distribution. Insert LED strip lights around the edges and secure them with adhesive tape. Replace the top with a frosted acrylic sheet or translucent plastic. This method is ideal for artists who need a durable and portable light box for frequent use.
4. Upcycling an Old Laptop Screen
If you have an old, unused laptop, you can repurpose its screen to create a light box. Carefully disassemble the laptop to remove the LCD screen. Place the screen in a wooden or plastic casing, and insert a bright LED panel or light sheet behind it. Connect the light source to a power supply. The laptop screen’s thin and lightweight nature makes this method ideal for creating a portable, slim light box. However, it requires some technical know-how to handle the disassembly safely.
5. Building with a Transparent Cutting Board
A transparent cutting board can double as the tracing surface for a light box. Choose a board with a smooth, frosted finish. Create a simple wooden or plastic frame to hold the board securely. Install LED strips or a flat LED panel beneath the board, ensuring even light distribution. Secure the light source with adhesive tape or brackets. This method is particularly useful for artists who want a multi-functional tool, as the cutting board can still be used for its original purpose when needed.
6. Designing a Foldable Light Box
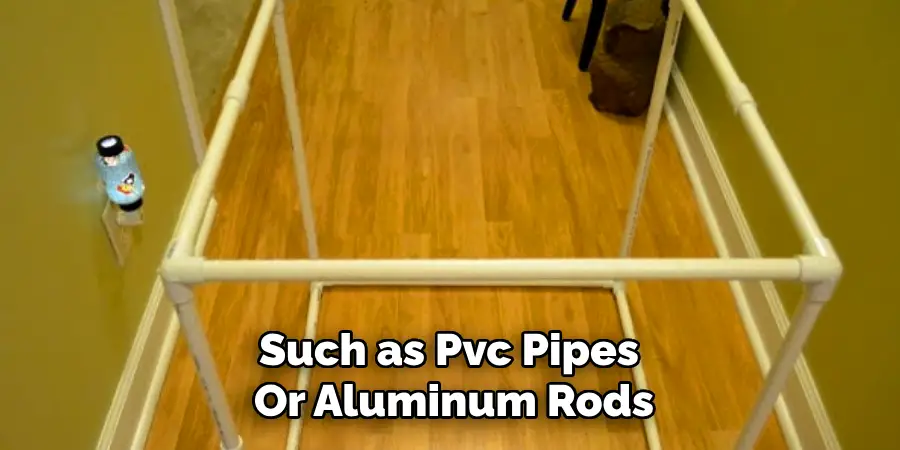
For artists who need a portable solution, a foldable light box is an excellent choice. Use a foldable plastic or acrylic sheet as the tracing surface. Create a collapsible frame using lightweight materials such as PVC pipes or aluminum rods. Attach LED strips to the frame, and ensure the wiring is flexible enough to accommodate folding. This method requires more effort but results in a highly portable and space-saving light box, perfect for traveling artists.
7. Converting a Desk Drawer
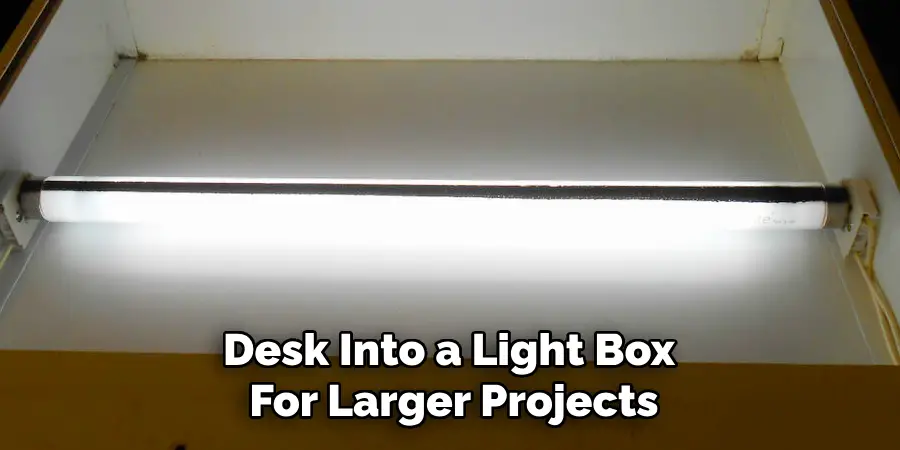
An unused desk drawer can be repurposed into a functional light box with minimal effort. Line the interior with reflective material to enhance brightness. Place LED strips or a flat light panel at the bottom of the drawer. Cover the top with a frosted acrylic sheet or a piece of translucent plastic. The drawer’s natural structure provides stability and can even double as a storage space for art supplies when not in use. This method is a great way to upcycle and save space in your studio.
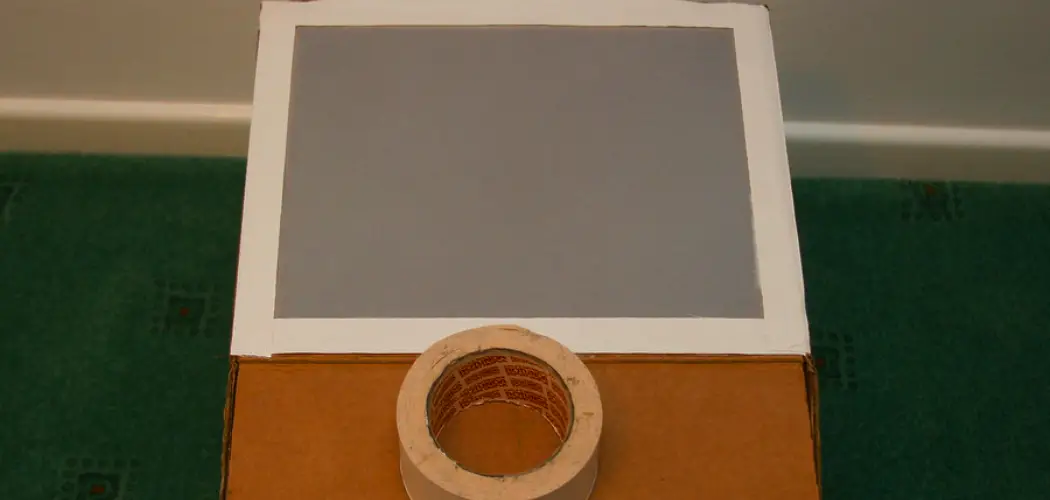
8. Creating a Light Box from Cardboard
If you’re looking for a budget-friendly solution, cardboard is a versatile material for crafting a light box. Cut out a rectangular box and line the interior with aluminum foil for reflectivity. Add a frosted plastic sheet to the top as the tracing surface. Install battery-powered LED lights or a USB-powered LED panel inside the box. While less durable than other methods, this approach is highly customizable and suitable for artists experimenting with light boxes for the first time.
9. Making a Dual-Purpose Table Light Box
Transform a small coffee table or desk into a light box for larger projects. Replace the table’s top with a frosted glass or acrylic sheet. Attach LED strips or a flat LED panel beneath the surface. Secure the lights with brackets or adhesive tape. The table can still function as regular furniture while doubling as a light box for tracing or stenciling. This method is particularly useful for illustrators or designers working on larger canvases or paper.
10. Assembling a Light Box with Plexiglass and LED Sheets
Plexiglass and LED sheets are perfect for creating a high-quality, professional-grade light box. Cut the plexiglass to your desired size and use a wooden or aluminum frame to hold it securely. Install an LED sheet beneath the plexiglass for consistent, even lighting. Secure the LED sheet with adhesive, and connect it to a power source. This method produces a sleek, durable, and bright light box suitable for professional artists or photographers.
Conclusion
Creating a DIY light box offers endless possibilities for artists, crafters, and designers to enhance their work with precise lighting and traceability. Whether you’re upcycling household items or designing a professional-grade tool, there is a method to suit every skill level and budget. Each approach outlined above demonstrates that with a bit of creativity and resourcefulness, anyone can build a functional light box tailored to their specific needs. Thanks for reading our blog post on how to make a light box for art! We hope you found it helpful and informative.

