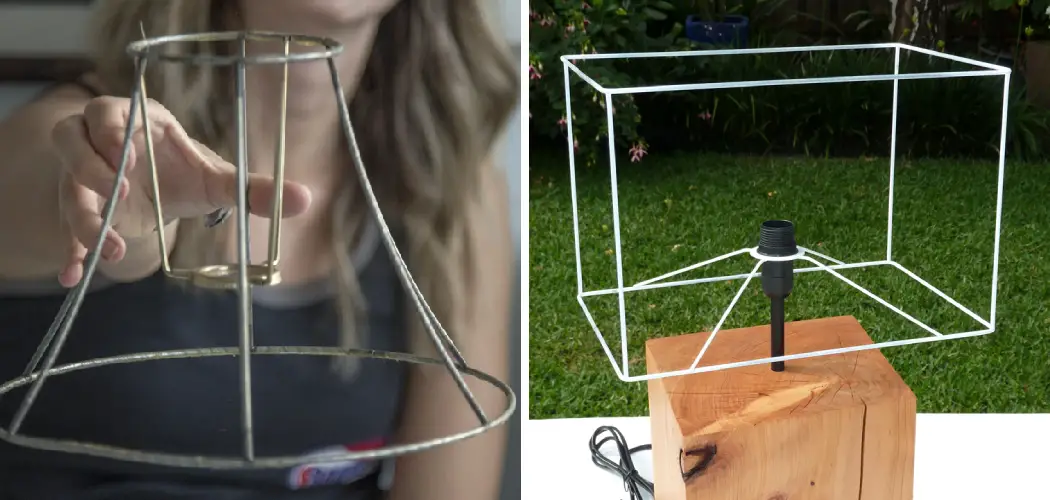
Crafting a custom frame for your lamp can be an exciting and rewarding DIY project. Not only does it provide an opportunity for creativity and personalization, but it also allows you to design a unique piece that complements your home décor.
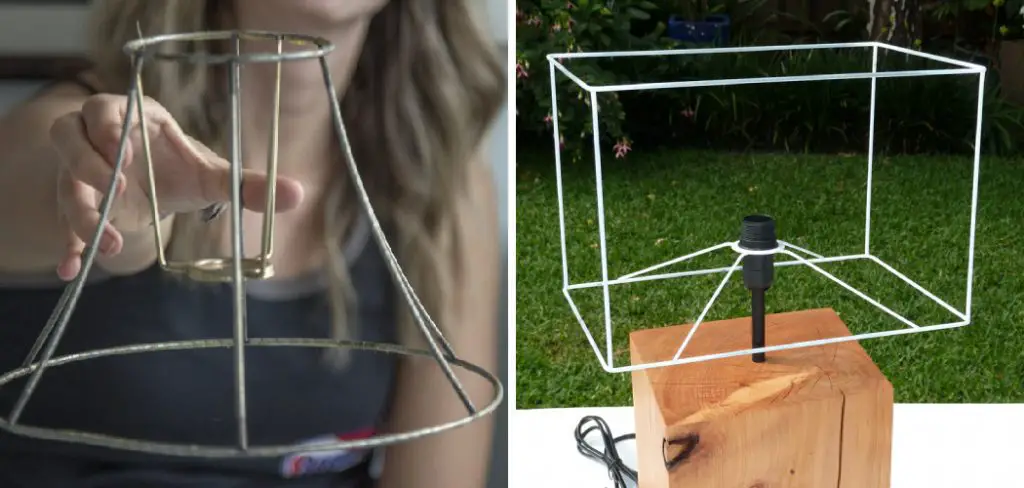
By making your own lamp frame, you have complete control over factors such as the design, materials used, and overall look of the finished product, ensuring it aligns with your style. Additionally, creating a lamp frame yourself can save costs compared to purchasing a pre-made version while providing the satisfaction of constructing something with your own hands.
This article aims to offer a comprehensive, step-by-step guide on how to make a lamp frame. From selecting the right materials to assembling and finishing the structure, this guide will help you build a sturdy, functional, and stylish lamp frame that you can proudly showcase in your home.
Materials and Tools Needed
Essential Materials
To construct a lamp frame, you will need the following materials:
- Metal or wooden rods (depending on your frame material choice).
- Lamp base (e.g., ceramic, metal, or wood).
- Wiring kit (with lamp socket, cord, and plug).
- Lamp shade (optional, but can be made or purchased).
- Screws, nuts, and bolts (if assembling the frame with metal or wood).
- Paint, varnish, or fabric (for finishing the frame).
These materials ensure that your lamp frame is both functional and structurally sound while allowing for creativity in its design and finish.
Tools You’ll Need
To assemble and complete your lamp frame, have the following tools ready:
- Measuring tape or ruler.
- Drill holes in the base and frame.
- Saw (for cutting wood or metal rods).
- Screwdriver.
- Pliers (for bending metal rods).
- Sandpaper or a file (for smoothing edges).
- Glue (specifically for wood frames).
The right tools are crucial for precise measurements, clean cuts, and a polished final product. This list ensures an efficient and safe construction process, whether you’re working with metal or wood.
Designing Your Lamp Frame
Choosing the Style
Decide on the type of lamp frame you want to create, keeping in mind the aesthetic of your space. Popular styles include modern, industrial, minimalist, and rustic. For a cohesive look, consider how the lamp’s design will complement the room’s existing furniture, color scheme, and decor. Your lamp frame can either serve as a subtle enhancement or a bold statement piece.

Dimensions and Shape
Begin by measuring the height and width of your lamp base to ensure the frame’s proportions are balanced. Think about the shape you want the frame to take—whether it’s a traditional cylindrical design, a sleek geometric figure, or a unique freeform shape that adds character. The dimensions should provide stability while allowing the light to disperse evenly.
Planning the Frame Structure
Plan on using rods, pipes, or other sturdy materials for a metal frame to create a durable and visually striking structure. Weld or connect these pieces carefully for stability. For a wooden frame, decide how the frame will be assembled. You might use dowels, screws, or glue to join the pieces securely. Smooth and sand rough edges to ensure a polished finish. Effective planning ensures both style and structural integrity for your custom lamp frame.
Cutting and Preparing Materials
Step 1: Cutting the Frame Material
Measure and carefully mark the desired lengths for the rods or wooden pieces that will form the structure of your lamp. Precision is crucial in this step to ensure all components fit together perfectly.
Use a saw for wooden materials or a pipe cutter for metal rods to create clean, accurate cuts. Double-check your measurements before cutting to avoid wasting materials.
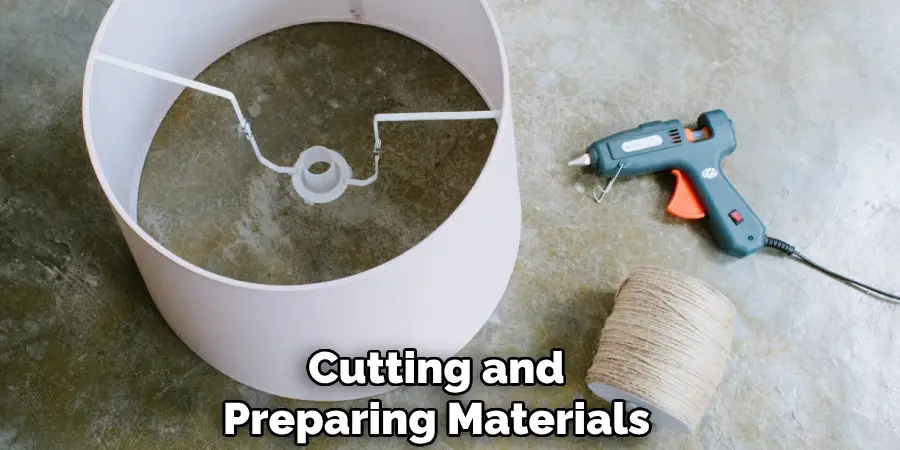
Step 2: Sanding and Smoothing
After cutting, focus on preparing each piece for assembly. For wooden components, sand down the rough edges using fine-grit sandpaper to achieve a polished, splinter-free surface. For metal rods, use a metal file to remove any burrs and create smooth ends.
This step ensures safety by preventing injuries from sharp edges while also improving the overall aesthetic of the final product. Taking the time to smooth all materials will contribute significantly to the professional appearance of your custom lamp.
Step 3: Preparing the Lamp Base
The base of your lamp serves as the foundation and needs to be properly prepared for assembly. If using a wooden or ceramic base, ensure that it includes a hollow opening or a drilled hole large enough to accommodate the lamp wiring. Test the opening with the wiring to confirm a proper fit.
Additionally, secure the base by stabilizing it on a flat surface to prevent any movement during the assembly process. This step is essential for creating a functional and stable lamp design.
How to Make a Lamp Frame: Assembling the Lamp Frame
Step 1: Assembling the Base and Frame
Begin by connecting the base and frame of your lamp. If using a metal frame, carefully bend and connect the metal rods to form the desired shape of your design. Utilize screws, bolts, or welding techniques to achieve permanent and secure attachments.
For those opting for a wooden frame, use wood glue in combination with screws to join the individual pieces, making sure they are aligned to create a sturdy square, circular, or custom structure. Double-check the measurements and connections to ensure everything is symmetrical and properly fitted.
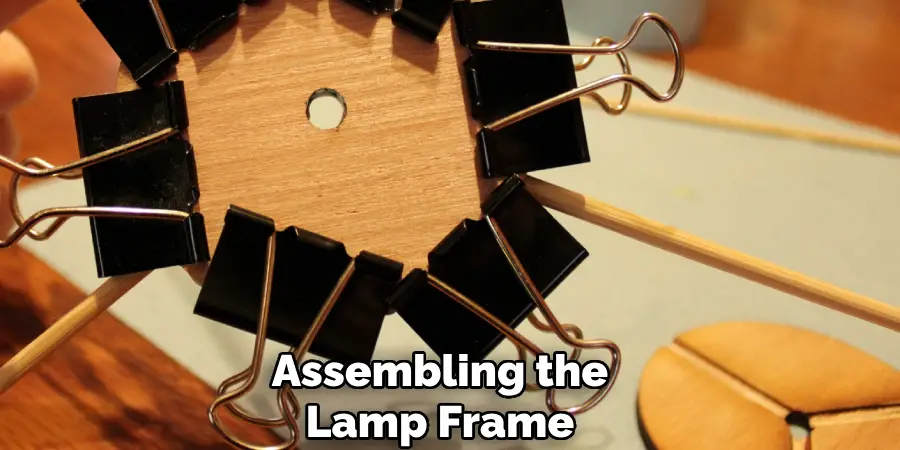
Step 2: Attaching the Lamp Socket
Once the base and frame are assembled, it is time to attach the lamp socket. Position the socket at the designated spot within your frame, ensuring it is aligned and secure. Use screws or adhesive to fasten the socket to the frame firmly.
Next, connect the wiring kit to the socket, carefully following the safety instructions provided with the kit. Double-check all connections to ensure they are tight and properly wired to avoid any electrical issues. Following safety guidelines throughout this step is crucial to ensure a functional and safe lamp.
Step 3: Ensuring Stability
Before finalizing the assembly, assess the stability of your lamp. Gently shake the frame to identify any weak points or potential wobbling. If you notice any instability, add additional supports or reinforcements, such as brackets or crossbars, to ensure the lamp remains secure. Taking time to test and reinforce the frame helps in creating a durable and safe design.
Wiring and Electrical Setup
Step 1: Connecting the Wiring
Follow the manufacturer’s instructions to connect the wiring from the lamp socket to the plug. Begin by carefully attaching the appropriate wires, typically matching the colors as indicated in the instructions (e.g., black to black, white to white).
Use wire connectors or electrical tape to ensure a secure and insulated connection. Make sure the wire is long enough to comfortably reach from the lamp frame to your chosen electrical outlet without being too taut.
Step 2: Testing the Lamp
Before finalizing the wiring setup, plug in the lamp to test its function. Once connected to a power source, check if the bulb lights up as intended. Observe the lamp for any flickering or other irregularities, as these could indicate a loose connection or fault in the wiring.

If any issues are identified, unplug the lamp immediately and inspect all connections to ensure they are secure and properly installed. Never leave exposed wires during this step.
Step 3: Securing the Wiring
Secure the wire to the lamp frame using clips, cable ties, or adhesive strips to ensure a neat and organized appearance. This keeps the wire out of sight and prevents it from dangling or creating a safety hazard.
Ensure the wire lies flat along the frame and does not interfere with the lamp’s stability or functionality. Properly securing the wire not only enhances the aesthetic but also contributes to the safety of your lamp.
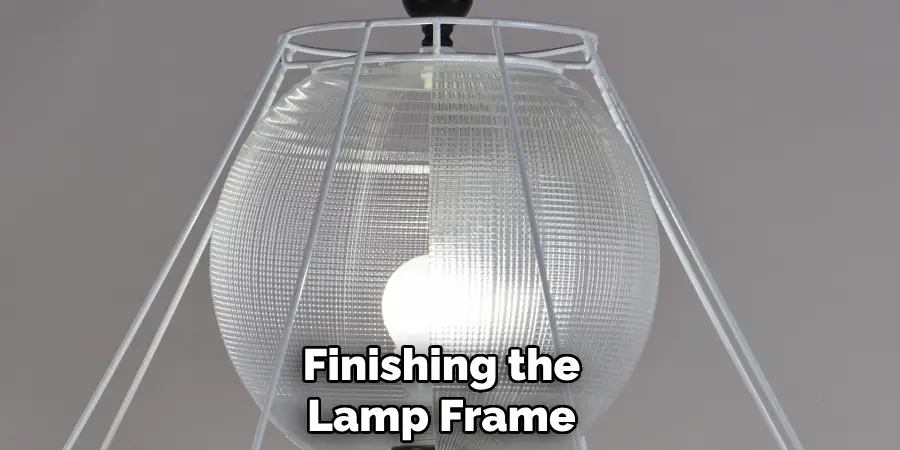
Finishing the Lamp Frame
Step 1: Painting or Staining the Frame
To achieve the desired look, apply paint or stain to the lamp frame. This step allows for customization and can complement your personal design aesthetic. Consider using spray paint for a sleek and polished finish, which provides even coverage.
Alternatively, opt for hand-painting to add a textured and handcrafted feel to the frame. Be sure to apply paint or stain evenly, and use multiple thin coats if needed to avoid drip marks or uneven coloring.
Step 2: Adding Fabric or Decorative Elements
Enhance the lamp frame with fabric or decorative accents for a unique and personalized touch. Wrap the frame with your chosen material, such as patterned fabric or ribbon, securing it tightly to ensure it stays in place.
Other options include attaching beads, rope, or other adornments to reflect your style. If your preference leans more toward a modern, industrial design, consider leaving the frame unadorned for a clean and minimalist finish.
Step 3: Sealing and Curing
To protect the finish and ensure durability, allow the paint, stain, or varnish to fully dry and cure. Follow the manufacturer’s instructions carefully, as drying and curing times can vary depending on the product used.
Proper sealing helps to maintain the frame’s appearance and prevents wear over time. With everything complete, your lamp frame is now ready for use or display.
Attaching the Lamp Shade
Step 1: Choosing the Lamp Shade
Select a lampshade that complements the frame’s design. Consider the overall aesthetic of your lamp—whether it is modern, rustic, or industrial—and choose a shade that enhances its visual appeal.
You can either purchase a pre-made shade in various styles and materials or create a custom shade using fabric, paper, or other creative materials to suit your preferences.
Step 2: Attaching the Shade to the Frame
Attaching the shade is straightforward if your frame includes a built-in bracket or holder. Use the provided clips or screws to fasten the shade in place securely.
For a DIY shade without a mounting mechanism, use hot glue or another appropriate adhesive to attach it directly to the frame. Ensure the adhesive is strong enough to hold the shade while maintaining alignment securely.
Step 3: Final Adjustments
After attaching the shade, carefully adjust it to ensure it sits evenly and securely on the frame. Check from multiple angles to confirm it is level and properly centered. Once everything is in place, your lamp is now complete and ready to light up your space.
Conclusion
Creating a lamp frame is a rewarding project that involves several key steps, from designing and cutting to assembling, wiring, and finishing. Each stage is important in ensuring your final piece is both functional and visually appealing.
When learning how to make a lamp frame, double-check every connection and ensure the frame is stable before use for safety and durability. Get creative with your design—Whether you prefer a sleek, modern frame or a rustic, handmade look, customizing your lamp frame is an excellent way to add a unique, personal touch to your space.

