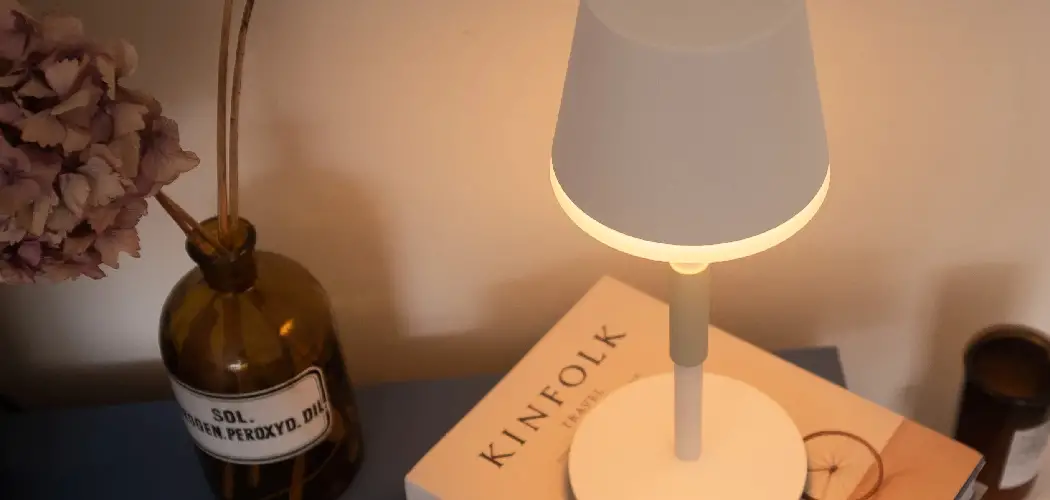
Transforming a traditional lamp into a battery-powered source of illumination opens up a world of possibilities for versatile and cord-free lighting solutions. Knowing how to make a lamp battery-powered allows you to enjoy the ambiance of light without being constrained by proximity to electrical outlets. This article serves as a comprehensive guide, offering creative methods and step-by-step instructions for how to make a lamp battery powered.

Whether you want to repurpose an old lamp or create portable lighting for outdoor events, understanding the nuances of battery-powered lamp conversion empowers DIY enthusiasts to bring light to any corner of their homes or beyond. Explore the freedom of flexible lighting solutions as we delve into the techniques to make your lamps truly mobile and independent.
Benefits of Making a Lamp Battery-Powered
Converting your lamp to battery power comes with several advantageous perks. Firstly, mobility is significantly enhanced as there’s no longer a need to be tethered to a wall socket, offering the flexibility to move your light source to any location. Whether it’s an outdoor gathering or simply the desire to rearrange furniture without worrying about outlet accessibility, battery-powered lamps are a game-changer.
Secondly, safety is improved by reducing the risk of tripping over cords and the potential fire hazards associated with damaged wiring. Additionally, in the event of a power outage, battery-powered lamps provide a dependable source of light, ensuring that you’re never left in the dark. Finally, the aesthetic value of your space can be augmented by eliminating unsightly cords, thereby maintaining the clean and uncluttered design inherent to modern decor.
Importance of Safety Precautions During the DIY Project
Undertaking a DIY project such as converting a lamp to battery power can be a fulfilling and creative endeavor, but it’s crucial to prioritize safety throughout the process. Electrical safety is paramount to avoid potential shocks or short circuits, especially since you’ll be handling wires and soldering components. It’s important to ensure that all tools and batteries used are in good working condition and are handled according to manufacturer instructions.
Fire safety is another critical consideration; always work in a well-ventilated area away from flammable materials. Taking these precautions not only protects your well-being but also ensures that the finished product is both safe and reliable for everyday use. Remember, safety is the most illuminating choice you can make while bringing your battery-powered vision to light.
Selecting the Lamp
When embarking on the project of making a battery-powered lamp, the first step is selecting the appropriate lamp to convert. Opt for a lamp that has enough internal space to house the battery pack you intend to use. Table lamps with larger bases are typically ideal as they provide ample room for battery storage while maintaining a balanced design.
Additionally, choosing a lamp made of materials that are easy to work with, such as plastic or thin metal, can simplify the process of creating openings for switches or battery compartment access. It is also important to consider the lamp’s bulb type; LEDs are preferred due to their low power consumption and long life, which are optimal for battery operation.
Take time to evaluate your lighting needs and aesthetic preferences to ensure the lamp you select will suit your desired functionality and complement your design scheme.
Assessing Lamp Components and Power Requirements
Before beginning the conversion, it’s crucial to assess the existing components of the lamp and understand the power requirements it has. Examine the design and size of the lamp to determine the best placement for the battery pack. The aim is to integrate the battery in a way that keeps the lamp’s aesthetic appeal intact.
For the power requirements, calculate the voltage and amperage needed to ensure that the chosen battery pack can sufficiently power the lamp’s bulb. Most LED bulbs require little power, so a standard battery pack is often adequate.
However, if you’re planning to use a bulb that requires more energy, you may need to consider higher-capacity batteries or multiple batteries to achieve the necessary output. The objective is to strike a perfect balance between seamless design and reliable power supply.
Ensuring Compatibility with Battery-Powered Components
To ensure a successful conversion of your lamp to a battery-powered unit, it is critical to select components that are compatible with your battery choice. Begin by selecting a battery pack that not only fits within your lamp but also provides the correct voltage and amperage for your lamp’s bulb. For instance, if your lamp uses a 12V LED bulb, your battery pack should match this requirement.
Moreover, the switch used to turn the lamp on and off should be rated for the current your light will draw. This might involve replacing the existing lamp switch with one that is compatible with DC power.

Additionally, any added wiring should be of the right gauge to handle the power demand without overheating. Lastly, the battery holder or compartment should securely accommodate the batteries while allowing for easy replacement. Ensuring these components are well-matched not only guarantees the lamp will function as intended but also prolongs the life of both the lamp and the batteries used.
10 Methods How to Make a Lamp Battery Powered
1. Select the Right Lamp:
Start by choosing a lamp suitable for battery operation. Opt for lamps with removable bases or those designed for cordless use, as these are easier to adapt for battery power. Consider the size, design, and intended use of the lamp. For example, a small bedside lamp may only require a few batteries, while a larger floor lamp may need more.
When selecting a lamp for battery operation, be sure to check the voltage requirements. Some lamps may require higher voltage than what is available in batteries. In this case, you can use a DC-AC converter to power the lamp using multiple batteries.
2. Gather Necessary Materials:
Collect the materials required for the conversion. This includes a battery pack or holder, rechargeable batteries, a switch, and basic tools such as a screwdriver, wire strippers, and soldering equipment. Ensure the battery pack matches the voltage requirements of your lamp. Though most battery packs are labeled with the voltage, some may require a multimeter to determine their voltage.
In addition to these materials, you may also need a charger for your rechargeable batteries if they do not come pre-charged. It’s important to have all necessary materials gathered before beginning the conversion process to avoid any delays or interruptions.
Once you have all your materials, make sure to read the instruction manual for your specific lamp model. This will give you a better understanding of how to disassemble and reassemble the lamp, as well as any safety precautions that need to be followed.
3. Remove Power Cord:
If your lamp has a power cord, carefully remove it by disconnecting it from the socket and cutting or removing it from the lamp. Take note of the wires inside the lamp for later connections.
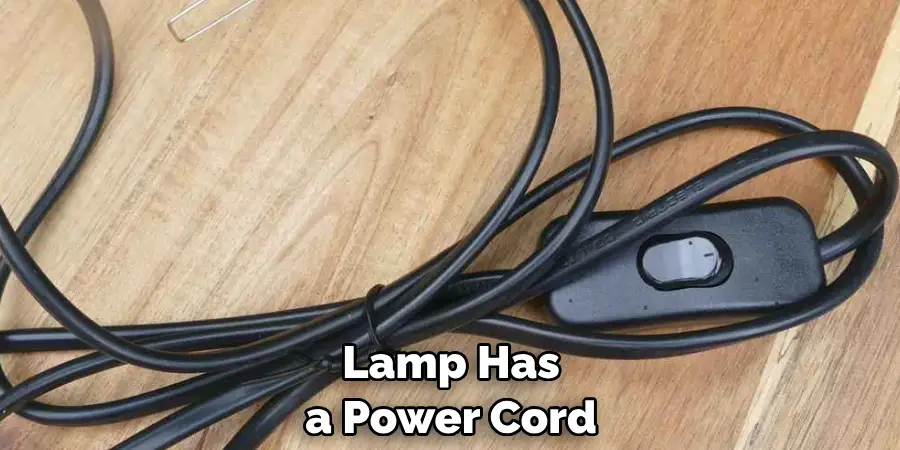
After removing the lamp’s power cord, it is important to handle it with care. Make sure to avoid any sharp objects that can cause damage to the wires or insulation. It is also recommended to wrap the exposed wires in electrical tape for added protection.
Once you have removed the power cord, you may need to purchase a replacement cord if it was damaged or worn out. Make sure to choose a cord with the same voltage and wattage as the original one for safety reasons.
After purchasing a replacement power cord, you can now connect it to the lamp. Carefully strip off the insulation from the wires to expose about half an inch of bare wire. Then, twist together the corresponding colored wires and secure them with wire nuts. Finally, use electrical tape to cover the exposed wires for added safety.
4. Prepare Battery Pack:
Install rechargeable batteries into the battery pack or holder. Ensure the batteries are fully charged before proceeding. If the battery pack is not built into the lamp, consider securing it to the lamp’s base using adhesive or fasteners.
Once the battery pack is fully installed and secured, it’s important to regularly check the batteries for any signs of damage or corrosion. This will help ensure that your lamp continues to function properly and safely.
Additionally, consider keeping spare batteries on hand in case you need to replace them quickly. This can be especially useful during power outages or when using the lamp for extended periods of time.
You can also prolong the life of your batteries by following a few simple tips. Avoid storing them in extreme temperatures or exposing them to moisture. It’s also recommended to use the same type and brand of batteries for optimal performance.
5. Install a Switch:
Integrate a switch into the lamp’s design to control the battery power easily. Choose a switch suitable for your lamp’s style and size. Install the switch in a convenient location on the lamp, such as the base or near the bulb socket. Make sure to follow the instructions provided by the switch manufacturer for proper installation.
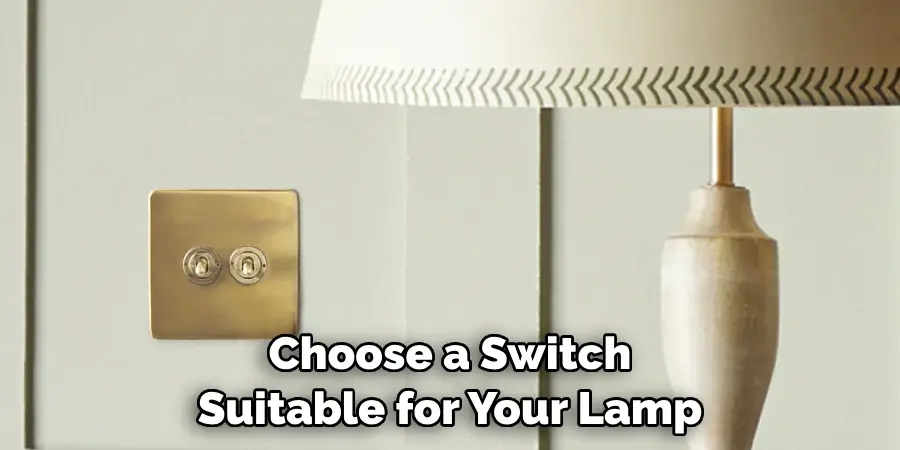
Some popular types of switches include toggle switches, push-button switches, and rotary switches. Each type has its own advantages and can add a unique touch to your lamp’s design.
Toggle switches are one of the most common types of switches used in lamps. They consist of a lever that you can flip up or down to turn the lamp on or off. Toggle switches are easy to use and can be found in a variety of styles and colors.
Push-button switches, also known as momentary switches, have a button that you push to turn the lamp on or off. These switches are great for modern and minimalist designs as they don’t take up much space and provide a sleek look.
6. Connect Wiring:
Reconnect the wires inside the lamp. Match the positive and negative wires from the battery pack to the corresponding wires in the lamp. Use wire nuts or soldering to secure the connections. Connect the switch to control the flow of electricity.
Once all the wires are connected, carefully tuck them inside the lamp and secure them with tape or cable ties. This will prevent any accidental disconnection of wires while using the lamp.
Next, connect the battery pack to a power source. You can use either disposable batteries or rechargeable ones depending on your preference. Make sure that the battery pack is securely attached to the lamp to avoid any loose connections.
Lastly, test the lamp by turning on the switch. If everything is connected properly, the lamp should light up. If not, double check all the connections and fix any issues before proceeding.
7. Conceal Battery Pack:
If the battery pack is external, find a discreet location to conceal it within or around the lamp. Consider using the lamp’s base or creating a hidden compartment to maintain the lamp’s aesthetic appeal. Additionally, ensure that the battery pack is easily accessible for charging purposes.

Creating a hidden compartment can be a fun and creative way to conceal the battery pack. You can use materials such as cardboard, foam board, or even repurpose an old container to create a secret compartment within the lamp’s base. This not only hides the battery pack but also adds an element of surprise to the lamp’s design.
To ensure easy accessibility for charging, you can also consider installing a small opening or flap in the hidden compartment. This way, you won’t have to constantly remove the battery pack whenever it needs to be charged. You can simply plug in the charger and close the compartment, keeping the overall design of the lamp intact.
8. Consider LED Bulbs:
Opt for energy-efficient LED bulbs, as they consume less power and extend battery life. LED bulbs also produce less heat, reducing the risk of overheating in battery-powered lamps. Ensure the LED bulb matches the lamp’s socket.
One aspect that should not be overlooked when choosing LED bulbs is the color temperature. Color temperature refers to the perceived “warmth” or “coolness” of a light source, measured in Kelvin (K). Lower temperatures produce warmer-colored light, while higher temperatures produce cooler-colored light.
It is important to select a color temperature that suits your needs and preferences. For example, if you want a cozy and inviting atmosphere, opt for bulbs with lower color temperatures (2700K-3000K). On the other hand, if you need brighter and more energetic lighting, go for higher color temperatures (5000K-6500K).
9. Add a Charging Port:
For convenience, consider incorporating a charging port into your battery-powered lamp design. This allows you to recharge the batteries without disassembling the lamp. Place the charging port in an accessible location. You can use a micro USB charging port, which is widely used in electronics and allows for easy recharging. Additionally, make sure to include an LED indicator light on the lamp that indicates when the batteries are fully charged.
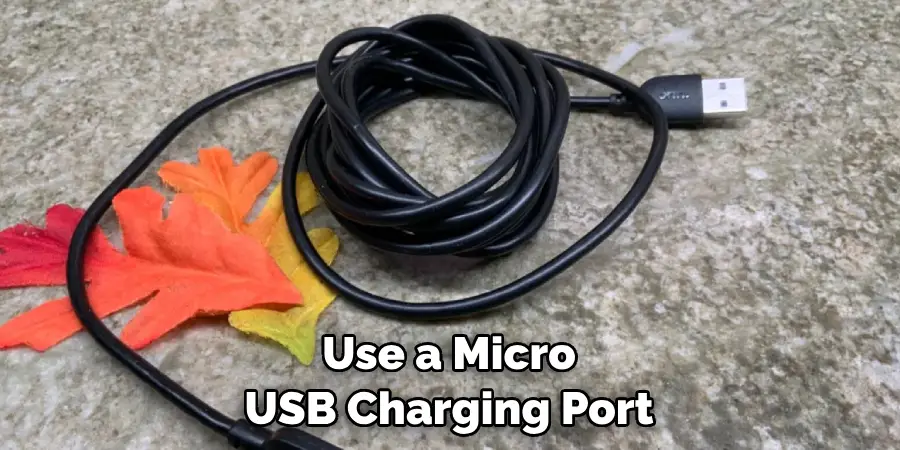
Adding a charging port to your battery-powered lamp design not only adds convenience, but also makes it more sustainable by allowing for repeated use of the same batteries. This reduces the need for constantly purchasing new batteries, which can be expensive and harmful to the environment. Plus, having a charging port allows for a longer lifespan of your lamp, as you won’t have to worry about constantly replacing old batteries.
10. Test and Refine:
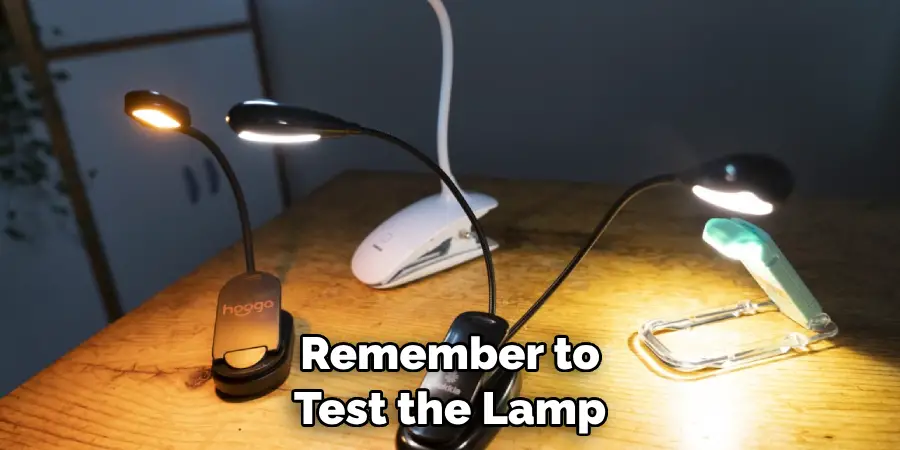
Before finalizing the assembly, test the battery-powered lamp to ensure all connections are secure, and the switch functions correctly. Make any necessary adjustments, and refine the design as needed. Consider adding decorative elements to enhance the lamp’s appearance. This could include painting or adding fabric to the lampshade, or incorporating decorative accents such as buttons or ribbons.
After completing these steps, test the battery-powered lamp again to ensure it meets safety standards and functions properly. Make any final adjustments before presenting the finished product.
Remember to test the lamp in different lighting conditions and environments to ensure it provides adequate illumination. You may also want to test the lamp’s battery life and consider adding a rechargeable battery option for convenience.
Conclusion
In conclusion, transforming a lamp into a battery-powered fixture offers flexibility and convenience, allowing for versatile placement and operation without the need for proximity to electrical outlets. By following the steps on how to make a lamp battery powered, DIY enthusiasts can successfully convert their lamps to battery-powered operation, opening up endless possibilities for lighting design and functionality.
From selecting the right components to wiring and troubleshooting, each step contributes to a well-executed and functional project. Moreover, adherence to safety precautions ensures a safe and reliable battery-powered lamp that can be enjoyed for years to come. With creativity and ingenuity, homeowners can customize their lighting solutions to suit their needs and preferences, adding a touch of innovation and practicality to their living spaces.

