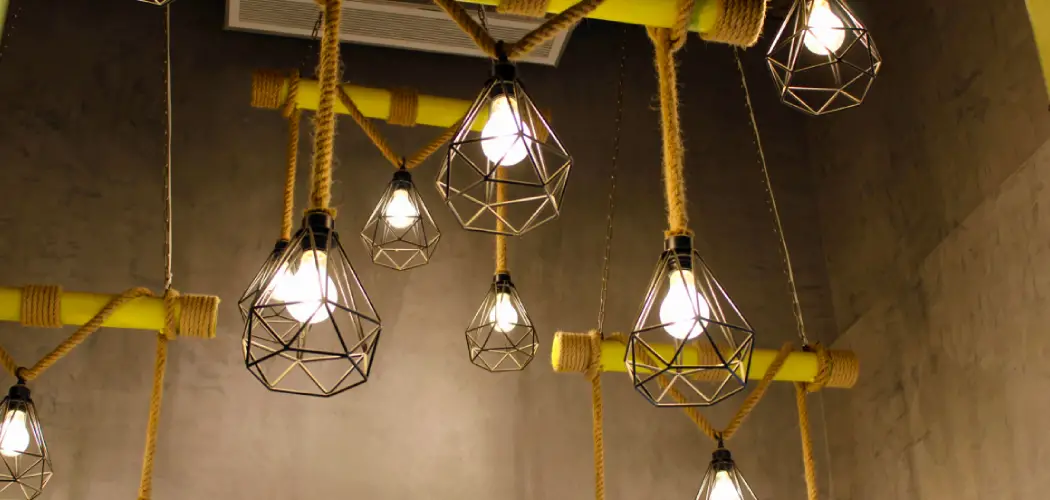
Creating a custom hanging light is an exciting way to personalize your home while combining style and functionality. Whether you are embarking on a DIY project or simply updating your home decor, crafting your own hanging light fixture allows you to showcase your creativity and design preferences.
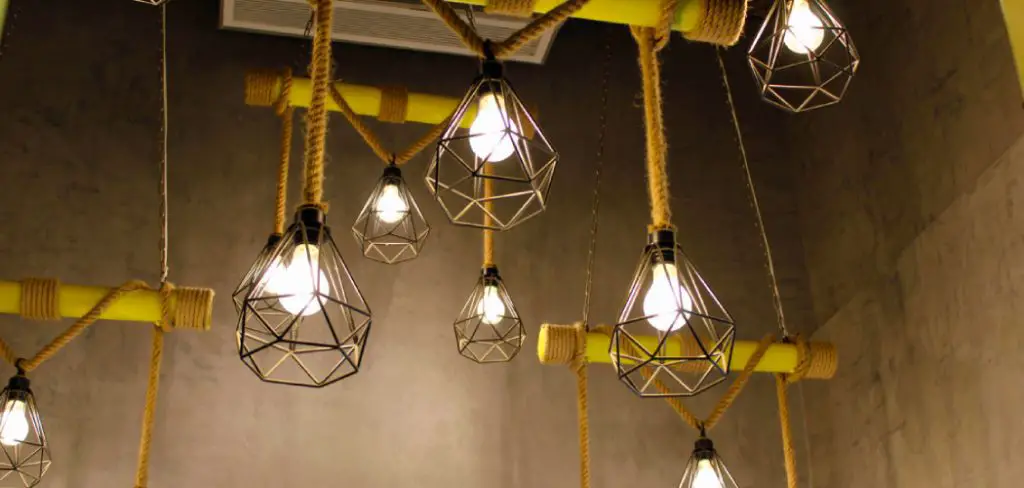
Understanding how to make a hanging light is essential, as it involves balancing aesthetics, safety, and practicality. The process typically includes selecting the right materials, designing the fixture, assembling the components, and ensuring secure installation. Attention to detail during each step ensures that your hanging light complements your space and functions safely and effectively.
With countless design possibilities, this project allows you to match existing decor or create an eye-catching statement piece. By following the right guidelines and taking proper precautions, you can craft a long-lasting fixture that transforms any room in your home.
Materials and Tools Needed
Creating your custom hanging light begins with gathering the right materials and tools to ensure both functionality and aesthetics. Here’s a comprehensive list to guide your project:
Materials:
- Light Socket: The base where the light bulb is mounted.
- Light Bulb: Options include LED for energy efficiency or incandescent for a warmer glow.
- Pendant Cord: Often adjustable, this secures the light fixture and connects it to the power source.
- Ceiling Hook: Used to suspend the light fixture securely from the ceiling.
- Electrical Wiring: Ensures proper electrical connections within the fixture.
- Lampshade or Decorative Light Cover: Chosen to match your decor, it diffuses and enhances the light.
- Ceiling Canopy: Covers the electrical wiring at the ceiling for a clean, finished look.
Tools:
- Wire Strippers: Essential for preparing electrical wires.
- Screwdriver: For both assembling components and mounting the fixture.
- Pliers: Useful for bending and securing wires.
- Electrical Tape: Ensures safe and secure insulation of wires.
- Drill: Required for installing the ceiling hook or other mounting hardware.
- Ladder: Provides safe access to ceiling areas during installation.
Optional Decorative Materials:
To personalize your hanging light you can incorporate materials like fabric, beads, or glass to personalize your hanging light
Designing Your Hanging Light
Designing your hanging light is an exciting process that allows you to tailor the fixture to your personal taste and home decor. To ensure a harmonious result, consider the following steps:
Determine the Style
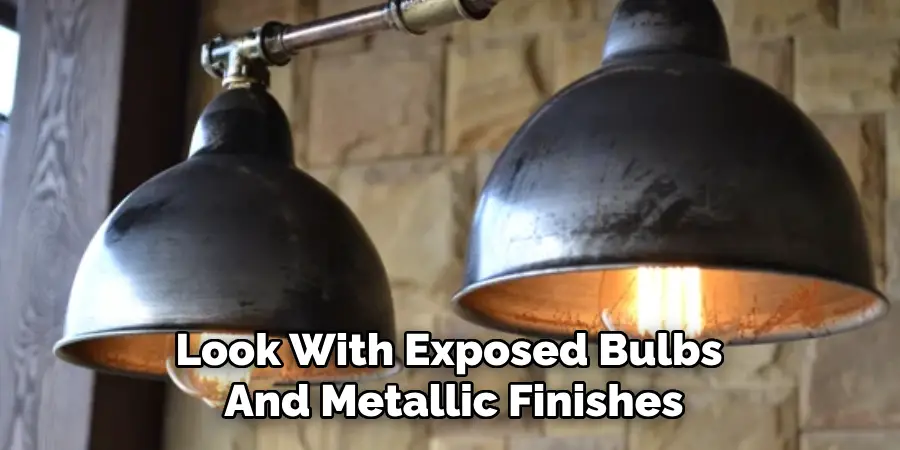
The style of your hanging light should complement the existing aesthetic of your space. Whether you prefer an industrial look with exposed bulbs and metallic finishes, a sleek and modern design with clean lines, or a rustic vibe using natural materials like wood and rope, the choice sets the tone for the fixture and how it integrates into the room.
Size and Shape Considerations
Accurate measurements are key to a successful design. Measure the space where the light will hang to ensure the fixture neither overwhelms the room nor appears too small. The fixture’s shape—whether round, linear, or abstract—should suit the area’s dimensions and layout.
Choose a Lightbulb and Shade
Select a lightbulb type that meets your functional needs and aesthetic preferences. LED bulbs offer energy efficiency, Edison bulbs provide a vintage charm, and pendant bulbs work well with minimalist designs. Pair your bulb with a shade material that enhances the light’s diffusion, such as glass for transparency, metal for focus, or fabric for a softer glow.
Length of the Cord
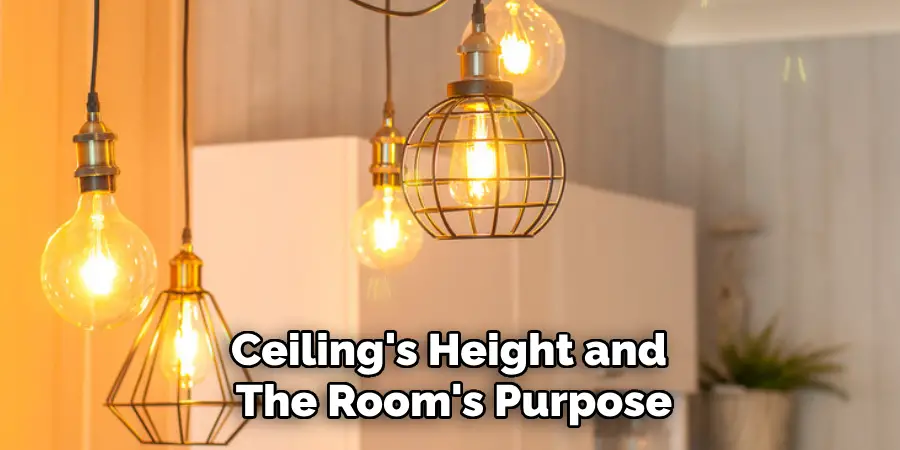
The cord length is crucial for creating the desired effect. Determine how far the light should drop based on the ceiling’s height and the room’s purpose. For instance, dining areas may benefit from lower hanging lights, while entryways often call for higher placements. Adjust the length to balance practicality with style.
Preparing the Light Fixture Components
Assembling the Pendant Cord
Cut the pendant cord to the desired length to prepare your light fixture. Measure carefully to ensure it is long enough for the hanging light to reach the appropriate height while considering the room’s ceiling height and your design intent. Use wire cutters to trim the cord and then strip the ends to expose the internal wiring. Leave approximately half an inch of exposed wire to connect to the socket and the ceiling connection. Be cautious during this process to avoid damaging the wires inside the cord’s insulation.
Wiring the Light Socket
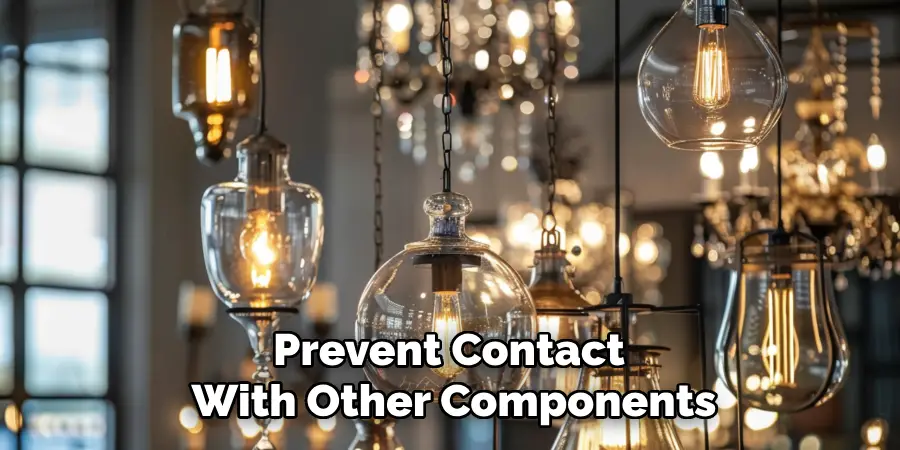
The next step involves attaching the stripped wire to the light socket terminals. Identify the designated terminals for the live, neutral, and ground wires as labeled on the socket. Connect the corresponding wires using a screwdriver by tightening them securely around the appropriate terminals. Wrap any exposed or loose wire with electrical tape to prevent contact with other components and ensure safe operation. Double-check each connection to confirm a tight and secure fit, reducing the risk of electrical hazards or malfunctions.
Attaching the Light Shade or Cover
If your light fixture includes a lampshade, you’ll need to attach it securely around the socket. Many lampshades have built-in fixtures, rings, or clamps that simplify installation. Slide the shade over the socket and fasten it tightly to avoid wobbling or detachment. Follow the manufacturer’s instructions or custom setup guidelines for alternative or custom designs, like fabric shades or glass covers. Ensure that the material is evenly balanced and securely attached to maintain the light fixture’s aesthetic and functional integrity.
Preparing the Ceiling Hook or Mount
Finally, prepare the ceiling hook or mount. Start by locating where the light fixture will hang, ensuring the placement complements the room’s layout and design. Install the hook or mount by first drilling holes into the ceiling if necessary. Use screws and anchors to guarantee a sturdy and reliable attachment that can support the weight of the fixture. After securing the hardware, test the mount to ensure it is stable before hanging the light fixture. These steps provide a safe and effective foundation for completing your pendant light installation.
How to Make a Hanging Light: Installing the Hanging Light
Turn Off Power
Before beginning any electrical installation work, safety should be your top priority. Turn off the power at the circuit breaker to prevent the risk of electric shock. Double-check the affected circuit using a voltage tester to ensure no electricity flows before proceeding.
Install the Ceiling Canopy
Once the ceiling hook or mount is prepared, attach the ceiling canopy to it. The canopy holds the fixture in place and conceals any exposed wiring or fixture components for a clean and professional look. Follow the manufacturer’s instructions to ensure the canopy is fitted securely and aligned properly.
Connect Wiring to Ceiling Box
Carefully connect the wiring from the pendant cord to the electrical box in the ceiling. Match the live, neutral, and ground wires accordingly—typically black to black, white to white, and green or bare copper to the ground wire. Use wire nuts to secure the connections firmly, and inspect to ensure no wires are left loose or exposed.
Secure the Fixture
Secure the light fixture to the ceiling hook or mounting bracket with the wiring connected. Adjust the fixture to ensure it hangs level and is fully stable. Verify that all components are safely tightened to avoid movement or imbalance over time.
Install the Light Bulb
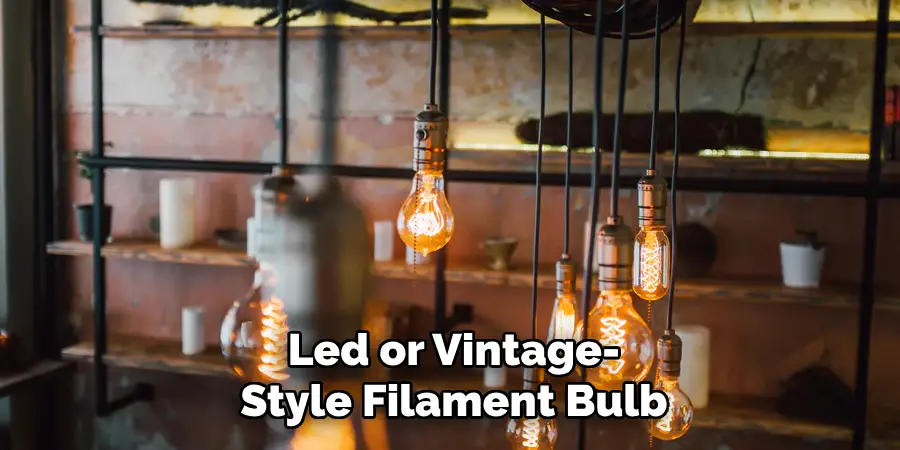
Finally, screw the light bulb into the socket, ensuring it is correctly fitted. Depending on the design of your pendant light, you may need to choose a specific type of bulb, such as an LED or vintage-style filament bulb, to complement the fixture’s aesthetic. Once installed, turn the circuit breaker back on and test the light to ensure it works properly.
Testing and Troubleshooting
Turn On the Power and Test the Light
Once everything is securely installed, restore power by switching the circuit breaker back on. Flip the light switch to test the pendant light. A successful installation will result in the light turning on without any issues. Observe the fixture briefly to ensure it operates steadily and without flickering.
Troubleshooting Flickering or Malfunctions
If the light flickers, fails to turn on or displays inconsistent behavior, troubleshoot the issue. Begin by confirming that all wire connections are secure and properly matched — revisit the live, neutral, and ground wires to rule out any loose ends. Next, check the light bulb to ensure it is correctly installed and not damaged. If these steps don’t resolve the problem, test the socket for proper functionality or consider the possibility of a defective bulb or switch. Double-check all steps to ensure a safe, working fixture.
Customizing Your Hanging Light
Add Decorative Elements
Personalize your pendant light by incorporating decorative elements to make it truly unique. String beads or crystals along the cord for a sparkling, whimsical effect, or wrap the cord with patterned fabric to add a softer, more colorful touch. For an eco-friendly option, consider using recycled materials, such as repurposed paper or bottle caps, to create a stylish and sustainable design.
Using Different Materials for the Shade
The shade of your pendant light significantly influences its overall aesthetic. For a modern look, opt for sleek materials like metal or glass. If you aim for a rustic vibe, wooden shades or woven elements like rattan can add warmth and texture. Alternatively, industrial themes can be achieved through the use of exposed metals or repurposed objects like wire baskets, allowing you to tailor the light to your design preference.
Paint or Stain the Fixture
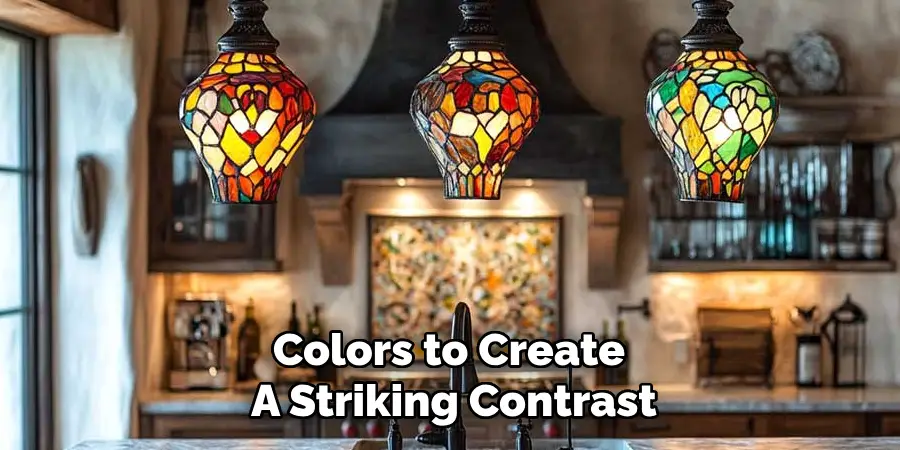
Another way to customize your hanging light is by painting or staining its components. Use bold paint colors to create a striking contrast, or stain wooden elements for a natural finish that blends seamlessly with your space. The cord, socket housing, and even the shade itself can be transformed with paint or stain to perfectly match your room’s decor or highlight specific design elements.
Maintaining and Cleaning the Hanging Light
Proper maintenance of your hanging light fixture ensures its durability and keeps it looking as stunning as the day it was installed.
Regular Dusting and Cleaning
Regularly remove dust and dirt buildup to keep your hanging light fresh and vibrant. Use a microfiber cloth or soft duster to gently wipe the shade and cord. For thorough cleaning, dismantle parts if possible and wash glass or metal shades with mild soap and water, ensuring they are scorched before reassembly. Avoid harsh chemicals that can damage surfaces or finishes.
Replacing the Light Bulb
Replace bulbs promptly when they burn out or show signs of dimming to maintain consistent light output. Use bulbs that match the wattage and specifications recommended for your fixture to prevent overheating or damage.
Safety Checks
Perform an annual safety inspection of the wiring, connectors, and overall fixture. Look for signs of wear, fraying, or loose fittings, and address any issues immediately to ensure safe and reliable use. Professional help may be necessary for electrical repairs.
Conclusion
Creating a hanging light fixture is an exciting way to add personalized style and functionality to your space. By understanding “how to make a hanging light,” you can craft a unique piece that reflects your taste and complements your home décor. Exploring different designs and materials allows you to tailor the fixture to your preferences, ensuring it fits seamlessly with your aesthetic. Proper installation, regular maintenance, and safety checks are essential steps to ensure your hanging light remains beautiful and long-lasting. A custom hanging light can become a stunning centerpiece in any room with care and creativity.

