Creating a floor lamp is a rewarding and creative DIY project that allows you to design a piece tailored to your personal taste and home décor. With some basic materials, a bit of planning, and a touch of creativity, you can craft a functional and stylish lamp that adds warmth and character to any room.

This guide will walk you through the essential steps of how to make a floor lamp, whether you’re aiming for a modern, rustic, or eclectic design.
Benefits of DIY Floor Lamps
Creating your own floor lamp comes with a variety of benefits that make the effort worthwhile. First and foremost, it allows you to customize the design to perfectly suit your personal style and home aesthetics, ensuring that the lamp complements your space. DIY floor lamps can also be more cost-effective than purchasing a pre-made version, as you have control over the materials and can repurpose items you already own.
Additionally, building a lamp from scratch fosters a sense of accomplishment and creativity, turning a functional object into a meaningful, handmade piece. Lastly, opting for a DIY lamp can give you the opportunity to incorporate environmentally friendly practices by upcycling materials and reducing waste.
By making your own floor lamp, you create something both unique and practical while also engaging in a fulfilling project.
Materials and Tools Needed
To create your own DIY floor lamp, you will need a variety of materials and tools to ensure a smooth and successful project. Here’s a list to guide you:
Materials:
- Lamp base or a sturdy foundation (e.g., a wooden block or metal stand)
- Lamp pipe or pole to support the structure
- Lamp holder/socket compatible with your bulb
- Electrical wiring and plug
- Lamp shade (store-bought or handmade)
- Light bulb of your choosing
- Decorative elements (optional, such as paint, fabric, or ornaments)
Tools:
- Screwdriver set
- Wire cutters and strippers
- Drill and appropriate bits
- Measuring tape
- Hot glue gun (optional for decorative work)
- Sandpaper (if working with wood or rough surfaces)
Having these materials and tools prepared beforehand will make the process more efficient and enjoyable. Always prioritize safety, especially when working with electrical components.
10 Methods How to Make a Floor Lamp
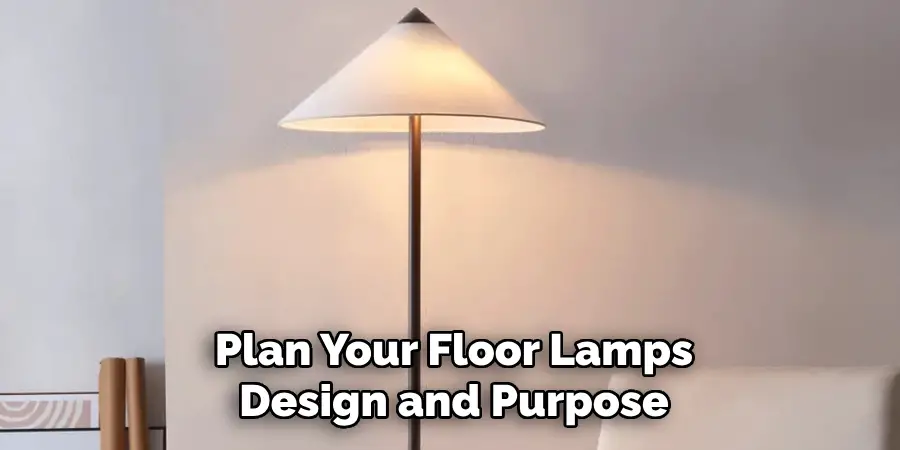
1. Plan Your Floor Lamp’s Design and Purpose
Before diving into materials and tools, it’s crucial to define the design, purpose, and feel of your floor lamp. Ask yourself where it will be placed—will it serve as a reading light next to a sofa, an accent piece for ambient light, or a focal design element in a room?

Choose a style: sleek and modern with metal and clean lines, rustic with reclaimed wood, or eclectic using unconventional items like tripods, pipes, or driftwood. This foundational planning will inform every step moving forward, from the height and base structure to the type of bulb and shade you’ll use.
2. Select and Prepare the Lamp Base
The base of a floor lamp must be sturdy enough to support the weight and prevent tipping. Popular choices include wooden rounds, concrete slabs, or repurposed items like old weights, plant stands, or vintage furniture legs. The base’s diameter and weight should match the height of your lamp—generally, taller lamps require wider, heavier bases for balance. If using wood, sand and finish it before assembly. For a custom touch, stain or paint the base to suit your décor. Drill a centered hole through the base if you’re running electrical wiring through it.
3. Choose and Construct the Main Post or Body
The body of the floor lamp is typically a long vertical post and can be made from metal piping, wooden dowels, bamboo, or stacked items like books or spheres. If you’re using wood, consider dowels or turned spindles, which can be joined using wood glue and screws. For metal, you can thread pipe segments together using fittings. Always measure the desired final height—typically between 55 to 65 inches—and ensure your post is straight and secure. If wiring through the post, make sure it’s hollow or has a groove to hide the cord.
4. Drill and Route the Wiring Path Safely
If you’re building a lamp that will be wired internally, you’ll need to create a clear path from the socket at the top through the post and down to the base. Use a long drill bit or a hollow rod to bore through wooden posts, or select hollow metal or PVC piping.

Feed your electrical cord through carefully, ensuring no sharp edges are present that could damage the wire. If the post is solid or wiring internally isn’t feasible, you can run the wire discreetly along the back of the post and fasten it with clips or channel covers.
5. Install the Light Socket and Harp Holder
At the top of the lamp, you’ll need a secure place to mount the bulb socket and—optionally—a harp for the lampshade. Use a threaded rod to anchor the socket to the post. Many lamp kits include all necessary parts, including the socket shell, harp saddle, and wire terminals.
Once the rod is securely in place, thread the wire through and connect it to the socket: one wire to the brass screw (hot), the other to the silver screw (neutral). Tighten all screws and insulate exposed wire with electrical tape. Attach the harp base if you’re using a lampshade that requires one.
6. Attach and Secure All Structural Components
Assemble the lamp by securely joining the post to the base and the top fixture. Use screws, bolts, or industrial adhesives depending on the materials involved. Wood glue and dowels work for wooden joints; metal can be bolted or welded; concrete bases may require anchors set into the material.
Stability is key—wiggling or leaning could lead to accidents. If necessary, add a hidden weight inside the base or an external stabilizer, especially if the lamp is tall or top-heavy. Once assembled, make sure the lamp stands upright and all joints are flush and strong.
7. Paint, Stain, or Finish the Lamp Body
Now that your lamp is built, give it a final aesthetic touch. Painting, staining, or sealing your floor lamp can dramatically change its appearance and tie it into your room’s décor. Use furniture-grade paint for wood, rust-resistant spray paint for metal, or natural oil finishes for an organic look.

Let each coat dry completely before applying the next. You can also distress wood for a vintage look, use painter’s tape to create color blocking, or apply decorative decals for flair. Sealing is essential for durability, especially if your lamp will be touched or moved frequently.
8. Choose or Customize a Lampshade
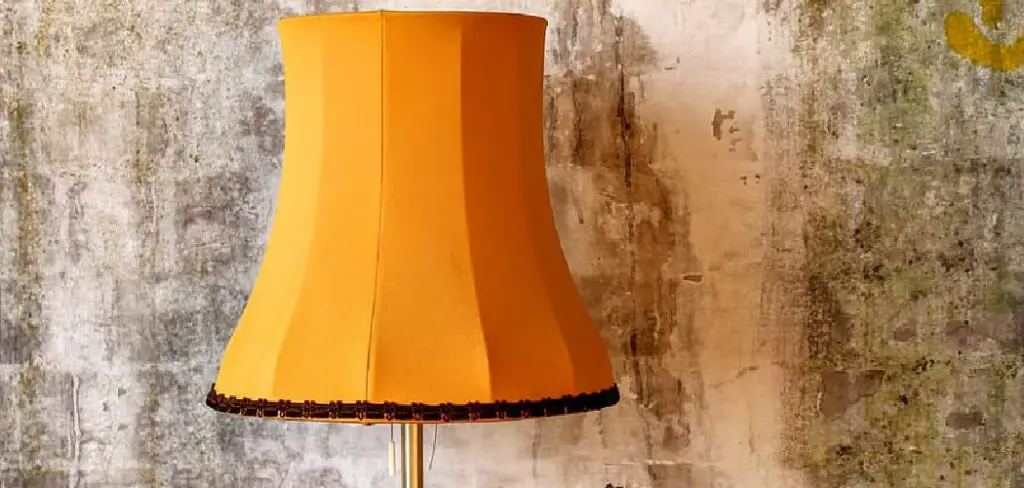
A lampshade can make or break the overall look of your floor lamp. Choose a shade that fits both the scale and the style—drum, empire, or square shades each offer a different mood. Neutral linen or burlap creates a calm, natural look, while bold prints or colors can serve as a statement. You can also make your own shade by wrapping fabric around a wire frame or recovering an old shade with new material. Ensure that the shade allows the right amount of light for the lamp’s intended purpose, whether it’s ambient, task, or accent lighting.
9. Add Switch or Dimmer Control for Convenience
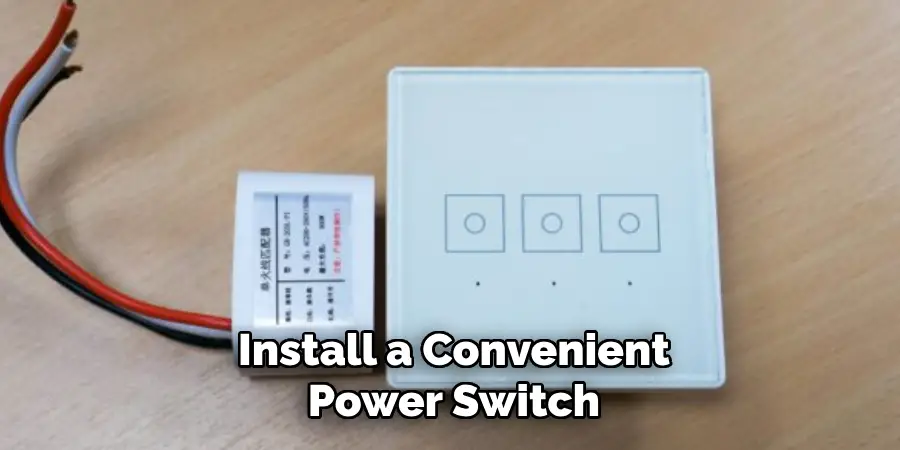
For better usability, install a convenient power switch or dimmer. Most lamp kits come with an inline switch on the cord, but you can upgrade to a rotary switch, foot pedal, or dimmer knob depending on your preferences.

Smart plugs are a great modern addition, allowing you to control the lamp with your phone or voice assistant. If you’re comfortable with electrical work, you can wire a switch directly into the socket, or mount one on the post itself. A dimmer not only adds mood-setting flexibility but can also help extend bulb life and reduce energy usage.
10. Test and Enjoy Your Custom Floor Lamp
The final and most satisfying step is testing and using your creation. Insert a light bulb (LED recommended for safety and efficiency), plug in your lamp, and flip the switch. Check for any flickering or odd sounds that might indicate a loose connection. Make sure the lamp stands solidly on its base and does not wobble. Adjust the shade and angle of the light as needed, then place it in its final location. Your handmade floor lamp not only brightens a room—it becomes a functional, artistic expression of your craftsmanship and creativity.
Conclusion
Crafting your own floor lamp is a rewarding project that combines functionality with personal expression. By following the steps carefully and infusing your design with creativity, you can create a unique piece that enhances your space while reflecting your style.
Not only does this process allow you to develop new skills, but it also results in a meaningful item that stands as a testament to your ingenuity and effort. Thanks for reading, and we hope this has given you some inspiration on how to make a floor lamp!

