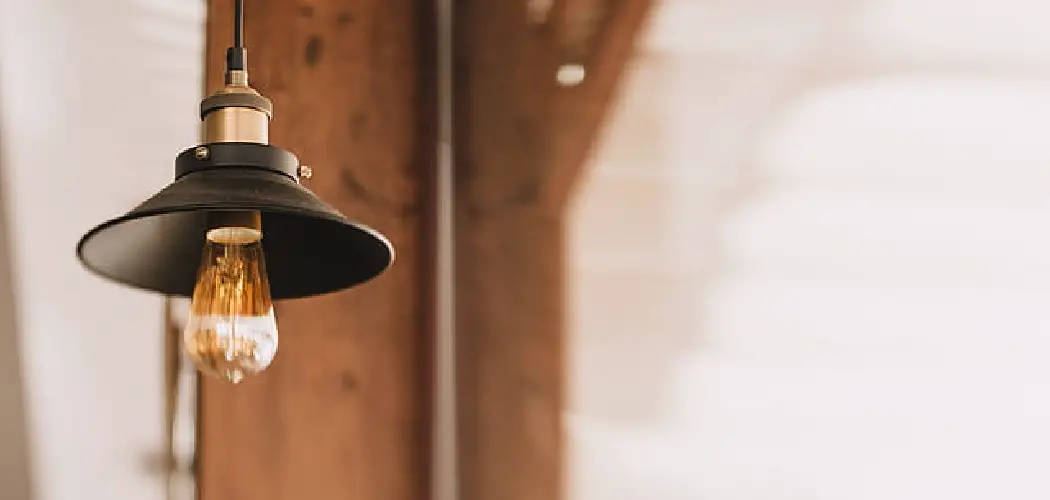
Creating a bottle lamp is a fun and creative way to upcycle old glass bottles while adding a unique touch to your home décor. This DIY project is simple, cost-effective, and allows for endless customization to suit your style. Whether you’re looking for a rustic centerpiece or a modern lighting solution, making a bottle lamp is an excellent choice for both beginners and crafting enthusiasts.
In this blog post, we’ll walk you through the steps on how to make a bottle lamp so that you can get back to using it in no time! So grab your tools, and let’s get started!
Materials and Tools Needed
To create your own bottle lamp, you’ll need a few essential materials and tools. Here’s a list to help you gather everything before you start:
Materials
- A clean, empty glass bottle (any size or shape you prefer)
- A lamp kit (available online or at most hardware stores)
- Lamp shade (optional but recommended for style and function)
- Light bulb (ensure it’s compatible with your lamp kit)
- Rubber grommet (to secure the cord in place)
- Decorative elements such as paint, twine, or beads (optional for customization)
Tools
- Power drill with a glass-cutting drill bit
- Safety goggles and gloves (to protect yourself while drilling)
- Sandpaper or a file (to smooth out the edges of the drilled hole)
- Screwdriver
- Rubbing alcohol or cleaning solution (for prepping the bottle)
Once you’ve gathered these materials and tools, you’ll be ready to begin transforming your bottle into a functional yet stylish lamp!
Choosing the Right Bottle
The first step in creating your bottle lamp is selecting the perfect bottle for your project. The choice of bottle significantly impacts both the aesthetic and functionality of the final product. Opt for a bottle made of sturdy glass, as thinner glass can be more prone to breaking during drilling. Wine, whiskey, or decorative glass bottles are popular choices due to their unique shapes, sizes, and colors.
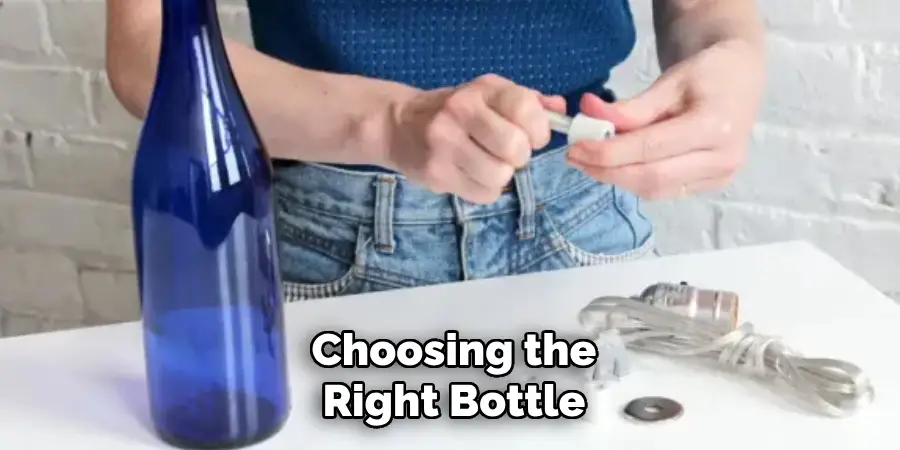
Consider the style you wish to achieve — for a more refined look, a dark-tinted wine bottle might work best, while a clear bottle can showcase decorative elements inside. Additionally, ensure the bottle has a flat and stable base to prevent tipping once your lamp is assembled. Taking the time to select the right bottle will set a strong foundation for an eye-catching and durable lamp.
10 Methods How to Make a Bottle Lamp
1. Choose the Right Bottle for Style and Stability
The first step in making a bottle lamp is selecting a bottle that fits both your aesthetic vision and practical needs. Wine bottles, liquor bottles, vintage glass jugs, and apothecary bottles are popular choices due to their thickness, visual appeal, and ability to stand upright without tipping over. Make sure your bottle has a wide enough base to support the lamp’s weight and a neck opening that can accommodate a lamp kit or stopper.
Consider the color and label—clear or colored glass can set the tone for your decor, while a unique label can be preserved for extra character. Clean the bottle thoroughly and remove any residue, labels, or dust to start with a blank canvas.
2. Remove Labels and Residue Thoroughly
Once you’ve chosen your bottle, take time to remove all labels and glue. Soak the bottle in warm, soapy water for an hour to loosen paper or adhesive, then use a plastic scraper or scrub pad to gently peel it away. For stubborn residue, apply a solution of equal parts baking soda and vegetable oil, or use an adhesive remover like Goo Gone. Rinse and dry the bottle completely.

A clean, smooth surface is important not only for visual appeal but also to ensure that any fixtures or decorative additions stick properly.
3. Decide on Wiring Method: Internal vs. External Cord
Before drilling or wiring, you’ll need to decide how the lamp cord will exit the bottle. The most common method is to drill a hole in the side of the bottle near the bottom, allowing the cord to exit discreetly. Alternatively, if you prefer not to drill the glass, you can thread the cord straight through the neck and let it come out the top and down the side—though this may be more visible. Your choice will determine the next few steps, so weigh the aesthetic and difficulty of each method. Drilling creates a cleaner look but requires caution and proper tools.
4. Drill a Hole for the Cord (Optional but Cleanest Look)
If you’re opting for the internal wiring method, use a diamond-tipped drill bit and a spray bottle of water to drill a small hole near the bottom of the bottle. Secure the bottle in place using a clamp with padding, or nest it inside a towel-lined bowl to prevent rolling. Keep the surface wet and drill slowly to prevent cracks—glass can shatter if too much pressure or heat builds up. Once the hole is complete, rinse the inside to remove glass dust and use a small file to smooth any sharp edges around the hole to protect the lamp cord.
5. Add Weight or Fill the Bottle for Stability
If your bottle is especially lightweight or tall, consider adding weight to prevent tipping. You can pour in sand, small stones, marbles, or even clear epoxy resin to anchor the base. Not only does this increase the lamp’s stability, but it can also enhance its visual interest. Clear bottles filled with fairy lights, colored beads, or themed materials (like corks or shells) offer an artistic, customized touch. Just make sure the filler doesn’t interfere with the wiring and that it won’t move around or shift after the lamp is in use.
6. Install a Lamp Kit with Bottle Adapter
Most hardware or craft stores sell bottle lamp kits that include a rubber stopper, a threaded rod, socket, and wiring. Choose a kit that fits snugly in the bottle’s neck—most come with multiple rubber stoppers or adjustable fittings. Thread the cord through the stopper, rod, and socket, following the kit’s wiring instructions (typically connecting one wire to the brass screw and one to the silver).
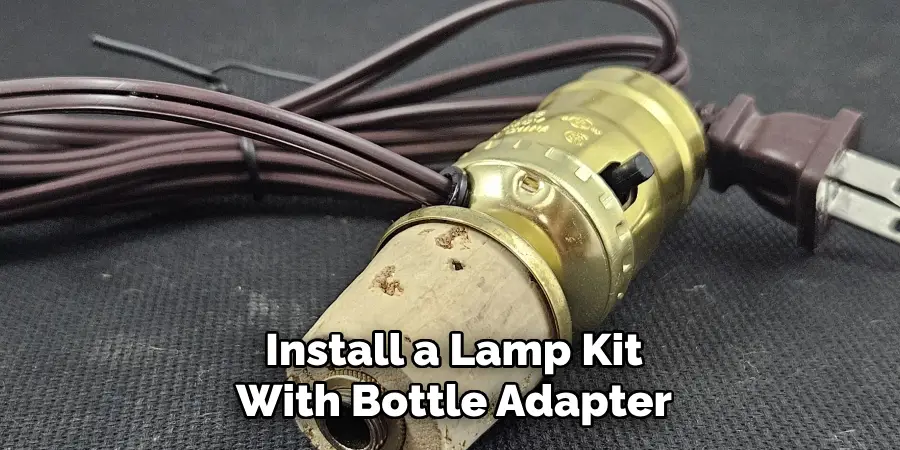
Insert the assembled stopper into the bottle neck securely. If using a drilled hole, feed the cord through the hole and pull it out from the bottom before attaching it to the socket.
7. Test the Electrical Connections for Safety
Once your socket and wiring are in place, test the connection before fully assembling the lamp. Screw in a light bulb, plug in the lamp, and flip the switch. If the bulb lights up correctly and there’s no flickering or overheating, your wiring is solid. If anything seems off—like a buzzing sound or loose bulb—unplug the lamp and double-check all wire connections. Safety is paramount when working with electricity, so never skip this step. If you’re uncertain about wiring, consult an electrician or ask for help at a hardware store.
8. Secure and Decorate the Base to Match Your Style
With the lamp operational, it’s time to secure and decorate the base. Apply felt pads or a rubber disc to the bottom to prevent slipping and scratching on furniture. If your bottle is lightweight, glue it to a small wooden or metal base for added support and style. This also allows you to hide the cord and give the lamp a polished look. For decoration, consider wrapping the neck in twine, painting the bottle, adding decals, or leaving it minimal to let the glass speak for itself. The bottle lamp’s charm often lies in its personal touches.
9. Choose a Lampshade That Complements the Bottle
The right lampshade can elevate your bottle lamp from a casual craft to a stylish home accent. Choose a shade that fits the proportion of your bottle—too large, and it will overshadow the base; too small, and it may look top-heavy.Neutral shades like linen or burlap pair well with vintage bottles, while patterned or colorful shades work great with clear or minimalist bases.
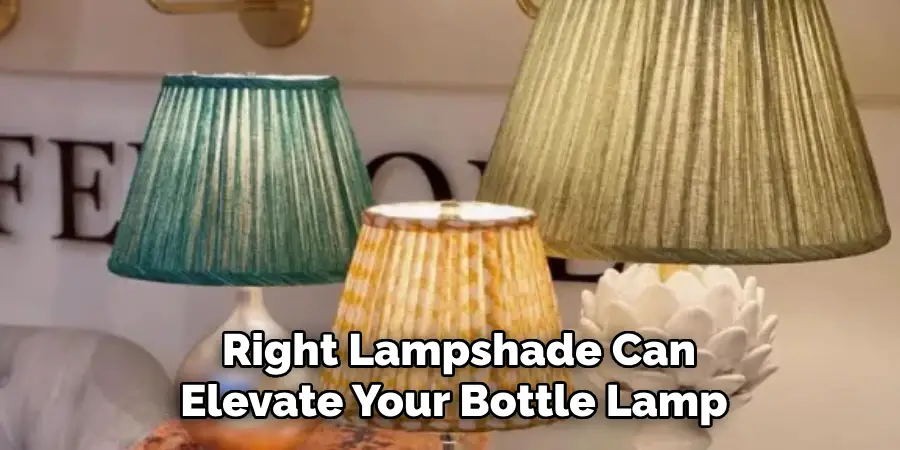
Use a harp and finial if your kit includes one, or opt for a clip-on shade for simplicity. Don’t forget to consider how much light you want—some shades filter light softly, while others offer a bright, direct glow.
10. Light It Up and Enjoy Your Handmade Creation
After assembling all parts, turn on your finished bottle lamp and admire your handiwork. Whether it’s on a bedside table, in a cozy reading nook, or as a conversation piece in your living room, a bottle lamp combines function and creativity in one charming object. Handmade lamps make excellent gifts and upcycle items that might otherwise go to waste. Plus, you now have the knowledge and confidence to create more—perhaps a matching set or a seasonal variation. With every glow, your bottle lamp will shine with the satisfaction of something made with your own two hands.
Conclusion
Crafting something with your own hands is a deeply rewarding experience, and your bottle lamp is a testament to your creativity and resourcefulness. Whether displayed in your home or gifted to a loved one, it serves as a lasting symbol of ingenuity and sustainability. Thanks for reading, and we hope this has given you some inspiration on how to make a bottle lamp!

