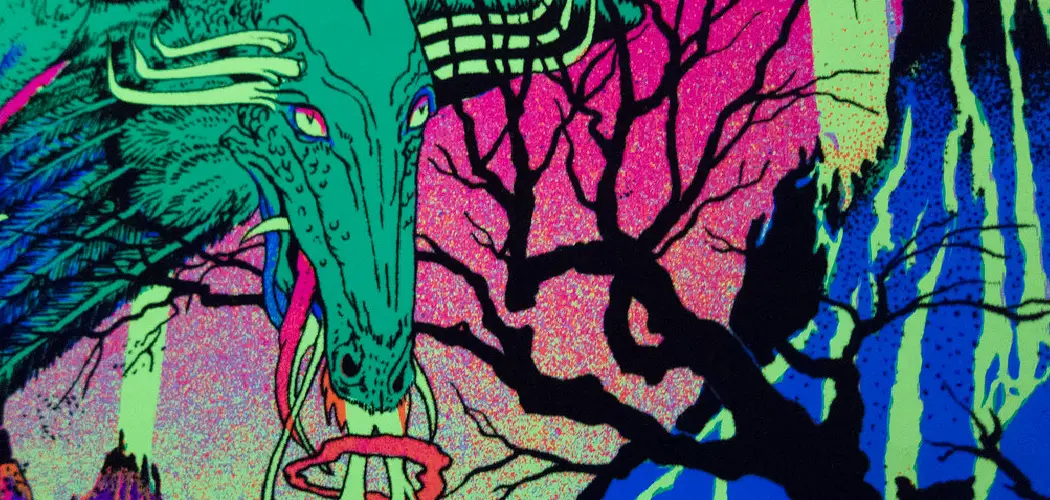
A black light poster is a vibrant and visually stunning piece of art designed to glow under ultraviolet (UV) light, creating a surreal and luminous effect. These posters are crafted using fluorescent or UV-reactive paints, which fluoresce when exposed to black light, producing vivid and eye-catching colors.
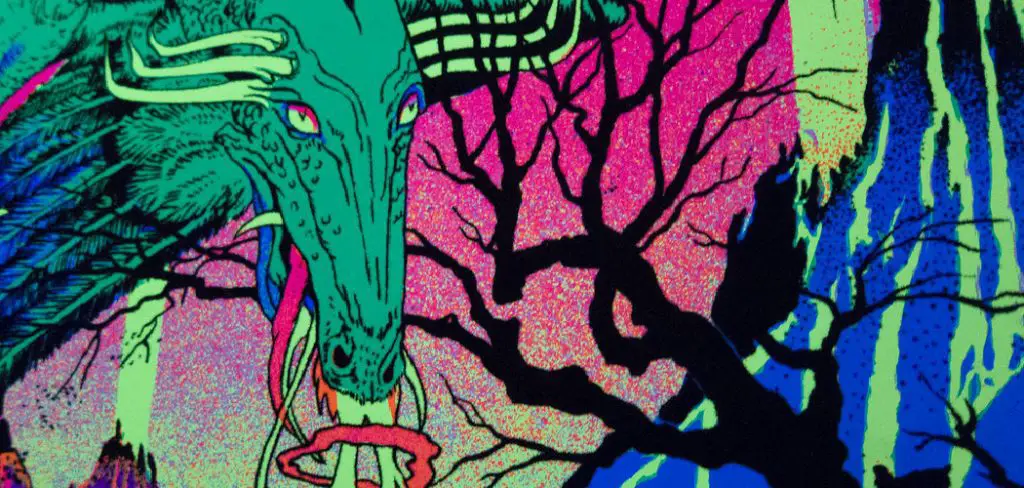
Highly popular in the 1960s and 70s, black light posters have remained a favorite in both retro and modern decor, adding a dramatic and psychedelic touch to any space. Whether used for creative expression or as a unique decor element, their glowing allure continues to captivate artists and enthusiasts alike. This article will serve as a step-by-step guide on how to make a black light poster, enabling you to create your own dazzling masterpiece with ease and creativity. Prepare to bring your artistic vision to life and light up your space with this mesmerizing DIY project!
Understanding Black Light and Fluorescent Colors
What Is a Black Light?
A black light emits ultraviolet (UV-A) light, which is invisible to the human eye but can cause certain materials to fluoresce, or glow, under its rays. This fluorescence is the reason black lights are often used in art, forensic investigations, and even party settings—they can make specific materials stand out in vibrant colors under dark conditions.
How Fluorescent Paint Works
Fluorescent paints differ from regular paints due to their ability to react to UV light. Standard paints simply reflect visible light, allowing us to see the colors we see every day. However, UV-reactive paints contain special compounds that absorb the ultraviolet light emitted by black lights, converting it into visible light. This results in the vivid, glowing effect that makes fluorescent art so strikingly unique.
Choosing the Right Colors
To create an impactful black light poster, selecting the right colors is crucial. Certain shades fluoresce brightest under UV light, such as neon pink, orange, green, yellow, and white. These colors naturally emit more visible light when exposed to UV rays, making them stand out in your artwork. When planning your design, prioritize these hues for maximum glow and dramatic effect.
Gathering Materials and Tools
Essential Supplies
To create a black light poster, you’ll need the following key materials:
- Heavyweight black or dark-colored poster board: Provides the perfect canvas for your UV artwork.
- UV-reactive fluorescent paints or markers: Essential for creating that glowing effect under black light.
- Paintbrushes, sponges, or airbrush tools: For applying and blending colors with precision.
- Black light bulb or fixture: Necessary for testing and ensuring your design achieves the desired glow.
Optional Supplies
- Stencils: Useful for crafting consistent patterns or adding letters to your artwork.
- Pencil and eraser: Ideal for sketching out your design before fully committing with paint or markers.
Preparation Tips
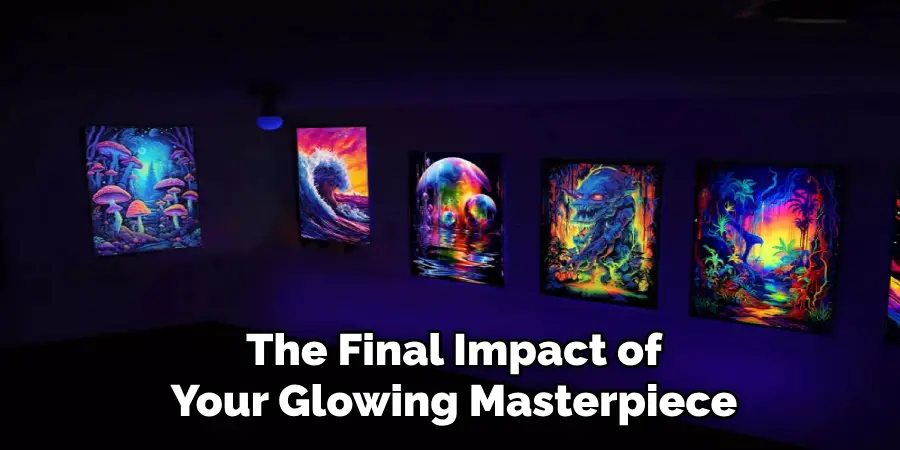
For best results, work in a well-lit space that allows you to see fine details while creating. However, periodically test your design with a black light to ensure the fluorescent colors are producing the intended effect. This step helps you adjust while you work, enhancing the final impact of your glowing masterpiece.
Planning Your Design
Creating a glowing masterpiece begins with careful planning and thoughtful decisions about your design. An intentional approach will help ensure a cohesive and visually striking final result.
Choosing a Theme
Start by selecting a theme that resonates with the effect you want to achieve. Popular themes for fluorescent artwork include psychedelic patterns, cosmic scenes, fantasy landscapes, abstract compositions, or vibrant pop art. Psychedelic designs often include swirling and repetitive shapes, while cosmic themes highlight stars, planets, and galactic colors. Fantasy themes can bring mythical creatures or enchanted forests to life, while abstract and pop art allow for bold, freeform expressions.
Sketching Your Layout
Once you’ve chosen a theme, lightly sketch out your design with a pencil. This step provides a guide for your composition without fully committing to paint or markers from the outset. Focus on proportion and placement, ensuring each element of the design has adequate space. A good sketch acts as a roadmap, minimizing errors as you move into the painting phase.
Balancing Colors and Negative Space
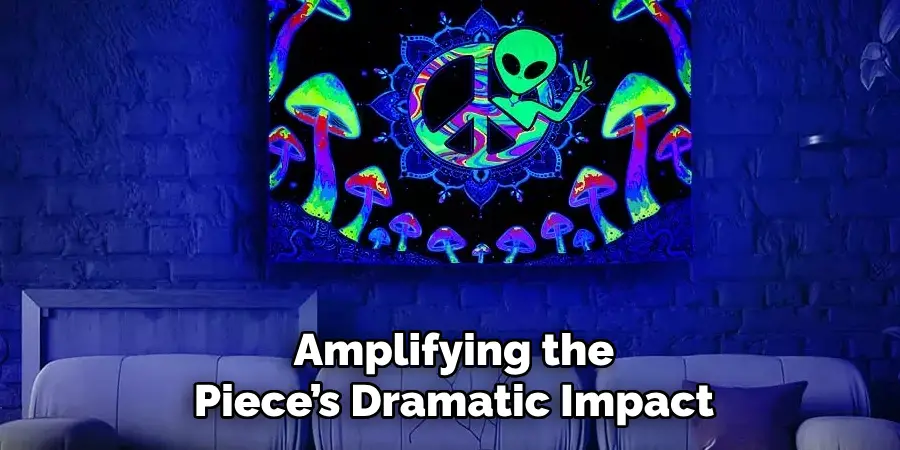
A striking fluorescent artwork relies on a strong contrast between glowing colors and the black background. Select a palette that balances vibrant hues while allowing for intentional negative space to enhance the overall effect. The interplay of glowing colors and dark spaces creates depth and dimension, amplifying the piece’s dramatic impact.
Testing Under Black Light
Before committing to your full design, test small samples of each color under a black light to observe how they appear. Some colors may glow brighter than others, and this step ensures you achieve the desired intensity and balance. Testing as you work helps maintain consistency and ensures your final piece will shine brilliantly in black light.
How to Make a Black Light Poster: Painting Techniques for Black Light Posters
Creating stunning black light posters requires careful attention to technique, ensuring that the glowing artwork has depth, texture, and vibrancy. Here are some important methods to achieve the best results:
Layering Colors for Depth
To create a glowing effect, start with lighter base colors that naturally intensify under black light, such as neon yellows or oranges. Gradually build layers of color, allowing each layer to dry before applying the next. This enhances depth and prevents muddiness while allowing each color to radiate. Use a light hand and thin coats to avoid overloading the surface.
Blending and Texturing
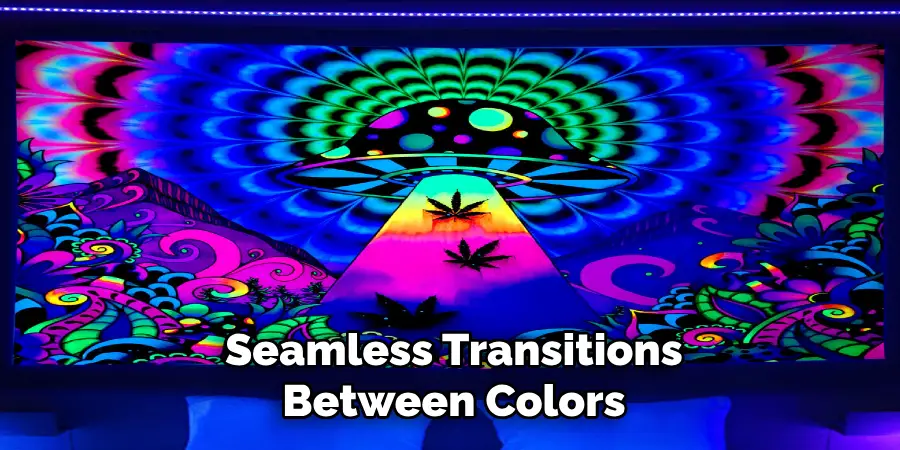
For smooth gradients and textured appearances, tools like sponges or airbrushes can be invaluable. Sponges are ideal for dabbing on blended patterns or soft textures, while airbrushes can produce seamless transitions between colors. Experimenting with these tools can yield unique effects, from a soft glow to dynamic textures that stand out under black light.
Detailing and Highlights
Using neon paints for outlines and highlights can amplify your design. Bright outlines around key shapes or figures help define them under black light, making them stand out against the darker portions of the poster. Fine brushes are best for detailing, as they allow precise control when adding glowing highlights to specific elements of your composition.
Avoiding Common Mistakes
Overloading the surface with too much paint can lead to cracking or dimming of the glow effect. Instead, apply thin, even layers, ensuring each one dries completely before proceeding to the next step. Rushing the process can cause smudging or uneven application, which detracts from the poster’s final look. Patience is key to achieving a polished, eye-catching glow.
By following these techniques and refining your approach, you can create memorable black light artwork that captivates and inspires.
Adding Special Effects
Glow-in-the-Dark Accents
To elevate your black light artwork, consider incorporating glow-in-the-dark paint alongside fluorescent paint for a dazzling dual effect. At the same time, fluorescent paint shines vibrantly under UV light, and glow-in-the-dark paint stores light and emits a subtle radiance even in complete darkness. Layering these two types of paint can create dynamic visuals that transition seamlessly from lit environments to darkness, offering a unique and engaging experience. Apply glow-in-the-dark paint to specific features or details you want to highlight, allowing them to stand out when the UV light is off.
Glitter and Metallic Paints
Strategic use of glitter and metallic paints adds an eye-catching sparkle and shimmer that complements the UV glow. These paints reflect light in captivating ways under UV illumination, enhancing the overall impact of your artwork. Apply glitter paints sparingly to avoid overwhelming the piece, and use metallic paints to define accents or create borders that catch the eye.
Textured Effects
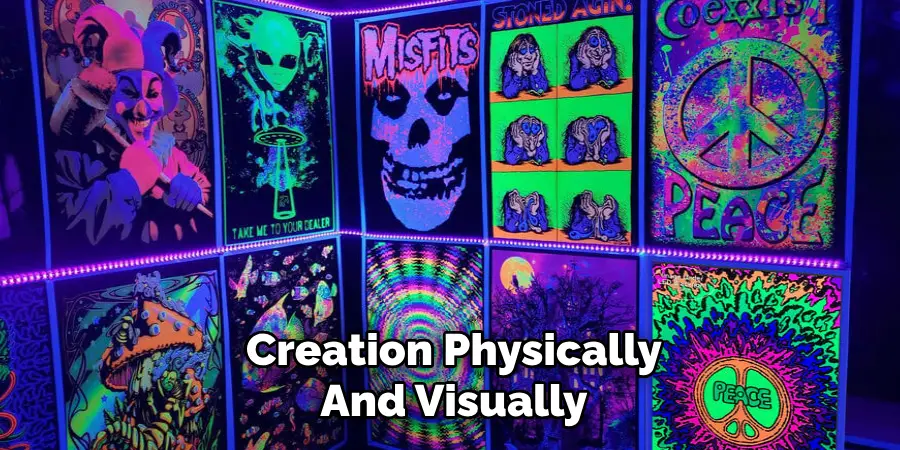
To add depth and tactile interest, experiment with textured techniques using thick paint, embossing gels, or even 3D elements like raised patterns or objects. These features not only enhance the artistic appeal under UV light but also provide a multi-sensory experience, inviting viewers to engage with your creation physically and visually.
Displaying Your Black Light Poster
Choosing the Right Location
Selecting the perfect spot is crucial for showcasing your black light poster’s vibrant glow. Opt for a dark or dimly lit room where external light won’t interfere with the fluorescent effects. Dedicated spaces, such as game rooms, home theaters, or art displays, create immersive environments that highlight the poster’s luminous charm.
Lighting Setup
The type of black light you use greatly impacts the visual effect. Fluorescent black light tubes are excellent for even light distribution, making them ideal for larger spaces or multiple posters. Alternatively, LED black lights are energy-efficient and portable, offering a more focused glow. Position the black light close enough to the poster to enhance the colors without causing overexposure.
Mounting Tips
For a polished look, consider framing or laminating your black light poster. This not only provides a professional appearance but also protects it from wear and tear over time. Ensure the display area is clear of dust and fingerprints for a flawless presentation.
Common Mistakes and How to Avoid Them
Using Non-Fluorescent Paints
One of the most common mistakes is using non-fluorescent paints on a black light poster. These paints do not react to UV light, resulting in dull and disappointing effects. To avoid this, always choose fluorescent or glow-in-the-dark paints specifically designed to shine under black light. Check product labels carefully before use to ensure they are compatible with UV lighting.
Overcomplicating Designs
Complex or overly intricate designs can detract from the bold and vibrant impact of a black light poster. Simplicity is key when creating these works of art. Stick to bold lines, strong contrasts, and minimalistic shapes to maximize the visual appeal. Test your designs in a dark room with a black light to see how they appear before finalizing.
Not Testing Colors First
Failing to test paints or markers under black light beforehand can lead to unsatisfactory results. Different colors and materials react uniquely to UV light, so test small samples before applying them to your poster. This helps you ensure the desired glow effect and prevents the need for time-consuming adjustments later.
Conclusion
Creating a glowing masterpiece begins with careful planning and assembling the right materials. Follow the steps to outline your design, choose vibrant neon paints or markers, and bring your vision to life through painting. Display your artwork in a dark setting to maximize its impact. Experimentation is key to developing your unique style, so don’t hesitate to try new ideas and techniques. Remember, testing under UV light throughout the process ensures the best results. By following these steps on how to make a black light poster, you can craft stunning, luminous art that captivates in the glow of black light.

