Are you planning a summer party with your friends and family? Do you want to gather around an outdoor fire pit and enjoy the warm glow of a fire?
Gathering around a glowing outdoor fire pit extends the joy of outdoor living well into cooler evenings, creating an inviting atmosphere for socializing, cooking, or simply unwinding. However, lighting an outdoor fire pit safely and efficiently requires a mix of preparation, understanding of basic fire principles, and adherence to safety guidelines.
Whether you’re setting the scene for a night of storytelling under the stars or preparing a marshmallow roast that kids and adults alike will cherish, this guide on how to light an outdoor fire pit will walk you through the essential steps to light your outdoor fire pit.
What are the Benefits of an Outdoor Fire Pit?
Before we get into the specifics of how to light an outdoor fire pit, let’s first explore why having one is worth your while. Here are some benefits of having an outdoor fire pit:
- Provides Warmth: An outdoor fire pit can keep you warm on cool evenings or during colder seasons.
- Creates a Cozy Atmosphere: The crackling of a fire and its warm glow can create a cozy and inviting atmosphere, perfect for gatherings with friends and family.
- Perfect for Cooking: An outdoor fire pit can also serve as an alternative to a grill, allowing you to cook delicious meals over an open flame.
- Adds Beauty to Your Outdoor Space: Even when not in use, an outdoor fire pit can add an aesthetic appeal to your backyard or patio.
- Encourages Socialization: A fire pit provides a natural gathering spot, encouraging guest conversation and interaction.
Now that you know the benefits of having an outdoor fire pit, let’s dive into the step-by-step process of how to light one.
What Will You Need?
To successfully light an outdoor fire pit, you will need the following items:
- Firewood: The type of firewood you use can affect the quality and safety of your fire. Choose hardwoods like oak, maple, or cherry for a long-lasting, clean-burning fire. Avoid softwoods like pine, as they produce more smoke and sparks.
- Kindling: Kindling is small, dry twigs or sticks that help ignite the larger logs in your fire pit. Make sure to have a good amount of kindling on hand before starting the fire.
- Matches or Lighter: You will need a reliable source of ignition, such as matches or a lighter, to start your fire.
- Newspaper or Fire Starter Cubes: These can help get your fire going quickly and easily.
- Fire Poker: A fire poker will come in handy when rearranging logs or adjusting the fire.
- Water Source: In case of emergencies, it’s essential to have a water source nearby, such as a garden hose or bucket of water.
- Fire Extinguisher: While not a necessity, having a fire extinguisher within reach is always recommended for added safety.
10 Easy Steps on How to Light an Outdoor Fire Pit
Step 1. Ensure the Fire Pit is Clean and Safe:
Before you begin, make sure that your fire pit is clean of any debris or leftover ashes from previous fires. Check the surroundings to ensure it’s placed away from flammable materials and overhanging branches. Safety first!
Step 2. Layer Your Materials:
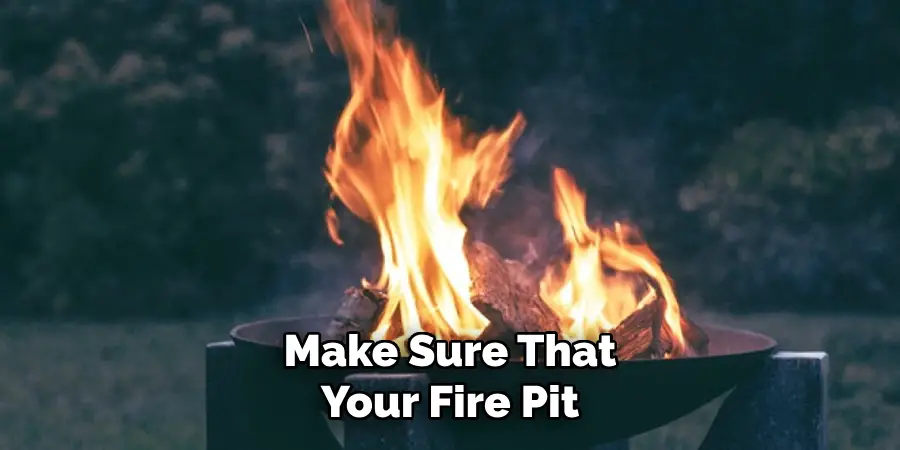
Begin by placing a layer of small sticks or kindling in the bottom of your fire pit. Crumple a few pieces of newspaper or place a couple of fire starter cubes amid the kindling. On top of this base, carefully stack your firewood.
The best method is to arrange the logs in a teepee or log cabin structure, which allows air to circulate freely, feeding oxygen to the fire. This structure also provides stability, ensuring the fire grows steadily without collapsing too quickly. Remember, proper airflow is critical for a fire to breathe and thrive.
Step 3. Light the Fire:
With the kindling and firewood in place, it’s time to ignite the fire. Light the newspaper or fire starter cubes at different points to ensure an even spread. Allow the kindling to catch fire and watch as the flames begin to grow. Be patient during this process; it may take a few minutes for the larger logs to ignite.
It’s important to resist the urge to add more fuel immediately; give the fire time to establish itself. If necessary, gently blow on the flames or use a fire poker to carefully adjust the materials to help the fire breathe.
Step 4. Manage and Maintain the Fire:
Once your fire pit is ablaze, managing and maintaining the fire becomes the next priority. Keep a close eye on the fire, ensuring it doesn’t become too large or escape the confines of the fire pit. You can add more logs to the fire as needed but always place them carefully to avoid smothering the flames.
It’s crucial to maintain good air circulation within the fire to promote a steady burn. Use your fire poker to rearrange logs and keep the fire burning efficiently. Always prioritize safety, keeping flammable materials and children away from the open flames.
Step 5. Enjoy Responsibly:
Once you’ve ignited your fire and it’s burning steadily, take a moment to enjoy the fruits of your labor. Gather around the fire pit with friends and family, sharing stories, roasting marshmallows, or simply basking in the warmth and light. Remember, an outdoor fire pit is not just a source of warmth; it’s a center for socialization and relaxation. However, never leave the fire unattended.

Always have an adult present to monitor the fire, ensuring it remains controlled and within the safety parameters you’ve set. Enjoying your outdoor fire pit responsibly ensures a pleasant and safe experience for everyone involved.
Step 6. Extinguish the Fire Safely:
When the time comes to extinguish your fire, doing so safely and effectively is paramount. Start by spreading the ashes around the fire pit with a fire poker to help them cool down faster.
Then, gently pour water over the ashes, ensuring you don’t flood the pit or create a hard crust over the embers, which could preserve heat. Continue adding water and stirring the ashes until you no longer see steam or hear hissing sounds, indicating the fire has cooled completely.
It’s important to ensure that every member is out because even a small, warm ember can reignite. Dispose of the ashes in a metal container to prevent any unintentional fires once they are entirely cool.
Always confirm the fire is totally extinguished before leaving the area or going to sleep. This step closes the circle of enjoying a fire pit safely, ensuring no fire hazards are left behind.
Step 7. Clean and Care for Your Fire Pit:
After ensuring that your fire pit is completely extinguished and cool, it’s time for some maintenance. Regular cleaning and care of your fire pit prolong its life and ensure it’s always ready for your next gathering. Begin by removing any residual ashes and debris.

Brushing the inner surfaces with a stiff brush to remove soot is advisable. If your fire pit is made of metal, inspect for any signs of rust or damage. Check for any loose pieces or cracks for stone or brick fire pits. Repair and maintain according to the manufacturer’s instructions.
Lastly, consider covering your fire pit to protect it from the elements when not in use. This simple step will keep your fire pit in prime condition, ready for many more nights of enjoyable fires.
Step 8. Reflect on Safety and Environmental Considerations:
After enjoying the warmth and ambiance of your fire pit, take a moment to reflect on the safety measures and environmental considerations you’ve put into practice. Ensuring your fire pit area remains safe for all users and mitigating any potential harm to the environment are paramount.
This includes using responsibly sourced firewood, avoiding the burning of plastics or other harmful materials, and considering the impact of smoke on your neighbors and local air quality. By implementing and adhering to these considerations, you contribute to a safer, more enjoyable, and environmentally friendly outdoor experience.
Step 9. Share and Educate:
After mastering the art of building and maintaining a safe and enjoyable fire pit, share your knowledge and experiences with others. Educating friends, family, and neighbors about proper fire pit safety and environmental considerations enhances your gatherings and promotes a culture of responsibility and respect for nature.
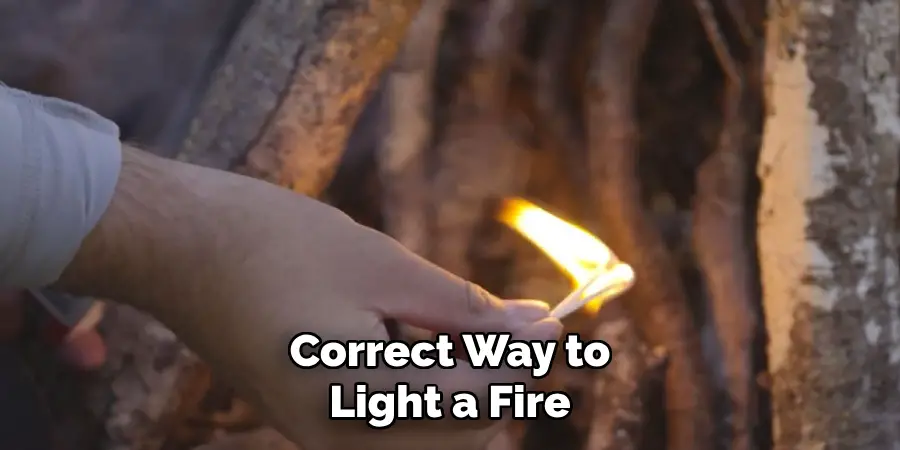
Whether it’s demonstrating the correct way to light a fire, explaining the importance of using sustainable materials, or simply sharing memorable moments around the fire, your insight can help ensure that everyone’s outdoor fire experience is safe, enjoyable, and environmentally friendly.
Remember, knowledge is most valuable when shared, and by doing so, you contribute to a community of informed and conscientious outdoor enthusiasts.
Step 10. Plan Your Next Adventure:
With your newly acquired skills in creating and managing a fire pit, it’s time to start planning your next outdoor adventure. Whether it’s a tranquil evening in your backyard, a festive gathering with friends, or a camping trip in the wilderness, your fire pit can be the highlight of the occasion.
Consider different themes or activities that complement the fire pit experience, such as storytelling nights, gourmet marshmallow roasting, or even outdoor movie nights with a portable projector.
The warmth of the fire creates the perfect atmosphere for making new memories. Remember, each fire pit session is an opportunity to refine your skills, try new fire-building techniques, and, most importantly, spend quality time with loved ones in the great outdoors.
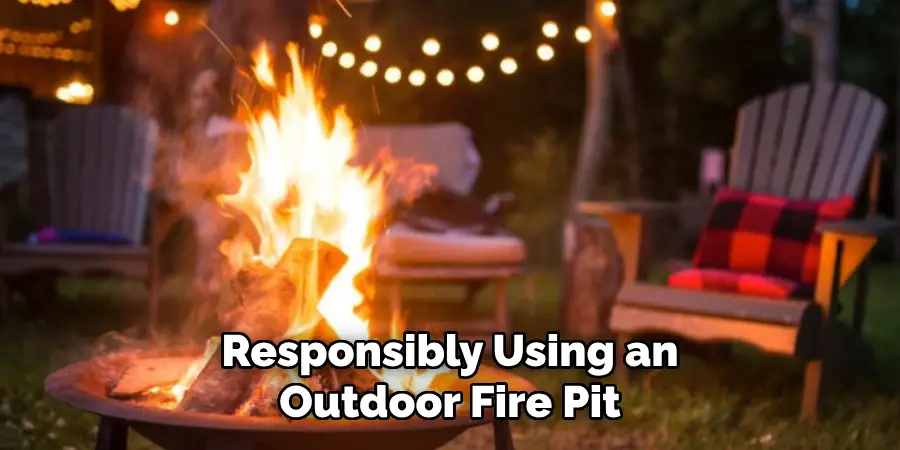
By following these ten steps, you can master the art of safely and responsibly using an outdoor fire pit. From understanding the basics of fire safety to reflecting on environmental considerations, each step plays a crucial role in ensuring a pleasant experience for all.
5 Additional Tips and Tricks
- Use Dry Wood: Moisture is the enemy of a roaring fire. Ensure that your firewood is dry and seasoned; wood that has been allowed to dry for at least six months is ideal. Hardwoods like oak and maple are great choices as they burn hotter and longer.
- Layer with Kindling and Tinder: Start your fire pit by first laying small sticks or dry leaves, also known as tinder, at the bottom, followed by kindling in a crisscross pattern above it. This setup promotes airflow and helps ignite larger logs more efficiently.
- Employ a Wind Barrier: If it’s a breezy day, set up a temporary wind barrier to protect your fire as it gets going. This can be as simple as positioning a large piece of cardboard upwind of the fire pit.
- Light from the Bottom: Light your fire from the bottom, near the tinder, using matches or a lighter. This method ensures the fire grows upward naturally, catching the kindling and then the larger logs.
- Safety First: Always keep a bucket of water, sand, or a garden hose nearby in case you need to extinguish the fire quickly. Never leave your fire unattended, and make sure it’s completely out before leaving the fire pit area.
With these tips and tricks, you’ll be able to light an outdoor fire pit like a pro in no time.
5 Things You Should Avoid
- Avoid Using Gasoline or Kerosene: Introducing gasoline, kerosene, or any other flammable liquid to start or fuel your fire can lead to uncontrollable flames and serious injuries. Always use safer methods, such as fire starters or kindling.
- Don’t Use Wet or Green Wood: Burning wet or freshly cut green wood can create excessive smoke and not provide a steady, lasting flame. It’s best to use wood that’s been dried and seasoned.
- Refrain from Overloading the Fire Pit: Adding too many logs at once can cause the fire to become too large and uncontrollable. It’s safer to gradually build up the fire by adding more wood to the existing flames.
- Don’t Light a Fire in Unfavorable Weather Conditions: Avoid lighting your fire pit during windy conditions or when there’s a local fire ban due to dry weather. High winds can spread flames and embers, increasing the risk of unintentional fires.
- Never Leave the Fire Unattended: Even a small, controlled fire can quickly become a hazard if left unwatched. Always ensure that an adult is present to monitor the fire, and fully extinguish the fire before leaving the area.
By avoiding these common mistakes, you can enjoy a safe and successful experience with your outdoor fire pit.

5 Different Design Ideas for Outdoor Fire Pits
- Stone Fire Pit: A classic option that can complement any outdoor space, a stone fire pit provides a rustic and natural look. It also has excellent durability and heat retention.
- Metal Fire Pit: Metal fire pits come in various shapes, sizes, and designs, making them versatile and customizable to fit your personal style. They also have excellent heat distribution and are relatively easy to clean.
- Brick Fire Pit: Similar to a stone fire pit, a brick fire pit offers a traditional look with its classic red bricks. It’s also cost-effective and can be easily built using simple materials.
- Gas Fire Pit: A gas fire pit is an excellent choice for those who prefer a more convenient and low-maintenance option. It can be easily turned on and off with a switch or remote, and there’s no need to worry about cleaning up ashes.
- Portable Fire Pit: If you’re looking for a more flexible option, consider a portable fire pit that can be moved to different areas of your outdoor space. These come in various materials and designs, making them easy to match with your existing outdoor decor.
With so many options available, you can choose the perfect design for your outdoor fire pit that suits both your style and needs.
Can You Put Water in a Fire Pit?
Yes, you can put water in a fire pit for safety purposes. If the fire becomes too large or starts to spread, you can use water to quickly extinguish it. However, keep in mind that pouring too much water on the fire at once can cause steam and create a lot of smoke, so it’s best to add small amounts gradually.
Additionally, avoid using water on a gas fire pit as it can cause damage to the burner. In this case, use a fire extinguisher instead.
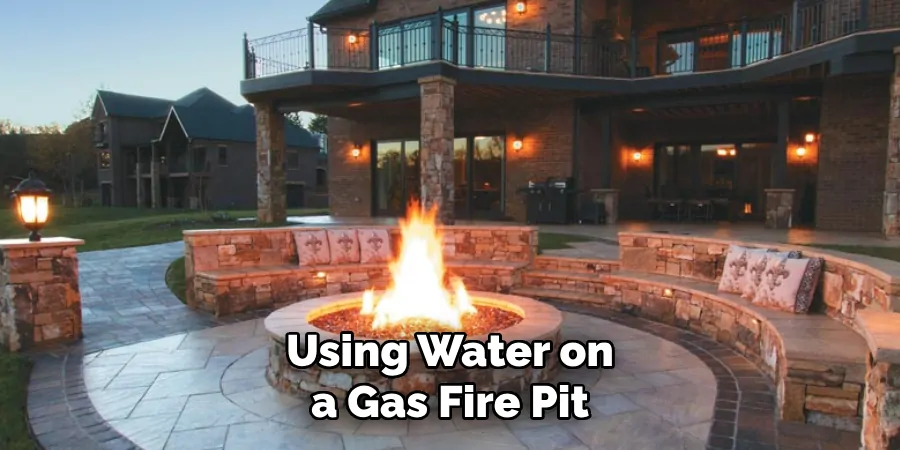
It’s also important to note that pouring water on hot embers or coals can create pockets of steam that may cause burns if you’re too close. Always stand at a safe distance when adding water to your fire pit.
Conclusion
How to light an outdoor fire pit can be a delightful and enriching experience, whether for a cozy evening with loved ones or a social gathering under the stars. By adhering to the essential tips and tricks outlined and avoiding common pitfalls, you can ensure a safe, efficient, and enjoyable fire.
Remember, the key to a successful fire lies in how you start it and maintain it and ensure its safety throughout the evening. Choosing the right design for your fire pit can also enhance the overall experience, adding both functionality and aesthetic appeal to your outdoor space.
With safety as the priority and a bit of preparation, your fire pit can become the heart of many memorable outdoor moments.

