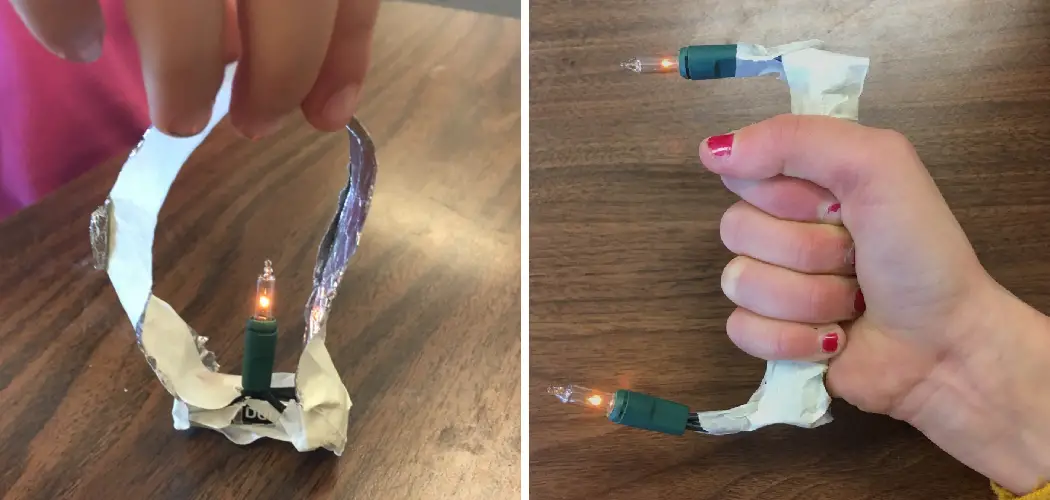
Ever wondered if you could make a light bulb glow using just a battery and some aluminum foil? Learning how to light a lightbulb with a battery and foil is not only a fascinating science experiment but also a practical skill that demonstrates fundamental electrical principles. This simple yet effective method creates a basic circuit that can illuminate a bulb without traditional wiring or electrical outlets.
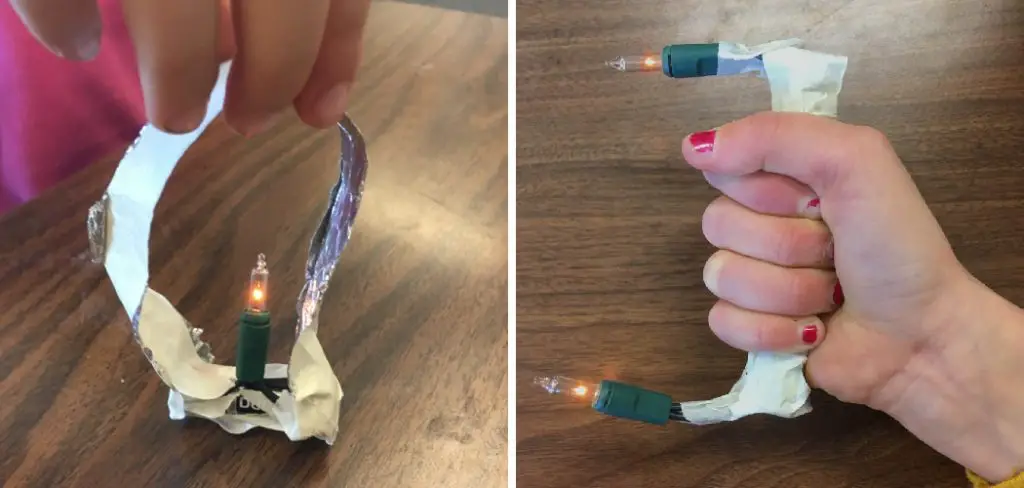
Whether you’re dealing with a power outage, conducting a science project, or simply curious about how electricity works, this technique offers an accessible way to understand current flow and circuit completion. The process requires only common household items and takes just minutes to set up. With proper technique and safety precautions, you’ll have a working light source that showcases the beauty of basic electrical engineering.
Why Learning This Skill Matters
Understanding how to create basic electrical circuits with everyday materials serves multiple practical and educational purposes. In emergency situations where standard lighting fails, this knowledge can provide temporary illumination using readily available supplies. The skill proves particularly valuable for camping trips, power outages, or situations where conventional electrical sources aren’t accessible.
From an educational standpoint, this experiment beautifully demonstrates core electrical concepts including current flow, circuit completion, and conductivity. Students, parents, and curious individuals can use this hands-on approach to make abstract electrical principles tangible and understandable. The visual result of a glowing bulb provides immediate feedback that reinforces learning.
Additionally, mastering this technique builds confidence in working with basic electrical concepts and materials. It serves as a foundation for understanding more complex circuits and electrical systems, making it an excellent starting point for anyone interested in electronics or electrical engineering.
Step-by-Step Guide: How to Light a Lightbulb with a Battery and Foil
Step 1: Gather Your Materials
Before attempting this experiment, collect all necessary components to ensure success. You’ll need one standard AA or D-cell battery, a small incandescent light bulb (LED bulbs require more precise voltage), and several strips of aluminum foil. Kitchen foil works perfectly for this purpose, as it’s thin enough to manipulate easily while maintaining good conductivity.
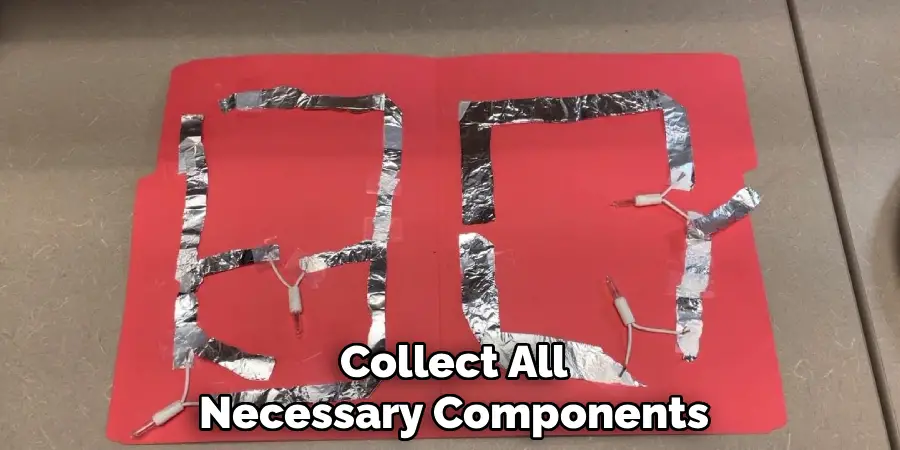
Choose a battery with sufficient charge, as weak batteries may not provide enough current to illuminate the bulb effectively. The light bulb should be small enough to handle safely but large enough to produce visible light when activated. Gather these materials in a well-lit workspace where you can observe the results clearly.
Step 2: Prepare the Aluminum Foil Strips
Cut or tear two strips of aluminum foil, each approximately six inches long and one inch wide. These strips will serve as your conductive pathways, replacing traditional copper wires in this makeshift circuit. Ensure the foil strips are free from tears or holes that might interrupt the current flow.
Fold each strip lengthwise to create a more robust conductor that won’t tear easily during handling. The folded strips should be sturdy enough to maintain good contact with both the battery terminals and the light bulb connections while remaining flexible enough to position correctly.
Step 3: Connect the First Foil Strip to the Battery
Take one prepared foil strip and press one end firmly against the positive terminal of your battery. The positive terminal is typically marked with a “+” symbol and often appears as a raised button on the battery’s top. Ensure the foil makes solid contact with the metal surface of the terminal for optimal conductivity.
Hold this connection securely or use tape to maintain contact if needed. Good contact between the foil and battery terminal is crucial for establishing proper current flow through your circuit. Any loose connections will prevent the circuit from working effectively.
Step 4: Attach the Second Foil Strip to the Negative Terminal
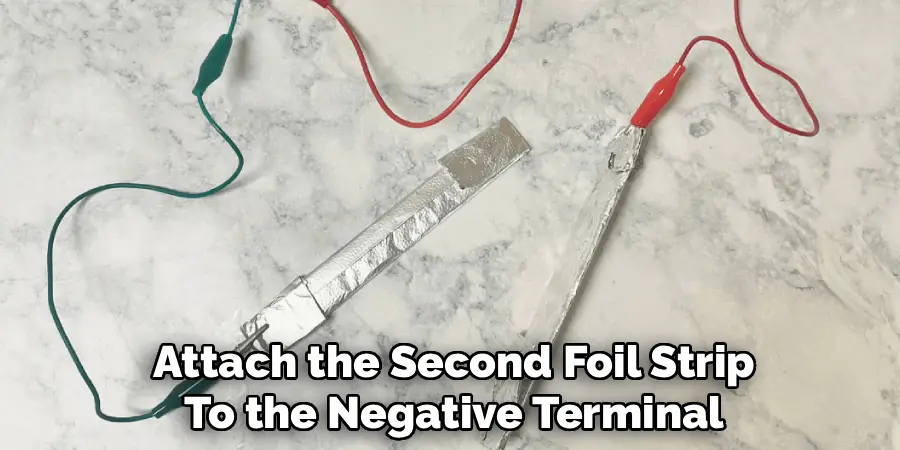
Position the second foil strip so one end touches the negative terminal of the battery, usually marked with a “-” symbol and located on the battery’s flat bottom end. This creates the return path for electrical current in your circuit, completing the essential pathway needed for electricity to flow.
Maintain firm contact between the foil and the negative terminal, ensuring no gaps exist that might interrupt the circuit. The negative connection is just as important as the positive one for creating a complete electrical pathway through your makeshift circuit.
Step 5: Create the Circuit Connection with the Light Bulb
Now comes the critical step where how to light a lightbulb with a battery and foil becomes reality. Take the free end of the first foil strip and touch it to the bottom center contact of the light bulb. This small metal point at the bulb’s base serves as one electrical connection point.
Simultaneously, bring the free end of the second foil strip into contact with the threaded metal base that surrounds the bottom contact point. These two contact points on the bulb correspond to the positive and negative connections needed to complete your electrical circuit.
Step 6: Establish Secure Contact Points
With both foil strips positioned at their respective contact points on the light bulb, press them firmly to ensure solid electrical connections. The current must flow from the positive battery terminal, through the first foil strip, through the bulb’s filament, and back through the second foil strip to the negative terminal.
If the bulb doesn’t immediately illuminate, adjust the contact points and check all connections. Sometimes slight repositioning of the foil strips improves conductivity and allows current to flow properly through the circuit. Patience during this step often leads to success.
Step 7: Observe and Maintain the Circuit
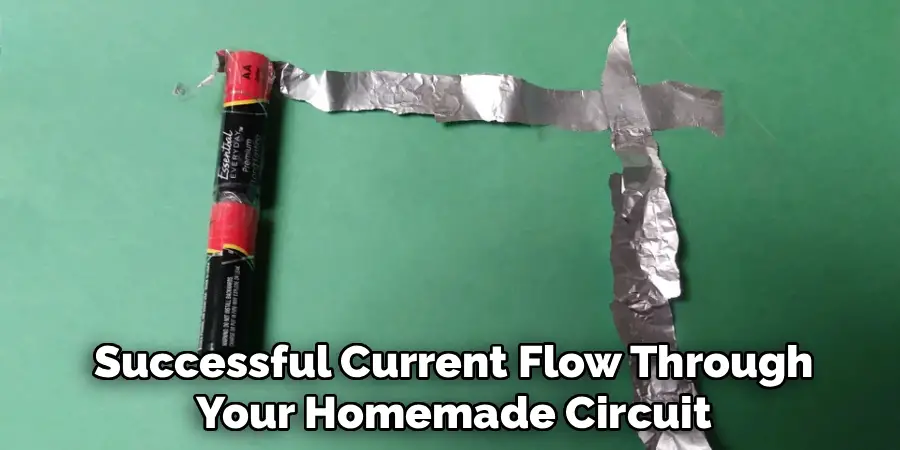
Once all connections are properly established, the light bulb should begin to glow, demonstrating successful current flow through your homemade circuit. The brightness may vary depending on the battery’s charge level and the quality of your connections. Observe how the electrical current travels from the positive terminal, through the circuit, and back to the negative terminal.
Hold the connections steady to maintain illumination, as any interruption in contact will break the circuit and extinguish the light. This hands-on demonstration perfectly illustrates how electrical circuits function and why all connections must remain intact for continuous operation.
Step 8: Experiment with Different Configurations
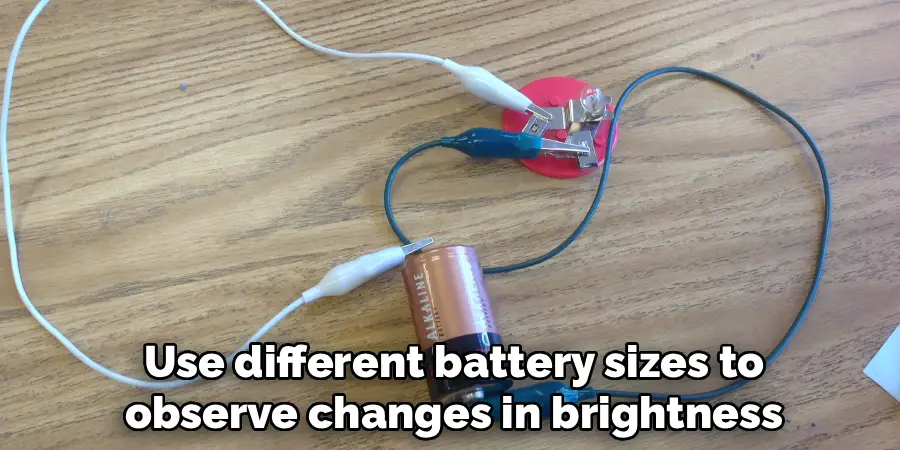
Try variations of this basic setup to deepen your understanding of electrical principles. Use different battery sizes to observe changes in brightness, or connect multiple bulbs in series to see how current divides among components. These experiments reinforce the fundamental concepts while providing additional learning opportunities.
Always maintain safety awareness during experimentation, avoiding short circuits by preventing the two foil strips from touching each other directly. Such contact would create a path of least resistance, bypassing the light bulb entirely and potentially generating heat in the battery.
Historical Electrical Discoveries
The study of electricity has a rich history, marked by groundbreaking discoveries and remarkable individuals. One of the earliest milestones was William Gilbert’s identification of electrical and magnetic phenomena in the late 16th century, laying the foundation for the field of electromagnetism.
Benjamin Franklin’s famous kite experiment in 1752 demonstrated that lightning is a form of electricity, sparking widespread interest in electrical research. Later, Alessandro Volta’s invention of the electric battery in 1800 provided a steady source of current, revolutionizing electrical experiments and applications.
Throughout the 19th century, figures like Michael Faraday and James Clerk Maxwell expanded the understanding of electricity, with Faraday’s work on electromagnetic induction leading to the development of electric generators and Maxwell’s equations unifying electricity, magnetism, and optics. These discoveries not only deepened scientific knowledge but also paved the way for modern technology and electrical engineering.
Frequently Asked Questions
Why does aluminum foil work as a conductor?
Aluminum foil contains metallic aluminum, which has free electrons that can move easily through the material. This property makes it an excellent electrical conductor, allowing current to flow from the battery to the light bulb effectively. The thin foil format makes it flexible and easy to position for circuit connections.
What type of battery works best for this experiment?
AA or D-cell batteries work well due to their 1.5-volt output and sufficient current capacity. Fresh batteries provide the best results, as their higher voltage ensures adequate power for bulb illumination. Avoid using rechargeable batteries initially, as their slightly lower voltage may not provide enough power for some bulbs.
Can I use LED bulbs instead of incandescent bulbs?
LED bulbs can work but may require specific voltage ranges to operate properly. Incandescent bulbs are more forgiving and will glow dimly even with lower voltages, making them ideal for this basic experiment. If using LEDs, ensure the voltage requirements match your battery’s output for best results.
Is this experiment safe for children?
This experiment is generally safe when supervised properly, as it involves only low-voltage batteries. However, children should be supervised to prevent short circuits, which can cause batteries to heat up. Never allow direct contact between foil strips, and stop immediately if any components become warm.
How long will the light bulb stay illuminated?
The duration depends on your battery’s charge level and the bulb’s power requirements. Typically, the light will gradually dim as the battery depletes. Small incandescent bulbs may stay lit for 30 minutes to several hours, depending on these factors. Monitor the setup to prevent excessive battery drain.
Conclusion
Successfully learning how to light a lightbulb with a battery and foil opens up a world of understanding about basic electrical principles and practical problem-solving. This simple experiment demonstrates that complex-seeming electrical concepts can be made accessible using common household materials and straightforward techniques.
Whether you use this knowledge for emergency lighting, educational demonstrations, or as a stepping stone to more advanced electrical work, you’ve mastered a valuable skill that combines science, practicality, and creativity. Take time to share this knowledge with others and continue exploring the fascinating world of electrical circuits and conductivity.

