LED lights are a popular choice for both residential and commercial spaces due to their energy efficiency, durability, and bright illumination. However, maintaining their placement can sometimes be a challenge, especially when dealing with intricate designs or surfaces that are difficult to adhere to.
This guide on how to keep LED lights up will walk you through step-by-step methods to ensure your LED lights remain securely in place, enhancing your space with their vibrant glow. Whether you are installing strip lights around a room or accentuating a particular area, we have got you covered with the best techniques to keep them shining bright and steady.
Why is Proper Placement Important?
Proper placement of LED lights is crucial for several reasons, ensuring both aesthetic appeal and functional benefits. Firstly, well-positioned LED lights can drastically improve the ambiance of a room by highlighting architectural features, creating mood lighting, or serving as practical task lighting. Poor placement, on the other hand, might lead to uneven lighting or unintended glare, detracting from the desired atmosphere.
Additionally, correct placement is essential for maximizing energy efficiency, allowing lights to illuminate the intended areas without wasted output. Furthermore, securing LED lights properly helps extend their lifespan, preventing damage from falling or improper support. Ensuring lights are strategically placed not only enhances their visual impact but also contributes to the overall effectiveness and longevity of the installation.
Tools and Materials Needed:
Before getting started, gather the following tools and materials to help keep your LED lights securely in place:
Led Light Strips or Individual Lights:
Select the type of LED lights you want to install, whether it is a continuous strip or individual bulb lights.
Adhesive Tape or Clips:
Depending on the surface and design, choose between double-sided adhesive tape or clips designed specifically for LED lights. Make sure to use strong and reliable options that are suitable for the weight of your lights.
Cleaning Supplies:
It is essential to clean the surface before attaching the LED lights to ensure a secure bond. Use rubbing alcohol or a mild cleaning solution to remove any dust, oil, or residue.
Measuring Tape and Marking Tool:
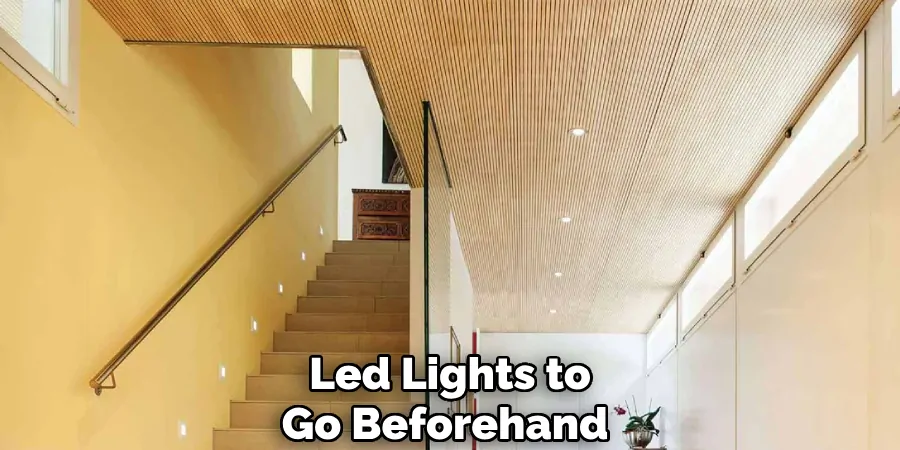
For precision placement, measure and mark where you want the LED lights to go beforehand using a measuring tape and a marking tool such as chalk or a pencil.
Ladder or Step Stool:
If installing LED lights in high areas, make sure to have a stable ladder or step stool on hand for safe and easy access.
8 Simple Step-by-step Guidelines on How to Keep Led Lights Up:
Step 1: Prepare the Surface
Before applying any LED lights, it’s vital to properly prepare the surface to ensure a strong and lasting hold. Start by thoroughly cleaning the areas where the LED lights will be placed. Use a cloth dampened with rubbing alcohol or a gentle cleaning solution to remove any dirt, dust, oil, or residue that could interfere with the adhesive.
Pay special attention to corners and grooves, as these spots often accumulate debris. Allow the surface to dry completely before proceeding to the next step. Proper preparation will help the adhesive do its job, resulting in a more secure installation and enhanced durability of your LED lights.
Step 2: Measure and Mark
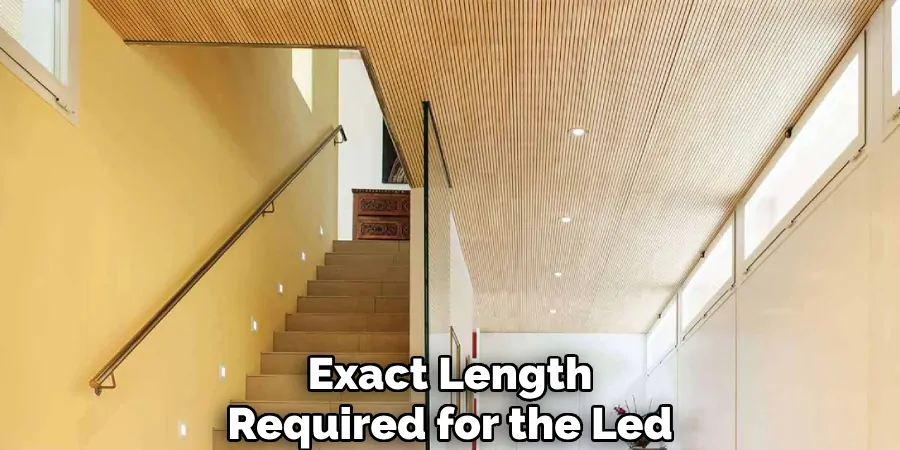
Once the surface is clean and dry, the next step is to measure and mark the area where you plan to install the LED lights. Use a measuring tape to determine the exact length required for the LED strip or placement of individual lights. Begin by identifying the starting point for your lights and measure along the path you want them to follow, ensuring that the length accommodates your design needs.
As you measure, use a marking tool, such as chalk or a pencil, to gently mark the positions where the lights will be placed. This step is crucial for achieving a precise and neat installation, helping you avoid mistakes and ensuring that the lights are evenly spaced. Double-check your measurements and marks before proceeding, as proper alignment will significantly enhance both the appearance and functionality of your LED light setup.
Step 3: Cut the LED Light Strip
if you are using an LED light strip, cut it according to the measurements taken in the previous step. Most LED strips have designated cutting points marked with dashed lines, making it easy to trim them to specific lengths. Use a sharp pair of scissors or a utility knife to make a clean and precise cut at the designated spot.
You can also choose to use the full length of the LED strip and bend it at corners or curves, depending on your design. However, make sure to plan and measure carefully beforehand to avoid any wasted materials.
Step 4: Attach the Lights
With your surface prepped, measurements taken, and LED lights cut if necessary, it’s time to attach them! If using adhesive tape, carefully remove one side of the protective backing and apply it along the marked path on the cleaned surface. Be sure to follow straight lines or curves as needed for your design.
If using clips, position them according to your markings and gently clip in the LED light strip or individual bulbs. Make sure they are secure and evenly spaced before proceeding to the next step.
Step 5: Secure the Lights
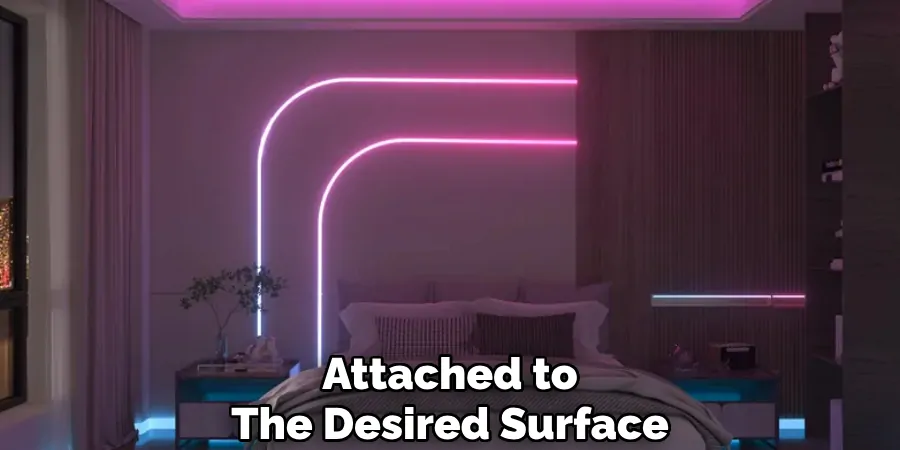
Once the LED lights are attached to the desired surface, it’s vital to ensure they are securely in place to prevent any sagging or detachment over time. Start by gently pressing down along the entire length of the LED strip or around each individual bulb, ensuring maximum contact between the adhesive or clips and the surface.
Pay extra attention to corners, curves, or any areas with potential tension. If you’ve used adhesive tape, apply firm pressure for a few seconds to strengthen the bond. For clips, check that each one is tightly fastened and that the lights are snugly held within. After securing the lights, visually inspect the entire setup to confirm everything is evenly placed and secure. This step is crucial in maintaining a professional look and ensuring the longevity and reliability of your LED lighting installation.
Step 6: Test the Lights
With the LED lights securely attached, it’s time to test them out! Plug in your lights and make sure they are all working correctly. If any bulbs aren’t lighting up or there are other issues, address them before proceeding. It’s much easier to troubleshoot and fix problems at this stage rather than after completing the entire installation.
You can also use this opportunity to adjust the brightness or color settings of your LED lights, if applicable. Experiment with different lighting options and find the perfect look for your space.
Step 7: Clean Up
After confirming that all the LED lights are functioning correctly, unplug them and tidy up any materials or tools used during the installation process.
If you’ve used adhesive tape, carefully remove the remaining protective backing from its second side, taking care not to disturb or loosen any of the lights. Discard the backing and any other waste materials, then store your tools in a safe and organized manner for future use.
Step 8: Enjoy Your LED Lights!
Congratulations, you’ve successfully installed your LED lights! Take a step back and admire your work. Your newly illuminated space is now ready to enjoy.
Following these simple step-by-step guidelines on how to keep LED lights up will help you keep your LED lights up and looking great for a long time. Remember to always prepare the surface properly, measure and mark carefully, attach and secure the lights correctly, test them out, clean up, and enjoy the final result.
Frequently Asked Questions:
Q: Can I Use Led Lights on Any Surface?
A: Yes, LED lights can be used on various surfaces such as walls, ceilings, furniture, and even outdoors. Just make sure to properly prepare the surface before installation. The adhesive on LED lights works best on clean, dry, and smooth surfaces.
Q: How Do I Cut LED Light Strips?
A: Most LED light strips have designated cutting points marked with dashed lines. Use a sharp pair of scissors or a utility knife to make a clean and precise cut at these points. Alternatively, you can also choose to use the full length of the strip and bend it at corners or curves according to your design.
Q: Can I Reuse Adhesive Tape for My LED Lights?
A: It’s not recommended to reuse adhesive tape for your LED lights as the bond may weaken with each additional use. It’s best to replace the tape if you need to reposition or remove the lights. However, you can use double-sided tape or adhesive clips for a more secure and reusable option.
Q: How Do I Troubleshoot If My LED Lights Aren’t Working?
A: First, make sure that all bulbs are securely attached and that there is no loose wiring. Check the power source and connections to ensure they are functioning properly. If needed, consult the manufacturer’s instructions or contact customer support for further assistance.
Q: Can I Customize the Color of My LED Lights?
A: Yes, many LED lights come with color options and various lighting effects that can be controlled through a remote or smartphone app. Make sure to read the product specifications before purchasing if color customization is important to you.
Conclusion
Installing LED lights is a rewarding project that can dramatically enhance any space with minimal effort and time investment. By following this comprehensive guide on how to keep LED lights up, you’ll gain the skills and confidence to successfully set up your LED lighting system, ensuring it is both attractive and functional. From cutting and securing the strips to troubleshooting potential issues, these steps cover all the essentials for a seamless installation experience.
Remember to prepare meticulously, follow our outlined process, and make informed choices about the types and placements of your lighting. Whether you’re beautifying your home, office, or outdoor area, your new LED lights can transform the atmosphere, offering not just illumination but also a touch of style and personality.

