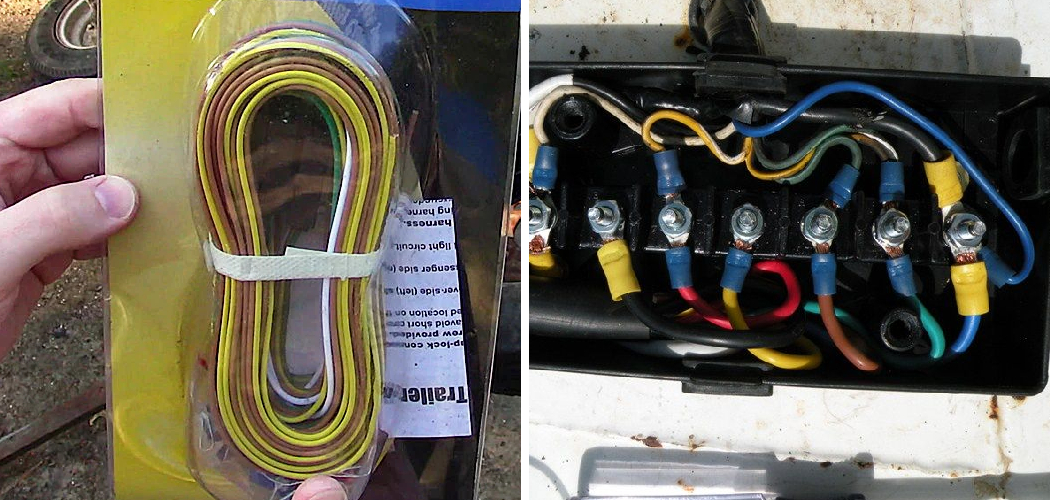
Installing a wiring harness for trailer lights is a fundamental step in ensuring safe and efficient towing. Whether you’re planning a road trip with your camper or need to transport cargo using a trailer, proper trailer lighting is essential for visibility and compliance with road regulations.
In this article, we will guide you through the process of installing a wiring harness for trailer lights, equipping you with the knowledge to undertake this task with confidence. We will cover the necessary tools, step-by-step instructions on how to install wiring harness for trailer lights, and tips to make the installation process smooth and hassle-free.
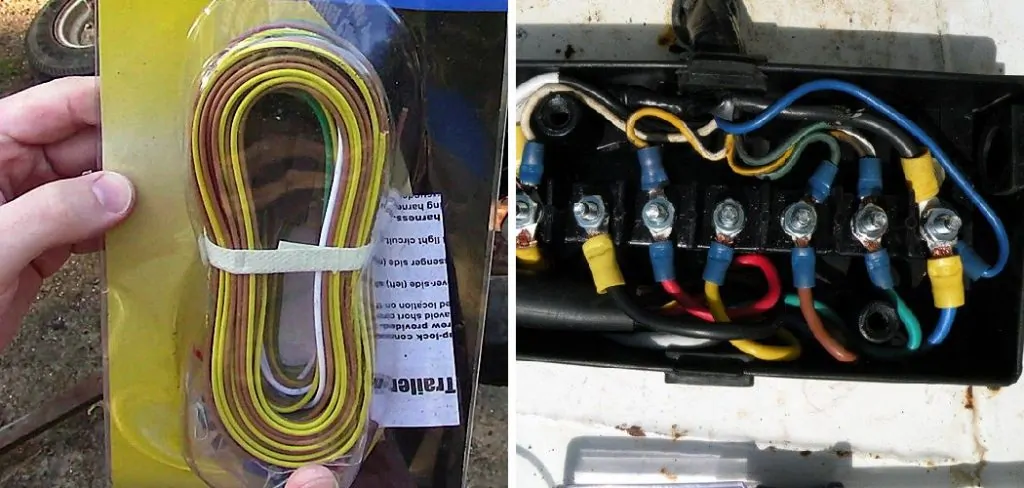
By the end, you will have a comprehensive understanding of how to connect and secure the wiring harness, allowing you to enjoy worry-free towing experiences with fully functioning trailer lights. So let’s dive in and get started on this important aspect of trailer maintenance and safety.
What Is a Wiring Harness for a Trailer?
A wiring harness for a trailer is an electrical system designed to connect the trailer’s lights, brakes, and other components to your vehicle. It allows you to safely control the functions of the trailer from inside your car or truck. The wiring harness consists of several wires that have been bundled together with plastic casing and connectors.
Each wire serves a specific purpose, such as powering the stop/brake lights or providing power to the trailer’s running lights. Depending on the type of trailer and its features, the wiring harness may contain up to seven different wires.
Installing a wiring harness for your trailer can be done relatively easily with just a few tools and some basic knowledge about electrical wiring. It is important to understand that the wiring harness does not come with a complete set of instructions, and it may be necessary to refer to other sources for guidance in the installation process.
Knowing how to properly install a wiring harness will ensure that your trailer functions correctly and safely on the road.
Do I Need a Wiring Harness for a Trailer?
If you plan on towing a trailer, then the answer is yes. Installing a wiring harness for your trailer lights will give you secure connection points for correctly connecting the lighting system. Without the correct wiring setup, your trailer may be prone to electrical shorts and potential hazards such as fire and malfunctions.
Using an appropriate wiring harness is essential to ensuring that your trailer has a clean, secure connection in order to properly transfer the electrical signals between the tow vehicle and the trailer. It also provides protection against water damage, corrosion, abrasion, and other environmental elements.
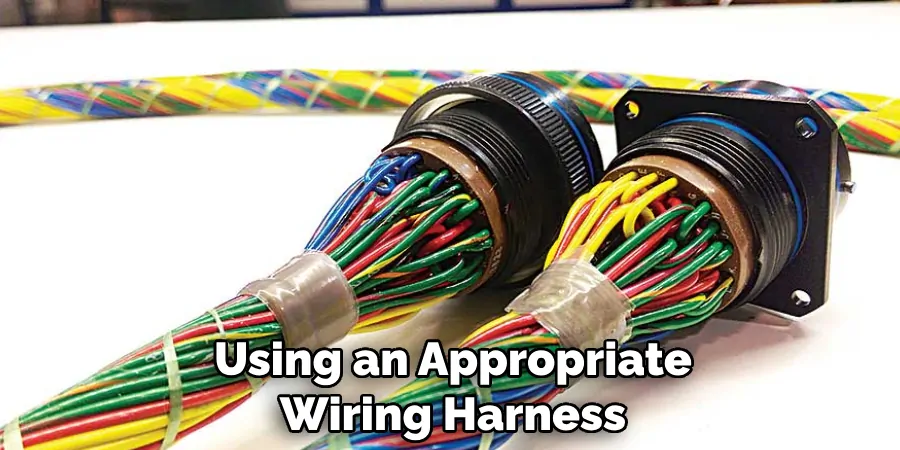
Installing a wiring harness is not overly complicated but requires attention to detail and some basic knowledge of electrical systems. It’s important that you select the right wiring harness for your specific vehicle model so make sure to consult with an expert if necessary. With the proper instructions and materials, you can easily install a wiring harness yourself.
10 Methods How to Install Wiring Harness for Trailer Lights
Step 1: Gather the Necessary Tools and Materials
Before starting the installation process, gather all the tools and materials you will need. These may include a wiring harness kit (compatible with your trailer and vehicle), wire cutters, wire strippers, electrical tape, zip ties, a voltage tester, and a socket wrench.
Having everything ready will save time and make the installation smoother. While you are preparing, check that all the necessary components of your wiring harness kit are present. However, it is a good idea to also check the manufacturer’s instructions before beginning.
Step 2: Identify the Trailer’s Wiring Connector
Locate the wiring connector on your trailer. It is typically located at the rear end, near the hitch. Identify the connector type—common options include a four-pin, five-pin, six-pin, or seven-pin connector. Ensure that the wiring harness kit you have matches the connector type on your trailer.
However, if the connector type on your trailer does not match the harness kit, you may need to purchase an adapter or converter. However, adapters and converters are not always necessary.
Step 3: Prepare the Trailer Wiring
Start by disconnecting the trailer from your vehicle and removing the existing wiring, if any. Use wire cutters to remove any damaged or frayed wires. Then, use wire strippers to remove a small portion of insulation from the ends of the wires, exposing the copper strands.
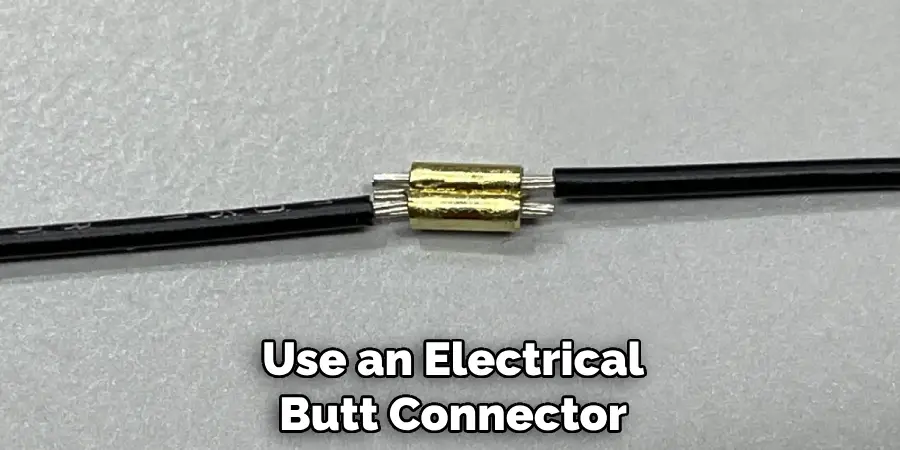
Twist the strands together so they make a solid connection. Try to keep the wires as short as possible and make sure that the exposed portion of each wire is not touching any other wiring. However, if you need to connect two wires together, use an electrical butt connector.
Step 4: Connect the Wiring Harness to the Trailer
Take the wiring harness from the kit and align it with the trailer’s wiring connector. Match the wire colors on the harness with the corresponding wires on the trailer. For example, connect the green wire to the green wire, the yellow wire to the yellow wire, and so on.
Secure the connections using wire connectors or crimping them together. Once all the connections are established, cover them with electrical tape. While you are doing this, make sure the wires do not cross or touch each other. This could create a short circuit and burn out your trailer lights.
Step 5: Route the Wiring Harness
Carefully route the wiring harness along the trailer’s frame, making sure it is protected from any sharp edges or moving parts. Use zip ties or clips to secure the harness in place. Avoid placing the wiring near any heat sources or areas prone to water exposure.
Make sure that the wiring is properly insulated and sealed against moisture. While routing the harness, check for any signs of wear or damage. If any of the wiring is frayed or exposed, discard and replace with new wire. However, if the wiring appears undamaged, continue routing it along the trailer’s frame.
Step 6: Connect the Wiring Harness to the Vehicle
Locate the wiring connector on your vehicle, usually found near the hitch. Align the wiring harness’s connector with the vehicle’s connector and connect them together firmly. Ensure that the connections are secure to prevent any loose or faulty connections.
To make sure, test the connection by applying a slight tug on the connectors. If they do not disconnect easily, then it is securely connected. Although it is not necessary, you may choose to use electrical tape or heat shrink tubing for additional protection.
Step 7: Test the Wiring
After connecting the wiring harness to the trailer and vehicle, it’s important to test the connections before finalizing the installation. Use a voltage tester to check each wire’s functionality, ensuring that it corresponds to the appropriate trailer light function (e.g., brake lights, turn signals, running lights). Make any necessary adjustments or repairs if any issues are detected.
Step 8: Secure and Protect the Wiring
Once you have confirmed that the wiring is functioning correctly, secure it further by using zip ties or clips along the trailer frame. Ensure that the wiring is well-protected and kept away from any moving parts or areas that may cause damage. Make sure that the wiring is away from areas of moisture to avoid corrosion or electrical shorting.
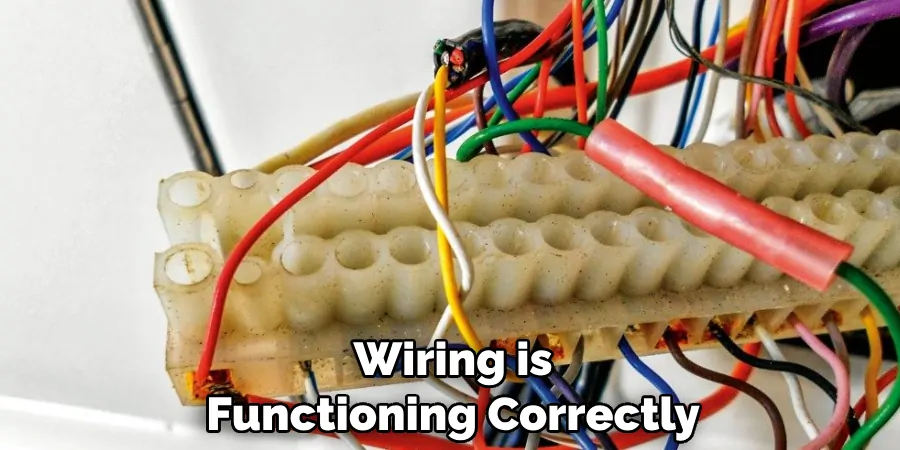
Once you have secured the wiring, connect any trailer light covers to the light assemblies. If you are using a junction box, make sure that it is properly sealed with liquid-tight sealant to protect the connections from any exterior elements. Congratulations, you have successfully installed your trailer wiring harness!
Step 9: Waterproof and Insulate the Connections
To protect the wiring connections from moisture and potential corrosion, use electrical tape or heat-shrink tubing to insulate each connection. This step will help extend the lifespan of your wiring harness and ensure reliable performance even in harsh weather conditions. It is important to cover all exposed wires and connections, making sure that each connection is fully covered.
Once you have finished waterproofing and insulating the connections, your installation is complete. Now you can plug in the trailer lights and test them to make sure they are working properly. If everything looks good, you can safely install your trailer lights and hit the road!
Step 10: Conduct a Final Test
After completing the installation and securing all the connections, perform a final test of the trailer lights. Connect the trailer to your vehicle and activate the different light functions, including brake lights, turn signals, and running lights. Ensure that all lights are working properly and that the wiring harness is providing consistent power to the trailer lights.
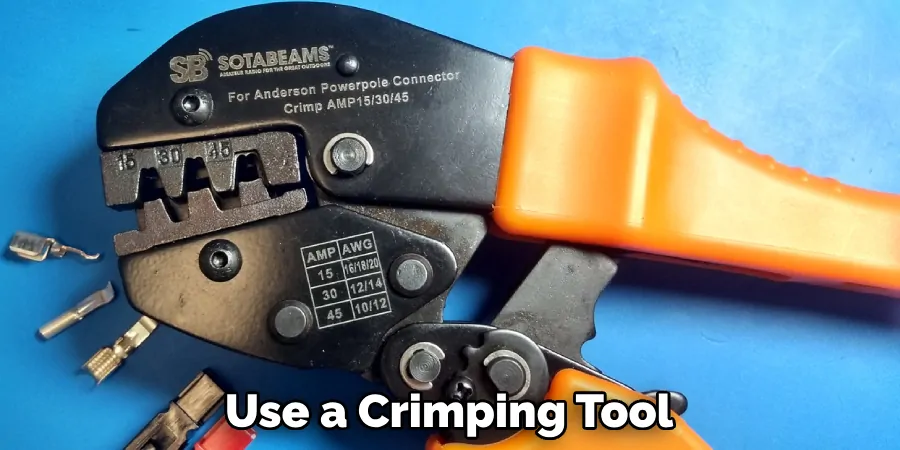
If any connection points are loose, use a crimping tool to secure them. Once you are satisfied with the functioning of the trailer lights, you can be sure that the wiring harness is correctly installed.
Conclusion
After finishing the step-by-step guide to installing a wiring harness for trailer lights, you will be able to feel a sense of achievement. Furthermore, you have the satisfaction of knowing that your trailer is now properly equipped with trailer lights. Staying safe and legal on the road starts off with a proper setup.
With this installation, you are making progress in that direction. Moreover, it is handy to remember that if at any point during the installation process, there seem to be too many parts or the task appears to be too daunting, don’t hesitate to ask for help from an experienced electrician.
In sum, by following the steps outlined in this post on How to Install Wiring Harness for Trailer Lights you can ensure your trailer is legally outfitted and prepared to hit the open road when it’s time!

