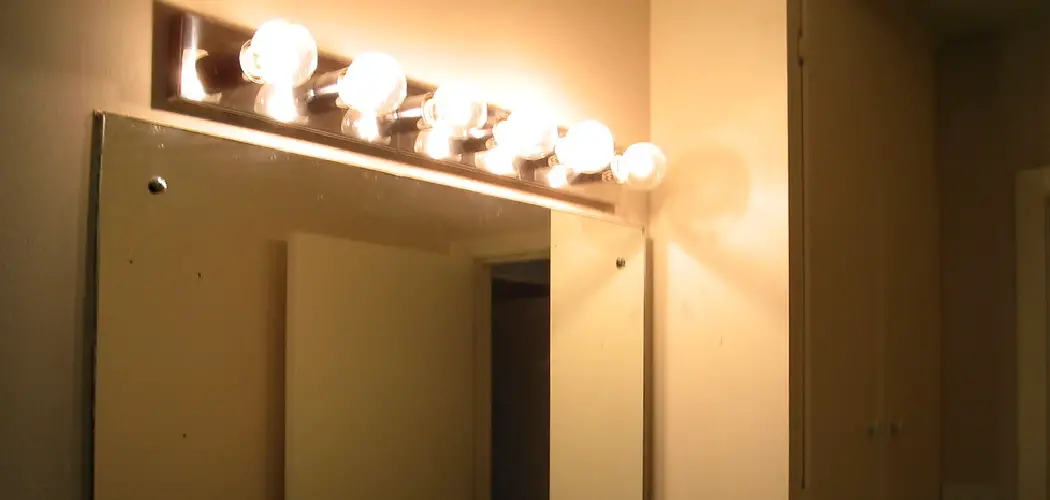
Installing vanity lights can enhance the functionality and aesthetics of your bathroom or dressing area. These fixtures not only provide essential lighting for daily tasks such as grooming or applying makeup but also contribute to the overall ambiance of the space. With the right tools and a step-by-step process of how to install vanity lights, you can easily install vanity lights to improve both the style and practicality of your room. This guide will walk you through the process, ensuring a smooth and successful installation.
Why Vanity Lighting Matters
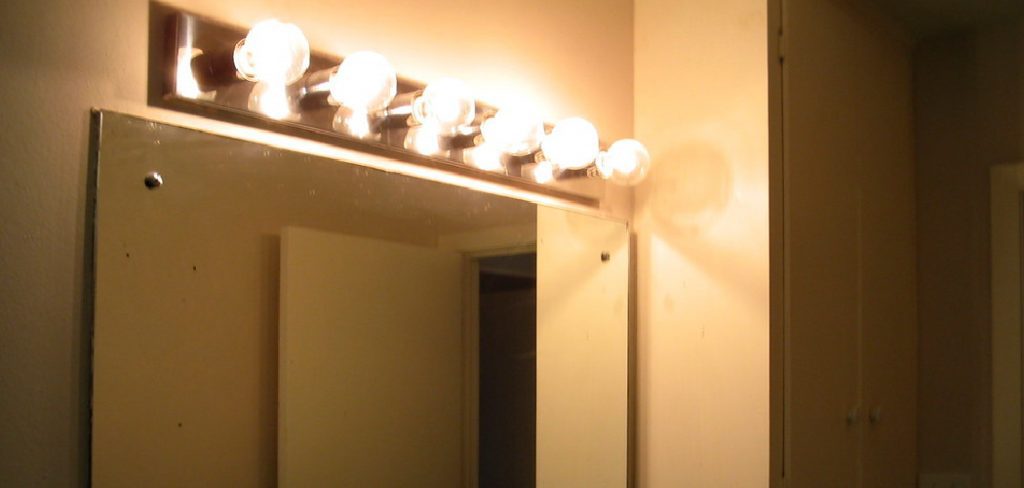
Vanity lighting plays a crucial role in creating a functional and inviting space in your bathroom or dressing area. Proper lighting ensures even illumination, helping to eliminate shadows and glare that can make daily tasks like shaving, grooming, or applying makeup more challenging. It not only enhances visibility but also adds a layer of elegance and sophistication to the room’s overall design. Additionally, vanity lighting can influence your mood and energy levels, making the space feel brighter and more welcoming. By carefully selecting the right fixtures and placement, you can elevate both the usability and aesthetic appeal of your space.
Tools and Materials You’ll Need
To properly install or upgrade vanity lighting, you’ll need a few essential tools and materials. These include:
- Screwdriver set – For assembling fixtures and securing them in place.
- Drill and bits – To create mounting holes for the lighting fixtures.
- Measuring tape – Ensures accurate placement and alignment.
- Wire stripper – For preparing electrical wires during installation.
- Level – To ensure the fixtures are straight and aligned.
- Electrical tester – To confirm the power is off and connections are safe.
- Lighting fixtures – The vanity lights you’ve selected for your space.
- Mounting hardware – Brackets and screws usually provided with the fixture.
- Wire connectors – For safely connecting electrical wires.
- Safety goggles and gloves – To ensure personal safety during the installation process.
Having these tools and materials on hand will make the process efficient and help you achieve a professional-looking result.
10 Methods How to Install Vanity Lights
1. Plan the Lighting Layout Based on Mirror Size and Position
The first and most essential step is to assess where the vanity lights should be placed in relation to the mirror and sink. Ideally, lighting should be positioned at eye level on either side of the mirror to eliminate shadows on your face. If that’s not possible, a horizontal fixture above the mirror, placed around 75 to 80 inches from the floor, can provide even illumination.

Measuring the mirror dimensions and centering your lights accordingly ensures the installation looks symmetrical and intentional. Planning in advance helps avoid awkward placements or unnecessary rework once wiring begins.
2. Choose the Right Fixture Style and Brightness
Before beginning installation, select a vanity light fixture that complements the size of your mirror, the design of your bathroom, and the amount of brightness needed. Fixtures vary in length, bulb count, and style—ranging from modern LED bars to vintage globe-style sconces. Choose a fixture that’s no wider than the vanity or mirror, unless making a bold design statement. Also, pay attention to bulb type and color temperature. Aim for 2700K to 3000K (soft white to warm white) for a flattering, natural look. This step ensures the lighting performs well and harmonizes with the space visually.
3. Turn Off the Power at the Breaker Box
Before handling any electrical components, always turn off the power supply to the bathroom from the circuit breaker. This is non-negotiable for your safety. Even if the light switch is off, electricity can still run through the wires. After turning off the breaker, use a non-contact voltage tester to confirm there is no live current in the wires. Verifying the absence of power twice ensures that you can proceed with the installation without risk of electric shock, especially when detaching or installing wiring connections.
4. Remove the Existing Fixture (if applicable)
If you’re replacing an old vanity light, carefully remove it by unscrewing the fixture from the mounting plate. Typically, the fixture will hang slightly away from the wall, allowing access to the wiring behind. Detach the wires—usually black (hot), white (neutral), and green or bare (ground)—by unscrewing the wire connectors.

Take note of how the existing wiring is arranged, as it will help guide your connection process later. If the wall is damaged or has holes larger than needed, patching and repainting may be required to ensure a clean final look.
5. Secure the New Mounting Plate or Bracket
Once the old fixture is removed or if you’re starting fresh, you’ll need to install the mounting plate or bracket that comes with the new vanity light. Most modern fixtures come with a universal crossbar that attaches directly to the electrical box in the wall. Align the bracket so that it is level and centered with your mirror or sink, and screw it into place. Use a bubble level to ensure perfect alignment—crooked fixtures are surprisingly noticeable and can diminish the elegance of the installation.
6. Connect the Electrical Wiring Correctly
Now, it’s time to wire the new fixture. Match the black wire from the wall to the black wire from the fixture, white to white, and green or bare to ground. Twist the ends of the corresponding wires together and secure them with wire nuts, then wrap them with electrical tape for added safety. Gently push the wired connections back into the electrical box without forcing them. If your fixture has additional components such as a ground screw on the mounting bracket, make sure to connect the ground wire securely to that as well.
7. Attach the Fixture Base to the Mounting Plate
With wiring complete, align the fixture’s base or backplate with the mounting plate and secure it using the provided screws or decorative nuts. This step may require an extra set of hands, especially with larger or heavier light fixtures. Make sure the base sits flush against the wall without any gaps. Check again for level alignment before tightening fully. Once secured, your fixture will have a stable, polished appearance and will be ready for bulb installation and any finishing touches.
8. Install Light Bulbs and Decorative Covers
Next, install the appropriate bulbs according to the manufacturer’s specifications. Make sure to choose the correct wattage and bulb style—LEDs are generally preferred for their efficiency and low heat output. Once the bulbs are in place, attach any included decorative covers, such as glass shades or metal accents.

These elements complete the visual style of the fixture and contribute to the light diffusion, affecting how soft or direct the illumination feels. Handle glass parts with care and clean them with a soft cloth to avoid smudges or fingerprints.
9. Turn Power Back On and Test the Fixture
After everything is installed, return to your breaker box and switch the power back on. Flip the bathroom light switch to test the fixture. If it doesn’t light up, double-check the bulb installation, confirm the wiring connections, and make sure the breaker hasn’t tripped. If all components were installed correctly, your new vanity light should turn on smoothly, casting even, flattering light across the vanity area. Testing ensures functionality and allows you to troubleshoot before putting your tools away.
10. Style the Vanity Area for a Cohesive Look
Once your vanity lights are operational, step back and evaluate the overall look of the area. Consider coordinating with matching hardware finishes, such as faucets and cabinet handles, for a cohesive design. Add mirrors, framed artwork, or plants to enhance the area’s aesthetics. Vanity lighting should feel integrated—not just a utility—so creating visual harmony ensures that the light fixture complements your bathroom’s style. You may also want to install a dimmer switch to adjust brightness for different times of day, adding versatility to both function and mood.
Things to Consider When Choosing Vanity Lighting
When selecting vanity lighting, it’s important to prioritize both style and functionality. Start by evaluating the size of your bathroom and the dimensions of your vanity area. Larger spaces may require multiple fixtures or layered lighting to ensure even brightness, while smaller bathrooms can benefit from compact, minimalist designs.
Consider the color temperature of the bulbs—warm white tones create a cozy, inviting atmosphere, while cool white tones provide a crisp and modern look ideal for task-oriented activities.

Additionally, look for fixtures with adjustable angles or brightness settings to enhance usability. Always ensure the lighting is installed at proper heights to avoid casting unflattering shadows, particularly around mirrors where accurate lighting is crucial. Investing in energy-efficient LED lighting can reduce electricity consumption while offering long-lasting reliability.
Conclusion
Installing vanity lights is a straightforward project that, when done properly, dramatically elevates the beauty and functionality of a bathroom. By carefully planning the layout, selecting the right fixture, and following safe wiring and installation practices, you can achieve a professional-looking result that enhances both everyday use and long-term value. Thanks for reading our blog post on How to install vanity lights! We hope you found it helpful and informative.

