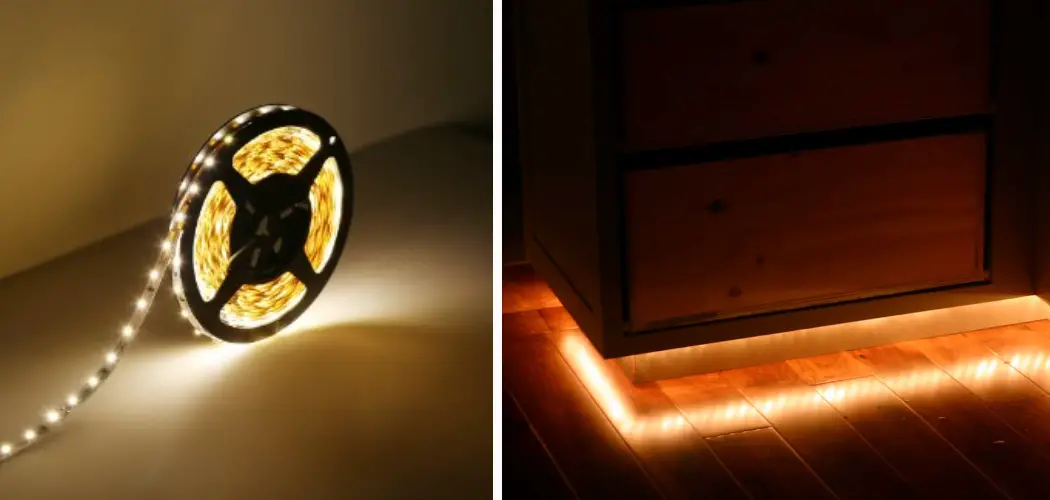
Installing toe kick lighting is a great way to add ambiance and functionality to your home. This type of lighting is perfect for illuminating walkways, highlighting architectural features, and creating a cozy atmosphere in any room.
There are several types of toe kick lighting available on the market, including LED strips, puck lights, and rope lights. Each option has its own unique benefits and installation process, so it’s important to choose the right type for your specific needs.
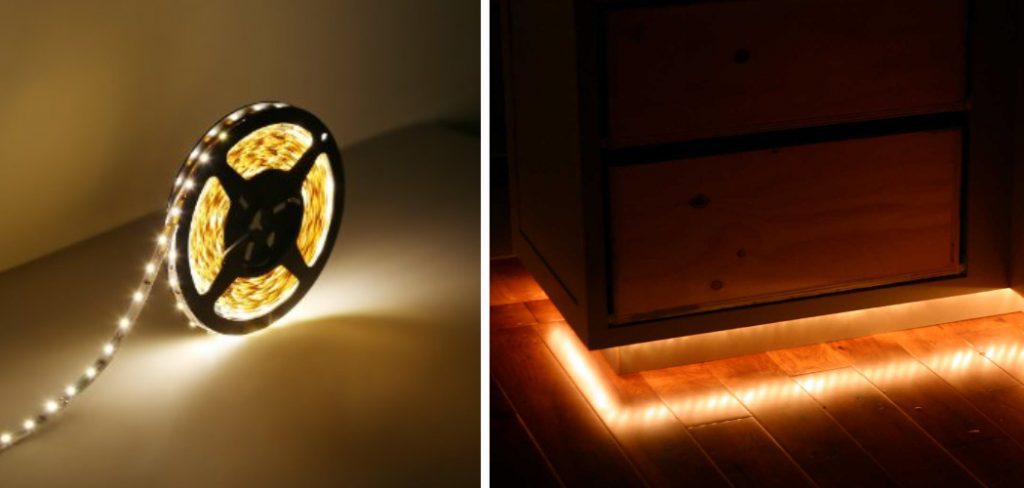
In this guide, we’ll walk you through the steps of how to install toe kick lighting in your home. Whether you’re a DIY enthusiast or hiring a professional, these tips and guidelines will ensure a successful and safe installation.
What is Toe Kick Lighting?
Toe kick lighting is a type of low-level lighting installed at the base of cabinets, along stairs, or underneath furniture. It provides subtle and indirect light that adds depth and dimension to your space.
This type of lighting is often used in kitchens, bathrooms, and hallways to provide a soft glow that enhances safety and aesthetics. It can also be used in living rooms, bedrooms, and outdoor spaces for a cozy and welcoming atmosphere.
Toe kick lighting can be installed using various types of fixtures and bulbs, depending on the desired effect. Some options include LED strips, which offer customizable colors and dimming options, puck lights, which provide focused spotlights, or rope lights, which create a diffused glow.
Tools and Materials You Will Need to Install Toe Kick Lighting
- 1. Tape measure
- 2. Drill/driver
- 3. Wood screws
- 4. Wire cutters/strippers
- 5. Wire connectors
- 6. Electrical tape
- 7. Toe kick light fixtures (LED strips, puck lights, or rope lights)
- 8. Transformer (if using LED strips)
- 9. Extension cord (if installing outdoor lighting)
Step-by-step Guidelines on How to Install Toe Kick Lighting
Step 1: Plan and Measure
Before you begin the installation process, it’s important to plan out your lighting design and measure the area where you will be installing the toe kick lights. This will help ensure that you have enough materials and can determine the best placement for optimal lighting.
Measure the length of the cabinets or furniture where you want to install the lights and decide on spacing between each light fixture. For LED strips, make sure to measure the length of the area and add an extra few inches for any corners or turns.

Step 2: Gather Materials
Once you have your measurements and plan in place, gather all the necessary materials for the installation process. This includes tools like a tape measure, drill/driver, wire cutters/strippers, and electrical tape, as well as the toe kick light fixtures and any additional materials like transformers or extension cords. Make sure to read the instructions for each fixture carefully before beginning.
Step 3: Preparing the Area
Before installing the toe kick lights, it’s important to prepare the area by cleaning and wiping down any surfaces where the fixtures will be attached. This will ensure a secure fit and prevent any damage to the surface. Preparing the area also involves turning off power to the outlets where you will be connecting the lights. This can be done by flipping the circuit breaker or unplugging any power sources.
Step 4: Installing the Fixtures
With your area prepped and materials gathered, it’s time to start installing the toe kick lights. If using LED strips, begin by attaching the transformer to a nearby outlet and then secure the strip in place using wood screws. For puck lights, you will need to drill holes into the surface and then insert the fixtures. For rope lights, use adhesive clips or brackets to secure the lights in place. While installing the fixtures, make sure to follow any specific instructions from the manufacturer and double-check placement for proper alignment.
Step 5: Wiring and Connecting
Once all the fixtures are in place, it’s time to wire and connect them. This step will vary depending on the type of lighting you are using. For LED strips, use wire cutters to trim excess wiring and then connect the lights to the transformer using wire connectors and electrical tape. For puck lights, use a drill/driver to create holes for wiring and then connect them using wire connectors. For rope lights, simply plug in the extension cord or connect to an outlet.
Step 6: Testing and Final Touches
After all fixtures are installed and wired, it’s important to test the lights for functionality and proper placement. Make sure all power sources are turned on and check each light to ensure they are working properly. Once satisfied, do a final check for any loose fixtures or wires and make adjustments as needed. If all looks good, you’re ready to enjoy your newly installed toe kick lighting!
Following these step-by-step guidelines, you can easily and safely install toe kick lighting in your home. Remember to always follow manufacturer instructions and take necessary safety precautions during the installation process. With the right tools and materials, you can add a touch of warmth and style to any room with toe-kick lighting. Happy installing!

Additional Tips and Tricks to Install Toe Kick Lighting
- LED lights are the best option for toe kick lighting as they come in various colors and provide a bright yet energy-efficient light source. They also have a longer lifespan compared to traditional incandescent or fluorescent bulbs.
- It is important to measure the length of your toe kick before purchasing the LED light strips to ensure a perfect fit. You can also cut the lights to size if needed.
- If you are using a power adapter for your toe kick lighting, make sure it is compatible with the voltage and wattage of your LED light strips.
- To minimize visible wiring, you can use a power outlet strip with multiple outlets to connect all the light strips. This will also help in organizing and managing the wiring.
- If you want more control over your toe kick lighting, consider using a dimmer switch to adjust the brightness as desired.
- For added convenience, you can opt for motion-sensor-activated LED lights that will turn on when someone enters the room or approaches the cabinets.
- It is important to test your toe kick lighting before permanently installing it to ensure that all the lights are functioning properly and there are no issues with wiring or connections.
- To add a touch of personality, you can also use color-changing LED light strips for a fun and unique look. They come with remote controls and can be programmed to change colors according to your preference.
- When installing toe kick lighting in a kitchen, make sure to avoid placing them too close to the stove or other heat sources as LED lights are sensitive to high temperatures.
- For added safety, consider using waterproof LED light strips in areas prone to moisture such as bathrooms or outdoor spaces.
By following these additional tips and tricks, you can successfully install toe kick lighting that not only enhances the aesthetic of your space but also provides functional and practical lighting. Get creative with different color options and control features to truly personalize your toe-kick lighting experience. With a little bit of effort, you can achieve a professional-looking installation that will elevate any room in your home. So go ahead and add some ambiance and functionality to your space with the help of toe-kick lighting! Happy installing!
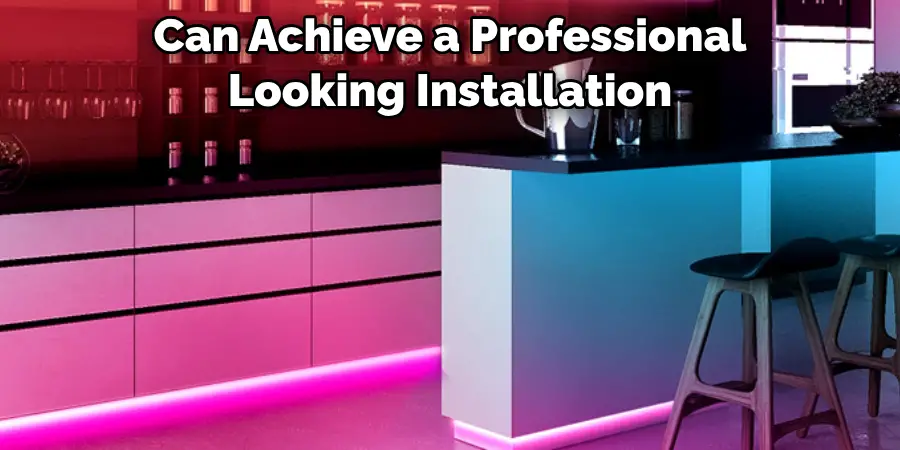
Things You Should Consider to Install Toe Kick Lighting
1. Determine the Purpose of Toe Kick Lighting:
Before you begin installing toe kick lighting, it’s important to determine why you want to add this feature to your home. Do you want accent lighting to highlight certain areas or do you need extra illumination for safety reasons? Knowing the purpose will help guide your decisions during the installation process. This will also determine the type of lighting fixtures you’ll need, such as LED strips or puck lights.
2. Choose the Right Lighting Fixtures:
Once you have determined the purpose of your toe kick lighting, it’s time to choose the right fixtures for your space. LED strips are a popular and cost-effective option for toe kick lighting. They come in a variety of lengths and colors, making them versatile for different design schemes. Puck lights are another option that provides a more focused beam of light, perfect for highlighting specific areas or objects.
3. Plan the Layout:
Before installing any lighting fixtures, it’s important to plan out the layout first. This will help ensure that the lighting is evenly distributed throughout the space and avoids any awkward or dark spots. Take measurements and mark where you want the fixtures to be placed. It’s also important to consider any obstacles, such as cabinets or appliances, that may affect the placement of the lighting.
4. Test the Lighting:
Before permanently installing the lighting fixtures, it’s a good idea to test them first. This will ensure that everything is working properly and will allow you to make any necessary adjustments before installation. It’s also important to consider the brightness of the lighting and make sure it fits with your desired ambiance.
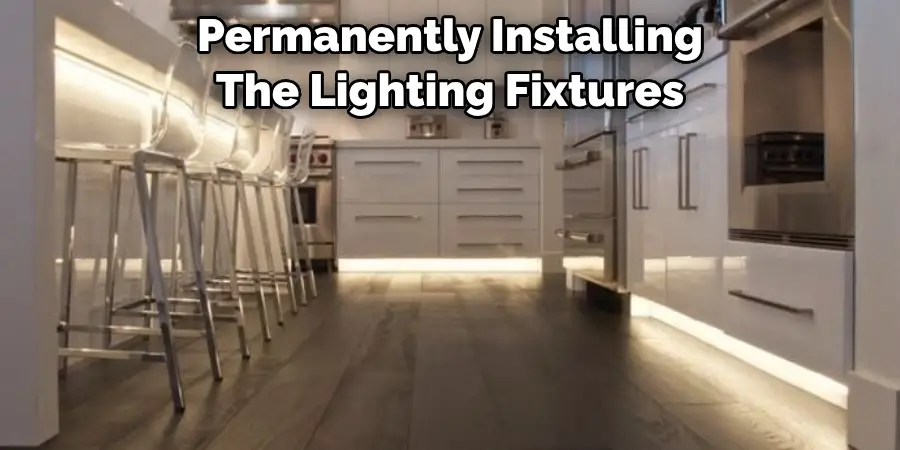
5. Use Waterproof Fixtures:
Since toe kick lighting is installed in areas that are prone to water splashes, it’s important to use waterproof fixtures. This will prevent any damage to the lights and ensure their longevity. Look for fixtures with an IP65 or higher rating, which means they are protected against dust and low-pressure water jets from any direction.
6. Consider Using a Dimmer Switch:
Installing a dimmer switch for your toe kick lighting can add an extra level of versatility to the space. This allows you to adjust the brightness of the lighting according to your needs or mood. It’s also more energy-efficient, saving you money on your electricity bill. This is especially beneficial for accent lighting, as it can be dimmed to the appropriate level to create the desired atmosphere.
7. Use a Professional:
While installing toe kick lighting may seem like a simple DIY project, it’s important to use caution and seek professional help if needed. If you are not familiar with electrical work, it’s best to hire a licensed electrician to ensure the safety and proper installation of your lighting fixtures. They can also offer advice on the best type of lighting and layout for your specific space.

Following these considerations will help ensure a successful installation of toe kick lighting in your home. Whether for practical or aesthetic reasons, adding this feature can greatly enhance the overall look and feel of your space. With the right fixtures, layout, and professional help if needed, you can easily achieve the added functionality and ambiance that toe-kick lighting provides. So go ahead and give your home an upgrade with this simple yet impactful addition. So don’t hesitate to give it a try and see the difference it can make in your space. Happy lighting!
Maintenance Tips for Toe Kick Lighting
1. Regular Cleaning:
The first and most important maintenance tip for toe kick lighting is regular cleaning. This type of lighting is usually installed near the floor, making it susceptible to dirt, dust, and debris that can accumulate over time. It is important to regularly clean the light fixtures and lenses to prevent buildup and maintain the overall appearance of the lighting. This can also help prevent any potential fire hazards, as dust and debris can be flammable.

To clean the toe kick lighting, simply wipe down the fixtures and lenses with a damp cloth or mild cleaning solution. Be sure to turn off the power to the lighting before cleaning to avoid any accidents. Regular cleaning will not only keep your toe kick lighting looking its best, but it will also help prolong its lifespan.
2. Check for Loose Wires:
Another important maintenance tip is to regularly check for loose wires in the toe kick lighting. Over time, wires can become loose due to constant use or other factors such as vibrations from nearby appliances or activities. Loose wires can not only affect the functionality of the lighting but also pose a safety hazard. If you notice any loose wires, be sure to tighten them or call a professional for assistance.
3. Replace Bulbs as Needed:
Toe kick lighting typically uses LED bulbs, which have a longer lifespan compared to traditional incandescent bulbs. However, like all light bulbs, they will eventually need to be replaced. It is important to regularly check the condition of the bulbs and replace them as needed. Dim or flickering lights are a sign that the bulb needs to be replaced.
When replacing LED bulbs, be sure to use ones with the same wattage and voltage as the original bulbs to ensure proper functioning of the lighting. It is also a good idea to keep spare bulbs on hand for easy replacement when needed.
4. Address Any Water Damage:
If your toe kick lighting is located in a wet area, such as near a sink or bathtub, it is important to regularly check for any water damage. Water can not only affect the functionality of the lighting but also pose a safety hazard. If you notice any signs of water damage, such as rust or corrosion on the fixtures, be sure to address it immediately. This may require calling a professional to properly repair or replace any damaged components.

5. Consider Professional Maintenance:
While regular cleaning and maintenance can go a long way in keeping your toe kick lighting in good condition, it is always a good idea to consider professional maintenance at least once a year. A professional technician can thoroughly inspect the lighting for any potential issues and make any necessary repairs or replacements. They may also be able to offer tips on how to better maintain your toe kick lighting for optimal performance and longevity.
Following these maintenance tips can help ensure that your toe kick lighting stays in top condition and continues to enhance the ambiance of your space for years to come. Remember to always prioritize safety when performing any maintenance tasks and consult a professional if you are unsure or encounter any issues. So, it is important to regularly clean and maintain your toe kick lighting for both aesthetic and safety purposes. With proper care, your toe kick lighting can continue to illuminate and enhance your space for many years. Happy lighting!
Precautions Need to Be Followed for Installing Toe Kick Lighting
- First and foremost, identify the location where you want to install the toe kick lighting. This will help determine the length of the LED strip needed for installation.
- Make sure to purchase LED strips specifically designed for toe kick lighting. These strips are usually waterproof and flexible, making them suitable for use in kitchen and bathroom settings.
- Before beginning installation, turn off all power to the area where you will be working. This is important for your safety and to avoid any damage to the LED strips.
- Clean the surface where you will be installing the LED strip. Use a mild cleaning solution and ensure that it is completely dry before proceeding.
- Measure and cut the LED strip according to the length needed for installation. Make sure to follow manufacturer instructions for cutting and connecting the LED strip.
- Carefully peel off the adhesive backing on the LED strip and apply it to the surface, making sure it is straight and secure. Use a level to ensure the strip is properly aligned.
- Once the LED strip is installed, connect it to a power source using a transformer or driver specifically designed for LED lighting.
- Before turning on the power, double-check all connections and ensure they are secure.

Following these precautions will help ensure a safe and successful installation of toe kick lighting. In addition, it is important to regularly check the LED strip for any signs of wear or damage and replace them as needed. This will not only maintain the functionality of the lighting but also prevent any potential hazards. Also, consider using LED strips with color-changing capabilities to add ambiance and versatility to your space.
Conclusion
With the above outlined you can easily understand how to install toe kick lighting in your kitchen. It is a simple process that requires basic tools and a little bit of patience. You can also customize the lighting according to your personal preference, whether you want brighter or warmer lights.
In conclusion, toe kick lighting is a great addition to any kitchen that not only adds functionality but also enhances the overall aesthetic appeal. It provides soft ambient light that creates a warm and inviting atmosphere, perfect for entertaining guests or creating a cozy ambiance while cooking.

