Embarking on how to install timer switch for outdoor lights is a savvy move for homeowners seeking enhanced energy efficiency, security, and convenience. As the sun sets, a well-timed illumination of outdoor spaces not only contributes to the safety of your property but also accentuates its aesthetic appeal.The installation process may initially seem daunting, but with the right guidance, it becomes a manageable DIY project.
In this article, we will delve into the step-by-step process of How to Install Timer Switch for Outdoor Lights, providing a comprehensive guide for both beginners and those looking to upgrade their home’s lighting control.
From selecting the appropriate timer switch to navigating the wiring intricacies, this guide aims to empower homeowners with the knowledge and confidence needed to bring a seamless automation solution to their outdoor lighting setup.
Importance of Timer Switches for Outdoor Lights
Timer switches for outdoor lights play a pivotal role in home energy conservation and security. By automating the lightening schedule, these switches ensure that lights are on only when needed, reducing unnecessary energy consumption and consequently lowering electricity bills.
Security-wise, they maintain the appearance of an occupied residence even when homeowners are away, deterring potential intruders. Furthermore, the timer’s adaptability to external conditions, such as sunrise and sunset, further enhances its convenience, eliminating the need for manual adjustments throughout the year.
Selecting the Right Timer Switch
Choosing the appropriate timer switch for your outdoor lighting is crucial to ensure compatibility and meet your specific needs. There are several types of timer switches available in the market, including mechanical timers, digital programmable timers, and smart timer switches that can be controlled through a mobile app.
When selecting a timer, consider the total wattage of your outdoor lights to ensure the switch can handle the load. Additionally, take into account the features you desire, such as weather resistance, multiple on/off cycles, and ease of use.
For integration with smart home systems, opt for a timer switch that is compatible with your existing setup. Taking the time to research and select the right timer switch will maximize both convenience and energy savings for your outdoor lighting system.
Types of Timer Switches Available
When exploring the types of timer switches available for outdoor lighting, homeowners will typically encounter three main categories:
- Mechanical Timer Switches: These switches operate on a simple mechanical mechanism that turns lights on and off at set times. They are often affordable and easy to install, making them a good option for those who prefer straightforward functionality without digital complexity.
- Digital Programmable Timers: Offering more precise control, digital timers allow users to program exact on and off times for multiple days or weeks. They may come with features such as battery backup to maintain settings during power outages and the ability to set different schedules for weekdays and weekends.
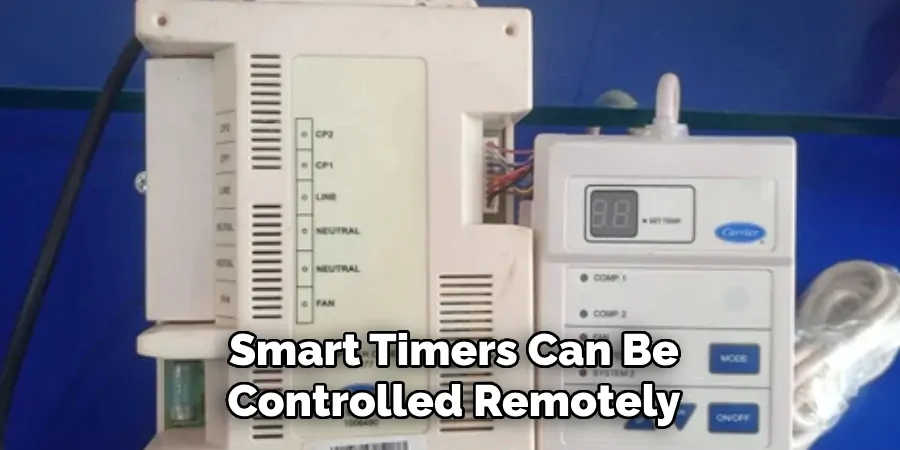
- Smart Timer Switches: The most advanced of the three, smart timers can be controlled remotely via smartphone apps, are often compatible with other smart home devices, and can even be integrated into voice-controlled systems. They provide the highest level of convenience and customization, adapting to your lifestyle by allowing you to adjust lighting settings from anywhere at any time.
Considerations for Outdoor Use
When installing a timer switch for outdoor lights, it’s vital to account for environmental factors that can affect the performance and longevity of the device.
Ensure that the timer switch is suitably rated for outdoor use and can withstand the rigors of weather, such as rain, snow, and extreme temperatures. Look for switches with a high Ingress Protection (IP) rating that signifies resistance to dust and moisture.
Additionally, consider the location of installation—it should be protected from direct sunlight and easily accessible for any adjustments or maintenance. It’s also important to ensure that the timer is compatible with the type of bulbs and fixtures used in your outdoor lighting, to prevent electrical issues and promote efficient operation.
Gathering Necessary Tools and Materials
Before beginning the installation of your outdoor timer switch, it’s important to gather all the necessary tools and materials to ensure a smooth process. You’ll need:
- Timer switch: Choose the specific model that best fits your needs and ensure it’s rated for outdoor use.
- Screwdrivers: A flat-head and a Phillips-head screwdriver are typically required for the installation.
- Wire Stripper/cutter: This tool will help you prepare the electrical wires for connection.
- Voltage Tester: A critical safety tool to verify that the power is off before you start working with the wiring.
- Wire Connectors: To safely connect the wires, you’ll need appropriately sized wire nuts.
- Electrical Tape: For insulating wire connections and providing an additional layer of protection.
- Mounting Screws: Depending on the model of timer switch, these may be provided or you might need to supply your own.
- Instruction Manual: Always keep the timer’s installation guide handy for reference to specific requirements and troubleshooting tips.
It’s always recommended to have all these items available before you start, to avoid any interruptions during the installation process. Additionally, it’s wise to have a flashlight or a portable work light, especially if you’ll be working in an area with limited lighting.

10 Methods How to Install Timer Switch for Outdoor Lights
1. Selecting the Right Timer Switch:
Begin by choosing a timer switch suitable for outdoor use. Opt for a weather-resistant and programmable switch that aligns with your specific lighting needs. Consider features such as dusk-to-dawn settings, customizable schedules, and compatibility with different types of outdoor lights.
Additionally, ensure that the timer switch has a high enough load capacity to handle your outdoor lights. While mechanical timer switches may be cheaper, electronic ones offer more precision and flexibility. Spend some time researching different brands and models to find the best fit for your outdoor lighting needs.
In addition to considering the type of timer switch, it is also important to think about installation and wiring requirements. Some timer switches may require a neutral wire, while others can work without one. Make sure you know your home’s wiring setup before purchasing a timer switch. It may be helpful to consult with an electrician if you are unsure or unfamiliar with electrical work.
Once you have selected the right timer switch and gathered all necessary materials, it is time to install the switch. Begin by turning off power to the circuit where the switch will be installed. Then, follow the manufacturer’s instructions for wiring the switch. It is important to follow proper safety precautions and ensure all connections are secure.
2. Turning Off Power:
Before starting the installation, turn off the power supply to the outdoor lights at the main circuit breaker. Use a voltage tester to ensure the power is completely off and that it is safe to proceed with the installation. This step is crucial for your safety and the proper functioning of the outdoor lights.
However, it is important to note that some outdoor lights may require a constant power supply for features such as motion sensors or timers. In this case, consult the manufacturer’s instructions for further guidance.
In addition to turning off the main power supply, it is also recommended to unplug any connected wires or cables from the outdoor lights before proceeding with the installation. This will prevent any accidental electrical shocks and ensure a smooth installation process. Once the power is off and all wires are unplugged, you can safely begin installing your new outdoor lights.

It is important to note that turning off the power supply not only applies to initial installations but also any maintenance or repairs on outdoor lights. Always make sure to turn off the power before handling any electrical components to avoid injury.
3. Removing Existing Switch:
If you are replacing an existing switch, carefully remove the cover plate and unscrew the switch from the electrical box. Take note of the existing wiring connections, which typically include a hot wire (black), a neutral wire (white), and a ground wire (green or bare).
Once the old switch is removed, you can begin installing the new one. Start by attaching the hot wire to the new switch’s black or brass-colored screw terminal. Next, connect the neutral wire to the silver-colored screw terminal and the ground wire to the green screw terminal.
If your existing wiring does not have a ground wire, it is important to consult an electrician before proceeding with the installation.
4. Installing New Electrical Box (if needed):
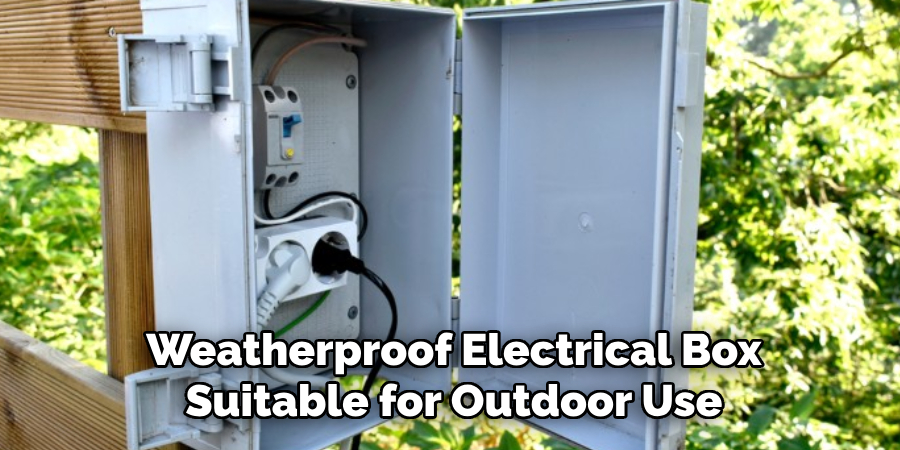
If the existing electrical box is incompatible with the new timer switch or if one is not present, install a new weatherproof electrical box suitable for outdoor use. Secure it properly to ensure stability and protection against the elements. However, before installing a new electrical box, it is important to check local building codes and regulations to ensure compliance.
5. Connecting Ground Wire:
Connect the ground wire from the timer switch to the ground wire in the electrical box. If there is no ground wire in the box, consult an electrician to establish a proper grounding connection for safety. Additionally, it is important to make sure that the ground wire is properly connected and not loose.
Once the ground wire is securely connected, gently push the timer switch back into place in the electrical box. Use screws to secure it in place if necessary.
It is also essential to test the timer switch before fully completing the installation process. Turn on your power supply and set a time for the timer switch to turn on and off. If it functions correctly, you have successfully installed your timer switch.
If the timer switch does not work, double-check all connections and consult the manufacturer’s instructions. In some cases, a neutral wire may also be required for proper functioning of the timer switch.
6. Connecting Neutral Wire:
Connect the neutral wire from the timer switch to the neutral wire in the electrical box. This is typically a white wire. Secure the connection with a wire nut and ensure a tight fit.
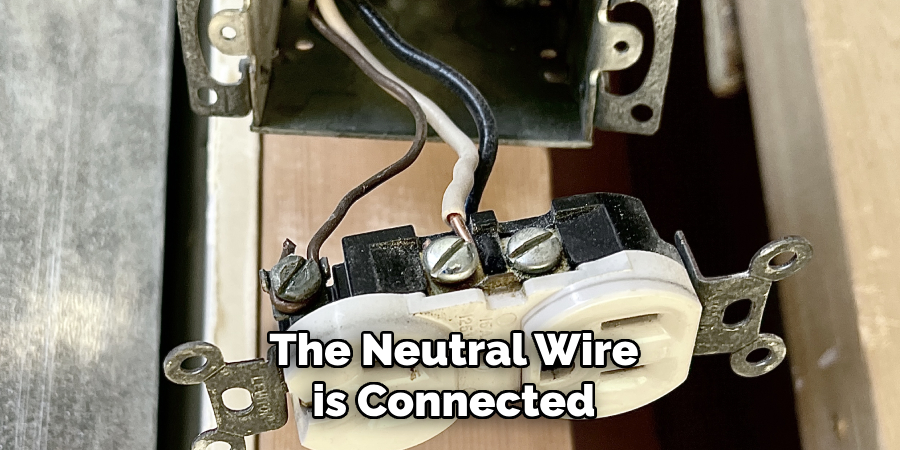
Once the neutral wire is connected, you can proceed with connecting the remaining wires. This may include hot wires, traveler wires (for three-way switches), and ground wires.
It is important to make sure that all connections are secure and properly insulated. Loose connections or exposed wiring can lead to electrical hazards and should be addressed immediately.
If you are unsure about the proper way to connect the wires, consult a licensed electrician for assistance.
Once all the necessary connections are made, carefully tuck the wires back into the electrical box and secure the timer switch in place using screws provided.
Before turning on power to test the switch, double check all connections to ensure they are correctly connected and there are no loose or exposed wires.
7. Connecting Hot Wire:
Connect the hot wire (black) from the timer switch to the hot wire in the electrical box. Secure the connection with a wire nut and ensure it is tightly fastened. If the timer switch has multiple wires, follow the manufacturer’s instructions for proper connections.
Make sure to carefully read the instructions provided with your specific timer switch, as some may require additional steps or have different color coding for their wires. It is important to follow these instructions carefully to ensure proper installation and avoid any potential hazards.
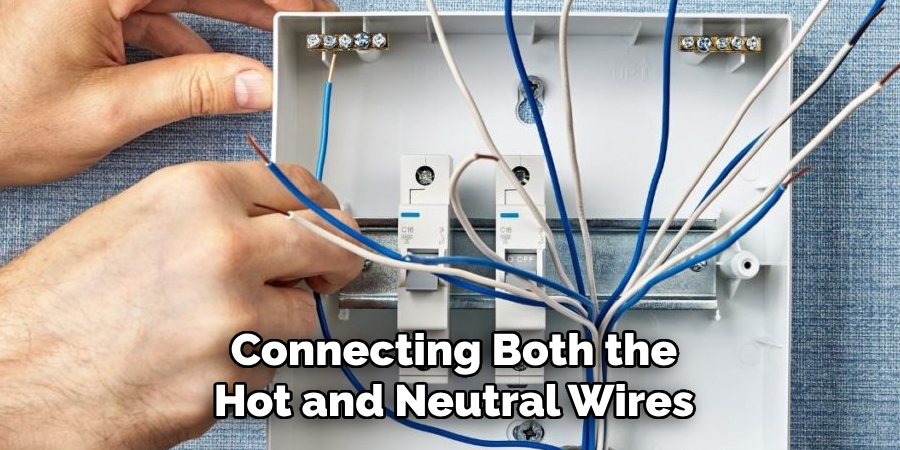
Once the hot wire is connected, you can move on to connecting the neutral wire from the timer switch. The neutral wire (white) should be connected to the neutral wire in the electrical box using a wire nut. Again, make sure the connection is secure and tight.
After connecting both the hot and neutral wires, you can then connect any additional wires such as ground wires (green or bare copper) or traveler wires if needed. Follow the manufacturer’s instructions for proper connections and use wire nuts to secure them.
8. Mounting the Timer Switch:
Secure the timer switch to the electrical box using the provided screws. Ensure that the switch is positioned correctly and is level. Attach the cover plate to complete the physical installation.
After the physical installation is complete, the next step is to connect the necessary wiring for the timer switch. This will involve identifying and connecting specific wires from your electrical system to corresponding terminals on the switch.
It is important to read and follow the instructions provided by the manufacturer carefully during this process. If you are unsure about any aspect of wiring or do not feel confident doing it yourself, it is highly recommended to seek the help of a professional electrician.
9. Programming the Timer Switch:
Follow the manufacturer’s instructions to program the timer switch according to your preferences. Set the desired on/off times, taking advantage of features such as dusk-to-dawn settings for automatic lighting control. You can also program multiple on/off times for different days of the week, providing even more flexibility in your lighting schedule.
Some timer switches also come with a random mode feature, which can be used to create the illusion that someone is home while you are away. This added security measure can help deter potential intruders and give you peace of mind while you’re away from home.
Additionally, some timer switches have a countdown feature which can be useful for things like turning off holiday decorations after a certain amount of time. This can save energy and prevent potential fire hazards by automatically shutting off the lights after a designated time period.
10. Testing and Adjusting:
After programming, restore power to the outdoor lights and test the functionality of the timer switch. Make any necessary adjustments to the settings to ensure the lights operate as desired. Periodically review and update the programming as needed.
Some additional steps that can be taken during the testing and adjusting phase include checking for any potential interference from nearby electronic devices, such as Wi-Fi routers or microwaves, which could affect the performance of the timer switch. It is also important to make sure that all wiring connections are secure and properly connected.
If there are any issues with the functionality of the timer switch, refer to the manufacturer’s instructions for troubleshooting and potential solutions. It may also be helpful to consult with a licensed electrician for assistance.
Once the timer switch is working correctly, it is important to periodically check and adjust the settings as needed. This could include adjusting the on/off times based on seasonal changes or changes in daylight savings time.
Conclusion
In conclusion, the installation of a timer switch for outdoor lights not only elevates the functionality of your home’s exterior lighting but also contributes to energy efficiency and enhanced security. The comprehensive guide provided here, detailing the selection, wiring, and programming of the timer switch, empowers homeowners to embark on this DIY project with confidence.
By investing the time and effort to install a weather-resistant and programmable timer switch, you gain control over when your outdoor lights illuminate, creating a more secure and welcoming environment. Thanks for reading, and we hope this has given you some inspiration on how to install timer switch for outdoor lights!

