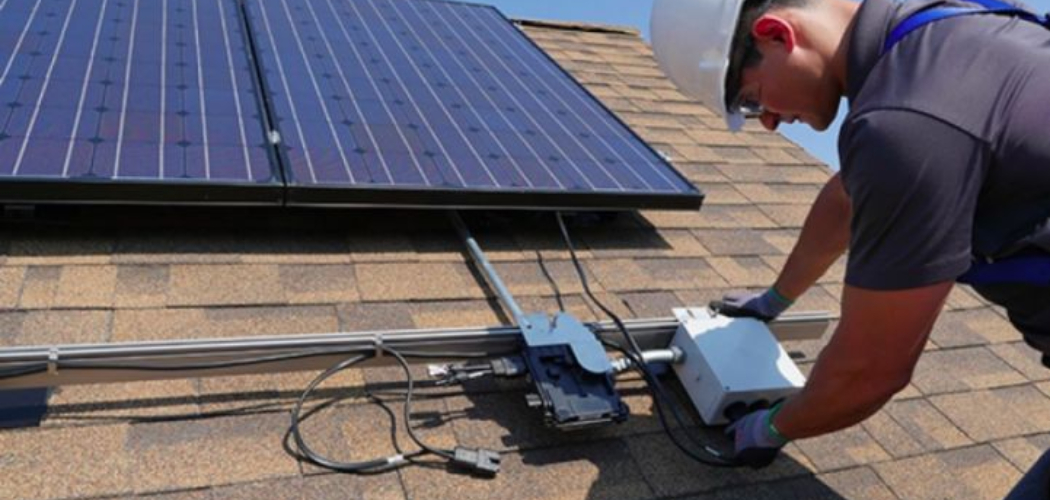
Are you looking for a cost-effective and energy-efficient way to light up your outdoor spaces? Solar light poles might be the perfect solution! With a solar light pole, you can easily and quickly install eco-friendly lighting in any area of your property without breaking the bank.
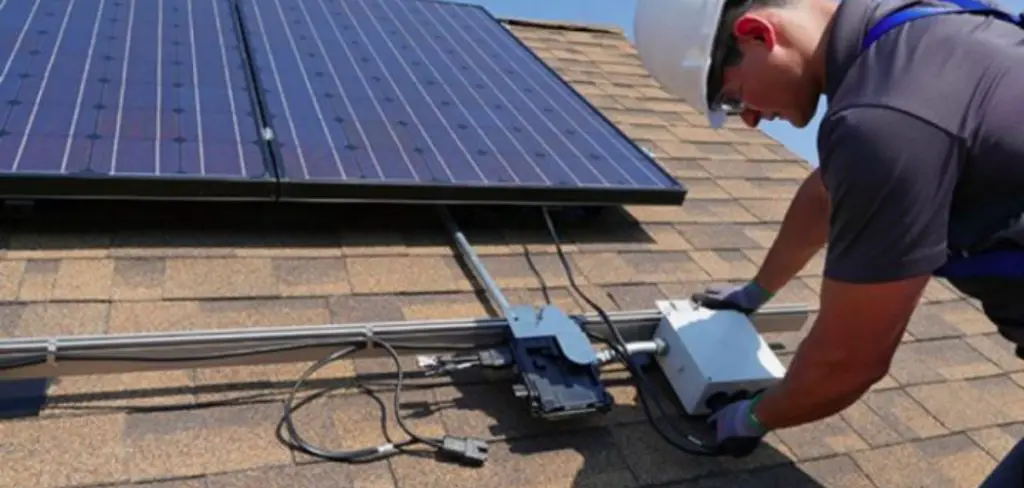
In this blog, we’ll be discussing all the steps of how to install solar light pole – from assessing what size is right for you to connect it up with electrical wiring and more. Read on if you’d like to learn how easy it can be to start using renewable energy at home or business setting today!
Tools and Materials You Will Need to Install Solar Light Pole
- Solar panel with appropriate mounting bracket
- Light pole (varies in size depending on installation type)
- Wrench for tightening bolts
- Drill with a hole saw attachment
- Electrical wires
- Hammer and nails
- Safety glasses
- Ladder
Step-by-Step Guidelines on How to Install Solar Light Pole
Step 1: Choosing the Right Size Solar Light Pole
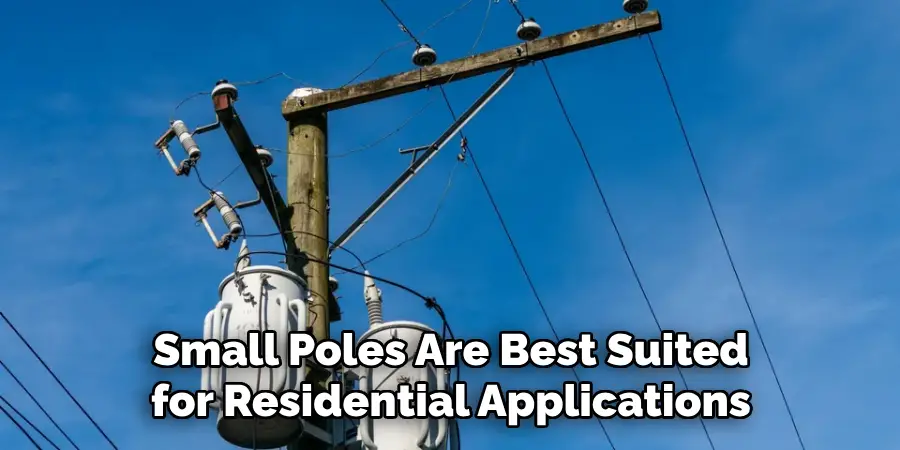
When selecting a solar light pole, you must first determine the size that is right for your application. Small poles are best suited for residential applications while larger ones may be necessary for commercial or industrial settings. Keep in mind the weight of the fixtures that will be mounted on the pole as well.
Step 2: Digging the Hole for the Light Pole
Once you have selected an appropriate size light pole and gathered all of your tools, it is time to start digging a hole for the installation. Use a shovel or post-hole digger to create a hole that is slightly larger than the circumference of your light pole. While digging, make sure to check with local building codes for any underground wires or pipes that may be present in the area.
Step 3: Mounting the Pole
Place your light pole into the hole and use a level to ensure it is straight. If necessary, you can backfill some dirt around the base of the pole in order to stabilize it further. Once you have the pole in place, use a wrench to tighten the bolts and secure it firmly. In this step, you may also need to attach the mounting bracket for your solar panel.
Step 4: Connecting Electrical Wiring
At this point, it is time to connect the electrical wiring that will provide power to your light pole. Depending on the type of installation, you may either use hard-wired or wireless connections. Follow all instructions carefully and make sure to turn off the power before connecting any wires.
Step 5: Installing the Solar Panel
After you have connected all of the necessary wiring, it is time to install your solar panel. Use a drill with a hole saw attachment to create holes in the pole and secure the mounting bracket for your solar panel.
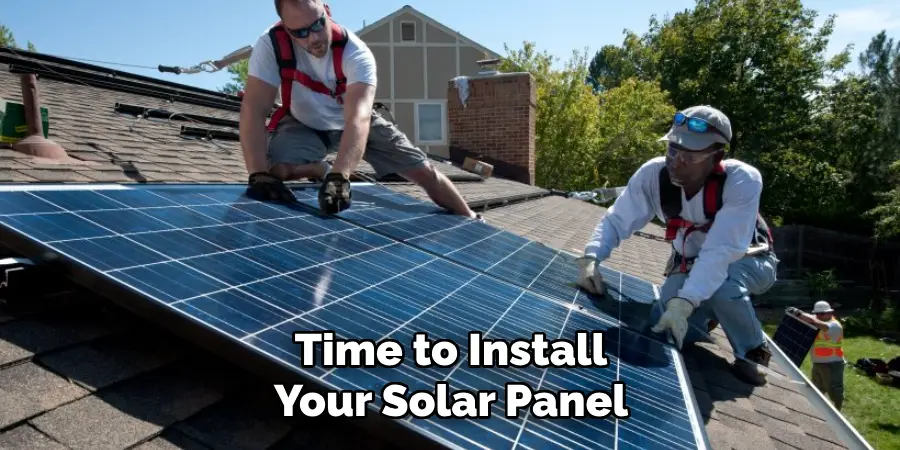
Attach the solar panel and connect it to the electrical wiring. You may also need to make adjustments to the angle of your panel in order to maximize its exposure to sunlight.
Step 6: Completing the Installation
Once you have successfully installed the solar panel, it is time to complete the installation by adding any necessary fixtures or accessories. This may include attaching floodlights or motion sensors that will provide additional security and illumination for your outdoor space.
And that’s it! Following these steps will allow you to easily and quickly install a solar light pole in any area of your property. With solar lighting, you can enjoy the convenience of eco-friendly lighting without breaking the bank on electricity bills. So why wait? Get started with your own solar light pole installation today!
Additional Tips and Tricks to Install Solar Light Pole
1. Make sure to check the weather conditions before you start installation. Strong winds, rain, or snow can make it difficult to install the pole and can also damage components.
2. Be aware of local building codes and other regulations that may affect your installation process.
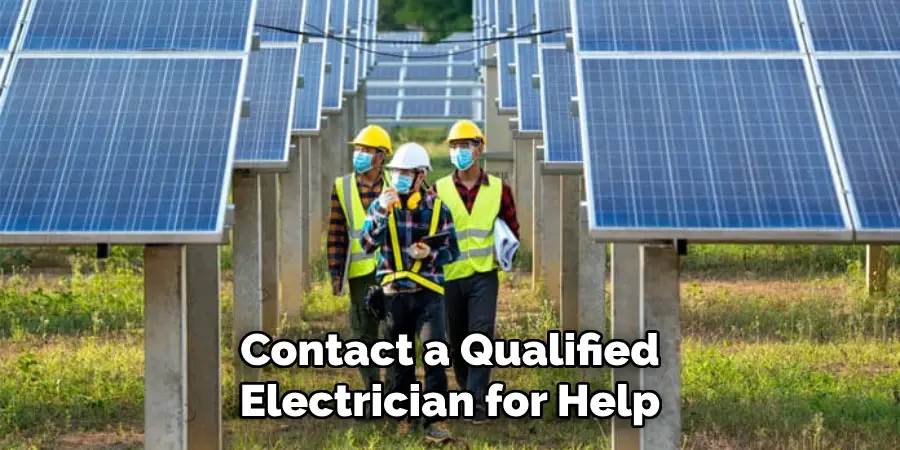
3. If there are underground cables nearby, contact a qualified electrician for help as excavation work is required.
4. Ensure that the ground is level and solid, as this will help to ensure a sturdy installation.
5. Make sure you have all the necessary tools and materials before starting installation. This includes screws, drill bits, wrenches, and other components needed for assembly.
6. Take extra precaution when handling tools such as ladders or power drills as they can be dangerous in the hands of an inexperienced user.
7. It’s important to read and understand all directions before beginning installation. Make sure you know how to assemble the components correctly, as any mistakes can lead to faulty installation or even damage.
8. Installing solar light poles can be time-consuming, so it helps to have an extra set of hands when working on the project.
9. Once the pole is installed, it’s important to regularly check for damage or malfunctions. Regular maintenance will help to ensure your solar light pole functions correctly and lasts for a long time.
10. Finally, make sure the solar panel is in a location that receives ample sunlight throughout the day for optimal energy collection. This will help to ensure your light pole runs as efficiently as possible.
Following these tips and tricks should help to ensure your solar light pole is installed correctly and safely. With the right preparation and care, you can enjoy a solar-powered lighting solution that will provide years of reliable use.
Things You Should Consider to Install Solar Light Pole
- Make sure you have all of the necessary materials and tools for the job. This includes mounting hardware, drill bits, screws, anchors, and any other materials that may be necessary to secure the pole in its place.
- Locate a suitable area for your solar light pole. Make sure there is nothing blocking or impeding the sunlight from reaching it as this will affect its efficiency.
- Mark where you will need to drill holes for mounting bolts on both the ground and the pole.
- Now you can begin drilling your holes and inserting anchors, if necessary.
- Securely attach the solar light pole to its mounting surface with the screws or bolts provided.
- Connect all wiring from the light fixtures to the power source, following manufacturer instructions carefully.
- Test your solar panel’s performance by turning it on to make sure everything is in working order.
- Finally, enjoy the benefits of your new solar light pole. It will help keep your property safe and illuminated for years to come!

Following these considerations can help ensure the successful installation of your solar light pole. However, if you need any additional assistance or information about installing a solar light pole, please consult with an expert before proceeding. With proper preparation and guidance, your new pole should be up and running in no time!
Frequently Asked Questions
How Do I Set Up the Wiring for My Solar Light Pole?
Before connecting the wiring, make sure to wear insulated gloves and long-sleeved clothing to protect yourself from electric shock. Securely attach all of your electrical connections with tapes and clamps.
Connect the power supply cable to a weatherproof socket, then use the provided controller to regulate the power. Lastly, connect the solar panel and lighting fixtures to the integrated circuit board.
What Are Some Common Problems I Might Encounter?
If you’ve followed all of the steps above correctly, there shouldn’t be any major issues with your installation. However, it’s important to look out for signs of damage or malfunction during the setup process.
For instance, check that all wiring connections are secure and there are no cracks in the solar panel caused by improper handling. Additionally, inspect the fixture’s mounting base to make sure it is properly sealed to prevent any water leakage.
What Are Some Tips for Maintaining My Solar Light Pole?
To get the most out of your solar light pole, it’s important to take proper care and maintenance measures. Clean the panels frequently with a mild detergent or cleaning solution to remove any dust or dirt buildup. Additionally, make sure to check for any signs of damage or wear and tear on the components. Most importantly, never hesitate to reach out for professional assistance if you’re ever in doubt.
By following these tips and taking good care of your solar light pole, you can have peace of mind that it will continue to provide reliable lighting for many years to come.
What Are the Benefits of Installing a Solar Light Pole?
Installing a solar light pole provides many advantages. Solar lighting is a great way to save money over the long run, as it’s powered by the sun and doesn’t require any electricity from the grid.
Additionally, these lights are incredibly durable and can withstand all types of weather conditions. Furthermore, they have low maintenance requirements and don’t produce any greenhouse gases.
For those looking for a cost-effective and energy-efficient lighting solution, solar light poles are an excellent choice. They can last for years with minimal upkeep, making them a smart investment that pays off in the long run.
Conclusion
Now you know how to install solar light pole, the common problems you might encounter, and helpful maintenance tips. The benefits of solar lighting are undeniable – they provide reliable illumination for years and help to reduce electricity costs in the long run.
With its low maintenance requirements and resilience in all types of weather conditions, solar light poles are a great choice for any homeowner or business looking to save money while benefiting from energy-efficient lighting solutions.
Whether you’re just starting out or have some experience with solar lighting, the steps outlined above can help guide you to install your own light pole safely and securely. Best of luck!

