Are you looking to install soffit lights in your home? This guide will walk you through the steps of installing these exterior lights properly.
How to install soffit lights is an effective way to enhance the aesthetics and functionality of your home’s exterior. These recessed lights not only improve visibility around your property during the evening hours but also add a modern touch to your architectural design. Whether you’re aiming to highlight specific features of your home or improve nighttime security, soffit lights are a versatile solution.
This guide will walk you through the process of installing soffit lights, ensuring a safe and professional result. With the right tools and preparation, you can achieve a stunning lighting setup that elevates your home’s curb appeal.
What are the Benefits of Installing Soffit Lights?
Soffit lights offer a range of benefits for homeowners, making them a popular choice for outdoor lighting. Here are some reasons why you should consider installing soffit lights on your property:
- Enhance Security: By illuminating the exterior of your home, soffit lights can deter potential intruders and make it easier to spot any suspicious activity around your property.
- Improve Safety: Soffit lights provide additional visibility and can help prevent accidents by lighting up walkways, stairs, and other potential hazards around your home.
- Highlight Architectural Features: Soffit lights can be strategically placed to highlight certain architectural elements or landscaping details, adding depth and character to your home’s exterior.
- Enhance Curb Appeal: By illuminating the exterior of your home, soffit lights can greatly enhance its overall curb appeal, making it more attractive and welcoming.
- Energy Efficient: LED soffit lights are highly energy efficient, consuming significantly less power than traditional incandescent or fluorescent bulbs. This not only reduces your carbon footprint but also helps lower energy costs.
- Low Maintenance: Soffit lights require minimal maintenance compared to other outdoor lighting options. Once installed, they typically last for many years without needing frequent bulb replacements or repairs.
What Will You Need?
To install LED soffit lights, you will need the following materials and tools:
- LED Soffit Lights
- Wire Cutters/Strippers
- Screwdriver (or drill)
- Electrical Tape
- Wire Nuts
- Ladder or scaffolding (depending on the height of your soffits)
The specific tools and materials needed may vary depending on the type of LED soffit lights you purchase and your personal installation preferences. It’s always important to carefully read the instructions provided by the manufacturer before starting any installation process.
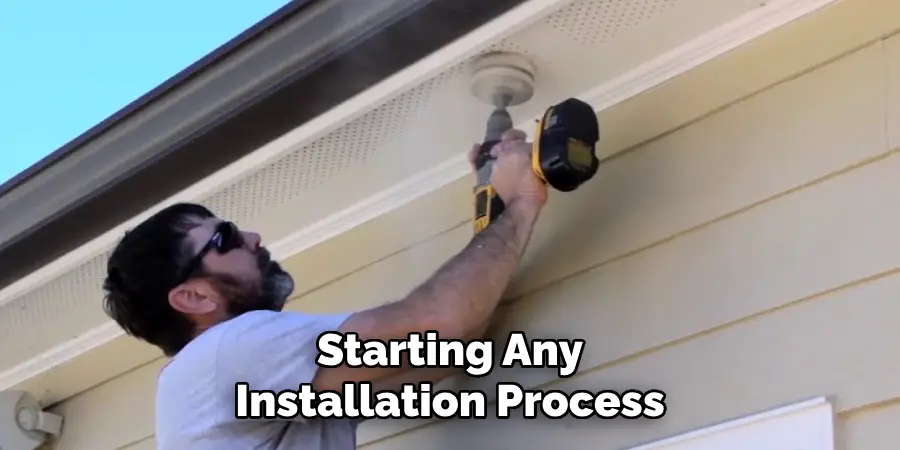
9 Easy Steps on How to Install Soffit Lights
1. Plan Your Layout
Before beginning the installation process, it’s critical to plan the layout of your soffit lights. Start by measuring the length of the soffits where you want to install your lights. Determine the spacing between each light to ensure even illumination and a uniform appearance. Typically, soffit lights are spaced 4 to 6 feet apart, but this may vary depending on your specific design goals and the brightness of the lights you have chosen. Make sure to mark the exact locations where the lights will be installed using a pencil or marker for accurate placement later on.
2. Turn Off the Power
Before proceeding with any installation work, it’s essential to ensure that the power to the area where you’ll be working is completely turned off. Locate the breaker panel in your home and switch off the circuit supplying electricity to the soffit area. To ensure absolute safety, test the area with a non-contact voltage tester to confirm that no electrical current is present. This step is crucial for preventing potential electrical shocks or hazards while handling wires. Always double-check the breaker and tester before beginning the installation process.
3. Drill Holes for the Lights
Before you begin drilling, mark the locations where your recessed lights will be installed. Use a measuring tape to ensure that the spacing between the lights is even and aligns with the layout plan for the soffit. It’s essential to account for any obstacles, such as joists or existing electrical wiring, that may interfere with your chosen placements. Once the placement is marked, use a hole saw attachment on your drill that matches the diameter of the recessed light fixtures. Carefully drill into the soffit at each marked location, ensuring that the cuts are clean and precise. Keep a steady hand to avoid any errors or damage to the surrounding area.
4. Run the Wires
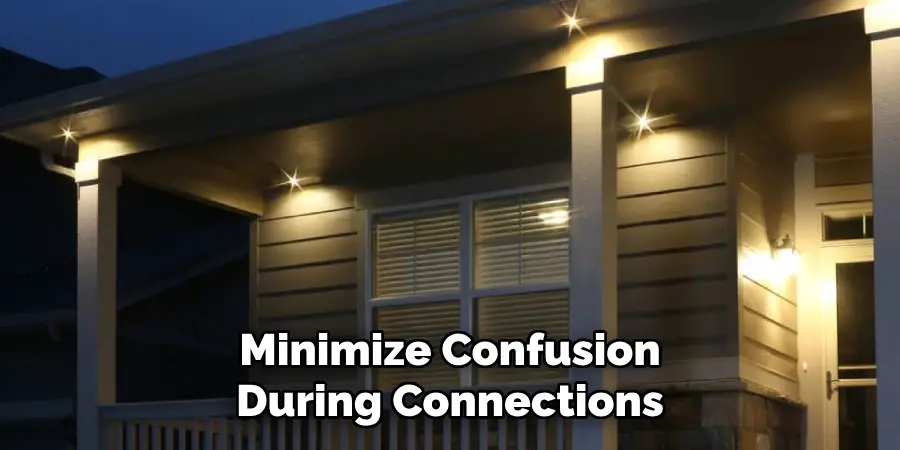
Running the wires for the recessed lighting is a critical step that requires both precision and adherence to safety guidelines. Begin by identifying the power source and shutting off electricity to the circuit you will be working on. This is crucial to avoid any risk of electrical shock during the installation process. Use an electrical fish tape tool to guide the wires through the soffit and into the holes you drilled for the light fixtures. Ensure that the wire runs are neat and follow a logical path to minimize confusion during connections.
5. Connect the Wires
Once the wires are in place, it’s time to connect them to the soffit light fixtures. Start by carefully stripping about ¾ inch of insulation from the ends of each wire using a wire stripper. This will expose the bare copper needed for a secure connection. Match the wires from the fixture to the corresponding wires in the circuit—typically, the black (or red) wire is the “hot” wire, the white wire is the neutral, and the green or bare copper wire is the ground. Use wire nuts or connectors to secure the wires, twisting them tightly to ensure a solid connection.
6. Insert the Lights
Carefully position the light fixture into the designated space, ensuring that all connected wires are neatly tucked away to avoid pinching or damage. Take your time to align the mounting bracket or base with the existing holes or slots, as this will ensure a snug and sturdy fit. Once aligned, attach the fixture securely using the screws provided with the installation kit, tightening them evenly to prevent wobble.
7. Test the Lights
Once the light fixture is securely mounted, it’s essential to test its functionality to ensure everything is working correctly. Begin by turning the circuit breaker back on or flipping the light switch to its “on” position. Observe if the light illuminates as expected. If the light doesn’t turn on, double-check all connections to ensure the wires are securely and properly connected. It’s also worth verifying that the light bulb or LED is seated correctly and is not faulty. For adjustable fixtures or dimmable lights, test the different settings to make sure they are working correctly.
8. Secure and Manage Excess Wires
After ensuring that the light fixture operates correctly, it’s important to secure and manage any excess wiring neatly. Begin by gently tucking the wires into the electrical box, ensuring that you don’t bend or stress them excessively, as this can damage the wires and create a fire hazard.
Next, use electrical tape or wire nuts to secure any exposed wire ends. This not only protects against potential shock hazards but also keeps the wiring tidy and organized. If there are multiple wires in the box, label them for future reference.
9. Add Finishing Touches
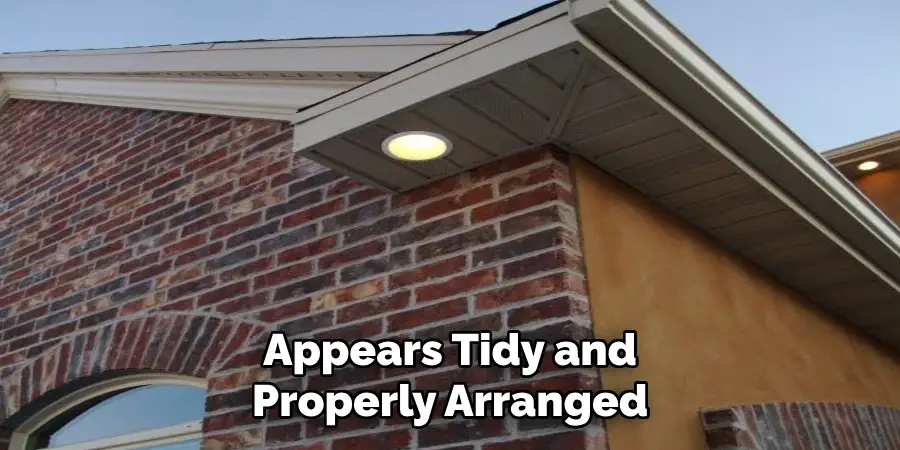
Once all the connections have been made and the wires are securely tucked away, it’s time to finalize the installation. Carefully align the faceplate or cover of the electrical box, ensuring that it fits snugly and covers all the internal components. Use a screwdriver to fasten the cover securely, but avoid overtightening, as this could crack the faceplate or strip the screws. After securing the cover, take one last look to ensure everything appears tidy and properly arranged.
By following these steps, you can safely install an electrical outlet in your home. However, it’s important to remember that working with electricity can be dangerous and should only be done by those with proper knowledge and training.
5 Things You Should Avoid
- Skipping the Proper Measurements
Avoid installing soffit lights without carefully measuring and planning their placement. Incorrect spacing can lead to an uneven appearance or insufficient lighting coverage.
- Ignoring Safety Precautions
Never work with electrical wiring without turning off the power supply to the area. Failing to do so could result in electric shock or other serious accidents.
- Using the Wrong Tools or Materials
Avoid using tools or materials that aren’t suitable for the job. For example, using incorrect wire gauges or low-quality fixtures can lead to malfunctions or safety hazards.
- Overlooking Ventilation and Insulation
Improper placement of soffit lights near insulation or ventilation spaces can cause overheating or disrupt air circulation, potentially leading to damage or fire risks.
- Neglecting Code Compliance
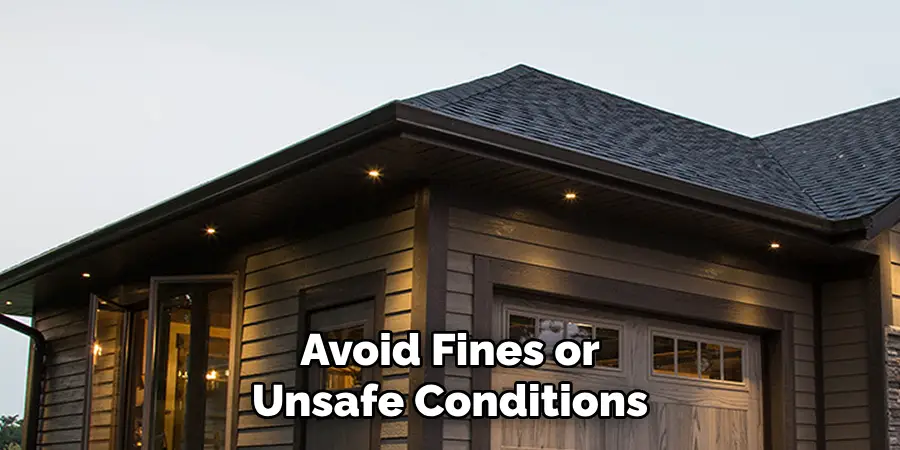
Do not ignore local electrical codes and regulations. Always ensure your installation adheres to professional standards to avoid fines or unsafe conditions.
Conclusion
How to install soffit lights can greatly enhance the aesthetic and functional appeal of a property when done correctly.
By carefully planning the placement, using suitable fixtures, and adhering to local electrical codes, you can ensure a safe and effective installation. Avoid common mistakes such as improper wiring, insufficient insulation clearance, or neglecting ventilation requirements, as these can lead to safety hazards or inefficiencies. With proper execution and attention to detail, soffit lighting can create a welcoming ambiance while boosting the overall value of your home.
Always consult a professional if you are unsure about any step in the process.

