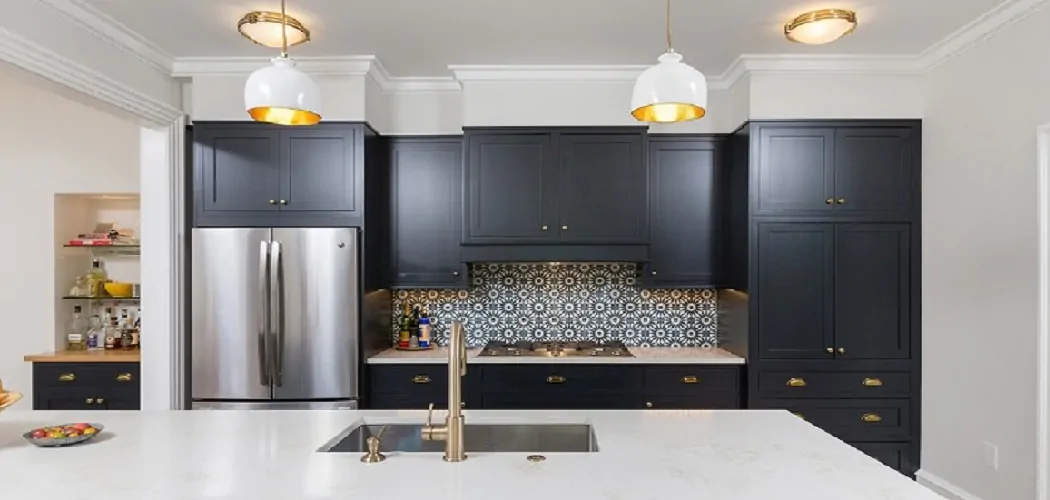
A semi-flush mount light is a stylish and versatile lighting solution that can add functionality and decorative appeal to any space. Unlike traditional ceiling lights, which hang down from the ceiling on a chain or rod, semi-flush mount lights are attached directly to the ceiling with only a small gap in between. This type of lighting is great for providing ambient lighting in rooms with low ceilings or adding elegance to any room.

Installing a semi-flush mount light may seem daunting, but it can be done easily and quickly with the right tools and some basic knowledge. In this guide, we will walk you through the steps of how to install semi flush mount light and bring a new level of brightness to your home.
Understanding Semi-Flush Mount Lights
Semi-flush mount lights come in a variety of styles, shapes, and sizes to fit any design aesthetic. They are typically made of metal or glass and can feature one or multiple light bulbs. Some popular styles include traditional, modern, industrial, and farmhouse.
Before purchasing a semi-flush mount light, measure the height of your ceiling and choose a light that will fit comfortably without hanging too low. You should also consider the size and layout of your room and the type of lighting you need (e.g., warm or cool-toned).
Tools and Materials You Will Need to Install Semi-Flush Mount Light
- A ladder or step stool
- Electrical tape
- Wire cutters
- Screwdriver (flathead and Phillips)
- Circuit tester
- Voltage meter
- Wire connectors
- Screws and anchors (if not included with the light)
Step-by-step Guidelines on How to Install Semi Flush Mount Light
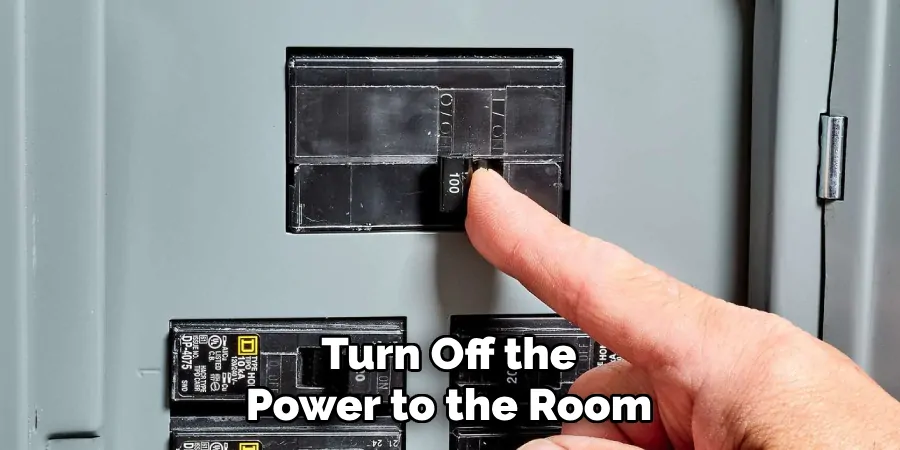
Step 1: Turn off the Power
Before starting any electrical work, it is crucial to turn off the power to the room where you will be installing the light. Switch off the circuit breaker or remove the fuse for maximum safety. Turning off the power will also prevent accidents or electrocution. If you need help determining which breaker controls the room, use a circuit tester to check. Make sure the power is off before proceeding to the next step.
Step 2: Assemble the Light Fixture
Assemble your light fixture by following the manufacturer’s instructions. This may involve attaching any additional pieces, such as a mounting plate or decorative elements, to the main body of the light.
This can usually be done by hand or with a screwdriver. If any screws or other hardware are not included, make sure to have them on hand before starting the installation process.
Step 3: Prepare the Wiring
Carefully remove the existing light fixture from the ceiling and disconnect it from the wiring. Use electrical tape to secure and cover any exposed wires. If necessary, use wire cutters to trim any excess wire length. Preparing the wiring correctly is essential for a safe and successful installation. If you are not confident with this step, it is best to consult a professional electrician.
Step 4: Attach the Mounting Plate
Using the screws provided, attach the mounting plate to the ceiling electrical box. If your light fixture does not come with a mounting plate, use screws and anchors that will support the weight of your light. Make sure the screw heads are flush with the ceiling for a secure fit. This step may require a ladder or step stool to reach the ceiling.
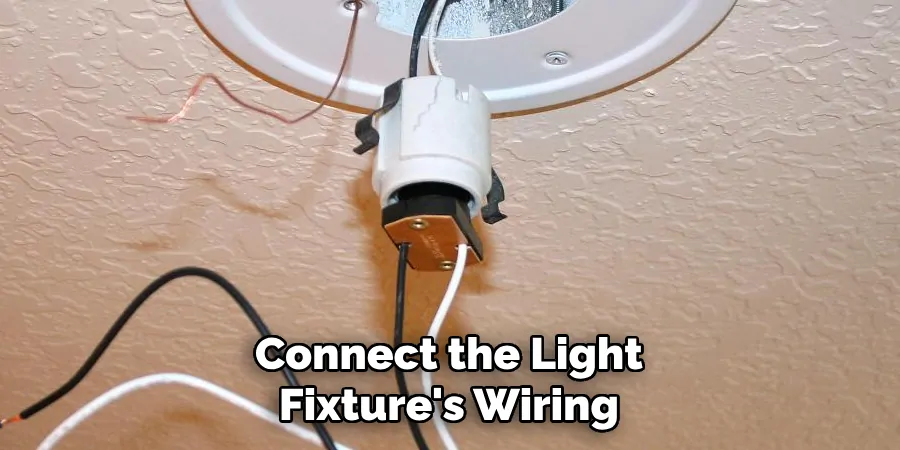
Step 5: Connect the Wiring
Carefully connect the light fixture’s wiring to the electrical box’s corresponding wires. Use wire connectors to secure each connection and twist them clockwise for a tight hold. Ensure no wires or loose connections are exposed, as this can be a safety hazard. This step will require a voltage meter to test for the correct wiring.
Step 6: Attach the Light Fixture
With the wiring properly connected, attach the light fixture to the mounting plate using screws or other hardware provided. Make sure it is securely fastened and leveled before proceeding.
Attaching the light fixture is usually the final step in the installation process. If your light has multiple bulbs, make sure they are all installed before attaching the fixture.
Step 7: Turn on the Power and Test
With everything securely in place, turn on the power and test your new semi-flush mount light. If it does not turn on, double-check all connections and wiring. If it still does not work, consult a professional electrician. Once your light is functioning correctly, you can remove the electrical tape and enjoy your newly installed semi-flush mount light.
Following these step-by-step guidelines, you can easily install a semi-flush mount light and add both style and functionality to any room in your home. Remember to always prioritize safety when working with electricity, and if you are unsure or uncomfortable with any steps, seek professional assistance.
With the right tools and some basic knowledge, you can transform any space with beautiful semi-flush mount lighting. Happy installing!
Additional Tips and Tricks to Install Semi-Flush Mount Light
1. If you need clarification on the wiring or installation process, it is always best to hire a professional electrician. They have the knowledge and experience to properly install semi-flush mount lights. This ensures your safety and avoids potential damage to your home.
2. Before starting the installation process, make sure to turn off the power to the area where you will be installing the light. You can do this by flipping the corresponding switch on your circuit breaker or unplugging the fuse for that area.
3. Reading and following the manufacturer’s instructions is important. Each semi-flush mount light may have different installation requirements, and following the instructions can lead to proper installation.
4. Before beginning the installation process, use a voltage tester to ensure that no electrical current is present in the wires.
5. If your semi-flush mount light has multiple bulbs, consider using LED bulbs for energy efficiency and longevity.
6. If you are replacing an existing light fixture, take a photo of the wiring before removing it. This will serve as a helpful reference when installing the new light.
7. Use a stud finder to locate a sturdy support for the light fixture, as semi-flush mount lights can be heavier than traditional flush mount lights.
8. Make sure to securely fasten all screws and connections during the installation process for a stable and safe light fixture.
9. If your ceiling is slanted or sloped, purchase a semi-flush mount light compatible with angled ceilings.
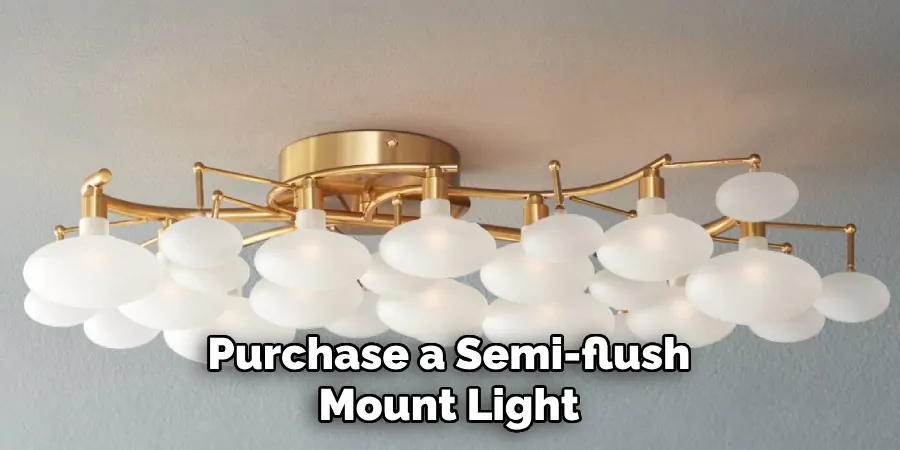
10. Don’t be afraid to get creative with your semi-flush mount light installation, such as using a dimmer switch or adding decorative elements around the fixture for a personalized touch.
By following these additional tips and tricks, you can ensure a successful and safe installation of your semi-flush mount light. Remember to always prioritize safety and consult a professional if needed.
You can easily transform your space with a beautiful semi-flush mount light with the right tools and techniques. Happy installing!
Things You Should Consider to Install Semi-Flush Mount Light
1. The location is the first thing you should consider when installing a semi-flush mount light. You want to make sure that the light will be in a spot where it can provide adequate lighting for the space. Additionally, you want to ensure that there are no obstacles or obstructions in the way of the light, as this can affect its functionality and effectiveness.
2. Next, you should consider the size and style of the light. Semi-flush mount lights come in a variety of sizes, so you want to make sure that the one you choose will fit well in your space. Additionally, consider the overall design and decor of the room. You want the light to complement the existing aesthetic, not clash with it.
3. Another important factor to consider is the type of bulb the light uses. Many semi-flush mount lights can accommodate different types of bulbs, such as fluorescent, LED, or incandescent. Consider the level of brightness you want and choose a bulb that will provide that.
4. It’s also crucial to consider the wiring and electrical requirements for the light. Depending on where you are installing it, you may need to hire a professional electrician to ensure proper installation and safety. It’s always better to err on the side of caution when dealing with electricity.
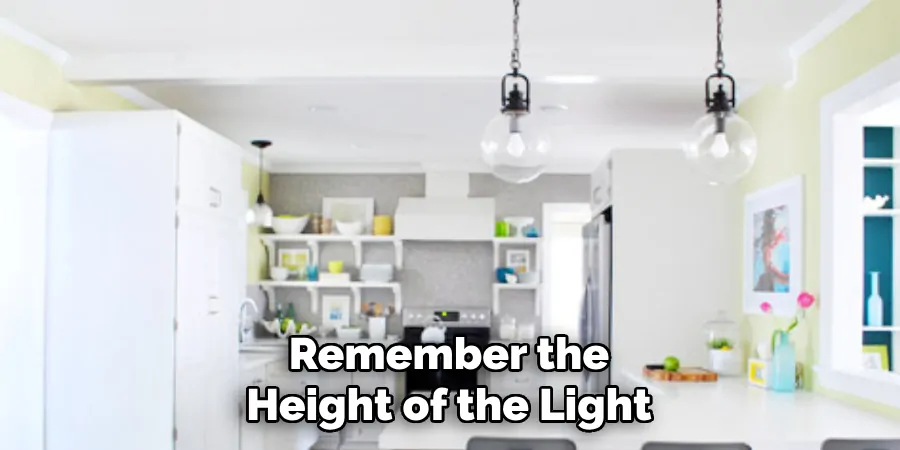
5. Remember the height of the light. Typically, semi-flush mount lights are installed around 8-10 inches from the ceiling, but this can vary depending on the size and design of the light and the height of your ceiling. Make sure to measure and adjust accordingly.
6. Another thing to remember is the light’s overall weight. While semi-flush mount lights may be lighter than other types of ceiling lights, it’s still essential to make sure that your ceiling can support the weight of the light and its mounting hardware.
7. Consider any additional features or functions you may want from the light, such as dimming capabilities or a remote control. These can add convenience and versatility to the lighting in your space.
8. Lastly, remember maintenance and cleaning. Semi-flush mount lights can accumulate dust and debris over time, so choose a light that is easy to clean and maintain for long-term use.
Following these considerations will ensure a successful and functional installation of your semi-flush mount light. Take the time to carefully evaluate your options and choose a light that fits your space and meets your lighting needs and preferences. So, do proper research before making any purchase decision. Happy shopping! Happy lighting!
Troubleshooting Common Issues to Install Semi-Flush Mount Lights
1. Insufficient Ceiling Clearance:
Insufficient ceiling clearance is one of the most common issues when installing semi-flush mount lights. This means that more than the distance between the ceiling and the light fixture is needed, resulting in a poor fit or even preventing installation altogether.
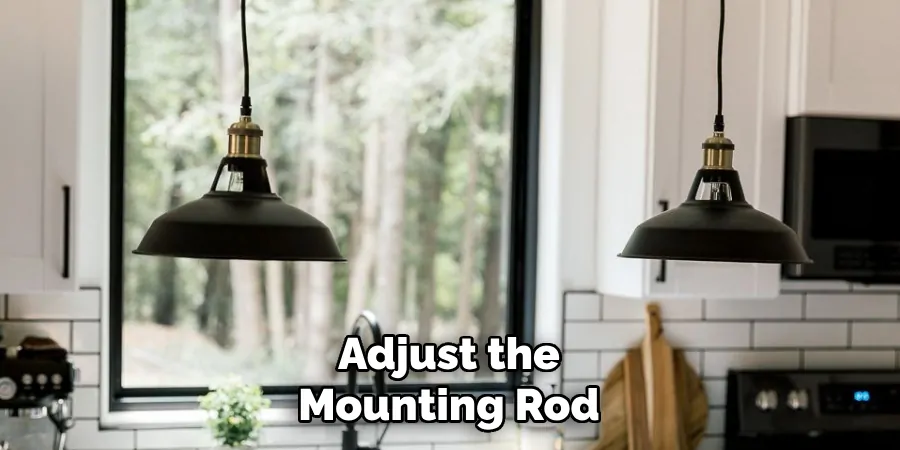
To solve this issue, you may need to adjust the mounting rod or chain length included with the light fixture. If the ceiling height is too low, you can also consider using a flush mount light instead.
2. Inadequate Wiring:
Another common issue when installing semi-flush mount lights is inadequate wiring. This means the existing wires in your ceiling may need longer to reach and connect to the light fixture. This can be caused by a variety of reasons, such as outdated wiring or renovation work that has altered the original wiring layout.
To address this issue, you may need to extend the wires by using wire connectors or additional wiring. However, it is recommended that a licensed electrician be hired for this task to ensure safety and proper installation.
3. Difficulty in Finding the Right Mounting Bracket:
Semi-flush mount lights come with different mounting brackets, and finding the right one for your specific light fixture can be challenging. This is especially true if you are replacing an old light fixture and the existing bracket does not match.
Contact the manufacturer or check their website for compatible mounting brackets to solve this issue. You can also consult a lighting specialist or an electrician for assistance finding the right bracket.
4. Improper Alignment of the Mounting Bracket:
Even if you find the right mounting bracket, improper alignment can still be an issue when installing semi-flush mount lights. This can result in a crooked or unevenly installed light fixture, which affects the appearance and poses a safety hazard.
To avoid this issue, make sure to carefully follow the manufacturer’s instructions and use a level during installation to ensure that the mounting bracket is properly aligned. If necessary, you can also use shims or adjust the length of the mounting rod for better alignment.
5. Difficulty in Attaching the Fixture to the Mounting Bracket:
Attaching the light fixture to the mounting bracket can also be challenging, especially if you work alone. This is because most semi-flush mount lights are designed to be installed by two people – one to hold the light fixture and the other to secure it in place.
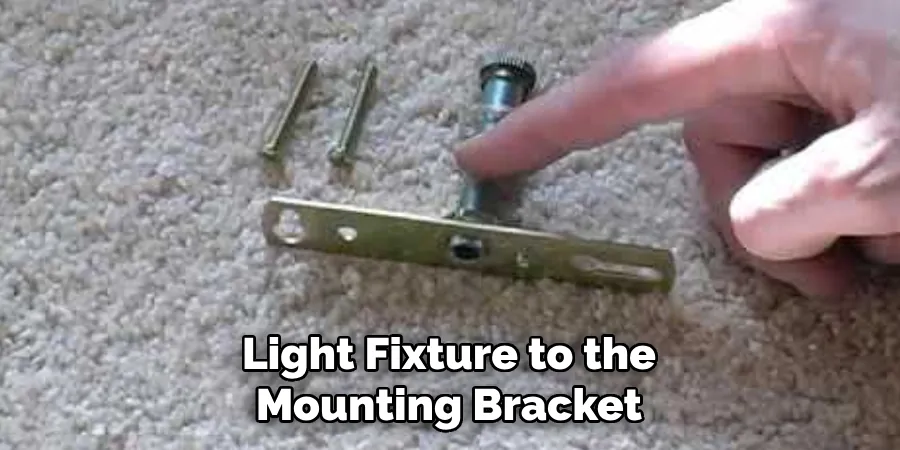
To make this task easier, use a ladder or have someone hold the light fixture while you attach it to the mounting bracket. If you are working alone, consider using a support device such as a hook or bungee cord to hold the fixture in place while you secure it.
Following these troubleshooting tips can help you overcome common issues and successfully install semi-flush mount lights in your home. Remember to always prioritize safety and consult professionals when needed for a smooth and hassle-free installation process. Happy lighting!
Maintenance Tips for Semi-flush Mount Light
1. Clean the Light Regularly:
Like any other lighting fixture, semi-flush mount lights require regular cleaning for optimal performance. Dust and dirt can accumulate on the light’s surface, dimming its brightness and affecting its appearance. Use a soft cloth or duster to wipe off any accumulated dust from the fixture.
You can also use a mild cleaning solution and a soft cloth to clean the surface, but make sure to turn off the power and disconnect the light from its source before cleaning. This will prevent any accidents or damage to the fixture. Regular cleaning not only keeps your semi-flush mount light looking new but also helps in maintaining its functionality.
2. Replace Burnt-out Bulbs:
Semi-flush mount lights are usually equipped with multiple bulbs, and it is common for one or more of them to burn out over time. When this happens, make sure to replace the burnt-out bulb with a new one of the same wattage and type.
This ensures proper functioning and maintains the balance and aesthetics of the light fixture. It is recommended that spare bulbs be kept on hand so that they can be easily replaced when needed.
3. Check Screws and Connections:
Semi-flush mount lights are installed using screws, and over time these screws may become loose due to vibrations or other factors. It is important to regularly check and tighten all the screws to ensure that the light remains securely attached to the ceiling.
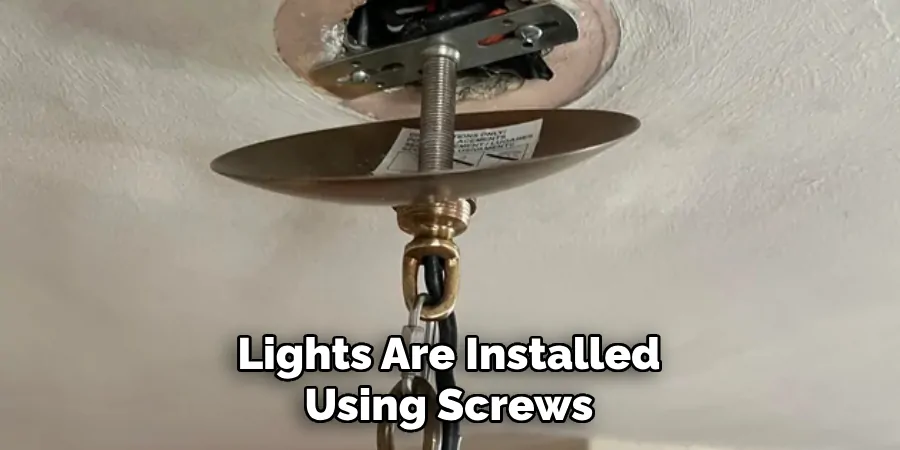
Additionally, check all the connections and make sure they are tight and secure. Loose screws or connections can cause the light to sway or become unstable, which can be hazardous.
4. Avoid Harsh Chemicals:
Avoid using harsh chemicals or abrasive cleaners when cleaning your semi-flush mount light, as they can damage the fixture’s finish and materials. Stick to mild soap and water or specific cleaning solutions recommended by the manufacturer. Wipe gently with a soft cloth, and avoid using any rough materials or scrubbers.
5. Schedule Professional Maintenance:
In addition to regular cleaning and maintenance, it is also beneficial to schedule professional maintenance for your semi-flush mount light at least once a year. A certified electrician can inspect the fixture and make sure all the components are in good working condition. They can also perform any necessary repairs or replacements to keep your semi-flush mount light functioning properly for years to come.
Following these maintenance tips can not only prolong the lifespan of your semi-flush mount light but also ensure that it continues to provide optimal lighting and enhance the aesthetics of your space. So take care of your semi-flush mount light and enjoy its functionality and beauty for years to come. Happy lighting!
Conclusion
Now you know how to install semi flush mount light and can easily light up any room in your home. Remember to always follow the manufacturer’s instructions for installation and take safety precautions when working with electricity. Consider adding dimmer switches or installing multiple semi-flush mount lights for a customized lighting experience.
In addition, semi-flush mount lights are versatile and can be used in various rooms throughout your home, such as the kitchen, living room, bedroom, or hallway. They come in a variety of styles and finishes, so you can choose one that complements your home decor.

