Are you looking for a way to take your Jeep customization game to the next level? Rock lights are an excellent addition that will give your vehicle a unique and exciting look. If you are ready to give your ride some extra flair, this blog post can teach you how to install rock lights on there yourself in no time. After going through the steps outlined here, you’ll be able to get any off-road adventure started with style!

Rock lights just might be the perfect solution for you. Installing rock lights on a Jeep can increase visibility when off-roading, making it an ideal upgrade for adventurous drivers. In this blog post, we’ll cover the basics of how to install rock lights on a jeep – from selecting the right equipment to putting everything into place and wiring up your rig. Read on for our complete step-by-step guide!
Benefits of Installing Rock Lights on a Jeep
1. Provides a Unique and Exciting Look
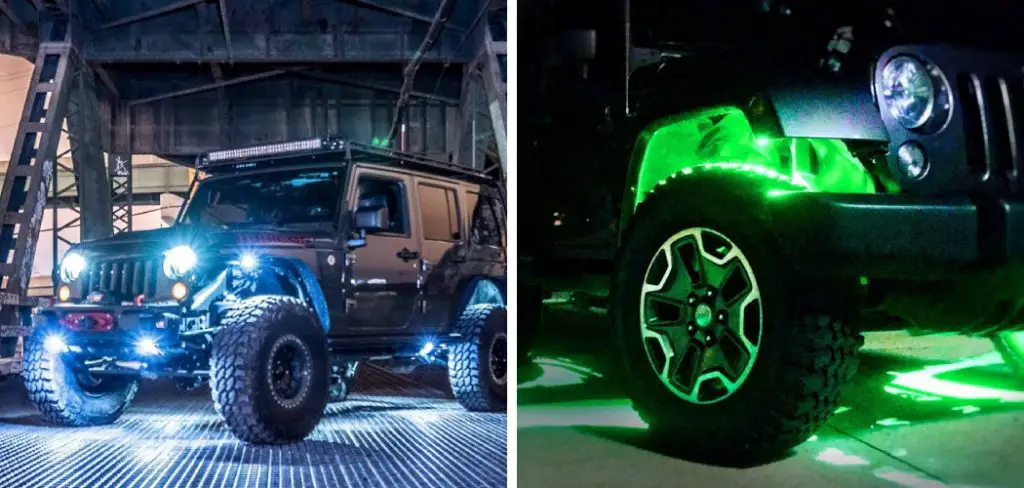
One of the obvious benefits of installing rock lights on your Jeep is that it gives your vehicle a unique and exciting look. Rock lights are available in a variety of colors, sizes, and styles, allowing you to customize the look of your Jeep to your liking. Not only do they provide a modern look that stands out from other Jeeps on the road, but they also attract attention with their bright and vibrant colors.
2. Allows for Improved Visibility
In addition to providing a unique look, rock lights also provide improved visibility when driving at night or in low-light environments. The brightness of the lights allows you to see more clearly when driving off-road or in other dimly lit areas, helping to ensure that you and your passengers stay safe while traveling.
3. Easy to Install
Installing rock lights on your Jeep is a relatively simple process. All you need are the appropriate mounting brackets, power supply, wiring, and the light fixtures themselves. Once everything is in place, it’s just a matter of following the instructions that come with the kit to complete the installation process. So if you’re looking for an easy way to give your Jeep a custom look, rock lights are an excellent choice.
4. Low-Maintenance
Finally, another great benefit of installing rock lights on your Jeep is that they require very little maintenance. The LED bulbs used in the lights are designed to last for thousands of hours and rarely need replacing. They also don’t require any additional upkeep, so all you have to do is make sure they stay clean and free of debris. Overall, rock lights are an excellent choice for those who want a custom look without having to worry about maintenance.

By installing rock lights on your Jeep, you will enjoy the benefits of having a unique and exciting look, improved visibility when driving at night or in low-light conditions, and low-maintenance lighting fixtures. With the simple installation process and minimal upkeep required, rock lights are an easy way to give your Jeep a custom look that stands out from the crowd.
How to Install Rock Lights on a Jeep in 5 Easy Steps
Step 1: Gather All The Tools You Will Need
The very first step is to gather all the tools and materials you will need for the installation. This includes rock lights, mounting brackets, screws, drill bits, drill, wire ties, or zip ties, and an appropriate electrical wiring kit for connecting the lights.
Step 2: Choose the Placement of Rock Lights
Once you have all your materials ready and on hand it is time to decide how exactly you will be installing the rock lights. You should think carefully about where the lights will be installed and visualize how they will look when turned on in order to find the best placement for them.
Step 3: Drill Holes To Install The Mounting Brackets
Using a drill bit that matches the size of your mounting bracket screws, you can now drill holes into your Jeep where you want the rock lights to be installed. Make sure that the holes are deep enough for the screws to fit in properly and securely.
Step 4: Attach The Rock Lights To The Mounting Brackets
After you have drilled holes into your Jeep, secure the mounting brackets by screwing them into place using the appropriate drill bits. Once they are secured, you can attach the rock lights to the brackets.
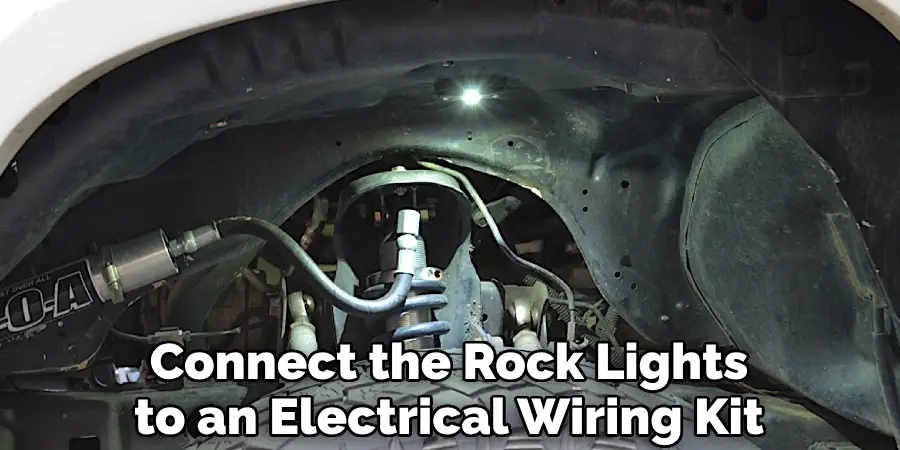
Step 5: Connect The Rock Lights To An Electrical Wiring Kit
The last step is to connect the rock lights to an electrical wiring kit, making sure that all connections are secure and functioning properly. Once the lights are connected, simply turn on the switch and adjust their position if needed. You should now have a fully functioning set of rock lights on your Jeep.

Congratulations! You have successfully installed rock lights onto your Jeep. Enjoy the great look and feel of custom-installed lighting and make sure to take extra caution when driving in dark or foggy conditions with these lights turned on. Have fun and stay safe!
Some Additional Tips to Install Rock Lights on a Jeep
1. Do Not Over Tighten
Make sure not to over-tighten the rock lights when installing them on your Jeep. This can lead to cracking of the plastic housing and premature failure of the light. Also, make sure not to mount the lights too close to any moving parts; such as suspension and steering components.
2. Use Adequate Wiring
Using the right type of wiring for your rock lights is essential. Make sure you use a wire that can handle the power requirements of the rock lights, otherwise, they will not work properly. When installing make sure there is enough slack in the wiring and that it is properly secured to avoid shorts and potential fire hazards.
3. Ground the Rock Lights
To ensure your rock lights are working correctly, make sure to ground them properly. Attach the negative (-) wire from the light directly to a clean metal part of your Jeep frame or body using an appropriate bolt or nut. This will help guarantee a reliable connection.
4. Test the Lights
Once your lights are installed, it is important to test them out before taking your Jeep for a ride. Make sure all of the lights are working properly and that there aren’t any shorts or other issues that could cause damage or malfunctions while driving.

Following these tips will help ensure your rock lights are installed correctly and will perform as expected. With a few simple steps, you can make sure your Jeep is properly lit up on the trails!
Frequently Asked Questions
What Precautions Should I Take Before Installing Rock Lights on a Jeep?
Before installing rock lights, it’s important to take some safety precautions: make sure your vehicle is parked in an area with good lighting, and be aware of any nearby obstacles that may pose a risk while you’re working. Additionally, remember to wear protective gear—gloves and eye protection—to protect yourself from any debris or sharp objects that may be present. Additionally, make sure to disconnect the positive and negative battery cables of your vehicle before you start installing rock lights.
What Do I Need to Install Rock Lights on a Jeep?
In order to install rock lights on your Jeep, you will need a drill and screwdriver for drilling pilot holes in the bodywork; wire extensions; electrical tape; a wire stripper; butt connectors, and the rock lights themselves. Additionally, you may find it easier to install the lights if you have an assistant on hand to help guide the wires and to hold the lights in place while you work.
Do I Need to Make Any Modifications When Installing Rock Lights on a Jeep?
No—you don’t need to make any modifications to your Jeep when installing rock lights. However, you should be aware that the LEDs may generate some heat, so it’s important to keep them away from potentially flammable materials such as plastic and rubber. Additionally, you should take care not to drill or place screws in areas that could interfere with any of your vehicle’s existing systems.
Is There Anything Else I Should Know About Installing Rock Lights on a Jeep?
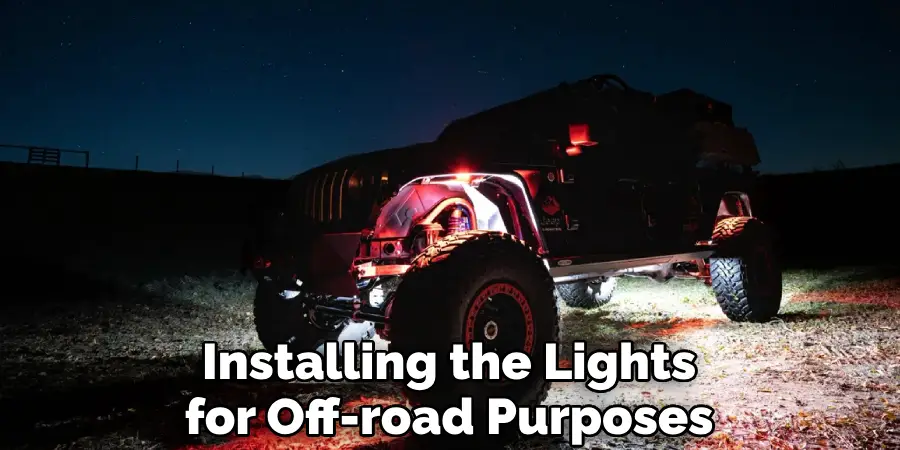
It’s important to take your time and make sure that all of your connections are secure. Additionally, if you’re installing the lights for off-road purposes, you should consider investing in an overvoltage protection system for your vehicle to ensure that the lights aren’t damaged by any voltage spikes. Finally, it’s also a good idea to test the lights before you go out and drive on rough terrain to make sure that they are working properly.

Conclusion
Congratulations, you’ve reached the end of your rock-light installation journey! By now, you should be equipped with all the knowledge about how to install rock lights on a jeep. All that’s left is for you to embark on a thrilling off-roading expedition – the perfect way to show off your new lights in action.
As you explore those rugged roads with their tech-savvy glow, just remember to take safety precautions. With some common sense and good judgment, rock light installations can enhance any jeep journey without compromising safety. Once you do, we guarantee an adventure more than worth talking about!

