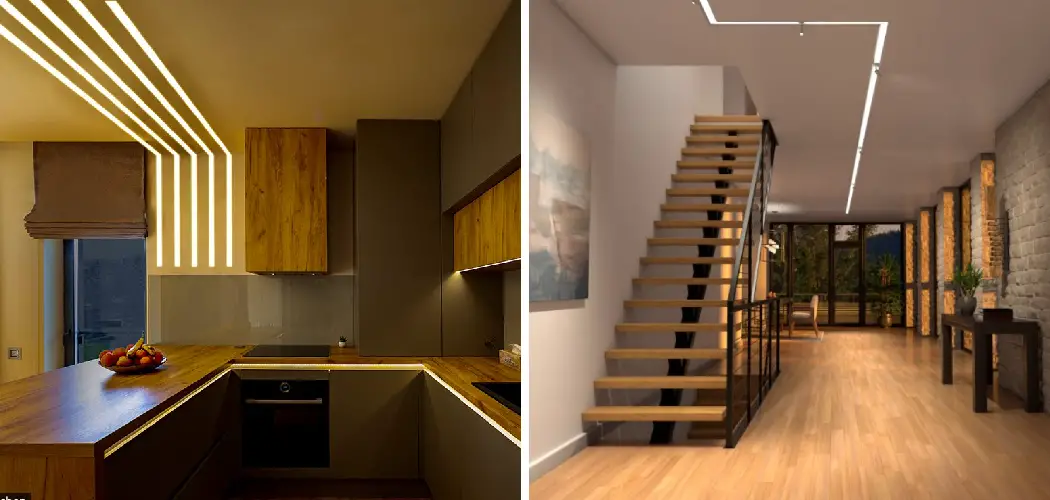
Are you planning to install recessed linear lighting in your home or office? This type of lighting offers a modern and sleek look, perfect for illuminating any space.
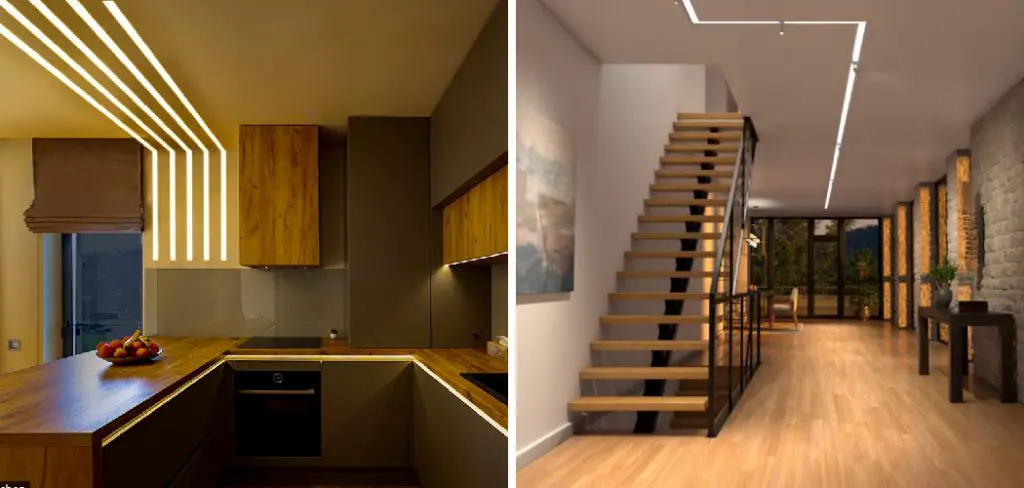
How to install recessed linear lighting can transform any space with its sleek design and modern aesthetic, providing both functional and ambient lighting. Whether you’re upgrading your home or enhancing a commercial space, this guide will walk you through the steps required to install recessed linear lighting successfully. Careful planning, proper tools, and attention to detail are essential to ensure a seamless installation.
By following these instructions, you can achieve a professional, minimalist look that enhances the atmosphere of any room.
What Are the Benefits of Recessed Linear Lighting?
Recessed linear lighting can provide a variety of benefits for both residential and commercial spaces. Some of the most notable benefits include:
- Improved Aesthetics: Recessed linear lighting provides a sleek, clean look that is free from bulky fixtures.
- Space-saving: By being installed within the ceiling or wall, recessed linear lights take up minimal space and don’t interfere with other design elements.
- Versatility: These lights come in various lengths and colors, making them suitable for any type of room or setting.
- Energy Efficiency: LED bulbs used in recessed linear lights consume less energy compared to traditional incandescent bulbs, resulting in lower utility bills.
- Durability: Due to their sealed design and lack of external features, recessed linear lights are less prone to damage and wear.
What Will You Need?
- Recessed Linear Lights: These can be purchased from any reputable lighting store or online retailer. It is important to measure the dimensions of your space and choose the appropriate length for your recessed linear lights.
- Measuring Tape: This will help you determine the exact placement and spacing of your recessed linear lights.
- Drill and Drill Bits: You will need these to create holes for the light fixtures to be installed in.
- Screwdriver: Use a screwdriver to secure the light fixtures into place.
- Drywall Saw: In some cases, you may need to cut through drywall to install recessed linear lights. A drywall saw will come in handy for this task.
- Wire Strippers: If your lights require wiring, you will need wire strippers to remove the insulation from the wires and make connections.
- Electrical Tester: It’s essential to check if electricity is running through the wires before making any electrical connections. Use an electrical tester to ensure safety.
- Ladder or Step Stool: You may need a ladder or step stool to reach high ceilings when installing recessed linear lights.
- Caulk Gun and Caulk: Once your lights are installed, you can use caulk around the edges of the fixtures to create a seamless look and prevent drafts.
- Painting Supplies: If you’re installing recessed linear lights in a room with painted ceilings, you may need to touch up the paint after the installation. Make sure to have painting supplies on hand.
9 Easy Steps on How to Install Recessed Linear Lighting
Step 1. Plan the Lighting Layout:
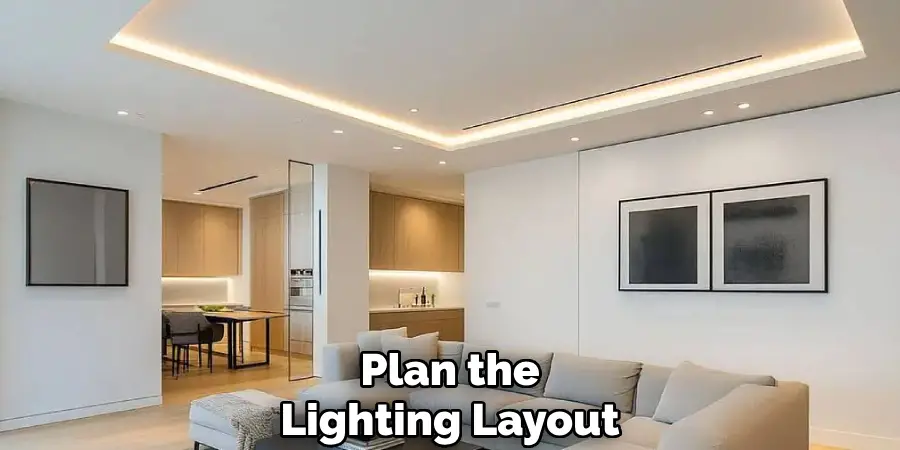
Carefully planning the layout of your recessed linear lighting is key to achieving the desired effect and functionality in your space. Start by evaluating the room’s purpose and how you plan to use the lighting. Consider factors such as the type of activities performed in the area, the furniture arrangement, and any architectural features or accents you want to highlight.
Use a tape measure and pencil to mark the proposed locations for the lights, ensuring an even distribution and proper alignment. If the lighting serves a task-specific area, like a kitchen countertop or a reading nook, make sure the fixtures are positioned to provide optimal illumination.
Step 2. Turn Off the Power:
Before beginning any installation work, it is crucial to ensure safety by turning off the power to the area where the lighting will be installed. Locate the circuit breaker panel in your home and switch off the breaker that controls the specific area you want to turn off. Double-check that the power is off by using a voltage tester or multimeter on the existing outlets or wires in the work area.
This step prevents accidental electrical shocks and ensures a safe working environment. Marking the breaker as “off” or informing other household members of your work can help avoid accidentally reactivating the circuit during the process. Taking these precautions creates a safe and secure workspace for the installation.
Step 3. Mark the Cut-Outs:
Begin by carefully measuring and marking the areas where the installation will take place. Use a pencil or marker to draw precise cut-out guides based on the dimensions of the fixtures or devices being installed.
These measurements should be double-checked to ensure accuracy, as any errors in this step could lead to improper alignment or the need for additional corrections, which can be time-consuming. A level or a straight edge can help ensure that the marks are even and properly aligned with the surrounding surfaces. For larger cut-outs, a template provided by the manufacturer may simplify the marking process and reduce errors.
Step 4. Cut the Openings:
Once the markings have been carefully checked, it’s time to cut the openings. Begin by selecting the right tools for the material you are cutting. For instance, a jigsaw works well for wood or drywall, while a hole saw or rotary tool may be more suitable for precise circular cuts.

Ensure that all tools are sharp and in good working condition, as dull blades or bits can lead to uneven edges or damage to the surrounding material.
Step 5. Run Electrical Wiring:
To run electrical wiring, start by planning the layout carefully and ensuring that all necessary permits and codes are followed. Use a fish tape or wire puller to guide the wiring through the openings, minimizing strain or potential damage to the insulation.
Secure the wiring using cable clamps or staples, maintaining a safe distance from any sharp edges or heat sources. While routing the wires, take care to avoid tangles or unnecessary bends, as these can lead to future complications or reduced efficiency.
Step 5. Connect the Fixtures:
Begin by carefully stripping the insulation from the ends of the wires, exposing enough length to ensure a secure connection. Match the wires according to their color coding (e.g., black to black, white to white, and green or bare for grounding). Use wire connectors or wire nuts to securely join them.
Twist the connectors until they are tight, making sure no exposed wire is visible beyond the connector. For added safety, wrap the connections with electrical tape to secure them and reduce the risk of accidental dislodgement.
Step 6. Insert the Fixtures:
Carefully push the connected wires back into the electrical box, ensuring they are neatly arranged and not pinched or pressed against sharp edges. Align the mounting bracket or plate of the fixture with the electrical box, and secure it in place using the provided screws.
Make sure the screws are tightened evenly, ensuring the fixture is positioned correctly and stable.
Step 7. Secure the Trim:
Once the fixture is firmly mounted, attach the trim or decorative cover that comes with the light fixture. The trim serves both aesthetic and functional purposes, helping to conceal the mounting hardware and providing a polished appearance. Align the trim with the fixture, ensuring any clips, screws, or other securing mechanisms are correctly positioned.

If the trim uses screws, tighten them gently but firmly to avoid overtightening, which could crack or damage the material. For fixtures with snap-on or clip-on trims, press evenly around the edges to ensure a secure fit. Finally, check that the trim is evenly seated and not tilted or loose, as this could affect the appearance and performance of the fixture.
Step 8. Test the Lights:
Once the trim is securely in place, it’s time to test the lights to ensure everything is functioning correctly. Begin by restoring power to the fixture, either by flipping the circuit breaker back on or toggling the light switch.
Turn the lights on and carefully observe how they operate. Check for consistent brightness and ensure there is no flickering or unusual dimming, as this could indicate an issue with the connections or the bulb itself. If any problems are present, double-check that the connections are secure and properly matched.
Step 9. Finish the Installation:
After confirming that the light fixture is functioning correctly, take a moment to ensure that any remaining installation steps are completed for a clean and professional finish. Securely attach any decorative coverings or trim pieces that may accompany the fixture, following the manufacturer’s instructions. Check that screws, clamps, or fasteners are tightened appropriately, but avoid overtightening, as this may damage the components.
Tidy up the workspace by removing any tools, packaging materials, or protective coverings used during the installation process. If the new fixture is equipped with smart features, such as dimming or remote control functionalities, set up and pair these features according to the provided instructions. Finally, test the lights in various settings to confirm that brightness levels and additional features operate as intended. This thorough approach ensures the installation is not only effective but also visually appealing and reliable for long-term use.
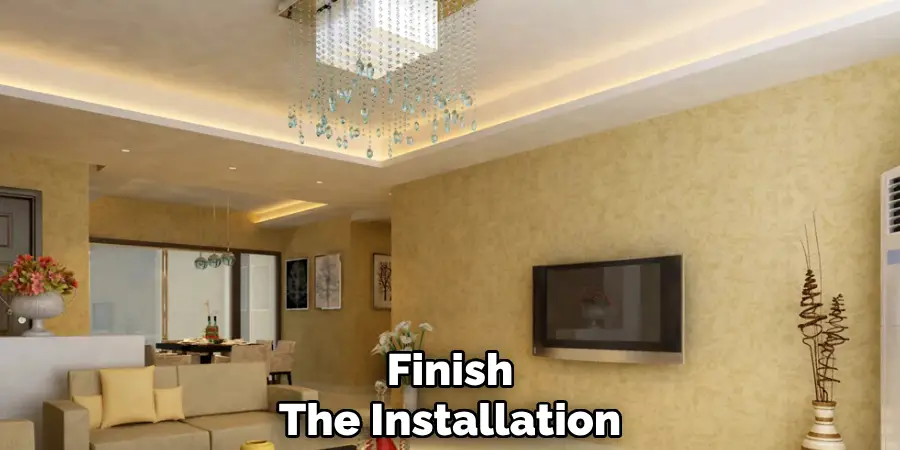
By following these steps, you can successfully install a new light fixture in your home without any complications.
Conclusion
Recessed linear lighting is an excellent way to enhance the aesthetics and functionality of any space.
By carefully planning the layout, gathering the necessary tools and materials, and adhering to proper installation techniques, you can achieve professional-looking results. Always ensure safety by turning off the power before starting and double-checking connections to avoid electrical issues. Taking the time to test the lighting after installation guarantees optimal performance and satisfaction.
Hopefully, the article on how to install recessed linear lighting has given you the necessary information and confidence to tackle this project on your own.

