Post light poles are a popular solution for enhancing outdoor lighting across various settings, such as driveways, walkways, gardens, and patios. These lighting fixtures are designed to provide illumination and add an elegant and decorative touch to outdoor landscapes. Their classic design complements both traditional and modern aesthetics, making them versatile additions to any outdoor space. Proper installation of post light poles is crucial for ensuring safety, durability, and efficient performance.
Correct installation practices help them withstand harsh weather conditions and maintain electrical integrity over time. Ensuring these factors are considered can prevent potential hazards and extend the life span of the fixture. Learning “how to install post light pole” with attention to detail and adherence to guidelines is key to achieving both functional and aesthetic objectives for outdoor lighting.

Tools and Materials Needed
When preparing to install a post light pole, gathering the appropriate tools and materials is essential for a successful and efficient project. Begin with a post light fixture, ensuring it is rated for outdoor use to withstand various weather conditions. Select a light pole of the appropriate height and material, such as steel, aluminum, or wood, based on aesthetic and durability needs.
Use a concrete mix to secure the post base firmly. A ground sleeve or anchor kit can be employed optionally for either a removable or more stable installation. Wire connectors and electrical tape are necessary for securing electrical connections, while PVC conduit offers protection for wiring underground. A shovel or post hole digger helps create the necessary hole for the pole. For handling wires, a screwdriver and wire strippers are required. Use a voltage tester to ensure safety throughout the installation process. Finally, have gravel and a level on hand for drainage and stability, and ensure the circuit breaker for the light is in good working condition.
How to Install Post Light Pole: Planning the Installation Location
Proper planning of the installation location is a critical step in setting up a post light pole. This ensures functionality, aesthetics, compliance with local regulations, and safety standards.
Step 1: Choose the Ideal Location
The post light should be positioned where it provides optimal illumination for the intended area without obstructing foot traffic or pathways. Consider areas that require lighting for safety and visibility, such as entrances, driveways, or garden paths. Additionally, assess the proximity to existing wiring or power sources to facilitate easy connection and reduce the need for extensive trenching or conduit work.
Step 2: Check Local Codes and Utility Lines
Before commencing installation, it’s important to review local building codes and ordinances regarding outdoor lighting installations, as these can vary significantly. Compliance ensures that your project meets safety and zoning requirements. Furthermore, contact local utility companies to identify any underground utility lines, such as water, gas, or electricity, in your selected area. Calling before digging helps prevent accidents and service interruptions, ensuring a safe environment for the installation work.
Step 3: Measure and Mark the Installation Site
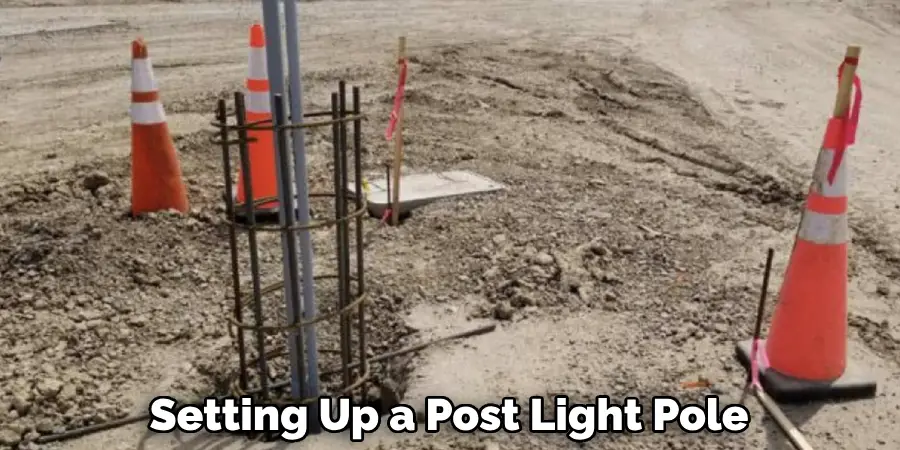
After selecting a location, mark the exact spot where you’ll dig the hole for the post light pole, ensuring it aligns with your lighting design plan. The hole should be at least 18-24 inches deep and wide enough to accommodate both the pole and a concrete base to provide stable support. Accurate measurements and marking guarantee a straightforward digging process, leading to a more efficient installation.
How to Install Post Light Pole: Digging the Hole and Setting the Pole Base
Step 1: Dig the Post Hole
Use a post hole digger or shovel to dig a hole at the marked spot. The depth of the hole should be roughly 1/4 to 1/3 the height of the pole, typically ranging from 18 to 24 inches deep. If the soil is sandy or unstable, consider making the hole slightly deeper or using a ground sleeve for additional stability.
Step 2: Add Gravel for Drainage
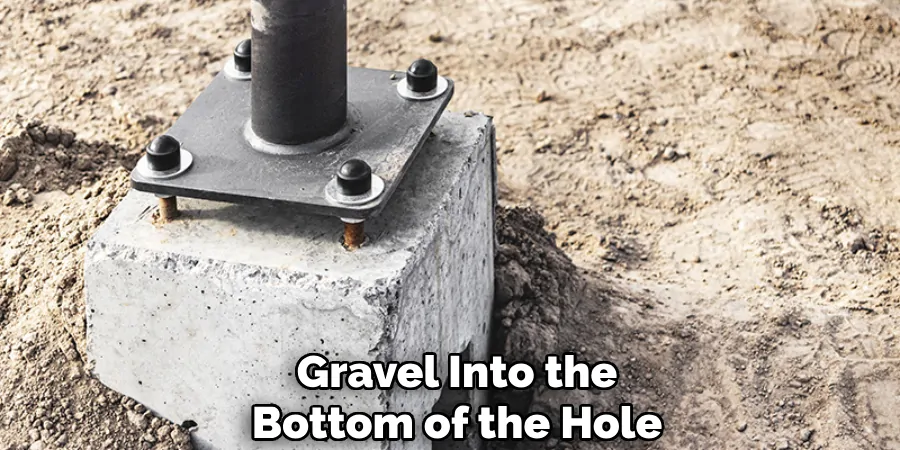
Pour about 4-6 inches of gravel into the bottom of the hole. This layer of gravel ensures proper drainage, preventing water from pooling at the base of the pole. Over time, such pooling can lead to rusting or weakening of the foundation. Ensure the gravel layer is level to provide a stable base for the pole.
Step 3: Insert the Ground Sleeve or Anchor Kit (Optional)
If installing the post with a ground sleeve or anchor kit, place it into the hole following the manufacturer’s instructions. Ensuring the sleeve is level and properly aligned before moving on to the next steps is crucial.
Step 4: Mix and Pour Concrete
Prepare your concrete mix according to the package instructions. Slowly pour the concrete into the hole surrounding the pole or sleeve. As the concrete is poured, use a level to verify the pole is standing perfectly straight. This prevents any future issues with the pole leaning or becoming misaligned. Allow the concrete to cure for a minimum of 24 hours before attaching the light fixture to ensure the base is securely set and capable of supporting the post light’s weight and withstand environmental conditions.
Running Electrical Wiring
Step 1: Turn Off the Power
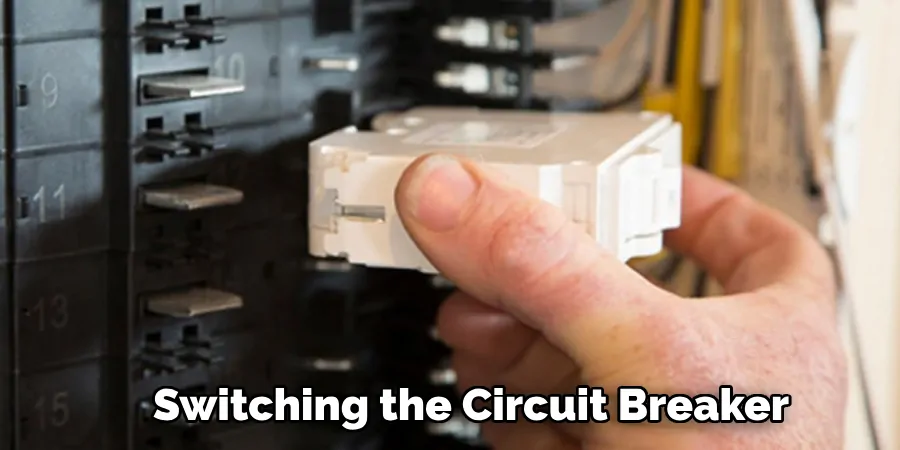
Switch off the power at the circuit breaker that will be connected to the post light pole. Before beginning any electrical work, confirm that the circuit is inactive using a voltage tester. This ensures your safety and prevents any accidental electrical hazards.
Step 2: Plan the Wiring Route
Determine whether the wiring for the post light will run underground or above ground, particularly if utilizing an existing outdoor electrical circuit. For underground wiring, it is advisable to use PVC conduit to shield the wires from potential moisture, dirt, and damage, ensuring longevity and reliability.
Step 3: Dig a Trench for Underground Wiring
Excavate a trench extending from the power source to beneath the base of the post light pole. This trench should be a minimum of 18 inches deep to comply with standard safety regulations for outdoor wiring installations. Such depth helps protect the wiring from accidental disturbances and ensures safety.
Step 4: Run the Conduit and Wiring
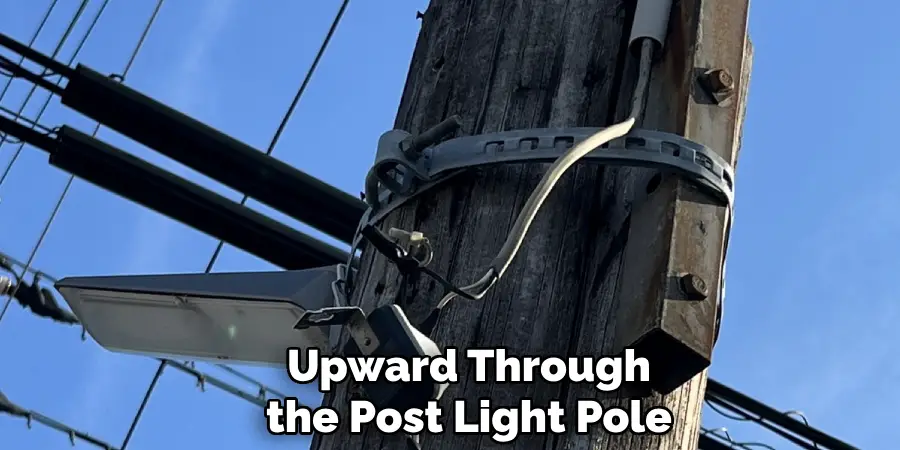
Position the PVC conduit along the bottom of the trench and carefully thread the electrical wire through it. It is critical to use waterproof wire connectors to maintain a secure and safe connection between the wires. Guide the wiring upward through the post light pole, ensuring enough length is available at the top to connect to the light fixture.
Step 5: Connect the Wiring to the Light Fixture
Once the wire is in place through the pole, proceed to connect it to the light fixture. Typically, three wires are involved:
- Black (hot) Wire: Connect to the black wire on the light fixture.
- White (neutral) Wire: Connect to the white wire on the fixture.
- Green or Bare Copper (ground) Wire: Attach to the grounding screw or green wire on the fixture.
Secure these connections with wire nuts, then wrap them with electrical tape for extra protection and to prevent moisture ingress.
Step 6: Bury the Trench
After successfully connecting the wiring, backfill the trench with dirt, ensuring the PVC conduit is thoroughly covered. Firmly pack the soil to minimize future settling, maintaining the integrity of the wiring pathway and the neat appearance of the installation site.
Mounting the Light Fixture
Step 1: Attach the Light Fixture to the Pole
Begin by closely following the manufacturer’s instructions to ensure the light fixture is securely mounted to the top of the post. Most fixtures are designed to be either screwed or bolted, providing stability and durability once installed. Make certain all connections are tight and secure to prevent the fixture from shaking or detaching in windy conditions.
Step 2: Secure the Light Bulb and Cover
With the fixture firmly in place, insert the appropriate bulb, ensuring it is compatible with its rating—typically either LED or incandescent. Carefully seat the bulb in the socket, as a loose connection can lead to flickering or damage. Next, attach any light covers or glass enclosures with your fixture. These are crucial for weatherproofing, as they protect against elements like rain, dust, and snow, extending your installation’s lifespan.
Step 3: Test the Fixture
Upon installation, restore power to the fixture by switching the circuit breaker back on. Test the light’s functionality by flipping the manual switch or activating any built-in timers or sensors. This is an essential step to ensure everything is working correctly. If the light doesn’t illuminate, revisit your wiring connections and recheck the circuit for any faults. A successful test confirms that the light fixture is securely mounted and will provide consistent illumination in its outdoor environment.
Conclusion
Properly installing a post light pole is essential for achieving both functional and aesthetic outdoor lighting, enhancing the safety and ambiance of your space. By following detailed steps on how to install post light pole, you ensure that the light remains stable, safe, and visually pleasing.
Key to this process is prioritizing safety, particularly when handling electrical components, and making sure the post is securely buried in the ground to withstand environmental conditions. Regular maintenance is equally important to keep the post light functioning efficiently over time. Tasks like checking the light and bulb, inspecting wiring, and cleaning fixtures can prevent potential hazards and ensure a lasting installation. By adhering to these practices, you maximize the benefits of your outdoor lighting, enhancing the appearance of your property and its security and functionality.

