Neon lights are a popular choice for adding a touch of color and ambiance to any space. These vibrant lights can be used in various ways, such as decorating your bedroom or living room walls. Installing neon lights on the wall seems daunting, but it is quite simple and can be done by anyone with some basic tools and DIY skills.
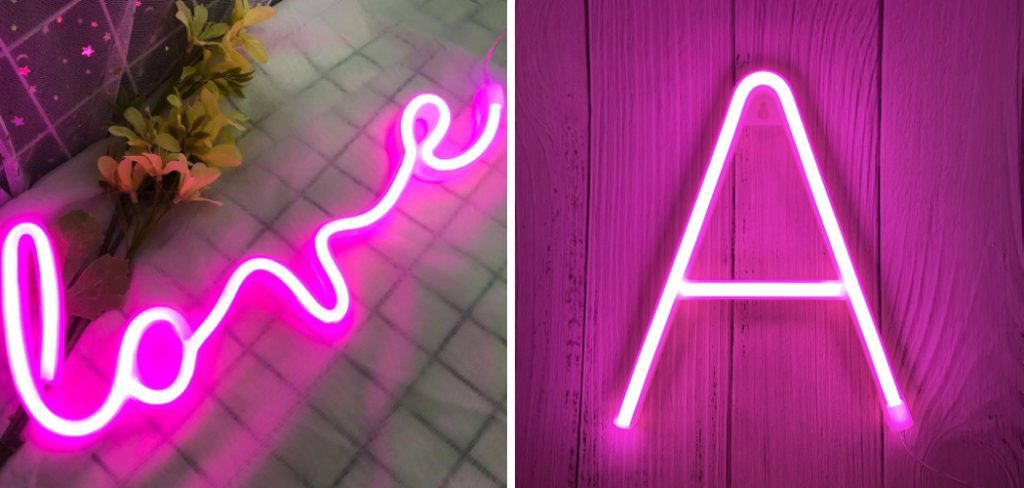
There are several advantages to installing neon lights on your wall. Not only do they add a colorful and unique touch to any room, but they also provide additional lighting options for both practical and aesthetic purposes. This section will discuss the advantages of installing neon lights on walls. In this blog post, You will learn in detail how to install neon lights on wall.
Tools You Will Need
- Measuring tape
- Pencil
- Level
- Drill and drill bits
- Screws and anchors for mounting
- Wire stripper
- Electrical tape
- Neon lights
- Extension cords/power strip (if needed)
- Ladder
Before you begin the installation process, ensure you have all the necessary tools. You don’t want to be halfway through the project only to realize you’re missing a crucial tool.
Step-by-step Instructions for How to Install Neon Lights on Wall
Step 1: Inspect the Neon Light Kit
Ensure you have all the necessary components in your neon light kit before beginning the installation process. This usually includes the neon light strip, mounting clips, screws, and a power supply. Before installing neon lights on your wall, you must ensure it is clean and dry. Use a mild cleaner to wipe down the wall surface and allow it to dry completely.
Step 2: Plan Your Design
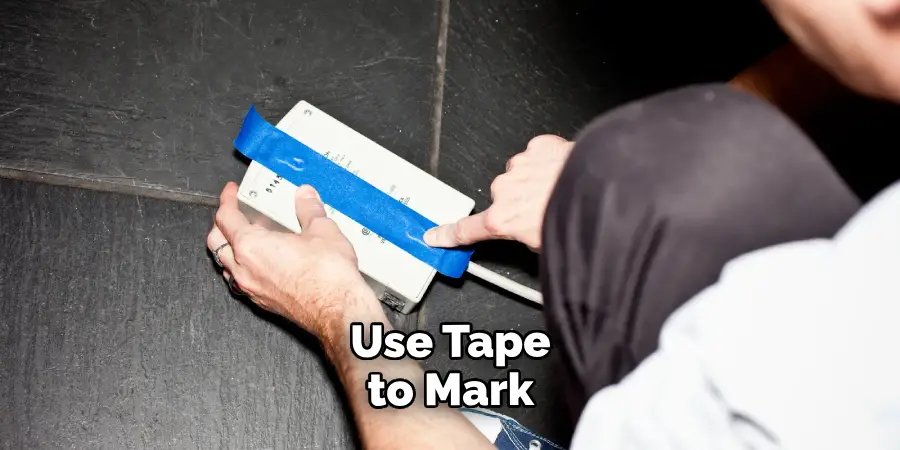
Decide on the placement and design of your neon lights. You can create a straight line or pattern or even spell words using the light strip. Use tape to mark where you want your lights to go before securing them in place. Using the provided screws, attach the mounting clips to your wall. These will hold the neon light strip in place and keep it from falling off.
Step 3: Unroll the Neon Light Strip
Carefully unroll the neon light strip and line it up with the mounted clips on your wall. Make sure it is centered and straight before securing it in place. If needed, you can cut the strip to fit your desired length. Using the mounting clips, secure the neon light strip onto the wall. Make sure it is securely attached and straight.
Step 4: Connect the Power Supply
Find a nearby power source and plug in the power supply for your neon lights. Be sure to follow any specific instructions or safety precautions the manufacturer provides.
Before fully securing the lights, test them to ensure they are working properly. If there are any issues, troubleshoot them before continuing with the installation process.
Step 5: Secure the Light Strip More Permanently
Once you have confirmed that your neon lights are working correctly, use additional screws or use adhesive tape to secure the light strip more permanently in place. Use wire clips or adhesive tape to conceal any exposed wires to create a cleaner look. This will also help prevent tripping hazards.
Step 6: Turn Off Power Supply
Before making final adjustments, turn off the power supply and unplug it from the outlet. This will ensure your safety while working on the lights. Make any final adjustments to the placement or design of your neon lights before turning them back on and enjoying the finished installation.
Following these step-by-step instructions, you can easily install neon lights on your wall and add a unique touch to your space. Always follow safety precautions and refer to the manufacturer’s instructions for specific guidelines.
Tips for How to Install Neon Lights on Wall

- Wear protective gear – Before starting the installation process, wear gloves with good grip, safety glasses, and a dust mask. This will protect you from any potential hazards during the installation process.
- Turn off the main power supply – When working with electrical equipment, it is important to turn off the main power supply to avoid accidents. Check that the power is off using a voltage tester before installing.
- Use proper mounting clips – When attaching neon lights to a wall, use proper mounting clips specifically designed for neon lights. This will ensure a secure and safe installation.
- Choose the right location – Before installing neon lights on your wall, choose the location carefully. Ensure there are no flammable materials nearby and the lights will not be exposed to water or moisture.
- Use a ladder or scaffold – If your wall is high, make sure to use a secure ladder or scaffold to reach the installation area safely. Avoid standing on chairs or unstable objects.
- Consult a professional – If you need help installing neon lights on your wall, it is always best to consult a professional electrician. They will be able to guide you through the process and ensure that everything is installed correctly and safely.
- Test the lights before final installation – Before securing the neon lights in their final location, test them first. This will allow you to identify potential issues or malfunctions and make adjustments before installing.
What is the Best Way to Measure and Mark Where the Neon Lights Should Be Placed on the Wall?
When installing neon lights on your wall, the first step is to measure and mark where they should be placed. This is important for ensuring the final result is visually appealing and perfectly aligned. To begin, gather all your materials, including the neon lights, a measuring tape, a pencil, and painter’s tape. Ensure you have enough lighting in the room to see your measurements and markings properly.
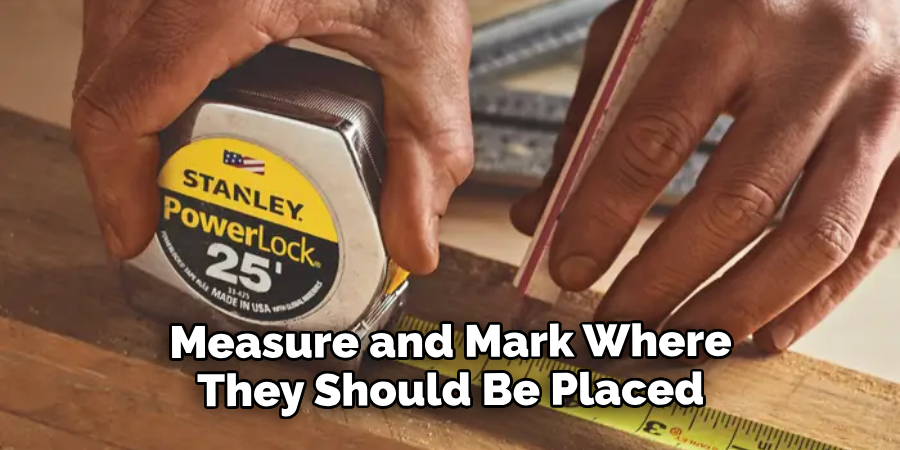
Next, hold the neon lights against the wall in the desired location and use a measuring tape to determine how far apart they should be. Once you have this measurement, mark it on the wall with your pencil. Now, measure the length of each light and mark those measurements on the wall as well.
These markings will guide you in placing the lights at an equal distance from one another. Using painter’s tape, create a horizontal line along the bottom edge of where you want your neon lights to be placed.
Are There Any Maintenance or Cleaning Tips for Keeping Neon Lights on a Wall Looking Their Best?
Neon lights are a popular choice for adding a pop of color and personality to any space but keeping them well-maintained is important to ensure they continue looking their best. Here are some tips for cleaning and maintaining neon lights on walls:
1. Regular Dusting
Like any other surface in your home, dust can accumulate on neon lights over time. To keep them looking clean and bright, regularly dust the lights using a soft cloth or duster. This will prevent dirt or debris from building up and dulling the neon colors.
2. Cleaning with Mild Soap and Water
If dusting alone isn’t enough, you can use a mild soap and water solution to clean your neon lights. Simply mix a small amount of mild soap with warm water and gently wipe down the lights using a soft cloth. Be sure to avoid getting any excess water on the electrical components of the lights.
3. Avoid Harsh Chemicals
It’s important to note that harsh chemicals like bleach or ammonia should never be used when cleaning neon lights. These can damage the neon tubing and cause the colors to fade. Stick to gentle, mild cleaners to keep your neon lights looking their best.
4. Check for Burnt Out Lights
Neon lights are made up of glass tubes filled with gas and connected by wires. If one of these tubes is damaged or burnt out, it can affect the overall appearance of the light. It’s important to regularly check for any burnt-out lights and replace them as necessary.
5. Professional Maintenance
If you need help cleaning or maintaining your neon lights properly, it’s always best to consult a professional. They will have the knowledge and experience to handle the lights carefully and ensure they continue looking their best for years to come.
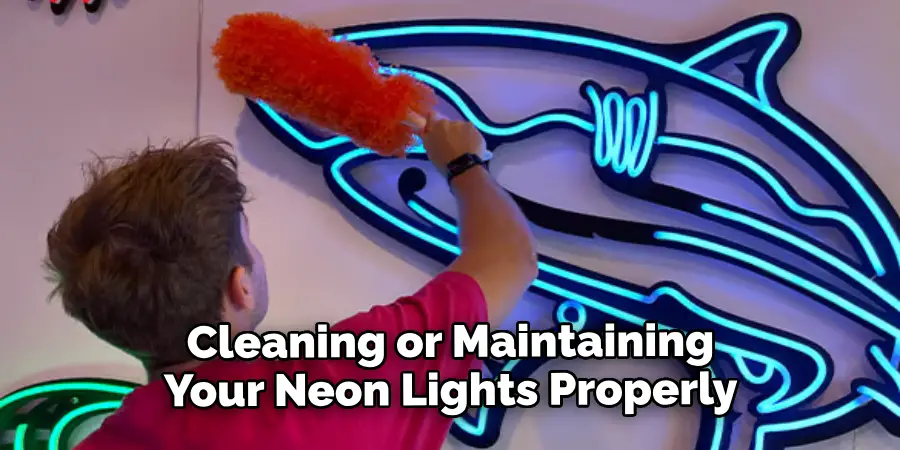
Following these maintenance and cleaning tips, you can keep your neon lights on the wall looking vibrant and eye-catching. Plus, regular maintenance can also help extend the lifespan of your neon lights, allowing you to enjoy them for even longer.
Conclusion
In conclusion, adding neon lights to your wall can completely change the atmosphere and vibe of any room. Not only do they bring a unique and eye-catching element to your décor, but they also provide an additional lighting source. Whether you install neon lights as a statement piece or add some extra pizzazz to a dull wall, the process is relatively simple and can be done by anyone with basic DIY skills.
Before installing your neon lights, ensure you have all the necessary tools and materials. Take accurate measurements of your wall to determine the length of neon lights needed. You can choose from various colors, sizes, and shapes depending on your preference and the style of your room. This article has been beneficial for learning how to install neon lights on wall. Make Sure the preventive measures are followed chronologically.

