Are you looking to spruce up the look of your kitchen with some under-cabinet lighting? Adding low-voltage lights to your cabinets can be an easy way to enhance any kitchen and create a more inviting atmosphere.
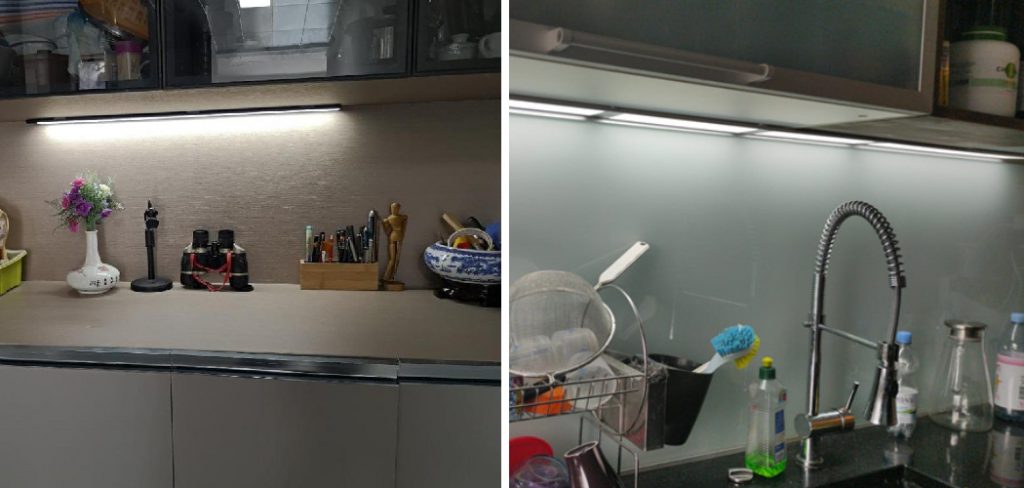
From accentuating tile backsplashes and granite countertops to creating a warm garage workspace, adding soft light from beneath cabinetry is not only appealing but functional too. Installing low voltage under cabinet lighting is easier than you think – read on for step-by-step instructions on how to install low voltage under cabinet lighting in your kitchen.
Tools and Materials You Will Need to Install Low Voltage Under Cabinet Lighting
- Low voltage transformer
- 12V low voltage halogen or LED lighting fixtures
- 12V wiring and connectors
- Wire strippers
- Tape measure
- Screwdriver or drill with bits
- Power drill and screws for mounting brackets (optional)
Step-by-step Guidelines on How to Install Low Voltage Under Cabinet Lighting
Step 1: Choose Your Lights
The first step to installing low voltage under cabinet lighting is to decide which type of lights you want to use. There are a variety of options available, including LED strips, puck lights, and rope lights. Each light has its own unique look and functions differently, so make sure to do your research before deciding on a specific light.
Step 2: Place Your Lights
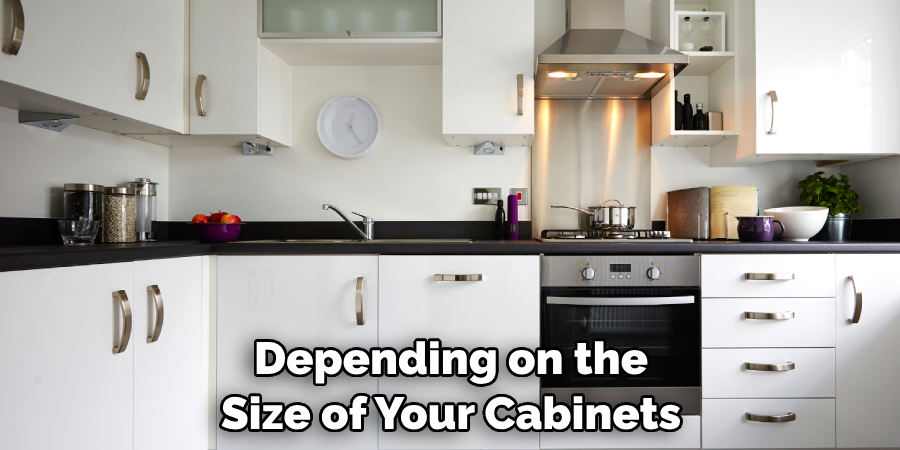
Once you’ve selected your lights, it’s time to place them. Depending on the size of your cabinets, you may be able to install multiple lights side by side or stagger them for a more interesting look. Additionally, consider spacing out the lights evenly across the length of the cabinets to create a more balanced look.
Step 3: Attach Your Lights
Once you’ve decided on the placement of your lights, it’s time to attach them. To do this securely, use screws and/or mounting brackets that come with the lighting fixtures. If necessary, drill holes and use other hardware such as anchors or toggle bolts. While attaching the lights, make sure to leave some extra wire so you can easily adjust the placement if needed.
Step 4: Connect Your Lights to the Transformer
Next, you’ll need to connect the lights to a transformer. The transformer will convert your standard home wiring voltage into low-voltage power that is safe for use with these types of lights. Use 12V wiring and connectors provided with your lighting kit to make the connection. Carefully secure the wiring to avoid any short circuits.
Step 5: Test the Lights
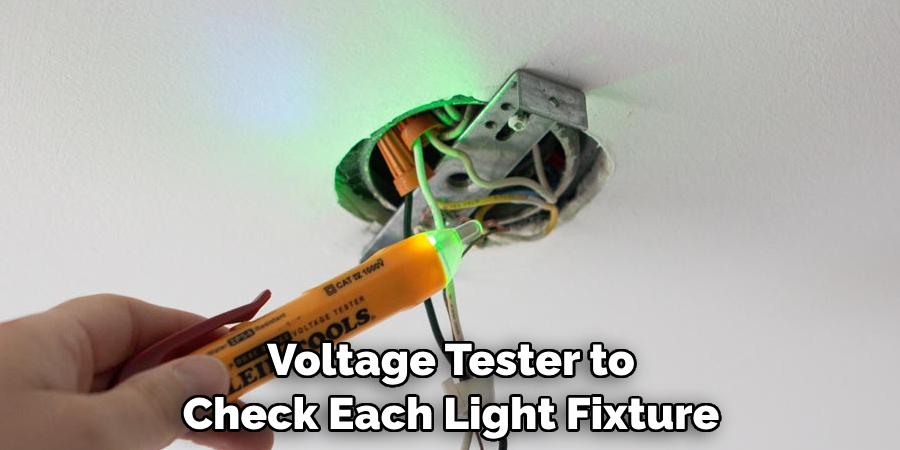
Once you have connected all of your lights to the transformer, it’s time to test them and make any necessary adjustments. Turn on the power switch for the transformer and use a non-contact voltage tester to check each light fixture is working properly. Make sure there are no sparks or shorts before testing. If everything looks good, you’re ready to start enjoying your new low voltage under cabinet lighting.
Installing low voltage under cabinet lighting is an easy and efficient way to add ambiance and style to any kitchen or workspace. With just a few tools and supplies, you have all the materials and know-how necessary for a successful installation. Start transforming your kitchen today with these easy-to-follow steps.
Additional Tips and Tricks to Install Low Voltage Under Cabinet Lighting
1. If you’re looking to add extra character to your under-cabinet lighting, consider adding dimmers or color-changing LEDs. These can help set the right mood and atmosphere while adding a unique style to your kitchen.
2. Make sure all wires are properly connected before plugging in the transformer. This will ensure that everything is working correctly and safely.
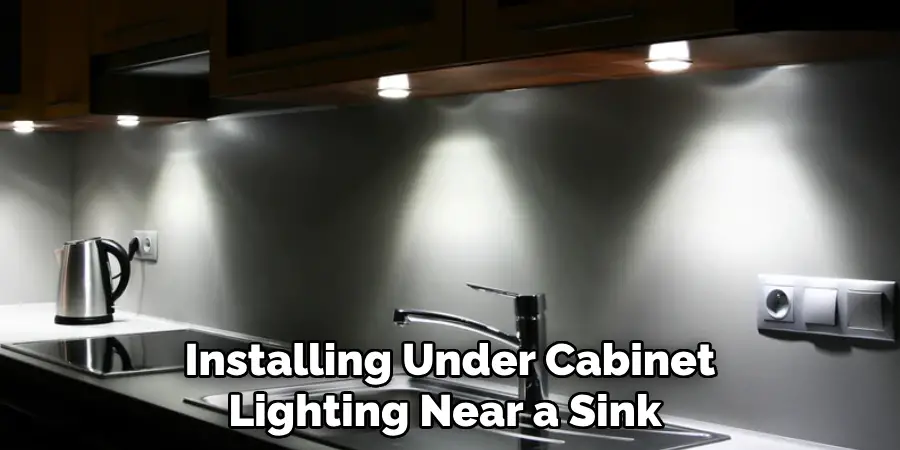
3. If you’re installing under cabinet lighting near a sink or other water sources, be sure to use waterproof fixtures and seal all electrical connections with a waterproof sealant. This will help prevent any potential issues resulting from exposure to water or moisture.
4. Don’t forget to turn off the power before beginning any installation work!
5. When mounting the fixtures to the underside of the cabinet, make sure they are securely attached. This will help ensure that your under cabinet lighting won’t become dislodged due to vibration or other movement.
6. If you’re looking for a professional look, use white electrical tape or heat shrink tubing to neatly cover up all exposed wiring.
7. Consider adding a motion sensor or timer switch to your under-cabinet lighting for added convenience. This will help ensure that the lights turn on and off at the right times, without you having to worry about flipping switches.
8. When replacing bulbs, make sure to use the same wattage and voltage as recommended by the manufacturer. Using higher-wattage bulbs can cause damage to your fixtures and increase the risk of fire.
9. If your space allows, consider adding in task lighting or puck lights to brighten up specific areas of your kitchen. This can help make food prep and cooking easier and more enjoyable.
10. Finally, remember to enjoy the process! Installing low voltage under cabinet lighting is a great way to spruce up your kitchen and add a touch of class. Have fun with it and be creative!
Following these tips and tricks can help you successfully install low voltage under cabinet lighting in your kitchen and create an elegant and stylish atmosphere. With the right tools, installation is easy and hassle-free. So don’t wait – get started today and enjoy the benefits of beautiful under-cabinet lighting!
Precautions Need to Follow for Installing Low Voltage Under Cabinet Lighting
- Make sure the power supply to your cabinet is switched off.
- Read and understand all instructions before beginning the installation of your low voltage under cabinet lighting.
- Measure the area where the lights will be installed and make sure you have enough materials for this job.
- Ensure that the low-voltage transformer is located at least 12 inches away from any sinks, stoves, or other sources of moisture.
- Connect the transformer to a suitable electrical outlet that is near the cabinet.
- Use junction boxes and screw-type connectors for connecting wires between fixtures and the power supply circuit.
- Make sure all connections are secure before switching on the power supply.
- Always use insulated tools when working with electric cables.
Following these precautions and instructions will help you install your low voltage under cabinet lighting safely and efficiently!
Frequently Asked Questions
How Many Fixtures Can I Install on a Single Power Circuit?
The number of fixtures you can install will depend on the wattage of each fixture and the total wattage rating of your transformer. You should consult the manufacturer’s guidelines for specific instructions.
How Long Does It Take to Install a Low Voltage Under Cabinet Lighting System?
The time it takes to install your low voltage under cabinet lighting system will depend on the complexity of the installation. Generally, most installations take between one and two hours to complete. However, more complex systems may take longer if additional wiring or components are required.
What Type of Lighting Fixtures Should I Use?
The type of lighting fixtures you use will depend on the overall look and feel you want to achieve. Puck lights, strip lights, track lighting, and rail lights are all popular choices for under cabinet lighting and can be used to create a variety of different looks. Consider consulting with an expert or using an online visualizer to help decide which type of fixtures will work best for your space.
Are Low Voltage Under Cabinet Lighting Systems Safe?
Yes, low voltage under cabinet lighting systems are safe to use when installed correctly and according to the manufacturer’s instructions. Make sure you follow all safety protocols and always turn off the power supply before beginning installation. This will help ensure that your system is installed safely and correctly.
What Type of Maintenance Do Low Voltage Under Cabinet Lighting Systems Require?
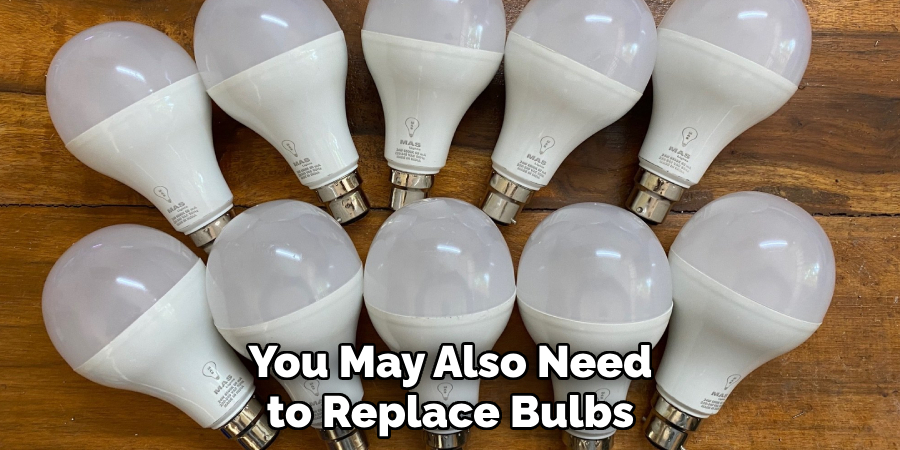
Low voltage under cabinet lighting systems requires minimal maintenance, though you should inspect them regularly to make sure all connections are secure and lights are working properly. You may also need to replace bulbs periodically depending on the type of bulbs you are using. Consult your manufacturer’s instructions for more information.
What Are Some Tips for Installing Low Voltage Under Cabinet Lighting?
When installing low voltage under cabinet lighting, it’s important to measure the area where the lights will be installed and make sure you have enough materials for this job.
It’s also important to ensure that the low-voltage transformer is located at least 12 inches away from any sinks, stoves, or other sources of moisture, and use junction boxes and screw-type connectors for connecting wires between fixtures and the power supply circuit. Finally, always make sure to turn off the power supply before beginning installation. Following these steps will help you install your system safely and correctly.
Conclusion
To end, we must say that installing low voltage under cabinet lighting is a great way to add an extra layer of style and convenience to your home. But before you install it, be sure to check the wiring instructions for your particular project. With some electrical knowledge and the right materials, any DIYer can complete an installation of this type of lighting with minimal effort and time.
Just remember that in order to have it done properly and safely, consult a qualified professional or contact a local electrical contractor. So whether you are looking to entertain visitors with a spectacular display or create an atmosphere of relaxation in your kitchen, adding low voltage under cabinet lighting can be the perfect choice for achieving those goals!
Make sure to follow the steps outlined in this blog post on how to install low voltage under cabinet lighting so you can get started on your own unique design today!

Nice answers in return of this matter with firm arguments and telling everything concerning that. http://www.kayswell.com