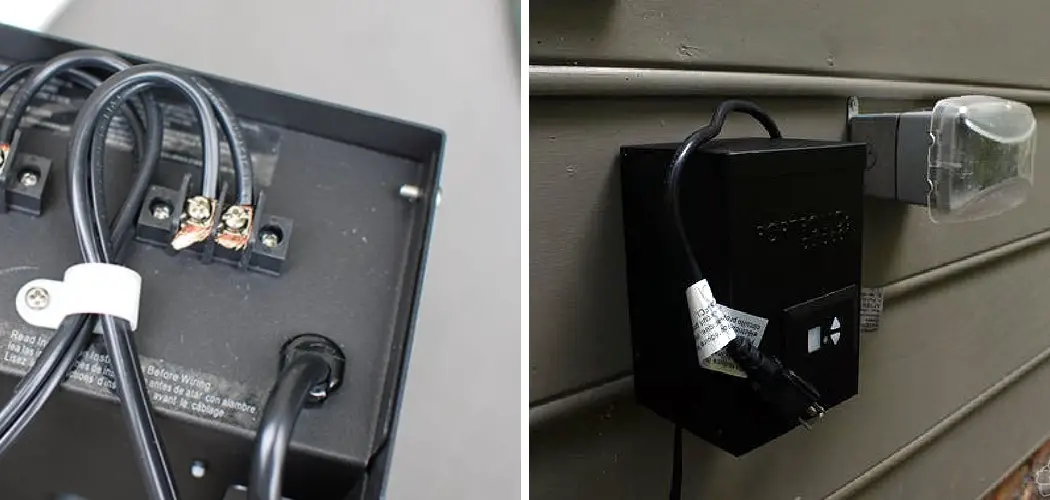
Creating beautiful outdoor lighting that enhances your property’s curb appeal and safety doesn’t have to be complicated or expensive. Learning how to install low voltage outdoor lighting transformer is the first step toward achieving professional-looking landscape illumination without the high costs and complexity of traditional high-voltage systems.
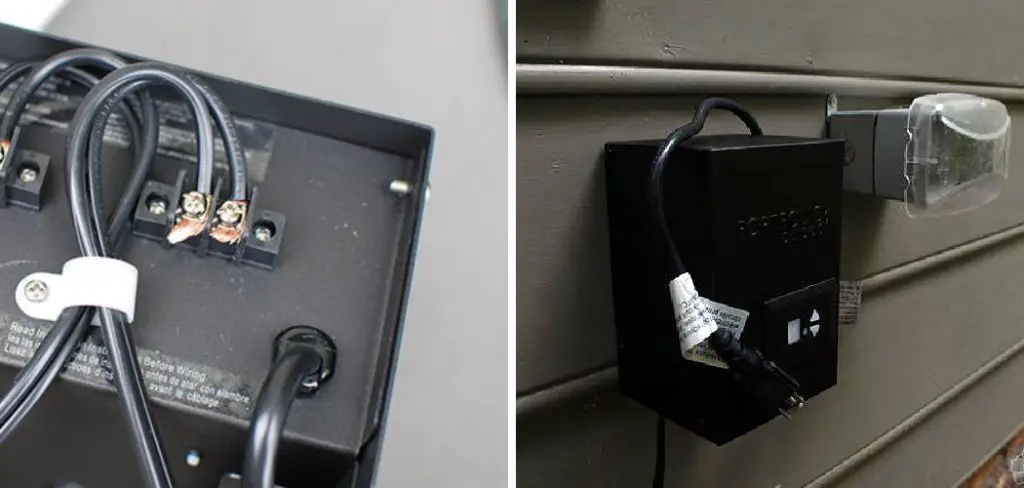
Low voltage outdoor lighting systems operate at just 12 volts instead of the standard 120 volts used in your home, making them safer to work with and more energy-efficient. The transformer serves as the heart of your lighting system, converting your home’s standard electrical current to the lower voltage needed for outdoor fixtures. This reduction in voltage means reduced risk of electrical shock and lower energy consumption.
Whether you’re illuminating pathways, highlighting garden features, or creating ambient lighting for outdoor entertaining, installing your own transformer is a manageable DIY project. With the right guidance and basic electrical knowledge, you can have your outdoor lighting system up and running in just a few hours.
Why Installing a Low Voltage Outdoor Lighting Transformer Matters
Low voltage outdoor lighting systems offer numerous advantages over traditional high-voltage installations, making them increasingly popular among homeowners. The primary benefit lies in safety – operating at just 12 volts significantly reduces the risk of electrical shock, making these systems much safer for DIY installation and maintenance.
Energy efficiency represents another compelling reason to choose low voltage systems. These transformers consume less electricity while providing adequate illumination for most outdoor lighting needs. This efficiency translates to lower monthly utility bills and a reduced environmental footprint, appealing to cost-conscious and eco-minded homeowners alike.
Installation flexibility sets low voltage systems apart from their high-voltage counterparts. You can easily relocate fixtures, add new lights, or modify your lighting design without major electrical work. The transformer allows you to control multiple lighting zones, adjust brightness levels, and even incorporate timers for automated operation.
Additionally, low voltage lighting fixtures tend to be more affordable and offer greater design variety. From sleek modern styles to traditional lanterns, you’ll find options to complement any architectural style or landscape design theme.
Step-by-Step Guide: How to Install Low Voltage Outdoor Lighting Transformer
Step 1: Choose the Right Transformer Size
Selecting the appropriate transformer capacity is crucial for your lighting system’s performance and longevity. Calculate the total wattage of all planned fixtures by adding up each light’s wattage rating, then multiply by 1.25 to account for voltage drop and future expansion. For example, if your fixtures total 240 watts, choose a 300-watt transformer.
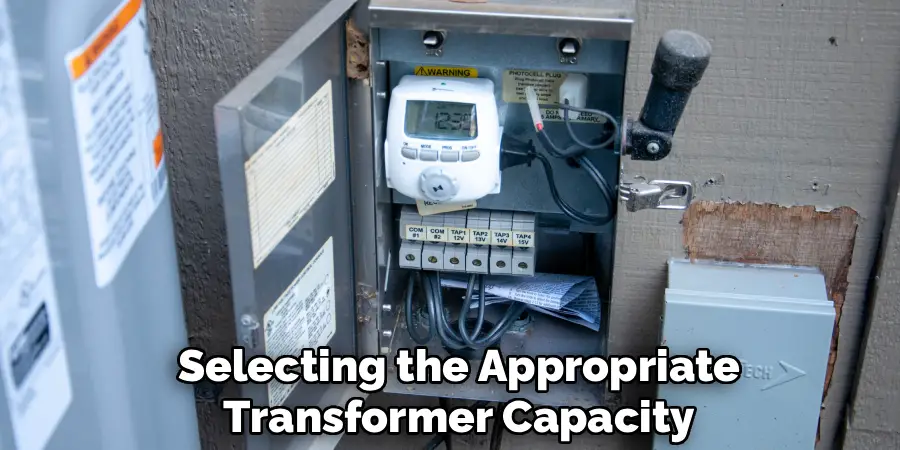
Consider purchasing a transformer with 20-30% more capacity than your immediate needs to allow for future additions. Common residential transformer sizes range from 150 to 900 watts, with 300 and 600-watt models being most popular for typical landscape lighting projects.
Step 2: Select the Installation Location
Position your transformer near a GFCI-protected outdoor electrical outlet, ideally within 6 feet of your home’s exterior wall. The location should provide easy access for maintenance while remaining inconspicuous in your landscape design. Avoid areas prone to flooding or excessive moisture accumulation.
Ensure adequate ventilation around the transformer to prevent overheating. Mount it at least 12 inches above ground level on a stable surface like a wall bracket or post. Consider proximity to your lighting zones to minimize wire runs and voltage drop across long distances.
Step 3: Install the Mounting Hardware
Secure the transformer mounting bracket to your chosen location using appropriate fasteners for your surface type. For wood siding, use exterior-grade screws with washers. For masonry or concrete, use masonry anchors rated for outdoor use.
Level the mounting bracket carefully to ensure proper transformer operation and drainage. The transformer should have a slight downward tilt to allow moisture to drain away from electrical connections. Double-check that all mounting hardware is tight and the bracket can support the transformer’s weight plus any additional stress from wind or vibration.
Step 4: Connect the Primary Power Source
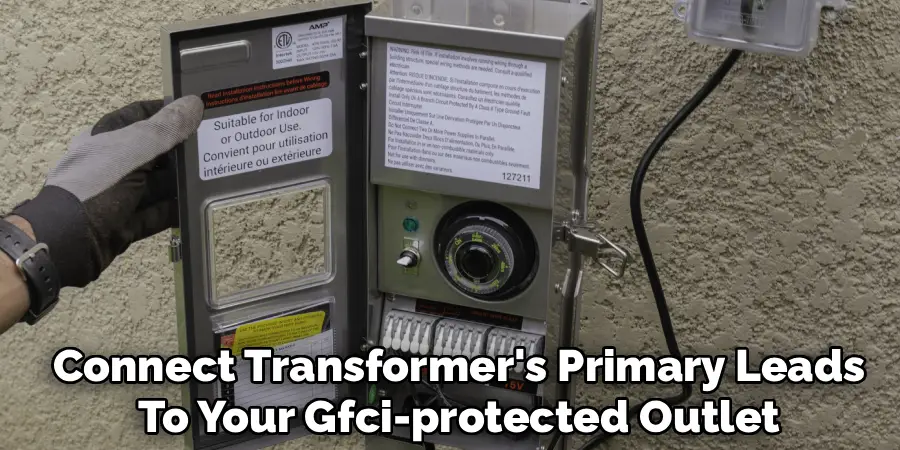
Before making any electrical connections, turn off power at the circuit breaker. Connect the transformer’s primary leads to your GFCI-protected outlet using the manufacturer’s recommended method, typically involving a weatherproof cord and plug arrangement.
Some transformers require hardwired connections to a dedicated circuit. If this applies to your model, consider hiring a licensed electrician for this portion of the installation. Verify proper grounding connections and ensure all wire nuts are tight and protected with electrical tape for outdoor durability.
Step 5: Plan Your Low Voltage Wiring Layout
Map out your lighting zones and cable runs before installing the transformer’s secondary wiring. Use landscape lighting wire rated for direct burial, typically 12 or 14 AWG depending on your run lengths and load requirements. Plan to keep individual wire runs under 100 feet to minimize voltage drop.
Consider using a hub system or multiple transformer taps to create separate lighting zones. This approach allows independent control of different lighting areas and helps distribute electrical loads more evenly across your system.
Step 6: Make Secondary Wiring Connections
Connect your low voltage cables to the transformer’s output terminals according to the manufacturer’s specifications. Most transformers feature either screw terminals or quick-connect fittings for easy wire attachment. Strip wire insulation carefully to avoid nicking the conductors, and ensure secure connections.
Apply dielectric grease to outdoor connections to prevent corrosion and maintain reliable electrical contact. Route wires through appropriate strain relief fittings to prevent damage from pulling or movement. Test each connection with a multimeter to verify proper voltage output before proceeding.
Step 7: Set Timer and Control Options
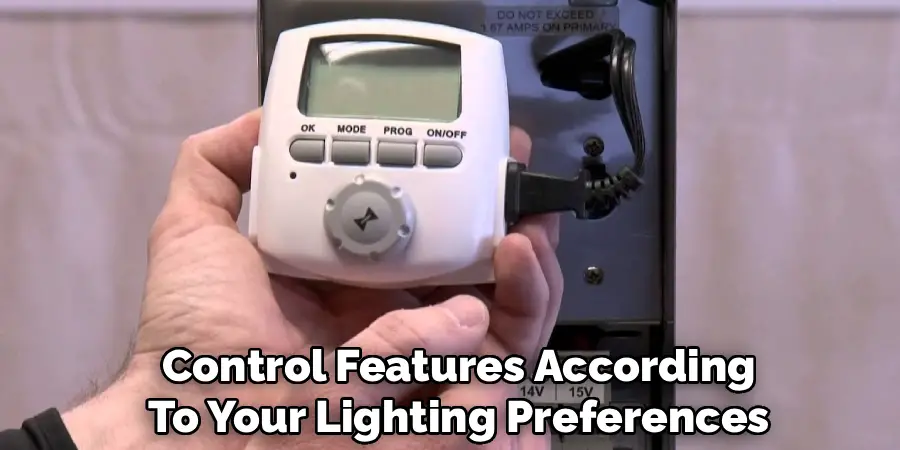
Configure your transformer’s built-in timer and control features according to your lighting preferences. Many modern transformers include photocell sensors for automatic dusk-to-dawn operation, multiple timer programs, and dimming capabilities for energy savings and ambiance control.
Program multiple on/off cycles to match your household’s evening routines and security needs. Consider seasonal adjustments for changing daylight hours, and test all timing functions to ensure proper operation.
Step 8: Test the Complete System
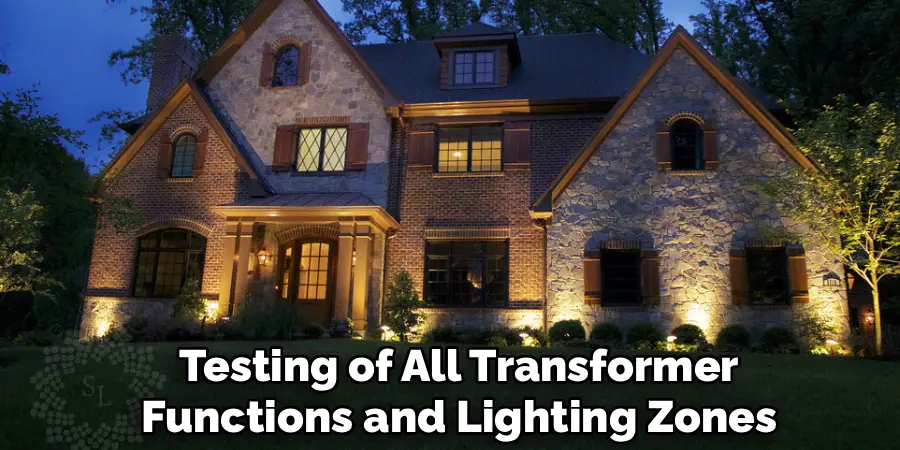
Before finalizing your installation, conduct comprehensive testing of all transformer functions and lighting zones. Verify proper voltage output at various points throughout your lighting system using a digital multimeter. Check that all fixtures illuminate correctly and timer functions operate as programmed.
Look for any signs of overheating, loose connections, or voltage irregularities during initial testing. Address any issues immediately to prevent long-term problems or safety hazards.
Step 9: Secure and Weather-Proof All Connections
Protect all electrical connections from moisture and environmental damage using appropriate weatherproofing materials. Apply silicone sealant around transformer mounting points and cable entry locations to prevent water infiltration.
Use underground-rated wire connectors for any splices in buried cables, and mark cable locations to prevent accidental damage during future landscaping work. Consider installing warning labels or markers along cable runs for added safety.
Step 10: Final Testing and Documentation
Complete a final system test including all lighting zones, timer functions, and control features. Document your transformer settings, wire routing, and fixture locations for future reference and maintenance needs.
Create a simple maintenance schedule including periodic cleaning of the transformer housing, checking connection tightness, and testing GFCI protection. Keep all installation documentation and warranty information in a safe, accessible location.
Common Troubleshooting Issues
Even with proper installation and maintenance, occasional issues may arise with the landscape lighting system. Here are some common troubleshooting scenarios and how to address them:
Lights Not Turning On: Check the transformer to ensure it is receiving power and that the timer or photocell is functioning correctly. Inspect the GFCI outlet to confirm it hasn’t tripped, and verify that all connections are secure.
Flickering Lights: Flickering can be caused by loose connections, faulty bulbs, or overloaded circuits. Inspect all connections for tightness, replace any failing bulbs, and ensure the transformer is appropriately sized for the total system load.
Uneven Light Output: If some lights are dimmer than others, this could indicate voltage drop due to long cable runs or insufficient wire gauge. Consider using a thicker wire or a multi-tap transformer to balance the voltage across the system.
Short Circuit Issues: If the system trips frequently, inspect all wiring for damage, such as cuts or nicks, and ensure no wires are making unintended contact.
By systematically checking these common issues, most problems with the lighting system can be quickly identified and resolved. For persistent or complex issues, consulting a professional may be necessary.
Frequently Asked Questions
What size transformer do I need for my outdoor lighting?
Calculate your total fixture wattage and multiply by 1.25 for proper sizing. A 300-watt transformer typically handles 15-20 standard LED landscape lights. Consider future expansion when selecting capacity.
Can I install the transformer myself?
Yes, most low voltage transformers are designed for DIY installation. However, if hardwiring to your home’s electrical system is required, consult a licensed electrician for safety and code compliance.
Where should I mount my outdoor lighting transformer?
Mount within 6 feet of a GFCI outlet, at least 12 inches above ground, with good ventilation. Avoid flood-prone areas and ensure easy access for maintenance while keeping it inconspicuous.
How far can I run low voltage lighting wire?
Maximum recommended distance is typically 100 feet to prevent excessive voltage drop. For longer runs, consider using larger gauge wire or installing multiple transformers to maintain proper voltage levels.
Do I need a permit to install low voltage outdoor lighting?
Most areas don’t require permits for low voltage lighting systems. However, check local building codes, especially if trenching near utility lines or making electrical connections to your home’s wiring system.
Conclusion
Successfully learning how to install low voltage outdoor lighting transformer opens up endless possibilities for enhancing your property’s beauty, safety, and functionality. This project combines practical electrical skills with creative landscape design, delivering immediate visual impact and long-term value to your home.
The installation process, while requiring attention to detail and safety precautions, is well within reach of most DIY enthusiasts. By following proper planning, sizing, and installation procedures, you’ll create a reliable lighting system that serves your family for years to come.

