Installing lights on a staircase is a practical and stylish way to enhance both the safety and aesthetic appeal of your home. Properly illuminated stairs reduce the risk of accidents, especially in low-light conditions, by clearly delineating each step. Additionally, well-placed lighting can transform a mundane staircase into an eye-catching design element, adding a warm ambiance to the surrounding area.
This guide on how to install lights on staircase will walk you through the steps needed to choose the right type of lighting, gather necessary tools, and install the lights effectively to ensure functionality and elegance.
Why Install Lights on Staircase?
Installing lights on a staircase serves several important purposes. Primarily, it enhances safety by illuminating each step, thus preventing accidents and falls, particularly in dimly lit areas or during nighttime. Well-lit staircases provide confidence as you navigate them, reducing the risk of missteps. Beyond safety, lighting fixtures can elevate the aesthetic appeal of your home. They add a touch of sophistication and create a warm, inviting atmosphere.
Moreover, lighting can highlight architectural features of the staircase, turning it into a standout element within your home’s interior design. Investing in staircase lighting is not only a practical choice but also a stylish upgrade to any space.
Needed Materials
To install lights on a staircase, you will need the following materials:
Lighting Fixtures of Your Choice:
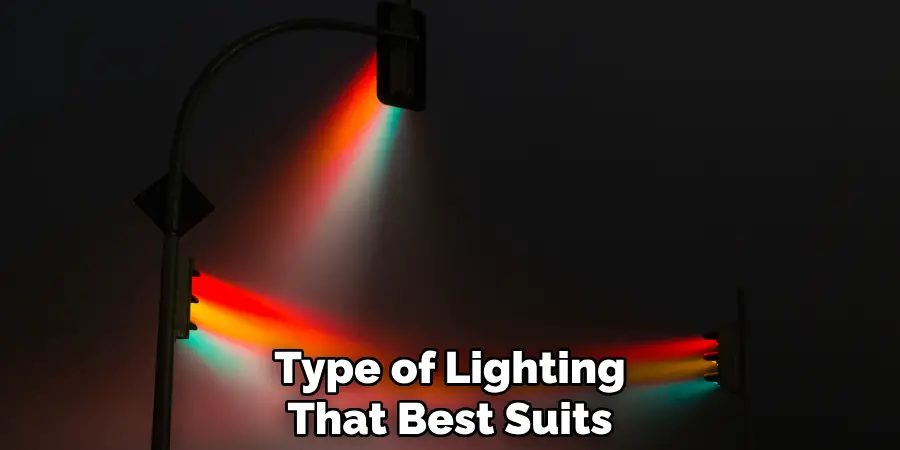
Choose the type of lighting that best suits your needs, budget and complements your home’s interior design. Options include recessed lights, wall sconces, LED strips, pendant lights or traditional chandeliers.
Drill:
A drill is an essential tool for making holes in the staircase and installing wiring and fixtures.
Hole Saw Attachment:
This attachment is necessary to create precise holes in the staircase for installing recessed lights.
Fish Tape:
A fish tape or a wire snake helps pull electrical wires through the drilled holes and extends them to desired lengths.
Electrical Wires:
Select the right gauge of electrical wire depending on the wattage rating of your chosen lighting fixtures. Always choose high-quality, fire-resistant wires to ensure safety.
Wire Nuts and Connectors:
These are needed to connect the electrical wires to each other and the lighting fixtures. Make sure they are of appropriate size and hold the wires securely.
Light Switch and Dimmer:
You will need a light switch for controlling the staircase lights from a convenient location, preferably at the bottom or top of stairs. A dimmer allows you to adjust the brightness level of your lights, adding more versatility and ambiance control.
8 Steps on How to Install Lights on Staircase
Step 1: Plan Your Lighting Layout
Before beginning the installation process, it’s crucial to plan your lighting layout carefully. Start by evaluating the staircase area to determine how many lights you need and where they should be placed for optimal illumination. Consider the dimensions of your staircase, focusing on areas that require more light, such as treads and landings.
Decide on the type of lighting fixtures that best fit your staircase design and the overall aesthetic of your home. Make sure to account for any electrical outlets and existing wiring paths that can be utilized. Creating a detailed layout plan will guide the installation process and ensure that the lights are both functional and visually pleasing.
Step 2: Turn Off the Power to the Staircase
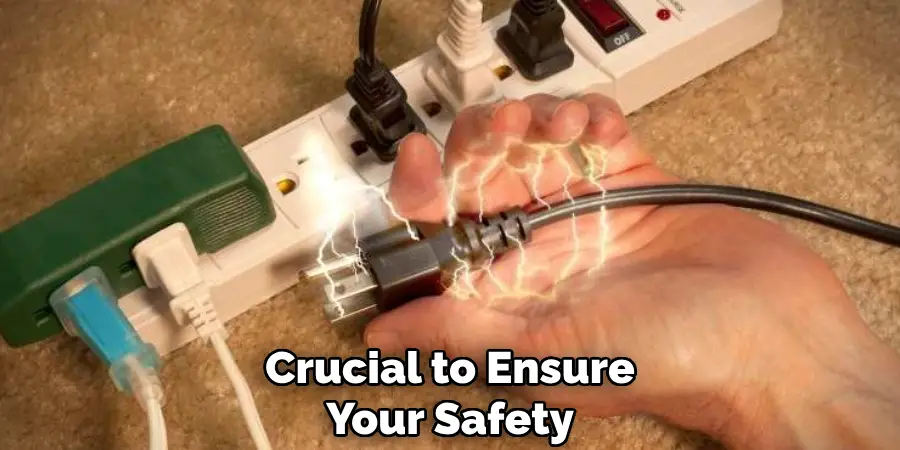
Before proceeding with any electrical work, it’s crucial to ensure your safety by turning off the power supply to the staircase area. Locate your home’s main circuit breaker panel and identify the specific circuit that powers the stairway. Switch off this circuit breaker to deactivate the flow of electricity to the lighting fixtures. It’s important to double-check that the power is off by using a voltage tester on the existing light switches and outlets in the area.
Confirming that the power is disconnected helps prevent potential electrical hazards during the installation process. Always prioritize safety and take necessary precautions when working with electricity.
Step 3: Drill Holes for Wiring and Light Fixtures
With your lighting layout plan in hand, begin drilling holes for the wiring and light fixtures. Use a pencil to mark precise locations on the staircase where the lights will be installed. If you are installing recessed lights, use the hole saw attachment on your drill to create circular openings with diameters matching the fixtures. Ensure that the holes are evenly spaced for a balanced appearance. Take care to align the holes accurately with your layout plan.
Next, use a standard drill bit to create smaller holes where wiring needs to pass through the structure of the staircase. These holes should be positioned to allow wires to run seamlessly between the electricity source and each light fixture. Be mindful of any structural elements or obstacles that could interfere with the wire routing. Take safety precautions by wearing protective eyewear and gloves while drilling. Once all holes are drilled, you are ready to move on to the next step, which involves running the electrical wires and connecting them to your light fixtures.
Step 4: Run Electrical Wires
Using the fish tape, run electrical wires through each hole to connect all the light fixtures. This step requires patience and precision as wires should be pulled taut without any twists or bends. Start by feeding one end of the wire through a hole and using the fish tape to pull it out on the other side. Then, attach this wire to your chosen lighting fixture, making sure to follow proper safety protocols while connecting wires.
Repeat this process for each light fixture, pulling the wires through their designated holes. Once all wires are in place and connected to their respective fixtures, you can neatly secure them with zip ties or clamp loops along the staircase structure.

Step 5: Install and Connect Light Fixtures
With the wiring complete, it’s time to install and connect your chosen light fixtures. Begin with recessed lights by attaching them to their designated holes using clips or springs provided with the fixture. If you are installing wall sconces or pendant lights, position them on the staircase wall or ceiling as per your layout plan. Use a screwdriver to secure each fixture in place.
Next, connect all the wires from each light fixture together using wire nuts and connectors. Make sure that the positive (black) and negative (white) wires are correctly matched for each connection. Secure all connections with electrical tape for added protection. Once all fixtures are connected, use a wire tester to check that all connections are properly made and there is no risk of electrical shorts.
Step 6: Install Light Switches
To control the staircase lights, install a light switch at the top or bottom of the stairs, depending on your preference. Use a screwdriver to remove the old light switch cover and disconnect any wires attached to it. Then, connect the new light switch by attaching each wire as per the manufacturer’s instructions. Once wired correctly, secure the light switch with its cover and test its functionality by turning it on/off.
If you are installing a dimmer switch, follow similar steps, but make sure to choose a dimmer specifically designed for LED or CFL lights. Dimmer switches provide added convenience and allow you to adjust the brightness level of your staircase lights according to your needs.
Step 7: Restore Power
Before restoring power, make sure that all electrical connections and wiring are secure and correctly installed. Double-check that all light fixtures are properly attached to the structure and in working condition. Once everything is confirmed, turn on the circuit breaker for the staircase area to restore power.
Test each light switch, dimmer, and light fixture individually to ensure they are functioning as intended. If any issues arise, double-check all connections and troubleshoot until resolved. Safety should always be a priority when dealing with electricity; if unsure about any step or encounter any difficulties, it’s best to seek professional assistance.
Step 8: Add Finishing Touches
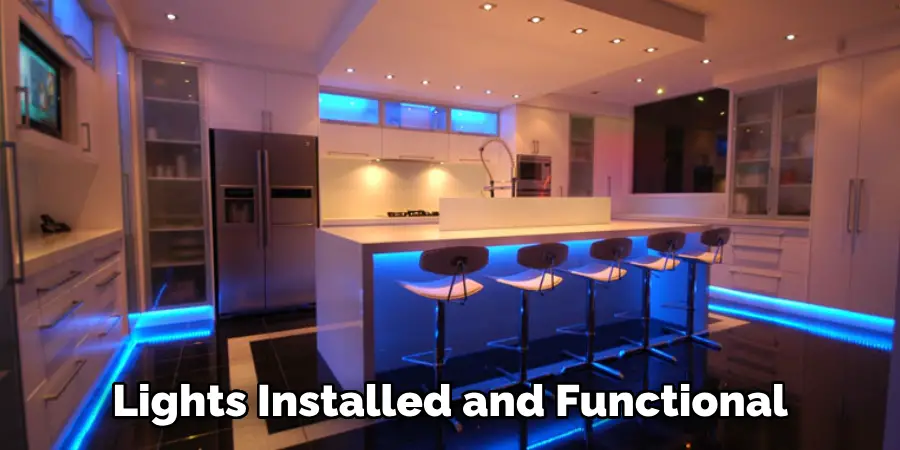
With the lights installed and functional, it’s time to add some finishing touches to enhance the overall appearance of your staircase. Consider adding a dimmer switch cover or decorative wall plates for a polished look. You can also incorporate additional lighting elements, such as wall sconces or floor lamps, to further illuminate the staircase area and create a warm ambiance.
Following these steps on how to install lights on staircase, you can successfully install staircase lighting that not only provides safety and functionality but also adds a touch of style to your home. Remember to prioritize safety throughout the process, and don’t hesitate to seek help from a professional electrician if needed. Enjoy your newly lit staircase!
Additional Tips and Considerations:
- Consider using energy-efficient LED bulbs for your staircase lights.
- Utilize motion sensors or timers for added convenience and energy savings.
- For more intricate staircases, consider hiring a licensed electrician for installation.
- Keep all electrical wires out of reach of children and pets.
- Regularly check and maintain your staircase lights to ensure functionality and safety.
- Incorporate different types of lighting, such as task lighting or accent lighting, for a unique and personalized touch.
- Experiment with different bulb colors or dimming options to create the desired ambiance for your staircase area.
- Consider incorporating smart home technology to control and monitor your staircase lights remotely.
- Don’t forget to turn off the power at the circuit breaker before making any changes or adjustments to the lights. Safety first!
Conclusion
Installing staircase lighting is a practical and rewarding home improvement project that enhances both safety and aesthetics. By following the outlined steps on how to install lights on staircase, you can confidently undertake this task, ensuring that your staircase is well-lit and visually appealing. Remember, the right lighting not only illuminates your path but also elevates the ambiance of your home.
Whether it’s for guiding safe steps in the dark or creating a warm atmosphere, strategic lighting choices make a significant difference. Always keep safety precautions in mind, and if at any point the electrical work becomes complex, don’t hesitate to consult with a professional. Enjoy the enhanced beauty and functionality of your newly lit staircase!

