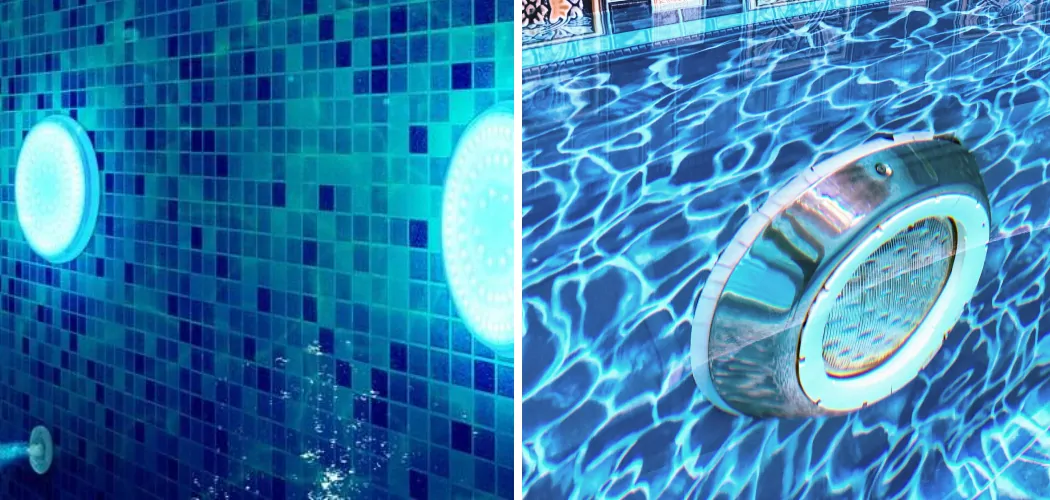
Do you dream of owning a pool for those hot summer days but don’t know where to start when it comes to installation and illumination? Are you tired of swimming in the dark? Then look no further!
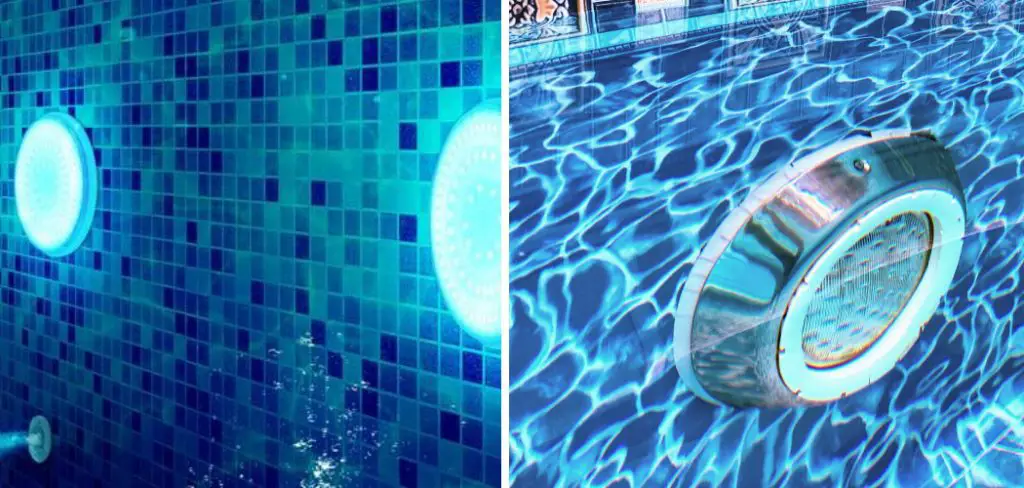
Installing lights in your pool can turn an ordinary day into a unique and unforgettable experience. Not only do these tiny little fixtures give off the perfect amount of evening ambiance, they also provide extra security by allowing you to enjoy some nighttime dips without worry.
In this comprehensive guide, we’ll walk you through everything from which product is best for your needs to proper installation instructions so that you can get closer than ever before to fulfilling your swimming dreams. So grab a bathing suit and dive in – let’s get glowing. So let’s dive right in–read on to learn all that you need to know about how to install lights in pools!
Why Do You Need to Install Lights in the Pool?
1. Safety and Security
Having lights in your pool for those evening swims can provide a wide range of benefits. Not only does it help to increase the safety and security of your outdoor space, but it also has an aesthetic appeal that will take your swimming area from ordinary to extraordinary. After all, nothing beats the feeling of taking a night swim under the stars with twinkling lights illuminating your every move!
2. Variety of Styles and Colors
The good news is that there are a wide variety of styles and colors when it comes to pool lights. Whether you’re looking for an LED light or an incandescent option, you can find something that will match the unique look of your outdoor area. Additionally, many different lighting options come in a range of different colors, allowing you to customize your pool area and create a beautiful evening ambiance.
What are Pool Lights Made Of?
When purchasing lights for your pool, there are several options available – including LED, halogen, incandescent, and fiberoptic. Each type has its own unique benefits and features, so it’s important to understand the pros and cons of each option.
LED Lights
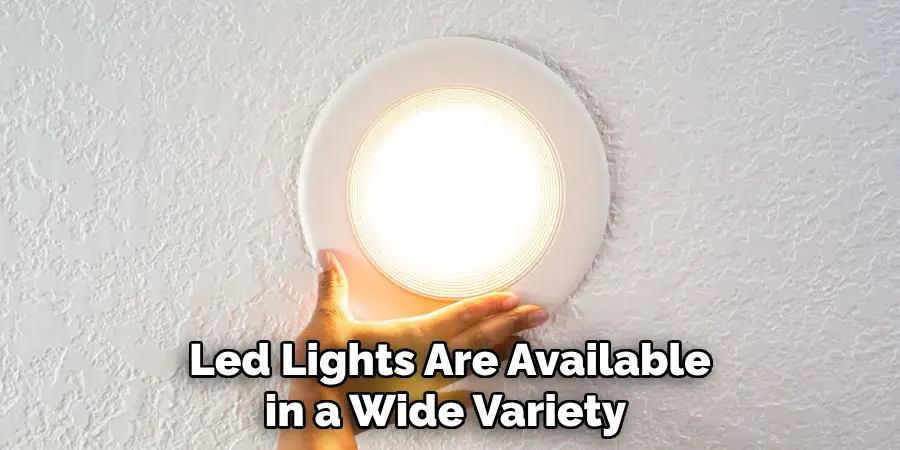
LED lights are by far the most popular choice for pool lighting. Not only do they generate minimal heat, but they also use less electricity than other types of bulbs – making them more energy efficient and cost-effective in the long run. Additionally, LED lights are available in a wide variety of colors and can last up to ten years!
Halogen Lights
Halogen lights are also popular in pool lighting, as they make use of halogen gas to generate illumination. One benefit of using halogen is that they generate more brightness than other types of bulbs – making them ideal for areas where extra light is needed. However, it is important to note that halogen bulbs generate more heat and need to be replaced more frequently than other types of lighting.
Incandescent Lights
Incandescent lights generate a soft, ambient glow – perfect for creating a peaceful evening atmosphere. Though they don’t offer the same bright illumination as other types of bulbs, incandescent lights are relatively cost-effective and easy to install.
Additionally, they come in a range of colors, making them the perfect choice for those looking to add some color to their outdoor area without breaking the bank.
Fiberoptic Lights
Fiberoptic lighting is another great option when it comes to pool lighting. The main benefit of fiber optics is that they are waterproof and incredibly durable – meaning you can count on them to last for years. Additionally, fiber optic lights are available in a variety of colors and styles, making them an ideal choice for those looking to create a unique outdoor atmosphere.
Required Items for Installation
No matter which type of lights you choose, there are a few items that you’ll need to properly install them. These include:
- Pool light fixtures
- Electrical wiring
- Circuit breaker box
- Voltage tester
- Rubber gloves
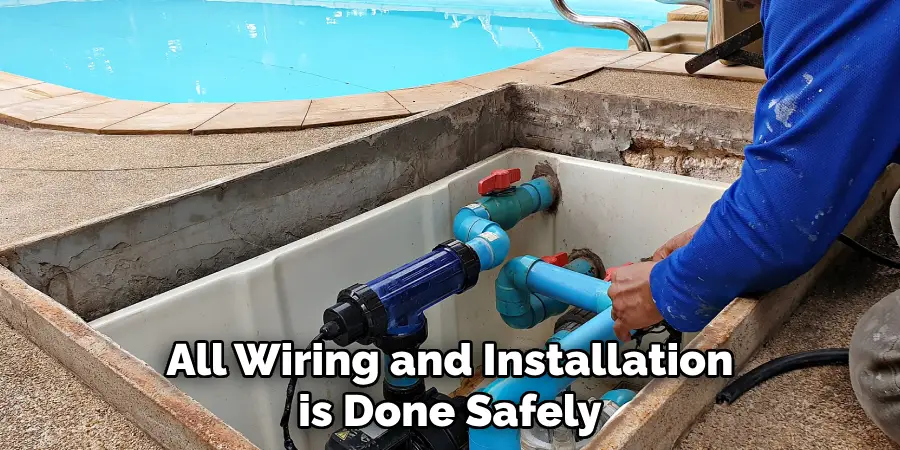
It is important to note that these items may vary depending on the type of lights you are installing. Additionally, it is highly recommended that you hire a professional electrician to ensure that all wiring and installation is done safely and properly.
How to Install Lights in Pool in 10 Ways
Once you’ve gathered all the necessary items, you can begin the installation process. Here are some general instructions for setting up your pool lights:
1. Turn Off the Power
Turn off all power to the pool area. While turning off the power, make sure to double-check by using a voltage tester to ensure that no electricity is being fed into the circuit. Keep in mind that if you are working with an in-ground pool, there may be more than one power source to cut off.
2. Prepare the Lights
Before installing the lights, check to make sure that they are compatible and properly sized for your pool area. Make sure to double-check any instructions provided by the manufacturer before continuing with the installation process.
3. Connect the Wiring
In order to ensure that your pool lights are properly connected, you will need to run wiring from your electric source to the light fixtures. This process can be tricky and should only be done by a professional electrician who is familiar with local electrical codes and regulations.
4. Attach Lights to the Fixture
Once your wiring is properly connected, you can begin attaching the light fixtures to their respective posts. Make sure that each fixture is securely fitted and tightened before proceeding with the installation process.
5. Install Backplate
Most pool light fixtures come with a back plate that should be installed on the wall or post of the pool area where the lights will be placed. This backplate helps to ensure that the lights are securely fastened and do not move during use or cleaning.
6. Adjust the Lighting Angle
Once you’ve installed the fixtures, it’s time to adjust the angle of your lights. Depending on how bright you would like your pool area to be, you can angle the lights up or down. Make sure to take your time and adjust each fixture accordingly.
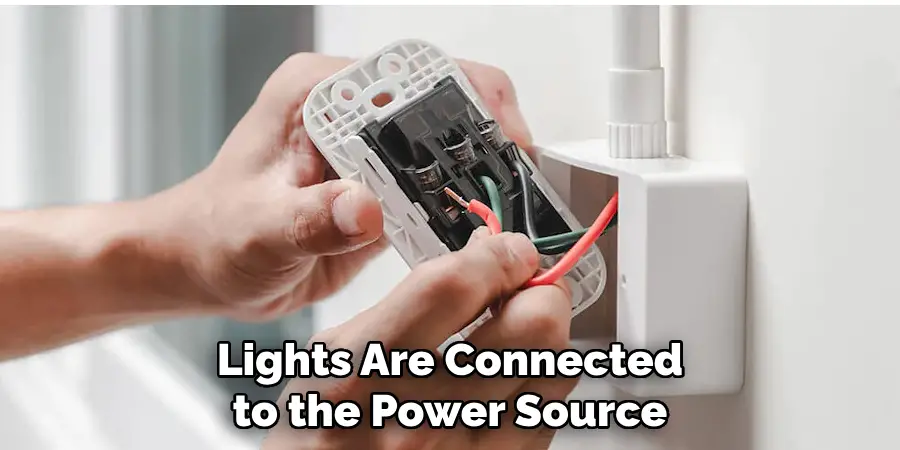
7. Connect Lighting Fixture to the Power Source
In order for your lights to work, you will need to connect them to the power source. This process should only be done by a professional electrician who is familiar with local electrical codes and regulations.
8. Test Lights
Once your lights are connected to the power source, it’s time to test them. Make sure that each fixture is working properly before proceeding with the installation process.
9. Install a Safety Cover
For added protection, you should install a safety cover over your lights. This will help to protect the lights from any debris or harsh weather conditions.
10. Enjoy!
You’ve done it! Now all that’s left is to sit back, relax and enjoy the beautiful pool area you’ve just created. With your new lighting system in place, you can be sure that your outdoor area will be well-lit for many years to come.
Unlike a normal light switch, pool lights require special maintenance and care in order to function properly. Make sure to check the manufacturer’s instructions for any special cleaning or upkeep that may be required, as well as any safety warnings. By following these instructions, you can make sure your pool area is always looking its best!
3 Safety Precautions to Follow When Installing Lights in Your Pool
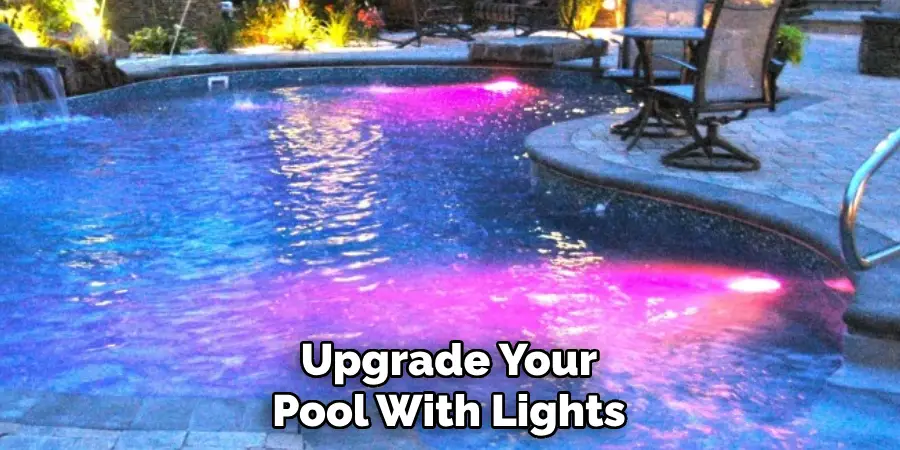
If you are looking to upgrade your pool with lights, it is important to take the right safety precautions. With these simple steps, you can ensure that your pool lighting installation goes off without a hitch.
- Make sure that the voltage of the lighting fixtures matches that of the designated transformer. A mismatch could potentially cause a shock hazard.
- Never leave the transformer on when installed in or near water. Wait until the installation is complete before applying power to the system.
- The transformer should always be placed in an area that is dry and away from any direct contact with pool water. This will help prevent electric shocks and other potential hazards that can occur due to water and electricity coming into contact.
By following these three simple safety precautions, you can ensure that your pool lighting installation goes off without a hitch.
Conclusion
Installing lights in your pool is a relatively easy task that can help add a sparkle to your backyard fun. With all the new technology available, you can easily find underwater lighting solutions to suit any budget and design preference. Taking the time to research and plan out specific details of your pool light installation is key to ensuring you have a successful project.
You can also work with a professional who will be able to offer further recommendations and tips on how to install lights in pool for years of safe and enjoyable use.
Keep in mind, whether you hire a pro or do it DIY-style, you’ll continue to reap the many rewards that come with adding lights to your pool – like magical glowing evenings spent swimming under the stars! When it comes down it, no matter which route you choose for installing pool lighting, the end result will be absolutely breathtaking.

