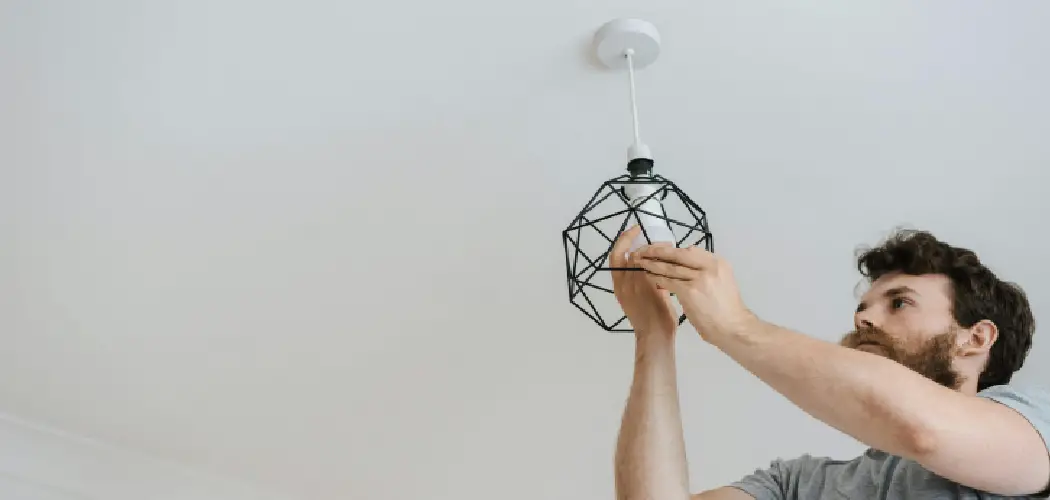
A light fixture crossbar is a crucial component in the installation process, providing the necessary support and stability for most ceiling and wall-mounted fixtures. Acting as the anchor point, the crossbar connects the fixture to the electrical box, ensuring it remains securely mounted. Installing a light fixture crossbar correctly is essential for both safety and functionality.
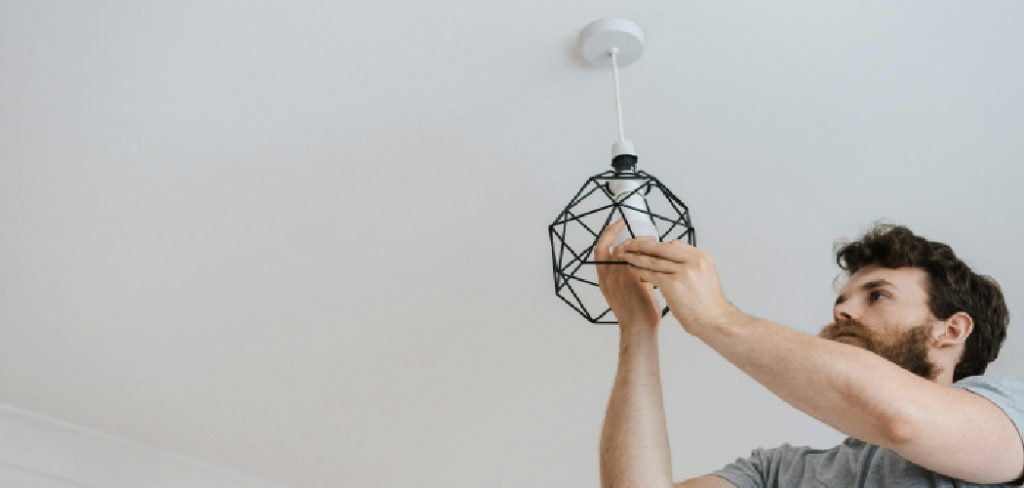
Improper installation can lead to loose fixtures, potential accidents, or even electrical hazards. This article aims to provide a step-by-step guide on how to install light fixture crossbar effectively. Along the way, we will cover the tools required, important safety precautions, and helpful tips to ensure a smooth and successful installation process. By following this guide, you can approach the task with confidence and complete it safely while achieving professional-looking results.
Materials and Tools Needed
Essential Materials
- Light fixture crossbar kit (typically includes the crossbar, screws, and mounting hardware).
- Light fixture (the one being installed).
- Wire nuts or electrical connectors for secure wiring.
- Electrical tape (for securing exposed wires).
Tools You’ll Need
- Screwdriver (flathead or Phillips, depending on screw type).
- Drill (if necessary, for making holes in the ceiling).
- Voltage tester (to ensure power is off).
- Ladder or step stool for reaching high areas.
- Pliers (for wire manipulation).
Having the right materials and tools on hand is essential for a smooth and efficient installation process. Ensuring all components are complete and tools are ready before starting will save time and reduce frustration. Additionally, using proper tools helps to maintain the safety and quality of the installation, allowing it to be both effective and professional-looking. Remember to double-check these items before proceeding.
Preparing the Area for Installation
Step 1: Turn Off the Power
Before starting, turn off the power at the circuit breaker to avoid any risk of electrical shock. Locate the appropriate breaker switch for the area you will be working on and confirm that the power is completely off by testing the fixture with a voltage tester.
Step 2: Remove the Old Fixture (if applicable)
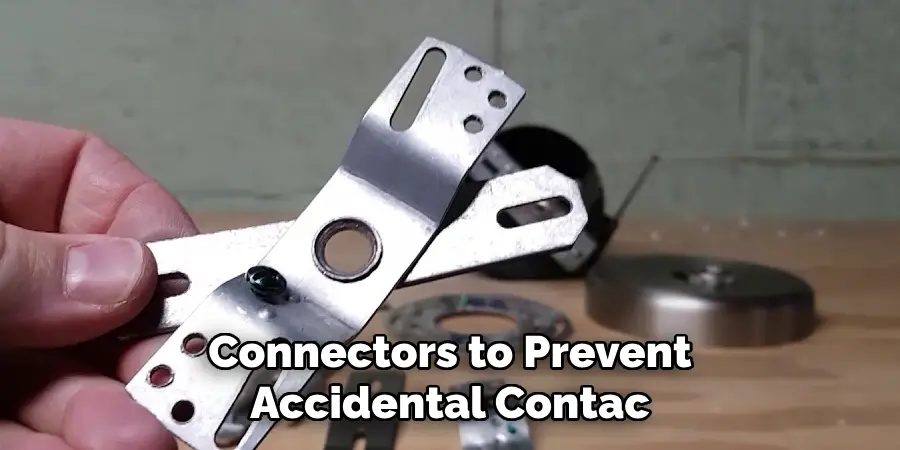
If you’re replacing an old light fixture, start by carefully removing it. Unscrew and disconnect any mounting hardware, then gently lower the fixture. Use caution as you detach the wires, ensuring you identify which wire corresponds to each connection. Secure any exposed wires with wire nuts or connectors to prevent accidental contact.
Step 3: Inspect the Ceiling Box
Inspect the ceiling box to ensure it is securely attached to the ceiling and can safely support the weight of the new fixture. A loose or damaged box poses a safety hazard and should be repaired or replaced before proceeding. Check for any loose or frayed wires and ensure everything is in proper working order to facilitate a smooth and safe installation process. Addressing these preliminary steps thoroughly will help ensure a successful and lasting installation.
How to Install Light Fixture Crossbar: Attaching the Crossbar to the Ceiling Box
Step 1: Positioning the Crossbar
Position the light fixture crossbar over the ceiling box so that the screw holes on the crossbar align perfectly with the mounting holes on the ceiling box. Proper alignment is crucial to ensure the fixture will be mounted securely and evenly. Take a moment to verify that the crossbar’s orientation matches the design of the ceiling box and the fixture itself.
Step 2: Securing the Crossbar
Carefully insert the screws through the designated holes in the crossbar and into the threaded holes in the ceiling box. Using a manual or powered screwdriver, tighten the screws securely to hold the crossbar in place. Avoid over-tightening, as this could strip the screw holes or damage the mounting components. The crossbar should sit flush against the ceiling with no noticeable gaps or uneven positioning.
Step 3: Check for Stability
Once the crossbar is attached, gently wiggle or lightly pull on it to ensure it is firmly secured to the ceiling box. It should remain stable without any movement or noise, as this stability is essential for safely supporting the weight of the light fixture during and after the installation process. Address any looseness immediately by tightening the screws further or re-checking the alignment. Ensuring proper stability at this stage will prevent potential safety hazards and simplify attaching the fixture in subsequent steps.
Wiring the Light Fixture to the Crossbar
Step 1: Connect the Wires
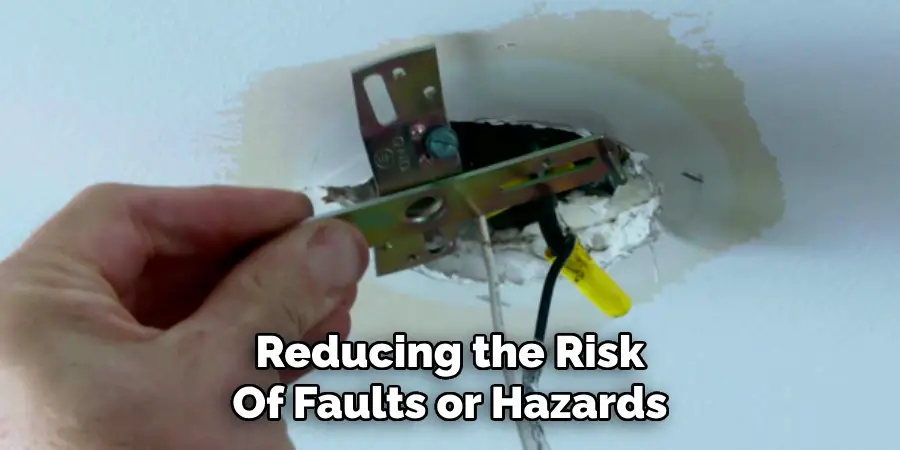
Follow the manufacturer’s instructions for your specific light fixture. Typically, you’ll connect the black (hot) wire from the fixture to the black (hot) wire in the ceiling box, the white (neutral) wire to the white ceiling wire, and the green or copper (ground) wire to the ceiling ground wire. To make these connections, twist the ends of the corresponding wires together and secure them with wire nuts, ensuring the nuts are twisted tightly to provide a firm connection. This step ensures that the electrical current flows securely and safely through your system, reducing the risk of faults or hazards.
Step 2: Secure the Wires
Once all wires have been connected, wrap each wire nut with electrical tape to reinforce the connection and prevent the wires from loosening or coming into contact with metal parts. Carefully arrange the wires inside the ceiling box, tucking them neatly to keep everything organized and out of the way. This preparation step will prevent interference when mounting the light fixture and ensure a clean, professional installation.
Step 3: Attach the Fixture to the Crossbar
With the wires properly connected and secured, align the fixture’s mounting plate or bracket with the crossbar on the ceiling. Use the provided screws to attach the mounting plate securely to the crossbar, ensuring it is tightly fastened. Refer to the manufacturer’s instructions for specific details on securing the fixture, as different fixtures may require varying methods or hardware. This step ensures the fixture is stable and ready for final assembly and adjustments.
Attaching the Light Fixture
Step 1: Mounting the Fixture
Lift the light fixture into position and carefully align it with the mounting bracket or crossbar installed on the ceiling. Depending on the specific type of fixture, this step may involve using screws, bolts, or a quick-connect system provided by the manufacturer. Ensure that the wiring connections made earlier are not disturbed as you position the fixture, and double-check that the fixture sits evenly against the ceiling for proper alignment. Refer to the manufacturer’s instructions for any unique mounting details.
Step 2: Securing the Fixture
Once the fixture is aligned, use the necessary hardware (screws, bolts, or connectors) to secure it to the mounting bracket or crossbar. Tighten the screws or bolts carefully, ensuring that the fixture is straight and flush with the ceiling. Be mindful not to overtighten as this could strip the screws, damage the mounting bracket, or crack fragile parts of the fixture itself.
Step 3: Final Adjustments
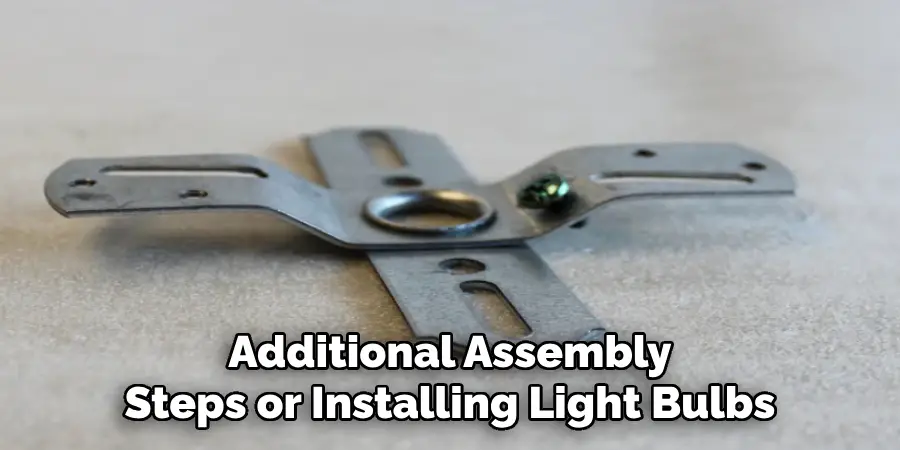
If the light fixture includes adjustable components, such as the length of a pendant light or the angle of adjustable lamp heads, make these changes now. Adjust the fixture to the desired position, ensuring it meets both aesthetic preferences and functional lighting needs. Check to confirm that all adjustable elements are firmly locked or secured once they are positioned. Take a final look to ensure the fixture is supported correctly and aligned before proceeding to any additional assembly steps or installing light bulbs.
Testing the Installation
Step 1: Turn On the Power
After double-checking all connections and ensuring the fixture is securely mounted, turn the power back on at the circuit breaker. Restore electricity to the area carefully and ensure there are no visible sparks or unusual sounds during the process. This step is critical to prepare the light fixture for operation.
Step 2: Test the Light Fixture
Flip the wall switch to check if the light works properly. Observe if the light turns on smoothly without flickering or any delays. If the light does not illuminate, immediately turn off the power at the circuit breaker and inspect the wiring connections. Ensure all wires are tightly secured, matched correctly to their corresponding terminals, and free of noticeable damage. Once corrections are made, repeat the process to confirm that it is working properly.
Step 3: Inspect the Fixture
Carefully inspect the fixture for any loose parts or wobbling. Examine the screws, nuts, or bolts holding the light in place and confirm that everything is firmly tightened. Address any signs of instability immediately to ensure the fixture remains safe and secure over time. Completing this step not only reinforces safety but also ensures a professional-quality installation.
Finishing Touches and Clean-Up
Step 1: Cleaning the Fixture
Use a soft cloth to gently clean the light fixture, removing any dust, fingerprints, or debris that may have accumulated during installation. Avoid using harsh chemicals to prevent damage to the finish or delicate components. A clean fixture not only enhances its visual appeal but also ensures optimal light output.
Step 2: Secure the Wiring
Carefully ensure all wiring is properly tucked into the ceiling box, leaving no exposed wires visible. If any exposed wiring is found, use electrical tape to cover it securely, prioritizing safety. This step ensures the electrical setup remains neat, functional, and safe for long-term use.
Step 3: Final Inspection
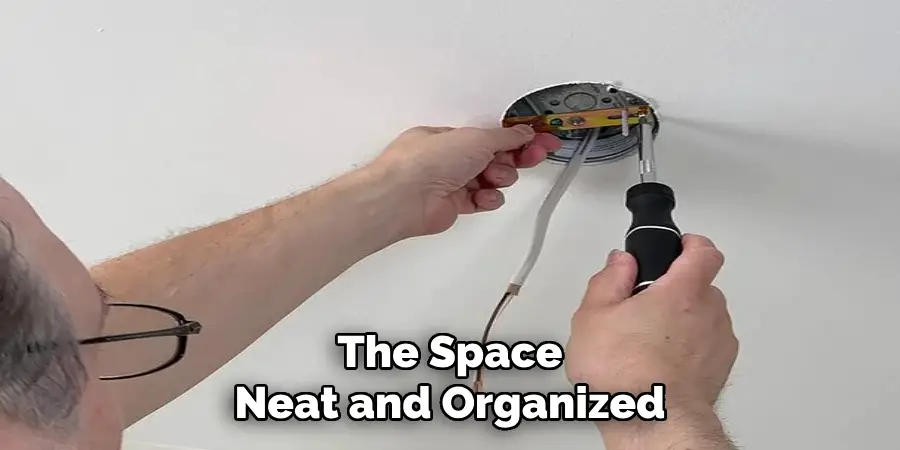
Perform a thorough final inspection of the fixture. Double-check that all screws are tightly secured, the fixture is level, and no loose parts remain. Once satisfied with the installation, clean up the work area. Properly dispose of old hardware, packaging materials, and remove any tools or debris to leave the space neat and organized.
Conclusion
Installing a light fixture crossbar involves a few essential steps to ensure a safe and functional setup. Begin with proper preparation by gathering all necessary tools and turning off the power at the circuit breaker to avoid electrical hazards. Next, secure the crossbar to the electrical box, ensuring it’s level and tightly fastened.
Carefully wire the fixture, following the color-coded connections, and then secure it in place. Finally, complete a thorough inspection to confirm the fixture is stable and the connections are tight. Understanding “how to install light fixture crossbar” correctly is critical for safety and achieving a neat, professional result.

