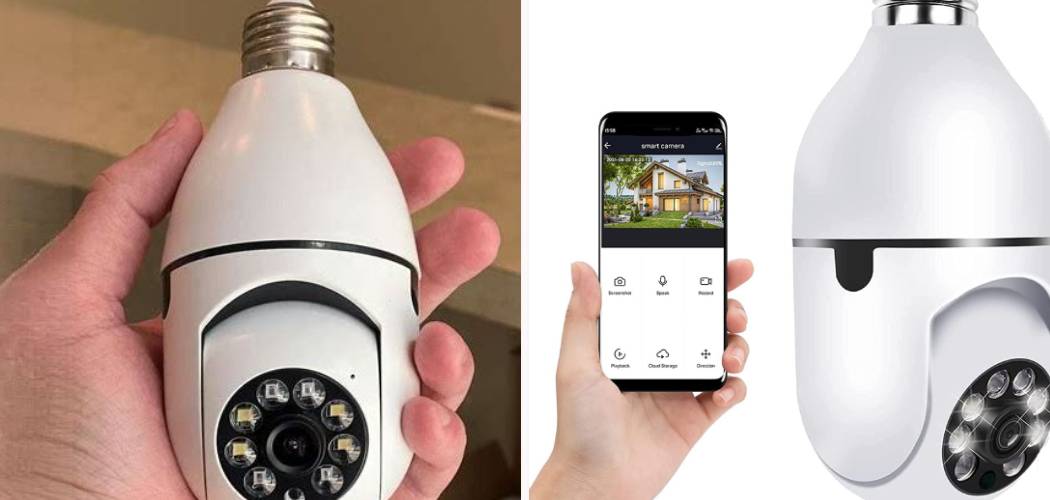
Are you looking for a smart way to improve your home security? Have you been considering a home surveillance system but don’t want to purchase too many expensive gadgets or pay for complicated installation and ongoing monitoring services? A light bulb camera might just be the perfect solution for you. You can also easily install and set up the light bulb camera yourself.
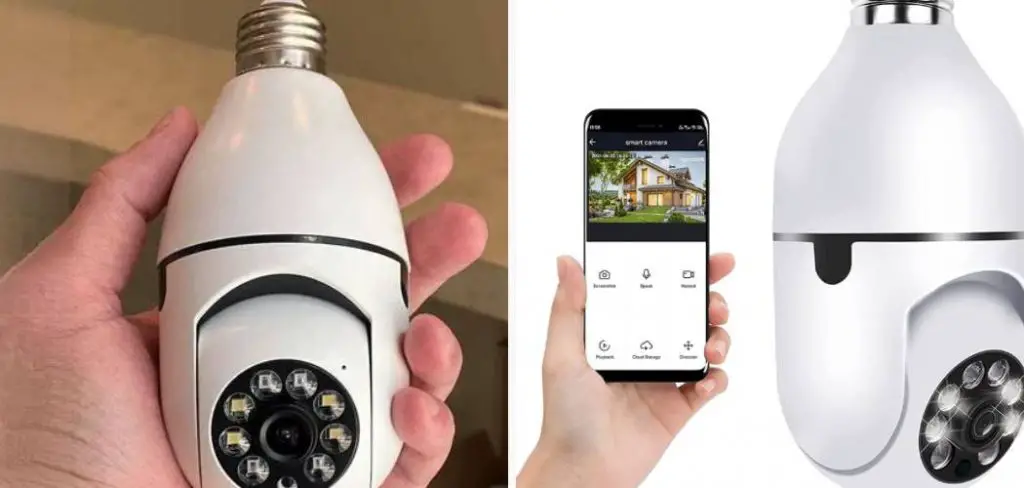
It is easy to install and use, delivers high-quality footage, and best of all—it does not require any monthly fees or contracts! With a few simple tools and this helpful guide on how to install light bulb camera, you can quickly have peace of mind in knowing that your home is secure.
What is Light Bulb Camera?
A light bulb camera is a tiny surveillance device that looks like an ordinary light bulb and acts as both a security measure and overhead illumination. The unique design of the cameras provides a 360-degree view, with motion detection, infrared night vision capabilities, and two-way audio. This means you can see what’s going on in your home or office, even when you’re not there.
The Benefits of Having a Light Bulb Camera
1. Easy Installation
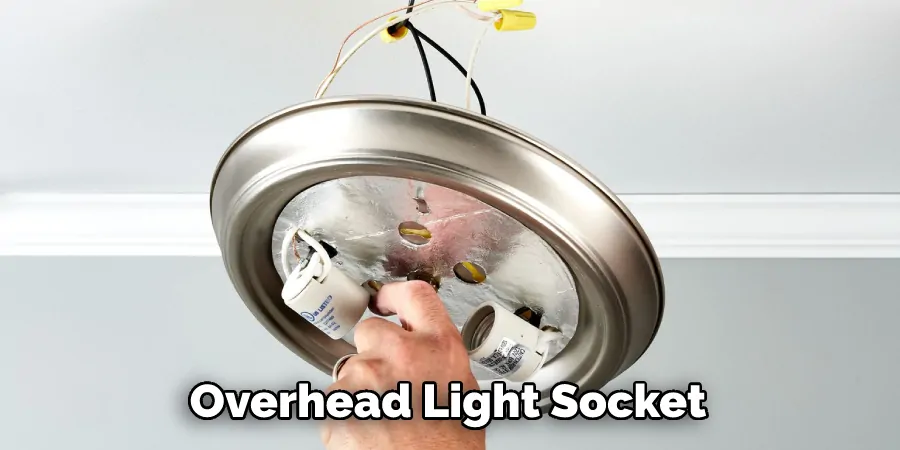
such as easy installation and wireless setup. You can quickly install the camera in any overhead light socket within minutes without any tools or extra wiring. Once installed, you can easily monitor your home with the accompanying app on your phone or tablet.
2. High-Quality Footage
It provides excellent quality footage and presents a clear picture of your home, even in dark environments, with its infrared night vision capabilities. You can always get a better view of your home day and night.
3. No Monthly Fees
Not only is the light bulb camera affordable, but it does not require any additional monthly fees or contracts to use. This makes it an ideal choice for those who want simple security without breaking the bank.
4. Motion Detection
The camera also has motion detection technology which can alert you when someone enters or leaves the room so that you can monitor what’s happening at all times.
Required Tools and Materials
To install the light bulb camera, you will need the following:
- Screwdriver
- Socket wrench (optional)
- Light bulb camera kit with mounting bracket and screws
10 Tips on How to Install Light Bulb Camera
1. Shut Off the Power
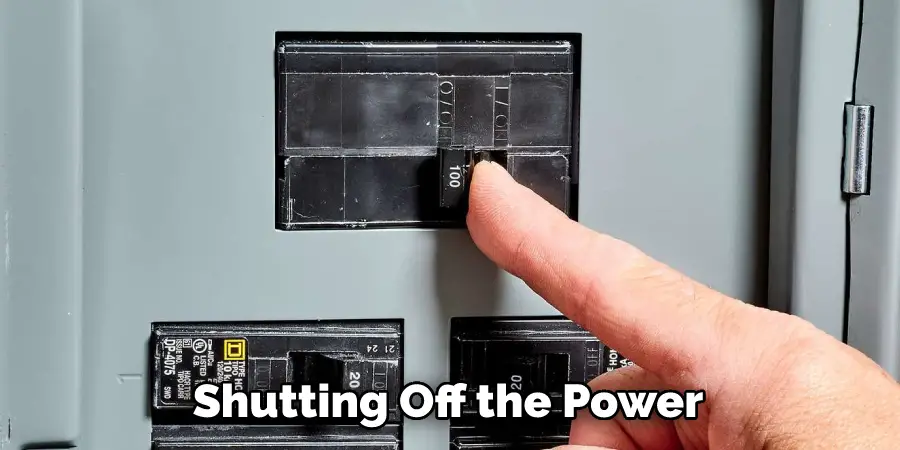
Shut off the power to the light socket first. Shutting off the power will prevent any electrical shock as you work. You need to remember to turn off the power before you begin your installation. It will avoid any potential damage to the light bulb camera and other electrical components.
2. Remove the Existing Light Bulb
Remove the existing light bulb or fixture from the socket, if applicable. You may need a screwdriver or socket wrench for this step. Be careful when removing the existing light bulb or fixture, as it can be fragile.
3. Attach the Mounting Bracket
Attach the mounting bracket to the socket and secure it with screws. Make sure that the bracket is securely attached to the socket before proceeding. Attach the mounting bracket firmly so that it doesn’t come loose during operation.
4. Insert Light Bulb Camera
Insert the light bulb camera into the socket, making sure that all connections are secure. Make sure to check all connections before powering on the light bulb camera. This will ensure that your device is properly wired and won’t cause any short circuits.
5. Screw Light Bulb Camera Into the Bracket
Screw the light bulb camera into the bracket and tighten securely with a screwdriver or socket wrench, if available. Make sure that the light bulb camera is firmly attached to the bracket before proceeding.
6. Install Battery and Cover
Install the battery into the light bulb camera and replace the cover. The battery will provide power to the device when the wall socket is not in use. Make sure that the cover is securely attached so that no wires are exposed.
7. Connect to Wi-Fi Network
Connect your light bulb camera to your home’s Wi-Fi network by following the instructions on the accompanying app. Make sure that your Wi-Fi network is secure and not accessible to anyone outside of your home or office.
8. Install the App
Install the accompanying app for your light bulb camera onto your phone or tablet. The app will provide you with an easy way to monitor your home from anywhere in the world, as long as you have an internet connection.
9. Set Up Alerts
Set up motion detection alerts for your light bulb camera so that you will be alerted when someone enters or leaves a room. You can also set up other notifications, such as temperature and humidity alerts, to help keep your home safe and secure.
10. Monitor Activity
Once you have your light bulb camera installed and connected to the app, you can start monitoring activity in your home. You can check in anytime to see what’s going on and take necessary action if needed.
And there it is! Follow these steps to install and set up your light bulb camera with ease. It’s a great way to keep an eye on your home and make sure it’s secure at all times.
8 Safety Precautions to Follow
When installing a light bulb camera, it is important to take safety measures to ensure the system is installed properly. Here are 8 safety precautions you should follow before installing your light bulb camera:
1. Make sure to read all product instructions carefully and completely before starting installation. This will help ensure that all safety procedures are followed correctly. The instructions will also provide helpful guidance on the installation process.
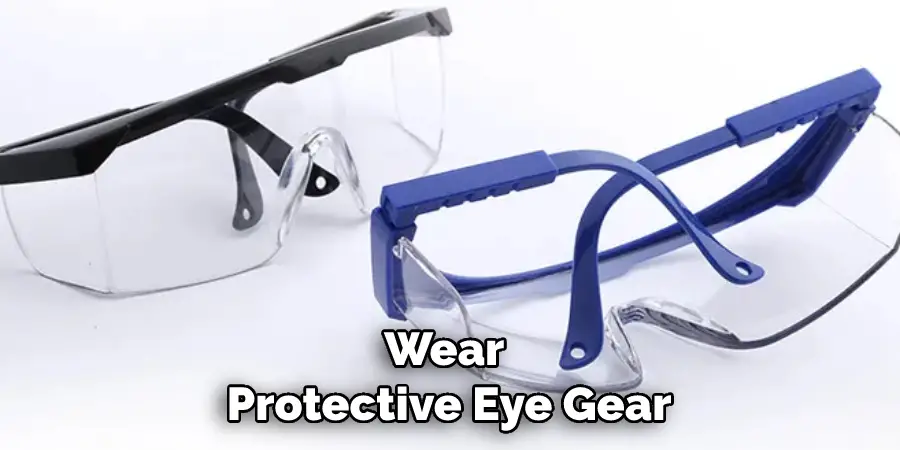
2. Unplug any power source before beginning installation to prevent electric shock hazards. Make sure to wear protective eye gear and non-slip footwear while handling electrical equipment. Unplugging the power source will ensure your safety.
3. Check for any loose wires, cords, or connectors before proceeding with installation. Loose wires and other components can be a potential fire hazard if not properly secured. Loose wires should be removed and replaced with properly-secured wiring.
4. Make sure to test the camera prior to installation to ensure it is functioning properly. This will help prevent any problems during the actual installation process and save time. Installing a defective camera could be dangerous and result in damage to the system.
5. Ensure that the light socket is rated for the load and amperage of the light bulb camera. If not, have an electrician install it correctly to prevent any potential damage or risk of fire hazard.
6. Securely attach the mounting hardware for the light bulb camera to the ceiling or wall. Make sure that all screws, bolts, and other components are securely fastened for a safe and secure installation.
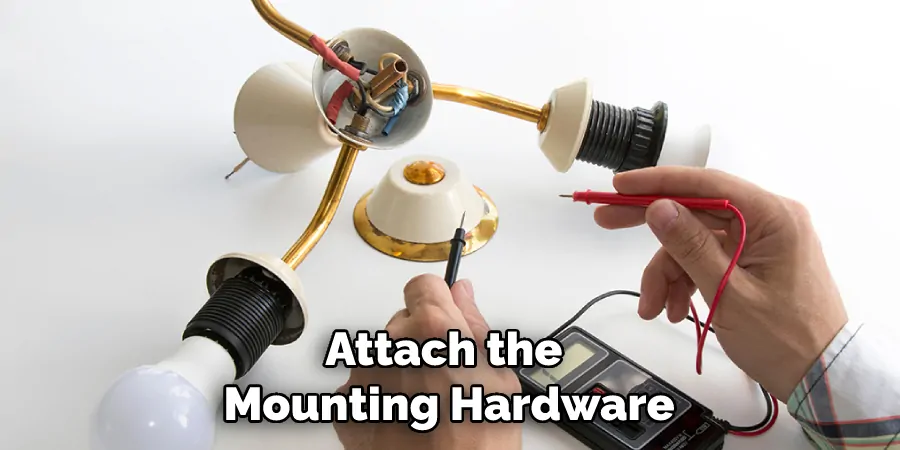
7. Carefully inspect the wiring connections to make sure they are correctly installed and secured. Loose connections could be a fire hazard in addition to causing problems with your system. Carefully inspect all wiring to ensure proper installation.
8. Once the installation is complete, test the system to make sure it is functioning correctly. If any problems arise during testing, contact a qualified technician for assistance in resolving the issue.
By following these safety precautions, installing a light bulb camera will become an easy and enjoyable task. It is important to always remember that when dealing with electrical work, safety should always come first. Taking the time to read all product instructions and testing the system prior to installation are key steps in ensuring a safe and successful light bulb camera installation.
Frequently Asked Questions
How Long Will It Take to Finish the Project?
The amount of time it takes to install a light bulb camera will vary depending on the size and complexity of the project. On average, installation can take anywhere from 1-2 hours for a single device to several hours for an entire system. It might be helpful to enlist the help of a qualified electrician if you are unsure of the installation process.
Do I Need Special Tools for Installation?
No, most basic tools needed for light bulb camera installation can be found around your home. If any special tools or equipment are required, they will be stated in the product instructions. Installing a light bulb camera is relatively simple and can be completed with basic tools.
Conclusion
Installing a light bulb camera is a great way to enhance your home security system and give you peace of mind. With the right tools, proper safety precautions, and detailed instructions, you can easily and successfully install a light bulb camera. Whether you are protecting your home from intruders or simply want greater home surveillance, this easy installation method could be the perfect solution for you. Although any technology installation can seem intimidating, there is no need to feel overwhelmed.
With our step-by-step guide on how to install light bulb camera to installing light bulb cameras, anyone with basic knowledge about electronics and mechanical components will have success in setting up their own motion-sensing home security system. Make sure to follow all safety guidelines when handling electrical devices like cameras, and always consult professionals on more complicated projects whenever necessary. Home security should not be taken lightly – taking steps now to protect yourself and your loved ones may mean a world of difference in the future!

