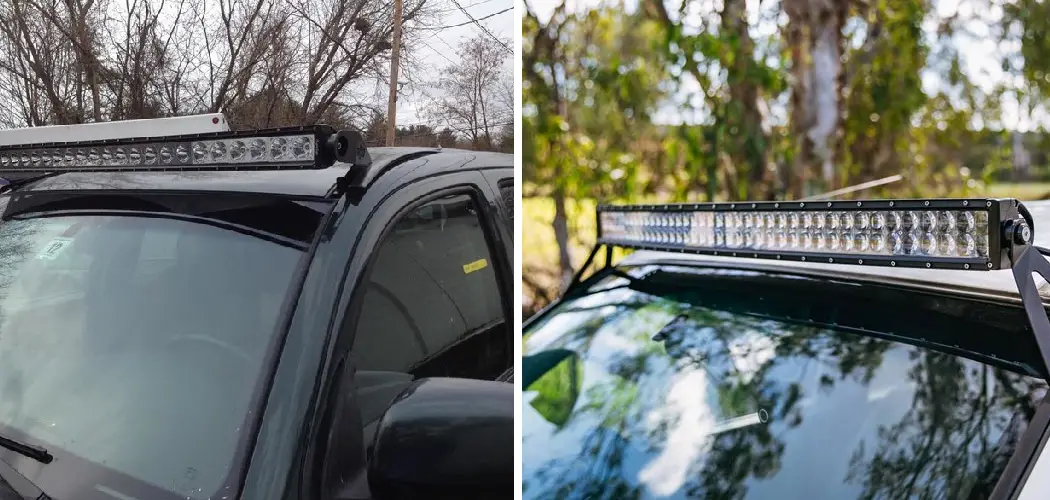
Are you looking for a way to add a little extra oomph and excitement to your vehicle? Do you want to add a unique, custom look to your vehicle? Installing a light bar on the roof is an easy and cost-effective way to do just that. In this post, we’ll discuss how you can quickly install a light bar in your car or truck with minimal equipment and time investment.
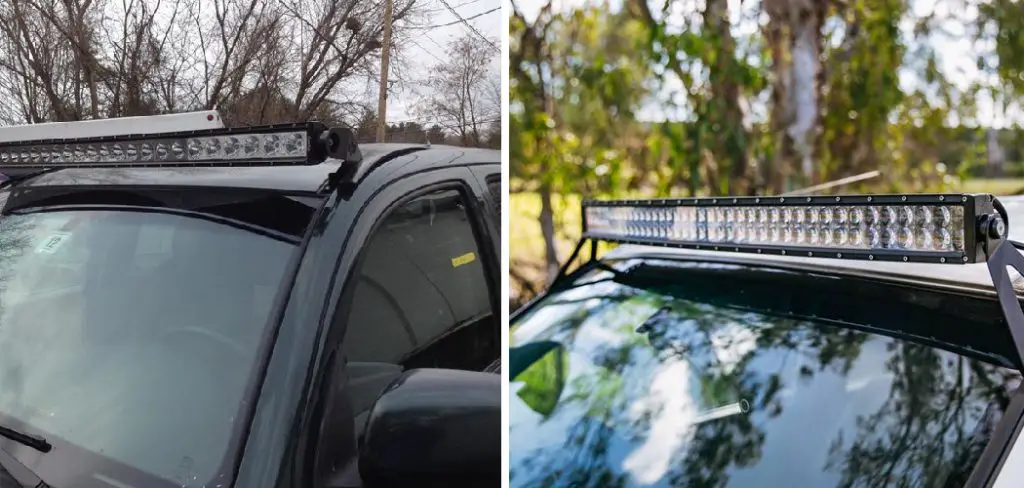
We’ll cover the tools required, safety considerations, installation process, wiring tips, and more – so read on if you’re interested in learning about installing a roof-mounted LED light bar!
After reading through this guide on how to install light bar on roof, you’ll be able to equip yourself with all the tools and knowledge necessary for successfully mounting and securing these awesome accessories onto your vehicle’s roof rack!
The Benefits of Installing Light Bars on Roof
1. Extra Light
Installing a light bar on the roof of your vehicle has several advantages. First and foremost, it provides extra illumination while driving in low-light conditions. This can be especially useful for off-roading and nighttime navigation. Additionally, installing a light bar on the roof gives your vehicle an unmistakably unique appearance that won’t go unnoticed – no matter where you are!
2. Customizable Look
The best part about installing a light bar on the roof is that it’s customizable – there are literally hundreds of different sizes, shapes, and colors to choose from. Whether you want something subtle or extra flashy, you can find it with ease. Plus, if you’re feeling creative and handy with tools, you can easily customize your own light bar to fit into the exact look and feel you’re going for.
3. Easy Installation Process
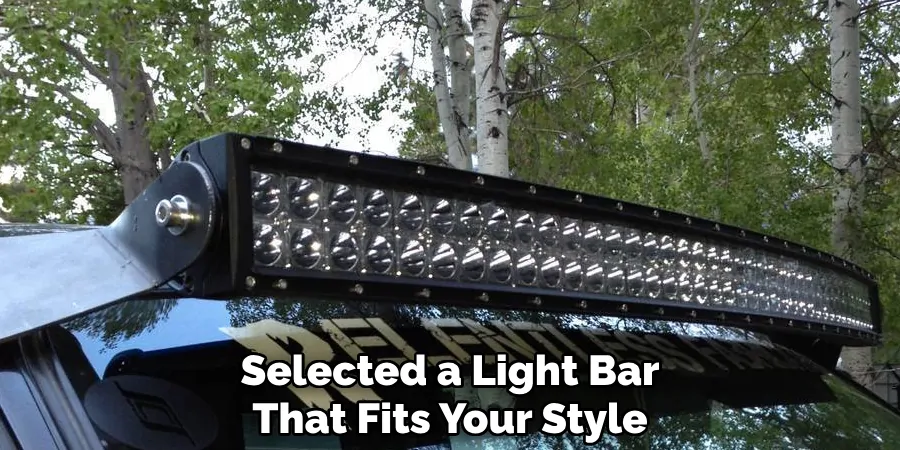
Once you’ve selected a light bar that fits your style, installing it is surprisingly easy. Most LED lights come with all the necessary hardware, so there’s no need to worry about buying any extra parts – though having a few spare screws around doesn’t hurt! Plus, the installation process only takes a few minutes and can be completed with basic tools found in any garage.
Tools & Materials Required for Light Bar Installation
In order to install your light bar properly, you’ll need the following tools:
- Phillips head screwdriver
- Pliers
- Electric drill (optional)
- Masking tape (for marking holes)
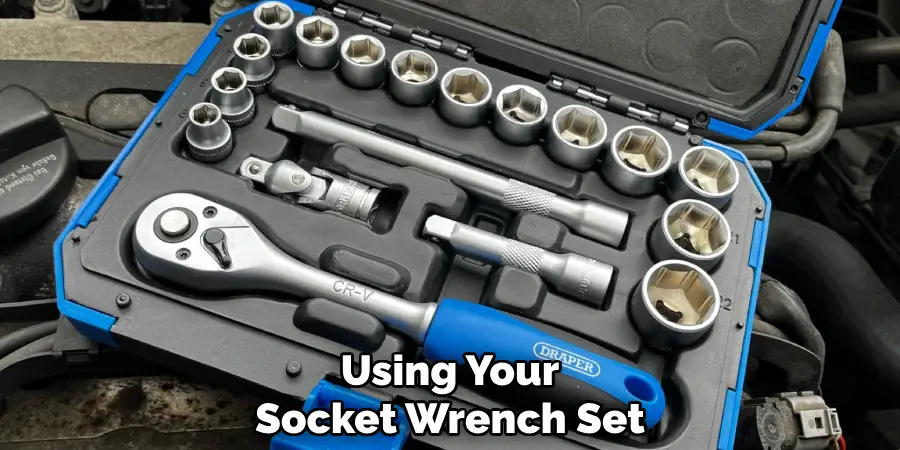
- Socket wrench set
- Wire cutters/strippers
In terms of materials, you’ll need:
- Light bar kit (includes wiring and mounting hardware)
- Roof rack rails or crossbars with mounting tabs or clips
- Silicone sealant or mounting tape (optional for extra security)
How to Install Light Bar on Roof in 10 Steps
Step 1: Place the Light Bar
Place the light bar onto the roof of your vehicle to determine where you want it mounted. Make sure it is securely locked in place before drilling or cutting any holes. Also, make sure to check the area for any obstructions that could interfere with the mounting process.
Step 2: Mark the Drill Locations
Once you’ve determined where you want to place your light bar, mark the drill locations on the roof of your vehicle using a piece of masking tape. This will help ensure accuracy and prevent mistakes during drilling.
Step 3: Drill the Holes
Using a power drill, carefully drill the holes you marked in Step 2. Make sure to wear safety glasses and use a drill bit that is suitable for your vehicle’s roof material (metal or plastic). Drilling through metal will require a higher-powered drill.
Step 4: Install the Mounting Hardware
Using your socket wrench set, install the mounting hardware onto the roof of your vehicle. Make sure that all bolts are securely tightened before continuing on to the next step.
Step 5: Attach Light Bar
Insert the light bar into the mounting hardware and secure it with the provided bolts and nuts. Make sure the light bar is firmly attached to the roof before moving on.
Step 6: Run the Wiring
Run the wiring for your light bar along the inside of your vehicle, taking care to avoid pinch points or any other potential damage. Make sure that all connections are tightly secured and properly insulated.
Step 7: Connect Wiring to Power Source
Connect the wiring for your light bar to a 12v power source, such as a car battery or a fuse box. Depending on your vehicle model, you may need to install an additional relay switch if the current draw exceeds the capacity of the existing power source.
Step 8: Test
Once the wiring is connected, test to make sure that your light bar functions properly. If the lights are functioning correctly, then you can move on to the next step.
Step 9: Securing Light Bar
To ensure that your light bar is properly secured, you may want to use a silicone sealant or mounting tape around the edges. This will help prevent water or debris from getting into the connections and potentially damaging them over time.
Step 10: Enjoy!
All that’s left to do now is enjoy your newly installed light bar – you’ve earned it! From here, you can experiment with different lighting patterns and effects for an even more personalized look.
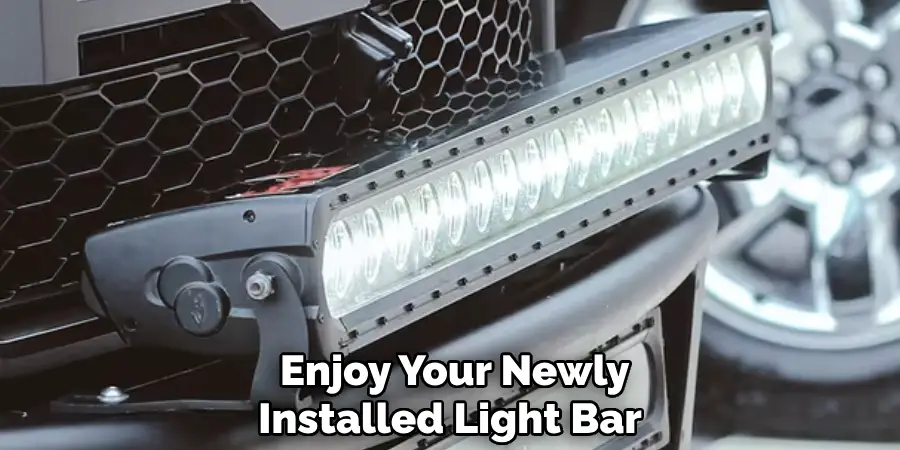
With these simple steps, you should be able to easily install a light bar on the roof of your vehicle in no time. But before embarking on any project like this, make sure to read through the instructions carefully and double-check all of your connections. Safety should always be your number one priority!
Now that you have a roof-mounted light bar, why not go even further by adding some other exterior accessories? There are plenty of options out there, such as cowls, spoilers, fender flares, and more – all of which can help make your vehicle stand out even more!
8 Safety Precautions to Follow Before Installing a Light Bar on Roof
Installing a light bar onto the roof of your vehicle is often necessary for off-roading and other night activities. However, it’s important to take proper safety precautions before doing so in order to ensure that you don’t end up with an accident or injury. Here are eight essential tips for safely installing a light bar on your roof:
- Make sure the roof is properly supported. Before installing a light bar, check to ensure that the roof can bear the weight of the lights and their mounting brackets without buckling or bending. This will help prevent any damage to your vehicle’s frame.
- Don’t install the light bar too high. If the lights are installed too high, they won’t be able to provide adequate illumination. Be sure to measure the height of your vehicle before installing the light bar in order to make sure it is at an appropriate level for optimal visibility.
- Securely fasten the brackets and wiring. Make sure that all mounting hardware and wiring are securely attached and not loose. If the wiring is not properly connected, it could cause a short circuit and damage to your vehicle.
- Wear protective gear when working with electricity. When handling electrical components, be sure to wear safety glasses, work gloves, and any other necessary protective gear in order to protect yourself from electric shock or injury.
- Use waterproof sealant. When installing the light bar, it’s important to use a waterproof sealant to ensure that no water can enter through the mounting points and damage your vehicle or wiring.
- Keep all components away from moving parts. Make sure that none of the electrical components are close to any fans, belts, or other moving parts in your vehicle, as this could cause a serious accident.
- Check the voltage and amperage of your lights. Make sure that the voltage and amperage of the light bar are compatible with your vehicle’s electrical system before installing it. This will help prevent any potential damage due to improper wiring or incompatible components.
- Don’t attempt to install it if you’re not comfortable. If you don’t feel confident in your ability to safely and properly install the light bar, it’s best to avoid attempting it yourself and seek the assistance of a professional or experienced technician.
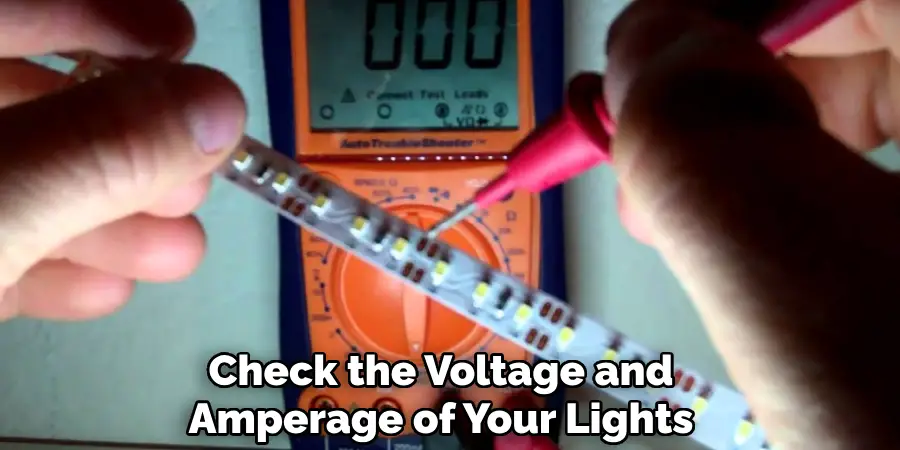
Following these eight tips will help ensure that installing a light bar on your roof is a safe and successful process. For more information on how to properly install a light bar, contact an experienced technician or your vehicle’s manufacturer. With the right preparation and precautions, you can have a safe and successful installation experience!
Conclusion
Are you planning to install a light bar to the roof of your vehicle? Are you looking to add a custom flair to your vehicle? Whether you’re an off-roading enthusiast or simply want more visibility for nighttime driving, installing a light bar on the roof of your car offers many benefits.
But how do you go about getting one installed properly? In this post, we’ll look at everything you need to know about how to install a light bar on the roof of your car.
From what type of tools and equipment you’ll need through installation tips and ensuring a secure fitment – read on for all the insider info on how to install light bar on roof! In this blog post, we’ll walk through exactly how to install a light bar on the roof of any type of vehicle for an added exterior appeal!

