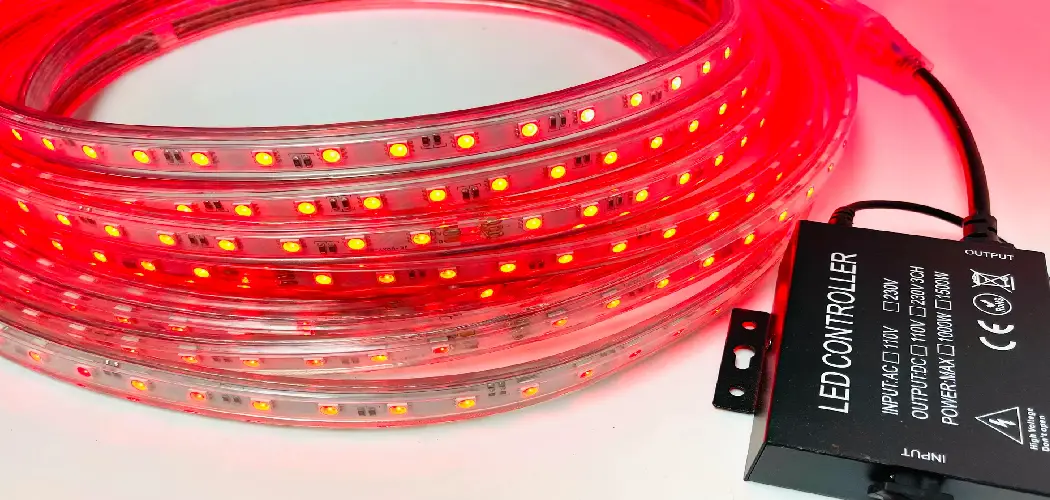
Are you looking to add some color effects to your LED lights?
Installing LED controllers is a straightforward and rewarding process that allows you to customize lighting for dynamic color effects in your space. Whether you’re aiming to create a vibrant atmosphere for an event or simply enhance your home décor, LED controllers provide the flexibility to adjust brightness, colors, and patterns with ease. By utilizing the right tools, clear instructions, and a bit of creativity, you can transform your lighting setup into a visually stunning masterpiece.
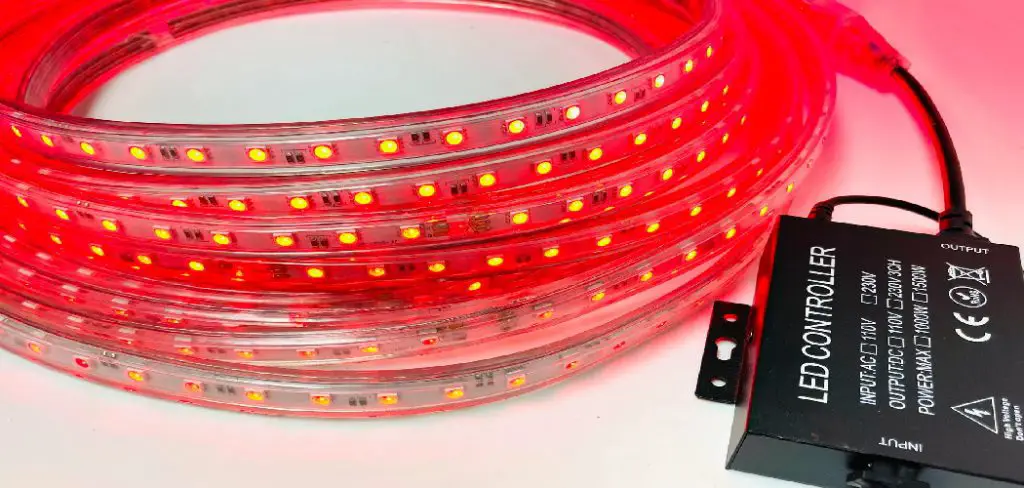
This guide on how to install led controllers for color effects will walk you through the essential steps to properly install LED controllers and unlock their full potential for beautiful color effects. Let’s get started!
What Are the Benefits of Installing LED Controllers?
- Customizable Lighting Effects: With LED controllers, you can customize your lighting setup and create a unique ambiance for any occasion. This allows for endless possibilities in terms of color combinations, patterns, and brightness levels.
- Energy Efficiency: LED lights are known for their energy-saving properties. With the use of controllers, you can further optimize their energy usage by adjusting brightness levels as needed.
- Remote Control Convenience: Many LED controllers come with remote controls, allowing you to change settings from anywhere in the room. This eliminates the need to manually adjust each light manually, providing added convenience.
What Will You Need?
To get started with LED controllers, you will need the following:
- LED lights
- LED controller
- LED power supply (if not included in the controller)
- Remote control (optional)
Once you have all the necessary materials, you can begin setting up your LED controller and enjoy the benefits of bright lighting.
10 Easy Steps on How to Install Led Controllers for Color Effects
Step 1. Plan Your Setup
Before starting the installation process, it’s essential to plan out your LED lighting setup carefully. Determine the areas you want to enhance with LED lights, and measure the space’s dimensions to ensure proper light placement. Consider the type of color effects you want to achieve, such as soft ambient lighting or vibrant, dynamic displays. Check if your LED lights are compatible with the chosen LED controller, and decide if you’ll need additional accessories, such as extension cables or connectors. Proper planning will not only help you avoid mistakes during installation but also enable you to create a seamless and visually appealing effect tailored to your space.
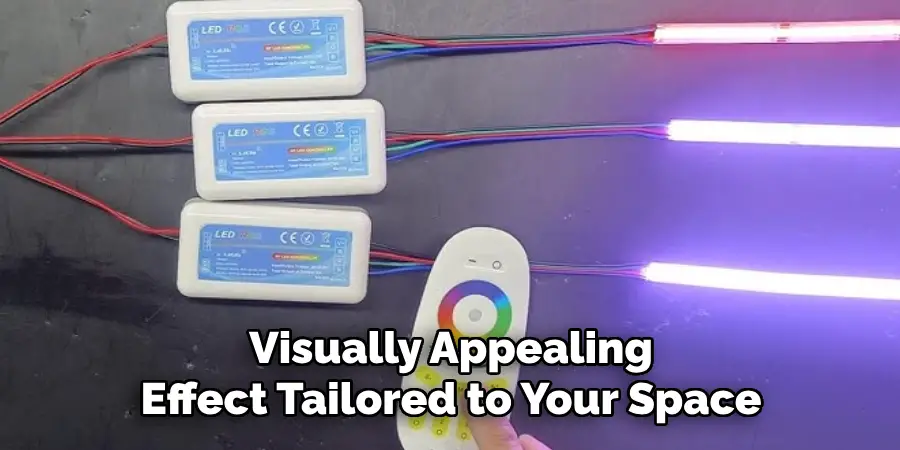
Step 2. Prepare Your Materials
Before starting the installation process, it’s crucial to gather all the necessary materials to ensure a smooth setup. Begin by ensuring you have the appropriate length and type of LED light strips for your project. Double-check the specifications to confirm they are compatible with your power source and controller.
You will also need a reliable LED controller that allows you to manage brightness, colors, and effects. Include a power supply unit suitable for your setup to avoid electrical issues. Additionally, prepare tools such as a measuring tape, scissors (if your LED strips are cuttable), and adhesive solutions like mounting brackets or strong double-sided tape to secure the strips in place.
If your project requires extensions or custom shapes, ensure you have connectors, soldering tools (if needed), and extra wiring. Proper preparation of these materials will streamline the installation and help achieve the professional and polished look you are striving for.
Step 3. Clean the Installation Area
Before placing the LED strips, it is essential to thoroughly clean the installation area to ensure proper adhesion and the setup’s longevity. Use a soft, lint-free cloth and a cleaning solution suitable for the surface to remove dust, dirt, and grease.
Residue or grime can hinder the adhesive backing of the LED strips from sticking securely, potentially leading to uneven placement or strips falling off over time. If the surface is exceptionally smooth or glossy, consider lightly sanding it to improve the adhesion. Allow the area to dry completely after cleaning, as moisture can interfere with both the adhesive and the electrical components.
By taking the time to prepare the surface properly, you create an ideal foundation for a neat, durable, and professional-looking LED installation.
Step 4. Connect the LED Strips to the Controller
Connecting the LED strips to the controller is a crucial step that ensures your lighting setup functions correctly. Begin by identifying the connectors or wiring on your LED strips, which often include clearly marked positive and negative terminals.
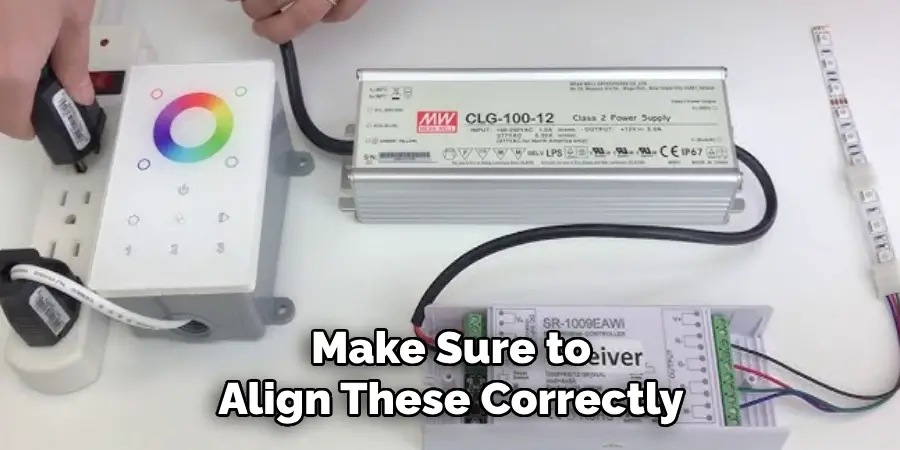
Make sure to align these correctly with the corresponding terminals on the controller to avoid damaging the system or producing inconsistent light output. Most LED strips come with pre-installed connectors for easy installation, but if your strips require custom wiring, use a soldering kit to attach the wires securely.
Additionally, double-check that the voltage of your LED strip matches the output of your controller, as mismatched voltages can lead to performance issues or even permanent damage. Once connected, secure the wires in place to prevent accidental disconnection, especially if the installation is in a high-traffic area or prone to movement.
Step 5. Connect the Controller to the Power Supply
Once you have ensured that the wires are securely connected to the LED strip, the next step is to connect the controller to its power supply properly. Begin by identifying the input terminals on the controller, which are typically labeled to indicate proper connections.
Match the positive (+) and negative (-) terminals of the power supply with those on the controller to avoid issues with polarity, which could damage the equipment.
Carefully insert the wires into the corresponding terminals and tighten any screws or connectors to ensure a stable connection. If your setup uses a plug-and-play system, simply attach the provided connectors as directed in the user manual. However, for systems that require manual wiring, triple-check all connections for accuracy before powering on the system. Using a multimeter to test the voltage and ensure proper flow can help prevent malfunctions at this stage.
Step 6. Test the System Before Mounting
Once all connections have been secured and reviewed, it is crucial to test the system before finalizing the installation. Begin by powering on the system and verifying that all components operate as expected. Pay close attention to any unusual noises, lights, or error signals that may indicate improper installation or potential issues with the setup.
Use diagnostic tools, if provided, to confirm compatibility and functionality. Take this opportunity to monitor system performance under basic operating conditions, ensuring stability and consistency.
Step 7. Mount the LED Strips
Once all components have been verified and the system is functioning correctly, proceed with securely mounting the LED strips. Start by identifying the ideal locations for the strips, ensuring they provide optimal lighting coverage and enhance the setup’s aesthetics. Clean the mounting surfaces thoroughly to remove any dust, grease, or debris, as this will help the adhesive backing adhere properly. For curved or uneven surfaces, consider using additional mounting clips or brackets to provide extra stability.

Carefully peel off the backing from the adhesive side of the LED strips and press them into position, applying consistent pressure along the entire length to ensure a strong bond.
Step 8. Mount the Controller
Position the controller unit in a location that is both accessible and discreet to maintain functionality without disrupting the overall aesthetic of your installation. Consider the proximity to a power source and ensure the infrared sensor or wireless receiver (if applicable) is unobstructed, allowing for easy communication with the remote or control device.
Use adhesive strips or screws, depending on the design of your controller, for a secure attachment. If adhesive is used, ensure the mounting surface is clean and dry to optimize the bond.
Step 9. Hide Excess Wires
To maintain a neat and professional appearance for your LED light installation, it’s crucial to manage and conceal excess wires effectively. Begin by gently bundling the excess wires together, using zip ties or cable organizers to secure them neatly. This not only prevents tangling and potential damage to the cables but also simplifies future adjustments or maintenance.
For an even cleaner look, consider using cable channels or clips to route the wires along walls, baseboards, or the edges of furniture. If the installation is permanent, consider using in-wall cable management solutions for a truly seamless appearance.
Step 10. Fine-Tune and Enjoy
Once all wires are organized and secured, take a moment to double-check the setup for any loose connections or overlooked details. Ensure that all cables are correctly connected to their respective devices and that there is no unnecessary slack in the wires that could lead to tangling or accidental disconnections. If you opted for in-wall cable management, verify that all entry and exit points are cleanly cut and sealed adequately for a polished finish. Additionally, test all components of your setup to confirm everything is functioning as intended. Adjust the positioning of cables or devices as needed for better accessibility or aesthetics.
By following these steps, you can ensure that your home entertainment setup is not only functional but also visually appealing.
Conclusion
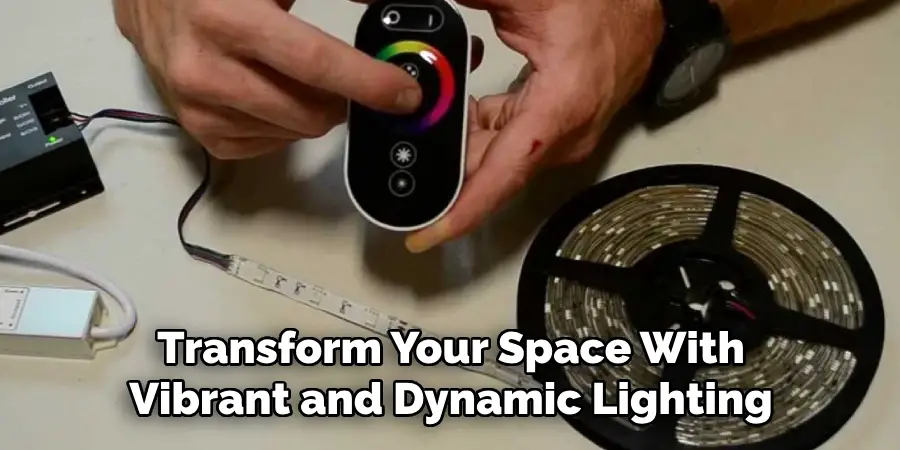
How to install LED controllers for color effects can transform your space with vibrant and dynamic lighting.
By carefully planning the layout, securely connecting the devices, and properly configuring the controller settings, you can achieve a seamless and customizable lighting experience. Always ensure compatibility between your controllers and LED strips, and follow the manufacturer’s guidelines for optimal performance.
With attention to detail and the right tools, creating stunning color effects with LED controllers becomes an achievable and rewarding project.

