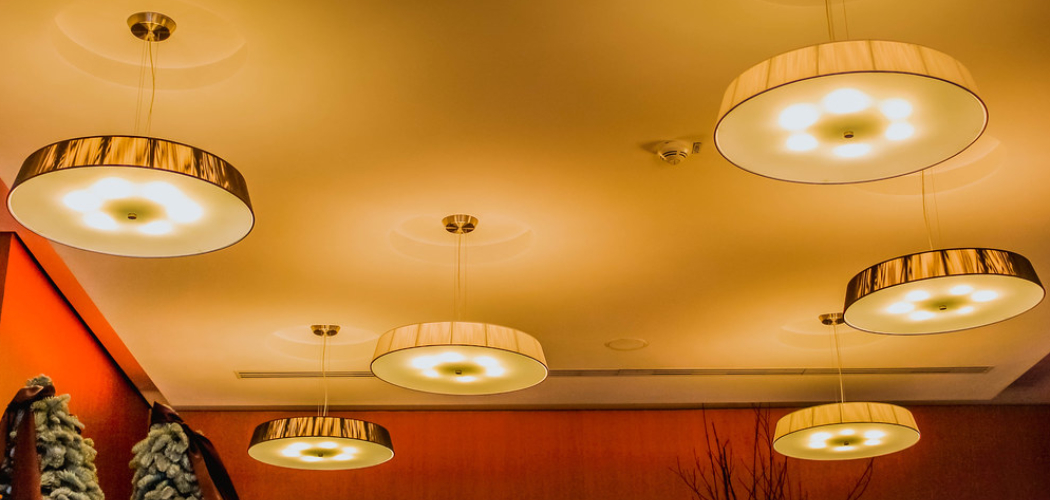
Upgrading your home’s lighting with flush mount ceiling fixtures not only enhances the overall aesthetic but also provides practical illumination without sacrificing valuable space.
Knowing how to install flush mount ceiling light fixtures is a valuable skill for any DIY enthusiast, offering the opportunity to customize and brighten various rooms in your home. This article serves as a comprehensive guide, providing step-by-step instructions to demystify the installation process.
From preparing the electrical connections to securely mounting the fixture, this guide empowers homeowners to tackle this project confidently. Whether you’re adding a modern touch to your bedroom or updating the lighting in a hallway, understanding the nuances of installing flush mount ceiling fixtures ensures a seamless and well-lit result that complements your home’s interior design.
Importance of Proper Installation for Safety and Aesthetics
Proper installation of flush mount ceiling light fixtures is not only crucial for the aesthetic harmony of your space but paramount for safety. Incorrect installation can lead to a host of issues, from a malfunctioning fixture to serious electrical hazards.
A well-executed installation ensures the fixture is securely attached to the ceiling, preventing it from detaching and causing potential injury or damage. Additionally, correct electrical connections are vital to avoid short circuits, which can result in fires or shock. Aesthetically, an evenly and securely installed light fixture perfectly complements the room’s decor, casting an intended glow that enhances the ambiance and mood of the space.
Selecting the Right Fixture
Before you begin the installation process, choosing the right flush mount ceiling light fixture is essential for both the functionality and design of your space. Consider the size of the room and the height of your ceilings to ensure proper scale and light coverage.
Also, take into account the overall style and decor of the area—the fixture should complement your existing design aesthetic. Look for fixtures that have the right color temperature and lumens for your desired level of brightness and ambiance. Moreover, it’s crucial to select a fixture that’s rated for the location, especially for damp or wet areas like bathrooms.
By taking these elements into account, you’ll be able to find a flush mount light that fits beautifully within your space and meets your practical lighting needs.
Understanding Different Types and Styles of Flush Mount Fixtures
Knowing the diversity of flush mount ceiling fixtures available will greatly aid in your selection process. There are several types to consider, each with unique styles that cater to a variety of tastes and functions. For a minimalistic approach, dome-shaped fixtures offer simple, clean lines, while fixtures with crystal elements or intricate metal work add a touch of glamour and sophistication.
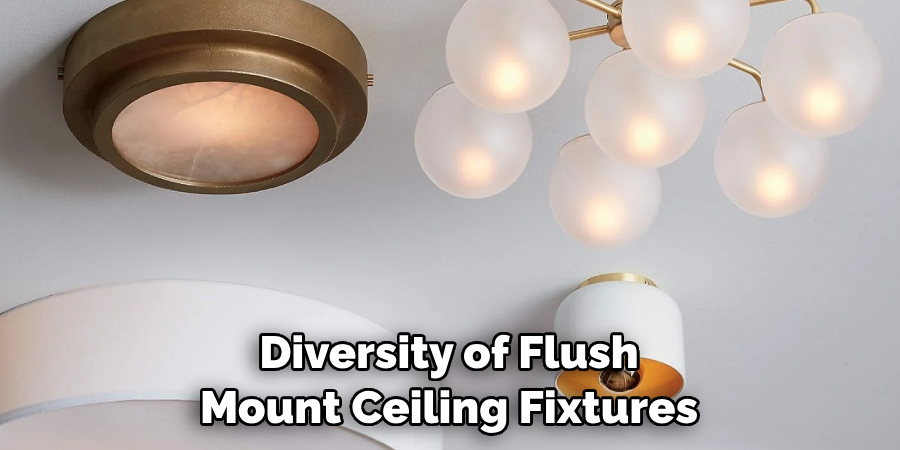
There’s also the practical aspect of design to think about—LED integrated fixtures offer longevity and energy efficiency, whereas those with standard bulb sockets might provide more options for bulb types and replacements.
Aesthetically, you can find designs ranging from vintage-inspired Edison bulbs encased in rustic metal frames to sleek, modern rings that emit a diffused light. The type and style you choose should not only match the room’s décor but also compliment its intended use, ensuring your space is as functional as it is beautiful.
Ensuring Compatibility with Existing Electrical Connections
Before proceeding with the installation of your chosen flush mount ceiling light fixture, it’s imperative to ensure compatibility with your home’s existing electrical connections. Start by turning off the power at the circuit breaker to avoid any electrical incidents. Then, inspect the existing wiring and junction box to confirm they can support the new fixture both physically and electrically.
The voltage, wire gauge, and circuit load are critical factors to assess, as discrepancies could lead to overheating or power failures. For homes with older wiring, seeking the advice of a licensed electrician is advisable to ensure compliance with current electrical codes.
By carefully evaluating your current setup and making any necessary adjustments, you will provide a safe environment for your lighting installation, paving the way for a smooth and secure integration of the new fixture.
Gathering Necessary Tools and Materials
Before you start the installation of your new flush mount ceiling light fixture, gathering all the necessary tools and materials is essential for an efficient and successful project. You will need a screwdriver, wire stripper, voltage tester, and wire nuts to handle the electrical components safely.
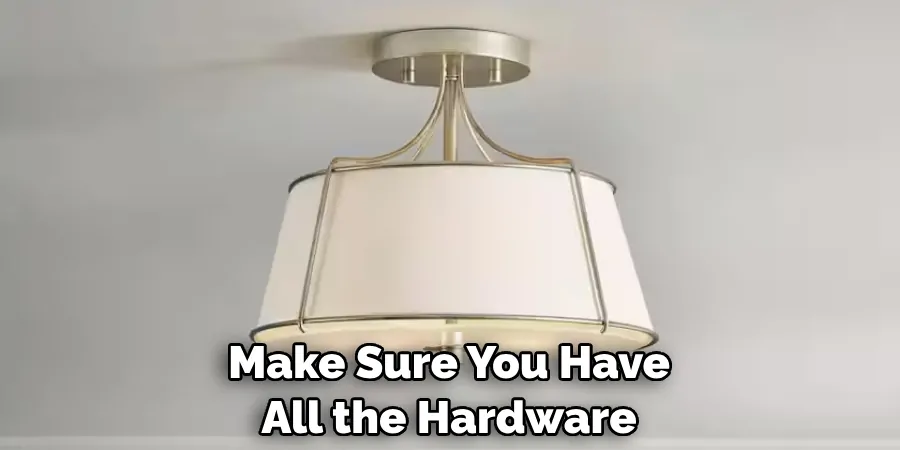
It’s also prudent to have a ladder that’s tall enough to allow you to work comfortably without stretching, a drill for potential new holes, and possibly a stud finder if your fixture is heavy and requires solid support. Additionally, make sure you have all the hardware provided with your fixture, including any mounting brackets or screws. Preparing these items in advance will streamline the installation process and reduce the risk of having to stop mid-project to find a missing tool or material.
10 Methods How to Install Flush Mount Ceiling Light Fixtures
1. Turn Off Power:
Prioritize safety by turning off the power to the existing light fixture at the circuit breaker. Use a voltage tester to double-check that the power is indeed off before proceeding with the installation. This will ensure that you do not accidentally get shocked while working on the installation. To turn off the power, locate the proper circuit breaker and flip it to the “off” position. If you are unsure which circuit breaker controls your light fixture, you can also turn off the main power switch. However, be aware that doing so will also turn off power to other parts of your house.
2. Gather Necessary Tools:
Ensure you have all the required tools on hand before starting the installation. Common tools include a screwdriver, wire stripper, wire nuts, a ladder, and a drill. Having the right tools makes the installation process more efficient. Additionally, read through the installation manual provided by the manufacturer to familiarize yourself with any specific tools or techniques required for your particular system.
Some other useful tools that may be needed include a stud finder, level, and measuring tape. Depending on the type of security system being installed, you may also need specialized tools such as fishing poles or cable crimpers.
Once you have gathered all the necessary tools, make sure they are in good working condition. If any of your tools are damaged or not functioning properly, it is important to replace them before starting the installation. This will help prevent delays and ensure a smooth installation process.
3. Remove Existing Fixture:
If there is an existing light fixture in the installation location, remove it carefully. Disconnect the wires, unscrew the mounting bracket, and take down the old fixture. Be cautious and follow any specific removal instructions for the existing fixture. Once the fixture is removed, make sure to cap off any exposed wires with wire nuts.

Removing an existing fixture may be necessary if it is outdated or damaged, or simply if you want to update the aesthetics of your space. However, before beginning this process, it’s important to ensure that the power is turned off at the main breaker or fuse box. This will prevent any potential electric shocks or accidents during the removal process.
After removing the existing fixture and capping off any exposed wires, it’s important to check the mounting bracket. If it is in good condition, you can reuse it for your new fixture. However, if it is damaged or not compatible with your new fixture, you may need to purchase a new one.
4. Install Mounting Bracket:
Most flush mount ceiling light fixtures come with a mounting bracket. Secure this bracket to the electrical box in the ceiling using the provided screws. Ensure the bracket is tightly fastened for stability.
Once the bracket is installed, you can begin attaching the light fixture. Follow the manufacturer’s instructions for assembly and installation. Many fixtures will have a metal threaded rod that screws into the mounting bracket. Although the process may vary slightly, most fixtures will have a similar installation method. Additionally, make sure to connect the wires from the fixture to the corresponding wires from the electrical box.
After properly installing and connecting the light fixture, gently push it up towards the ceiling and secure it with screws or other provided hardware.
5. Connect Fixture Wires:
Identify the fixture wires (usually black and white) and the corresponding ceiling wires. Connect the wires using wire nuts – match black to black (hot) and white to white (neutral). If there is a ground wire, connect it as well.
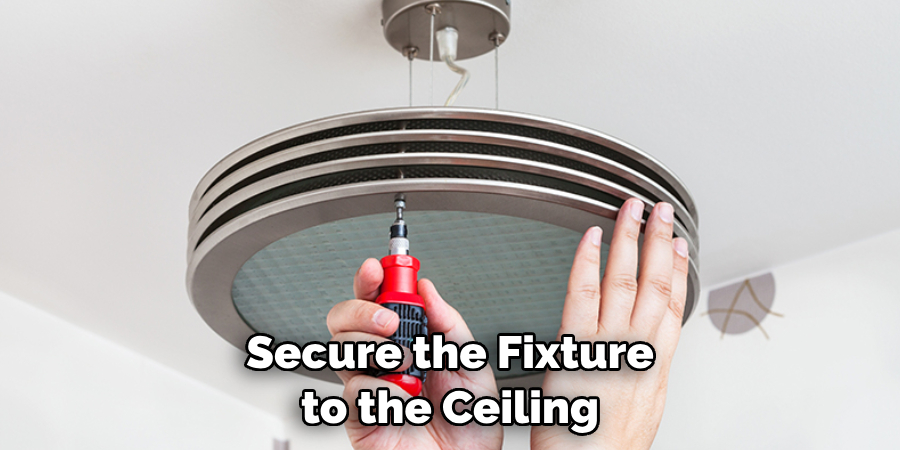
After connecting the wires, gently push them up into the box, making sure they are neatly arranged and not pinched or twisted. Secure the fixture to the ceiling by tightening the mounting screws. When done, gently tug on the fixture to ensure it is securely attached to the ceiling.
6. Attach Fixture to Mounting Bracket:
With the wires connected, carefully lift the flush mount fixture and align it with the mounting bracket. Secure the fixture to the bracket using the provided screws. Follow the manufacturer’s instructions for any additional steps specific to your fixture. Finally, position the flush mount fixture over the screws and gently tighten it into place. Your fixture is now securely attached to the mounting bracket.
It’s important to make sure that the fixture is properly attached to the mounting bracket to ensure safety and stability. Be sure to check all connections and make any necessary adjustments before fully securing the fixture.
If your fixture has adjustable arms or other moving parts, make sure they are in the desired position before tightening it into place. This will save you from having to re-adjust the fixture later on.
Additionally, always make sure to use the correct size and type of screws provided by the manufacturer for your specific fixture. Using incorrect screws can compromise the stability and safety of your fixture.
7. Double-Check Wiring:
Before securing the fixture completely, double-check that the wiring is secure and properly connected. Ensure there are no exposed wires and that the wire nuts are tightened securely.
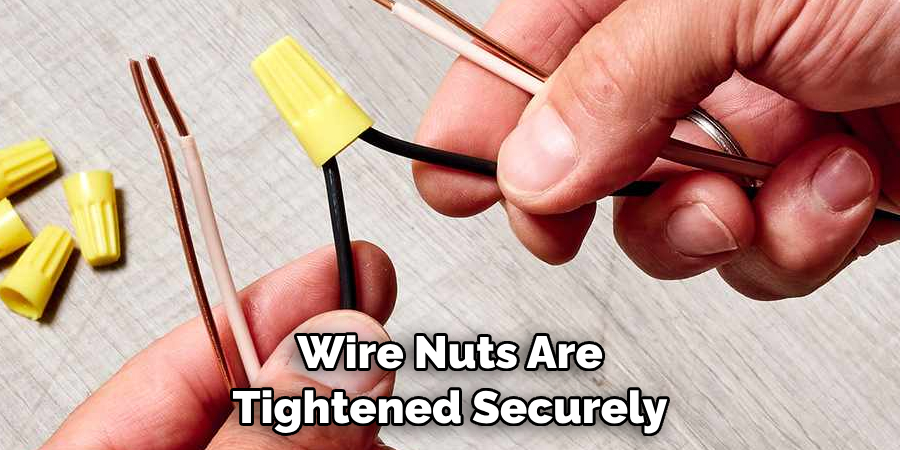
Tuck any excess wiring into the electrical box. This will help prevent any electrical issues and ensure the safety of those using the fixture. However, if you do find any issues with the wiring, it is best to consult a licensed electrician for proper repair.
It’s always better to err on the side of caution when dealing with electrical fixtures. A small mistake in the wiring can lead to major issues down the line. So take your time and make sure everything is connected properly before moving on to the next step.
Additionally, it is important to always use the appropriate tools when working with electrical fixtures. This includes insulated screwdrivers and wire strippers. These tools will not only make the job easier but also help ensure your safety while handling electricity.
8. Add Light Bulbs:
Install the appropriate light bulbs based on the fixture’s specifications. Be mindful of the maximum wattage allowed for the fixture. LED or CFL bulbs are energy-efficient options that provide ample brightness. If you prefer a traditional look, consider incandescent bulbs with a lower wattage.
Lighting is an essential aspect of home design and functionality. Properly installed light fixtures can make a room feel inviting and enhance the overall aesthetic. However, choosing the right type of light bulb for your fixture is just as important as selecting the fixture itself.
When it comes to installing light bulbs, always refer to the manufacturer’s specifications for maximum wattage. Using a bulb with a higher wattage can cause overheating and damage to the fixture. LED or CFL bulbs are great options as they produce less heat compared to incandescent bulbs while providing sufficient brightness.
9. Test the Fixture:
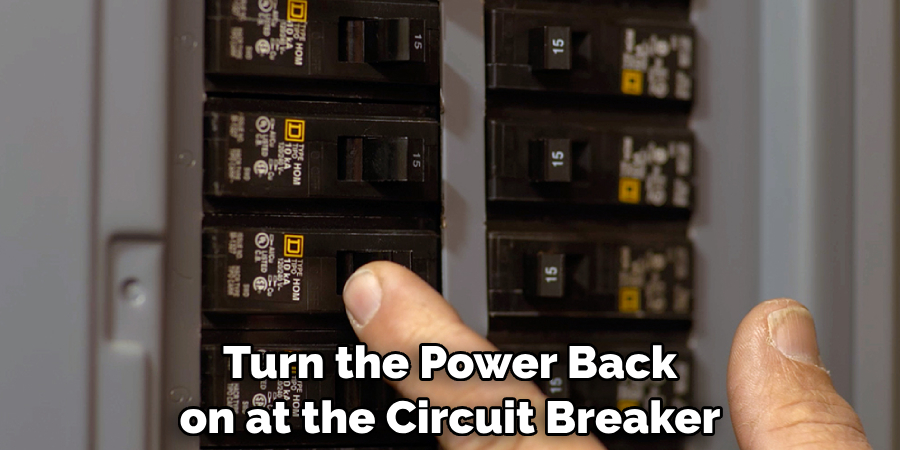
Turn the power back on at the circuit breaker and test the newly installed flush mount ceiling light. Check for proper illumination and ensure that the fixture functions as expected. If there are any issues, turn off the power and troubleshoot the wiring. Once the fixture is working properly, turn off the power again and proceed to secure the fixture in place.
When securing the fixture, be sure to follow the manufacturer’s instructions carefully. Use screws or clips provided with the fixture to attach it securely to the ceiling. Pay attention to weight ratings and make sure that the fixture is supported properly.
If you are unsure about any step of the installation process, it is always recommended to consult a licensed electrician for assistance. They will ensure that the fixture is installed safely and up to code.
Once the fixture is securely in place, turn on the power and enjoy your newly installed flush mount ceiling light! You can now bask in its bright and stylish illumination, adding a touch of sophistication to any room in your home.
10. Secure Decorative Elements:
If your flush mount fixture includes decorative elements like a glass or acrylic cover, secure these components according to the manufacturer’s instructions. This step completes the installation, providing a finished and polished look.
Once you have securely installed your flush mount fixture, take some time to admire its new place in your home. If you have chosen a fixture with decorative elements, these can add an extra touch of style and elegance to the room. However, it is important to make sure that these components are properly secured according to the manufacturer’s instructions.
In addition to adding a finishing touch to the installation, securing decorative elements also helps to ensure the longevity of your fixture. Loose or unsecured components can not only affect the overall appearance of the fixture, but they can also potentially pose safety hazards if they were to fall off or break.
Conclusion
In conclusion, installing flush mount ceiling light fixtures is a rewarding DIY project that can enhance both the functionality and aesthetics of any room. By following the detailed steps outlined in this guide, homeowners can confidently tackle the installation process with precision and safety.
From selecting the right fixture to turning off power, wiring the fixture, and testing for functionality, each step contributes to a successful and professional-looking installation. Moreover, adhering to safety considerations ensures peace of mind and prevents potential hazards associated with electrical work.
With careful attention to detail and proper technique, installing flush mount ceiling light fixtures becomes a straightforward task that can elevate the ambiance of any space. Whether illuminating a hallway, bedroom, or kitchen, these fixtures add a touch of style and brightness while providing practical overhead lighting. Hopefully, this article gave you some helpful tips about how to install flush mount ceiling light fixtures successfully, so now that you have the proper knowledge on how to get the job done, why not give it a try today?

