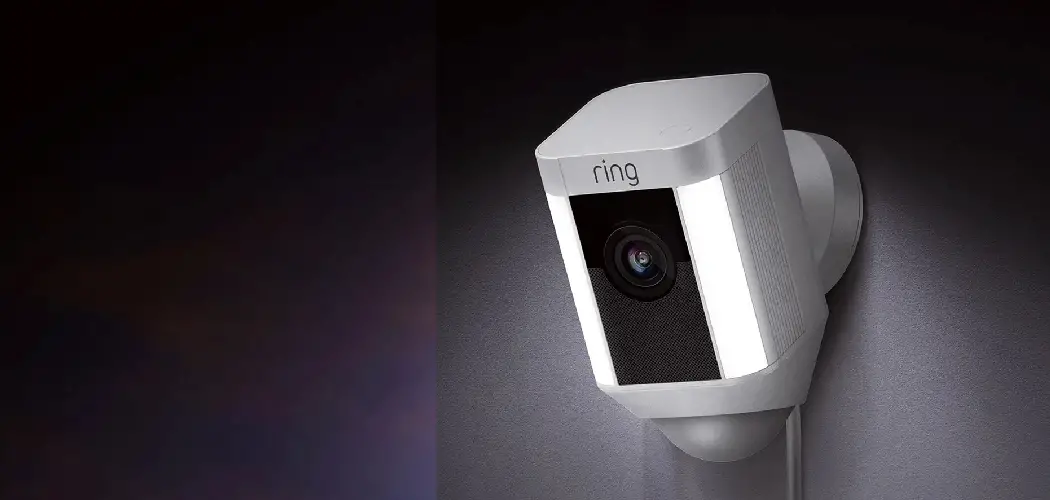
Installing flood lights is an excellent way to enhance the security and functionality of your outdoor spaces. Whether you’re looking to illuminate your backyard, driveway, or other areas around your home, flood lights provide powerful and focused lighting for improved visibility at night.
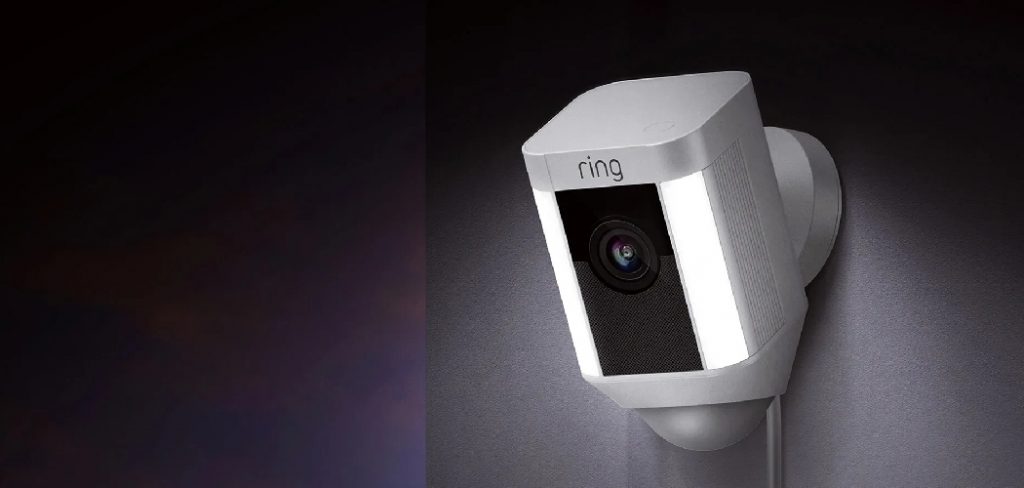
This guide will walk you through the necessary steps of how to install flood lights safely and efficiently, ensuring you get the most out of your new lighting setup.
Importance of Flood Lights for Home Security and Outdoor Visibility
Flood lights play a crucial role in enhancing home security and improving outdoor visibility. Their powerful beams of light deter potential intruders by eliminating dark corners and shadowy areas where someone could hide. This added visibility not only helps to protect your home but also provides peace of mind for your family. Additionally, flood lights make navigating outdoor spaces much safer during nighttime, reducing the risk of trips or falls. Whether installed near doorways, driveways, or pathways, flood lights offer a practical solution for maintaining a well-lit and secure property.
Types of Flood Lights
There are several types of flood lights available to meet varying needs and preferences. LED flood lights are the most energy-efficient and long-lasting option, providing bright illumination while consuming minimal electricity. Halogen flood lights, on the other hand, are known for their intense brightness and are often used in areas that require powerful lighting.
Solar-powered flood lights are an eco-friendly choice, ideal for reducing energy costs and relying on renewable energy sources. Motion-sensor flood lights are another popular option, designed to activate only when movement is detected, making them excellent for enhancing security and conserving energy. Finally, dusk-to-dawn flood lights operate automatically, turning on at sunset and off at sunrise, ensuring consistent illumination throughout the night.
Each type offers unique features to cater to different outdoor lighting requirements.
10 Methods How to Install Flood Lights
1. Choose the Right Location for Maximum Coverage
Before beginning installation, carefully assess where your flood lights will be most effective. Ideal placement usually includes the corners of a home, above a garage, or near walkways, depending on what area you want illuminated. Consider mounting flood lights about 9 to 12 feet high for optimal coverage, allowing light to spread broadly without creating harsh glare.
Additionally, be mindful of your neighbors—avoid aiming lights directly into adjacent windows.

2. Select the Appropriate Type of Flood Light
Flood lights come in several variations: hardwired electric models, battery-operated lights, and solar-powered versions. Motion-sensor flood lights are excellent for security purposes, while dusk-to-dawn lights turn on automatically based on ambient lighting. Make sure to select a light that suits your specific needs, including brightness (measured in lumens), color temperature, and whether it’s weatherproof. For long-lasting results, go for LED flood lights—they consume less energy and last longer than halogen bulbs.
3. Turn Off Power Before Any Electrical Work
If you’re installing a hardwired flood light, safety must come first. Go to your home’s electrical panel and turn off the breaker that supplies power to the area where you’ll be working. Use a voltage tester to double-check that the power is indeed off at the fixture location. Never begin installation with live wires exposed, as this can lead to electrical shock or fire hazards. Always wear rubber-soled shoes and work in dry conditions.
4. Prepare the Mounting Surface
The surface where the flood light will be installed must be stable and weather-resistant. If you’re attaching it to wood, ensure the area is solid and free of rot. For installations on stucco or brick, use a masonry bit and anchors to secure the light. Clean the surface thoroughly to remove dirt, dust, or moisture that could affect adhesion or structural integrity. For wall-mounted lights, it’s often helpful to mark the drill points before beginning to ensure accurate alignment.
5. Use a Weatherproof Electrical Box
For hardwired flood light installations, a weatherproof electrical box is essential. These boxes are typically installed where an old light fixture existed or where new wiring has been brought through a wall. A weatherproof box protects the wiring from moisture and debris, which is crucial for long-term safety and functionality. Make sure the box is mounted flush with the wall or soffit and sealed with a waterproof gasket.
6. Wire the Flood Light Safely
If your flood light is hardwired, connect the wires from the light fixture to those from the house using wire nuts. Typically, black (hot) wires connect together, white (neutral) wires connect, and green or bare copper wires are connected for grounding. Tuck the wires neatly into the box, making sure no copper is exposed outside the wire nuts. If you’re unsure about this step, consider hiring a licensed electrician—working with electricity always carries risk and should be done carefully.
7. Secure the Fixture Firmly
Once wiring is complete, position the flood light onto the mounting bracket or directly to the wall, depending on the model. Tighten the screws evenly to ensure the fixture is level and doesn’t wobble.
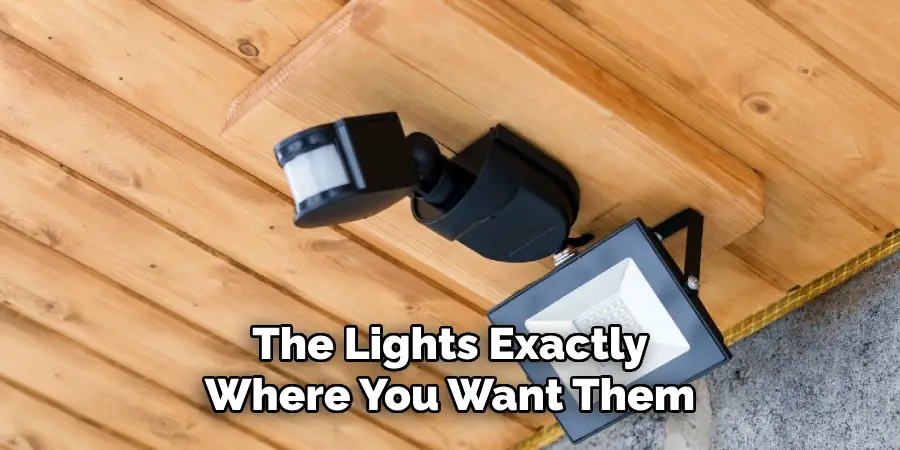
A secure mount will help the light withstand wind and weather and avoid any unnecessary stress on the wiring. Most modern flood lights come with adjustable heads, so after installation, you can aim the lights exactly where you want them.
8. Seal Around the Fixture
To protect against rain and insects, apply a bead of exterior-grade silicone caulk around the base of the flood light where it meets the wall. This step is especially important in humid or storm-prone climates. Allow the sealant to cure according to the manufacturer’s instructions. A proper seal ensures longevity and helps prevent short-circuits, rusting, or interior leaks that could damage your home’s siding or electrical system.
9. Test the Light and Adjust Its Settings
With the installation complete, turn the circuit breaker back on and test the flood light. If it includes motion detection or dusk-to-dawn sensors, you may need to wait until evening or use a covered hand to simulate darkness. Adjust the light sensitivity, duration, and range on the unit as needed. For motion lights, test different approach angles to make sure the sensor activates when someone enters the desired detection zone.
10. Maintain and Clean Regularly
Once your flood lights are installed, don’t forget about regular maintenance. Periodically clean the lens with a soft, damp cloth to remove dust, spider webs, and debris that can reduce light output. Check for any signs of rust or water leakage, especially after heavy rain. If your lights are solar-powered, ensure the panels are clean and unobstructed. For battery-operated units, replace the batteries as recommended. Keeping your flood lights in good condition ensures safety, performance, and longevity.
Maintenance and Upkeep
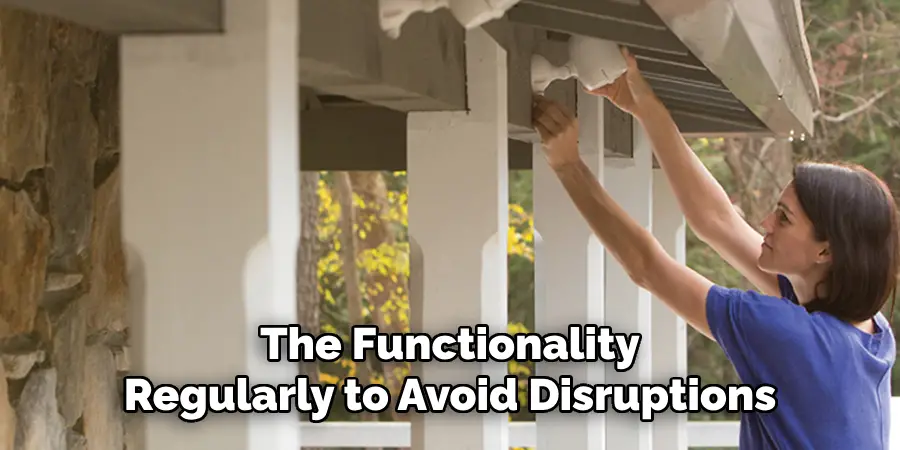
Proper maintenance of your flood lights not only prolongs their lifespan but also ensures consistent performance over time. Begin by scheduling routine inspections to spot any potential issues early. Check that all electrical connections are secure and free from corrosion. If your flood lights are connected to a timer or smart system, test the functionality regularly to avoid disruptions.
For LED flood lights, verify that the heat sinks are clear of dirt and debris to prevent overheating. During seasonal changes, inspect your lights for any weather-related damage such as cracks or warping.
Additionally, always follow the manufacturer’s recommendations for care and repairs to ensure optimal operation. Taking these simple steps can save you time and money while ensuring your outdoor space remains well-lit and secure.
Troubleshooting Common Issues
When troubleshooting common issues with outdoor lighting, start by checking the power source. Ensure that the lighting fixture is properly connected and the circuit breaker has not tripped. If the light does not turn on, inspect the bulb for damage or burnout and replace it if necessary.
For flickering lights, verify that the bulb is securely fitted and that there are no loose wiring connections. Corroded or dirty contacts in the fixture can also cause problems, so cleaning them may resolve the issue. If an LED light appears dim, check for voltage drops due to an overloaded circuit or excessive cable length.
For persistent problems, consult the manufacturer’s manual or contact a professional electrician to identify and address the root cause safely.
Safety Considerations
When addressing electrical issues, safety should always be the top priority. Begin by turning off the power supply at the circuit breaker before inspecting or working on any fixtures or wiring. Use insulated tools to reduce the risk of electric shock, and wear protective gear such as gloves or safety goggles when necessary.
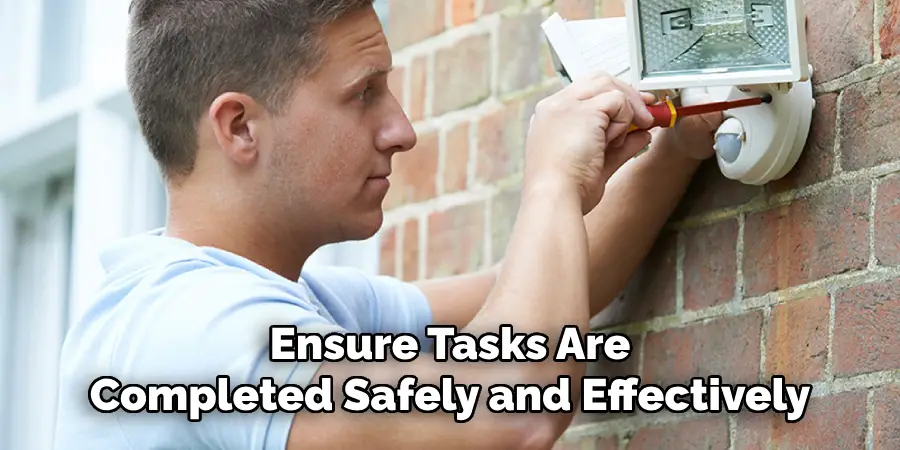
Avoid working with electrical systems in wet or damp conditions to prevent accidents. If you are unsure about a repair or feel it may involve complex wiring, it is best to seek help from a licensed electrician. Following these precautions can minimize risks and ensure tasks are completed safely and effectively.
Conclusion
In conclusion, well-maintained flood lights are essential for enhancing security, visibility, and aesthetics around your property. By regularly inspecting and caring for your lights, you can maximize their performance and lifespan.
Whether they are solar-powered, battery-operated, or hardwired, a little routine maintenance ensures reliable operation and peace of mind for years to come. Thanks for reading our blog post on how to install flood lights! We hope you found it helpful and informative.

