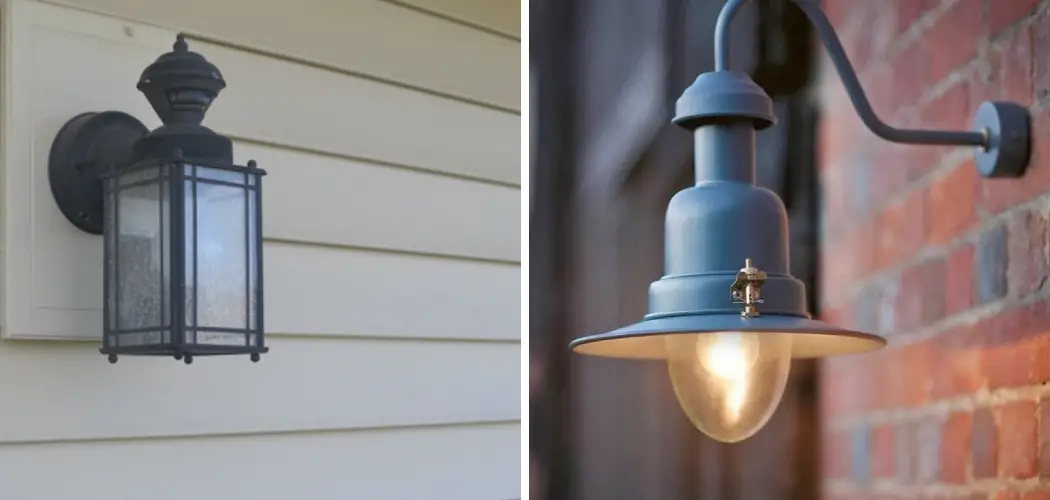
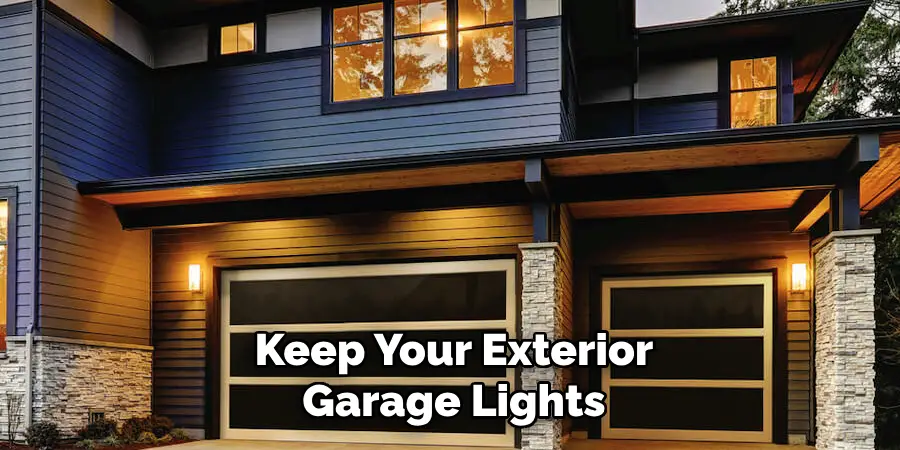
Installing exterior garage lights can greatly improve your home’s safety, security, and aesthetics. Not only do they provide illumination for your driveway, walkways, and entryway, but they also act as a deterrent for potential intruders. Additionally, having well-lit outdoor spaces can enhance the curb appeal of your property and increase its value. The main advantage of installing exterior garage lights is to enhance your property’s aesthetic appeal and safety.
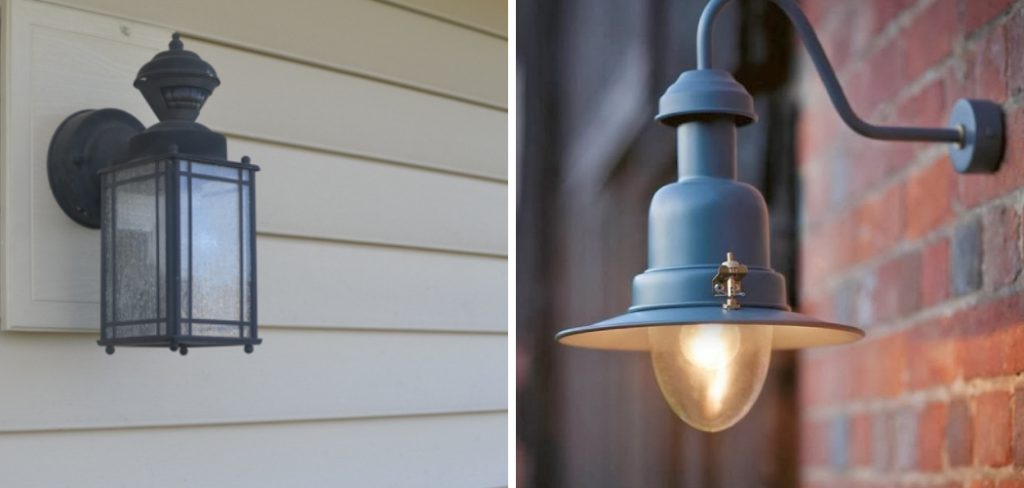
These lights not only improve the overall appearance of your home but also provide additional security by illuminating the surrounding area. Moreover, exterior garage lights can also increase the value of your property if you plan on selling it in the future.
Potential buyers often look for well-lit homes, as they give them a sense of safety and security. This can be an added advantage for you as a homeowner. In this blog post, you will learn in detail how to install exterior garage lights.
Tools You Will Need
- Screwdriver
- Hammer
- Pliers
- Wrench
- Tape measure
- Level
- Utility knife
- Drill
- Saw
- Safety goggles
In addition to having the right tools, it is important to always prioritize safety when working on any project. Safety goggles should always be worn to protect your eyes from any potential hazards or debris. It is also recommended to wear gloves and other protective gear if necessary.
Step-by-step Instructions for How to Install Exterior Garage Lights
Step 1: Inspect the Area
Before installing exterior garage lights, inspect the area where you plan on mounting them. Look for obstructions or potential hazards, such as electrical wiring or plumbing pipes. Ensure there is enough space for the light fixture and that it can be securely attached to the wall.
Step 2: Gather Materials
Next, gather all materials needed for the installation process. This may include the light fixture, mounting screws, wire connectors, and a ladder. For safety purposes, it is important to turn off the power to the area where you will be installing the lights. Locate the corresponding circuit breaker in your electrical panel and switch it off.
Step 3: Mark Drill Holes
Using a pencil, mark where you will drill the holes for mounting the light fixture. Make sure the marks are level and evenly spaced. Using a drill with a masonry bit, carefully drill the marked holes into the wall. Depending on the type of wall material, this may require some extra force.

Step 4: Install Mounting Bracket
Once the holes are drilled, insert the included plastic anchors into each hole and then screw in the mounting bracket securely. Carefully connect the wiring of the light fixture to your home’s electrical wiring using wire connectors. Follow the manufacturer’s instructions for proper connections and make sure all wires are tightly secured.
Step 5: Attach the Light Fixture
With the wiring connected, carefully attach the light fixture to the mounting bracket using the included screws. Make sure it is secure and level. After double-checking all connections and ensuring everything is securely attached, turn the power back on at the circuit breaker.
Step 6: Test and Adjust
Finally, test the lights to ensure they are working properly. If needed, adjust the angle or position of the lights for optimal lighting.
By following these steps, you can easily install exterior garage lights and enhance your home’s safety and curb appeal. Remember to always prioritize safety and consult a professional if you are unsure or uncomfortable with any aspect of the installation process.
Safety Tips for How to Install Exterior Garage Lights
Installing exterior garage lights can seem like a daunting task, but with these safety tips in mind, you can ensure a safe and successful installation.
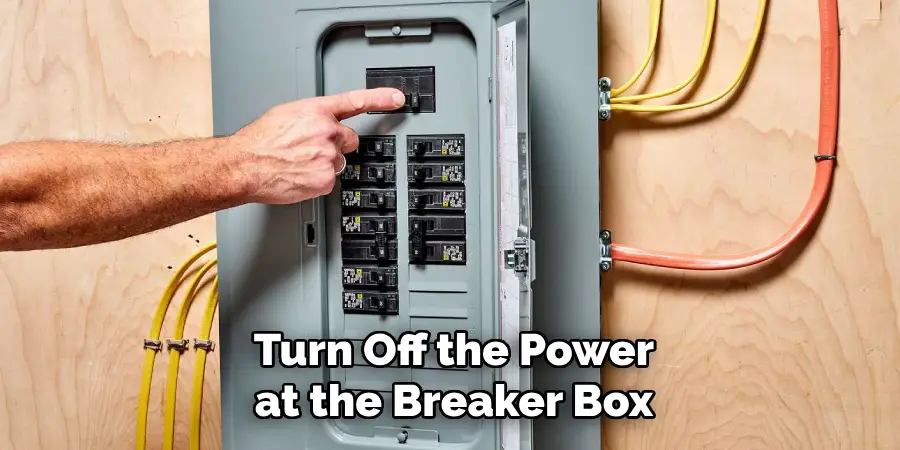
- Turn Off the Power: Before beginning any electrical work, make sure to turn off the power at the breaker box. This will prevent any potential accidents or shocks while working with wires and fixtures.
- Use Proper Tools and Equipment: It is important to use the right tools and equipment for the job. This includes insulated tools, ladder stabilizers, and safety gloves. Make sure all tools are in good working condition before starting.
- Check for Weather Conditions: Installing exterior garage lights can be dangerous during bad weather conditions such as rain or strong winds. Wait for a clear day to ensure your safety while working at heights.
- Wear Appropriate Clothing: When working with electrical equipment, it is important to wear non-conductive and protective clothing. To avoid accidents, avoid loose-fitting clothes, jewelry, and open-toe shoes.
- Have a Helper: It’s always best to have someone assist you when installing exterior garage lights. They can help hold the ladder steady and hand you tools or fixtures, making the process smoother and safer.
- Test the Lights Before Installation: Before permanently installing the lights, make sure to test them first. This will ensure that they are working properly and save you from having to redo any wiring.
- Read Instructions Carefully: Before beginning the installation process, it’s crucial to read the instructions provided by the manufacturer. This will ensure that the lights are installed correctly and safely.
By following these safety tips, you can successfully install exterior garage lights without any accidents or complications. Remember to always prioritize safety and take necessary precautions when working with electrical equipment.
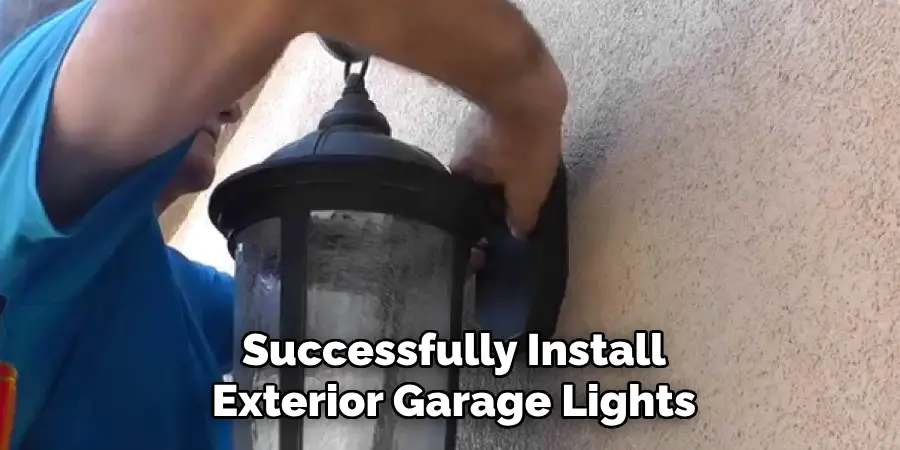
Maintenance and Care After Installing Exterior Garage Lights
Once you have successfully installed your exterior garage lights, it’s important to properly maintain and care for them. Here are some tips to keep your lights in good working condition:
- Clean Regularly: Exterior garage lights are exposed to various elements such as dust, dirt, and insects. Regularly clean the fixtures with a damp cloth to prevent any buildup that could affect their performance.
- Replace Bulbs When Necessary: Over time, the bulbs in your exterior garage lights may need to be replaced. For optimal performance, make sure to use the correct wattage and type of bulb recommended by the manufacturer.
- Inspect for Any Damage: It’s important to regularly inspect your lights for any signs of damage, such as cracks or exposed wires. If any damage is found, make sure to replace or repair the lights immediately.
- Keep Them Protected: To prevent damage from extreme weather conditions, consider installing covers or shades over your exterior garage lights. This will also help prolong their lifespan.
- Check for Proper Alignment: As time passes, your lights may shift out of alignment due to external factors such as wind or vibrations. Make sure to check and adjust the alignment of your lights for optimal lighting.
- Keep the Area Around the Lights Clear: Keep debris or objects away from your exterior garage lights to prevent potential fire hazards.
- Schedule Professional Maintenance: It’s recommended to schedule a professional maintenance check every few years to ensure that your exterior garage lights are working properly and safely.
By following these maintenance and care tips, you can keep your exterior garage lights in top working condition for years to come. Proper installation, maintenance, and care will not only ensure your household’s safety but also enhance your home’s overall appearance and functionality.
Safety Considerations and Compliance for Installing Exterior Garage Lights
The installation of exterior garage lights is a simple task. Still, it is important to follow safety considerations and comply with regulations to ensure your own and others’ safety. Here are some important factors to keep in mind when installing exterior garage lights.
1. Choose weather-resistant fixtures
When selecting exterior garage lights, make sure they are rated for outdoor use and can withstand various weather conditions. This is especially important for areas with harsh climates, as the fixtures must withstand extreme temperatures and moisture.
2. Follow electrical codes
It is crucial to follow all electrical codes when installing exterior lights. These codes are in place to ensure your home’s and its occupants’ safety, so it is important to adhere to them. If you need clarification on the codes in your area, consult a professional electrician.
3. Use proper wiring techniques
Proper wiring is essential for the safe operation of exterior garage lights. Ensure all wires are properly connected and insulated to prevent potential hazards.
4. Consider motion-sensor lights
Motion-sensor lights are a great option for exterior garage lighting as they only turn on when motion is detected. This saves energy and adds an extra layer of security to your home.
5. Install at a safe height
When installing exterior garage lights, it is important to consider their height. Ensure they are installed safely from the ground to prevent any potential accidents or hazards.
6. Use proper tools and equipment
Always use the proper tools and equipment when installing exterior garage lights. This includes a ladder, drill, and other necessary materials. Using the right tools can lead to efficient installation and pose safety risks.

7. Consider hiring a professional
If you need help with how to properly install exterior garage lights or feel uncomfortable doing it yourself, consider hiring a professional electrician. They have the knowledge and experience to safely and effectively install exterior lights while adhering to all safety considerations and regulations.
Following these safety considerations and complying with regulations can ensure a safe and successful installation of exterior garage lights. Remember to always prioritize safety when working with electricity and consult a professional if needed.
Are There Any Energy-efficient Options for Exterior Garage Lights?
Several energy-efficient options are available for exterior garage lights. These options help reduce your carbon footprint and save you money on your electricity bill.
1. LED Lights
LED lights have become increasingly popular in recent years due to their energy efficiency and long lifespan. They use 75% less energy compared to traditional incandescent bulbs and last up to 25 times longer. LED lights are also available in various styles, making it easy to find one that fits your exterior garage aesthetic.
2. Motion Sensor Lights
Motion sensor lights are another great energy-efficient option for exterior garage lighting. These lights only turn on when they detect motion, saving energy by not staying on all night long. They are also a great security feature as they can deter potential intruders.
3. Solar Lights
Solar lights are powered by the sun, making them one of the most energy-efficient options available. They absorb sunlight during the day and store it in a battery to be used at night. This eliminates the need for any wiring or electricity usage, making solar lights eco-friendly and cost-effective.
4. CFL Lights
Compact fluorescent lights (CFLs) are another popular energy-efficient option for exterior garage lighting. They use 75% less energy than incandescent bulbs and last up to 10 times longer. CFLs also come in various shapes and sizes, making them a versatile choice for different types of fixtures.

Overall, there are plenty of energy-efficient options for exterior garage lights. Whether you choose LED, motion sensor, solar, or CFL lights, making the switch to these options will benefit the environment and save you money in the long run.
Troubleshoot Any Issues for Installing Exterior Garage Lights
Installing exterior garage lights is a great way to improve the safety and security of your home. However, like any electrical installation project, potential issues may arise during the process. In this guide, we will discuss some common troubleshooting tips to help you successfully install your exterior garage lights.
1. Check the Power Source
One of the first things you should do if you encounter any issues during the installation process is to check the power source for your lights. Ensure that the circuit breaker connected to your garage lights is not tripped and that all connections are secure and in good condition. If there are any damaged wires or connections, it may be necessary to replace them before proceeding with the installation.
2. Verify Wiring Connections
Another common issue that may arise when installing exterior garage lights is faulty wiring connections. Double-check that all wires are properly connected and in the correct locations according to the manufacturer’s instructions. It may also be helpful to use a tester to ensure that there is continuity in the circuit.
3. Consider the Location
If you are experiencing issues with your exterior garage lights, consider where they are installed. For example, if the lights are exposed to harsh weather conditions, make sure that they are rated for outdoor use and have proper protection against moisture and corrosion. You may need to choose a different location or invest in more durable lights if necessary.
4. Use Proper Tools and Equipment
Having the right tools and equipment can make a big difference in the success of your exterior garage light installation. Make sure that you have all the necessary tools, such as wire cutters, screwdrivers, and a voltage tester. Using appropriate safety gear like gloves and goggles to protect yourself while working with electrical components is also important.

5. Consult a Professional
If you have followed all troubleshooting tips and are still unable to resolve the issue, consult a professional electrician. They will have the necessary expertise and equipment to troubleshoot and fix any issues that may arise during the installation process. It is always better to be safe than sorry when it comes to electrical work.
Installing exterior garage lights can be a straightforward and rewarding project, but it is important to always prioritize safety and proper installation techniques. Following these troubleshooting tips ensures that your lights are installed correctly and function as intended.
Conclusion
The main disadvantage of installing exterior garage lights is the potential for electrical issues and hazards if not done properly. This can include short circuits, faulty wiring, or even electrocution if safety precautions are not taken. It is important to understand electrical work well and follow proper installation procedures to avoid any accidents or damage to your home.
In conclusion, we have discussed the importance of installing exterior garage lights and the steps involved in doing so. Proper lighting for your garage is crucial, as it not only enhances the overall look of your home but also provides safety and security. Reading this post has helped you learn how to install exterior garage lights. Make sure the safety precautions are carried out in the order listed.

