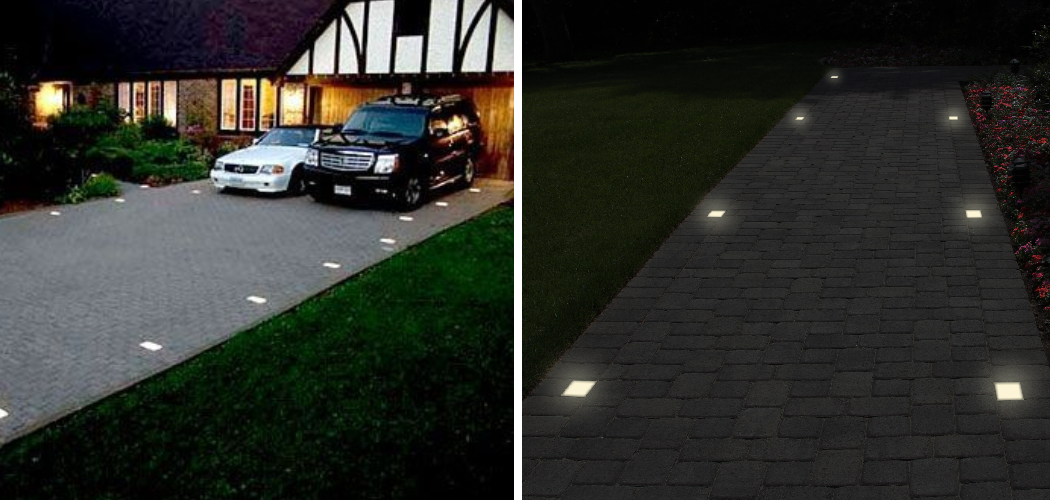
Illuminating your driveway not only enhances its aesthetics but also improves safety and security around your property. If you have a concrete driveway and are looking to install lights, you’re in the right place. Concrete can be a durable and stable foundation for your driveway lights, but the installation process requires some careful steps to ensure a successful outcome.

In this comprehensive guide, we will walk you through the essential steps for how to install driveway lights in concrete. Whether you’re considering traditional wired lighting or modern solar-powered options, we’ll cover the planning, preparation, and installation procedures.
You’ll learn how to select the right type of lights, determine the ideal placement, and ensure a seamless integration with your concrete driveway. By the end of this guide, you’ll be well-equipped to transform your driveway into a well-lit and welcoming space.
Benefits of Driveway Lighting for Safety and Aesthetics
Concrete is a popular choice for driveways due to its durability and low maintenance. However, one downside of concrete driveways is the lack of lighting options. This can be especially troublesome at night, making it difficult to navigate or find your way on the driveway.
This is where driveway lighting comes in as a solution. Not only does it add an aesthetic appeal to your property, but it also provides safety and convenience for you and your family. In this section, we will discuss the benefits of installing driveway lights in concrete.
1) Improved Safety
The most obvious benefit of having driveway lighting is improved safety. By illuminating your driveway, you are able to clearly see any potential hazards such as cracks or uneven surfaces that may cause accidents. It also helps to guide vehicles and pedestrians, preventing them from veering off the driveway or tripping over objects.
2) Enhanced Aesthetics
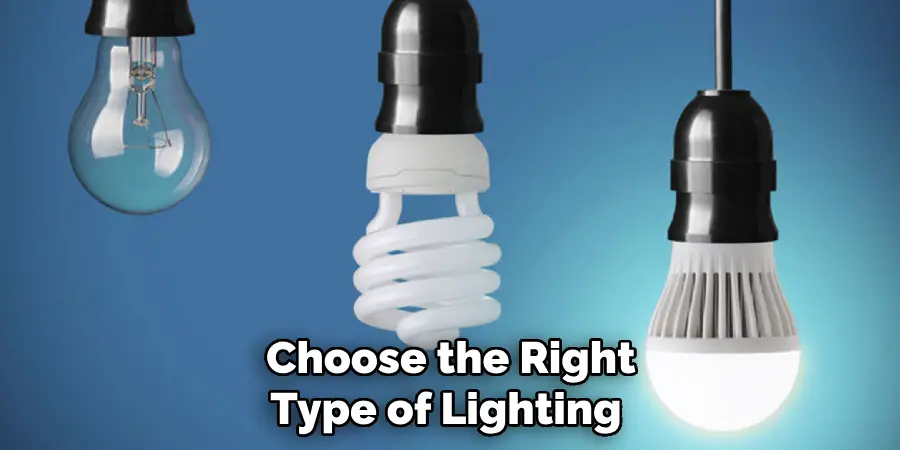
Aside from safety, driveway lighting also adds aesthetic value to your property. It creates a welcoming ambiance and enhances the curb appeal of your home. With various styles and designs available, you can choose the right type of lighting that complements your home’s exterior design.
3) Increased Property Value
Installing driveway lighting does not only benefit you in terms of safety and aesthetics, but it can also increase the value of your property. A well-lit driveway is seen as an attractive feature by potential buyers, making your home more marketable. It also adds to the overall value of your property, giving you a higher return on investment.
4) Energy-Efficient Options
One common misconception about driveway lighting is that it consumes a lot of energy and increases electricity bills. However, there are now many energy-efficient options available such as solar-powered lights or LED lights. These options not only save on energy costs but also reduce the environmental impact.
10 Methods How to Install Driveway Lights in Concrete
1. Pre-drill Holes
The first step in installing driveway lights in concrete is to pre-drill the necessary holes. This can be done with a hammer drill and masonry bit, or by using a core drill if the hole needs to be larger than 1/2 inch in diameter. It is important to wear safety goggles and a dust mask when drilling as concrete dust can be hazardous. Once the holes have been drilled, they should be cleaned out of any debris before proceeding.
2. Install Base Plate
Once the holes have been pre-drilled, it is time to install the base plate for the light fixture. The base plate should be placed into the hole and secured with masonry screws or anchors. This will ensure that the light fixture stays firmly in place once it has been installed.
3. Secure Wiring
The next step in installing driveway lights in concrete is to secure the wiring for each light fixture. This can be done by running the wires through conduits that have been embedded into the concrete slab, or by running them through PVC pipes that are buried below grade.
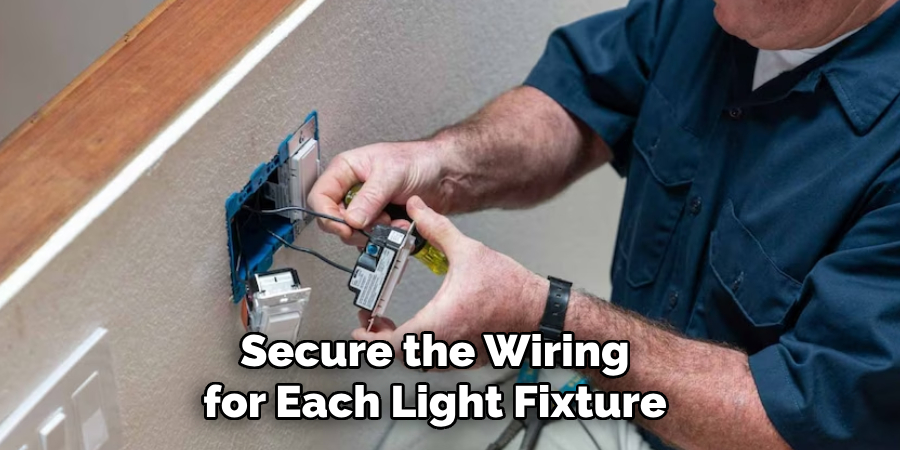
If conduits are used, make sure they are properly sealed with caulk so that moisture does not enter them and cause corrosion of the electrical components inside them.
4. Connect Wires to Light Fixture
Once all of the wiring has been secured, it is time to connect it to each light fixture’s power source and switch box. Make sure that all connections are properly secured and insulated so that there is no danger of electric shock when turning on or off any of the lights from inside your home or garage. Additionally, check for any exposed wiring, as this could cause a fire hazard if left unchecked.
5. Install Light Fixture
The next step in installing driveway lights in concrete is to install each light fixture itself onto its base plate. This can typically be done by simply screwing it into place using appropriate hardware provided with the unit itself or purchased separately at a local hardware store or online retailers such as Amazon or Home Depot. Make sure all connections are properly tightened before moving on to the next step of the installation process.
6. Apply Sealant
Once all of the light fixtures have been installed onto their respective base plates, it’s time to apply sealant around each one of them so that moisture does not penetrate into their housings and cause damage over time due to rusting or corrosion from water exposure over long periods of time. Silicone caulk works best for this application, but other types may also work depending on your specific needs and preferences.
7. Attach Cover Plates
After applying sealant around each light fixture, attach its cover plate so that dirt and debris do not accumulate within its housing over time while also providing an aesthetically pleasing finish once everything has been completed. Make sure all screws are tightly fastened so that there is no risk of anything coming loose after the installation has been completed.

8. Test Lights
Before burying any wiring beneath grade, make sure you test out each individual light fixture one last time just in case there were any issues during installation which could potentially lead to further problems down the road if left unchecked. Turn on each one individually and make sure they turn off without issue when turned off from inside your home or garage before proceeding with burying any wiring beneath grade.
9. Bury Wiring Beneath Grade
Once you’ve tested each individual light fixture, it’s now safe to bury any remaining wiring beneath grade using either sand, gravel, soil, etc. Make sure you leave enough slack between fixtures so that you don’t pull too hard on them when turning them on/off from inside your home/garage after burial has taken place, otherwise, this could potentially cause damage down the road if left unchecked.
10. Enjoy Your New Driveway Lights!
Congratulations! You’ve now successfully installed your new driveway lights in concrete! Not only will these provide extra lighting during nighttime hours, but they’ll also add an extra layer of security as well since they’ll alert you whenever someone approaches your property after dark! Enjoy!
Common Mistakes to Avoid When Installing Driveway Lights
When it comes to installing driveway lights in concrete, there are a few common mistakes that people tend to make. These mistakes can not only make the installation process more difficult, but they can also lead to potential safety hazards or damage to the lights themselves. In this section, we will discuss some of these common mistakes and how you can avoid them.
Not Planning Ahead
One of the biggest mistakes people make when installing driveway lights is not planning ahead. This includes not having a clear idea of where you want the lights to be placed, what type of lights you want to use, and how many lights are needed. Without proper planning, you may end up with too little or too much lighting, or even worse, have to redo the installation because of poor placement.
Not Using Proper Tools or Equipment
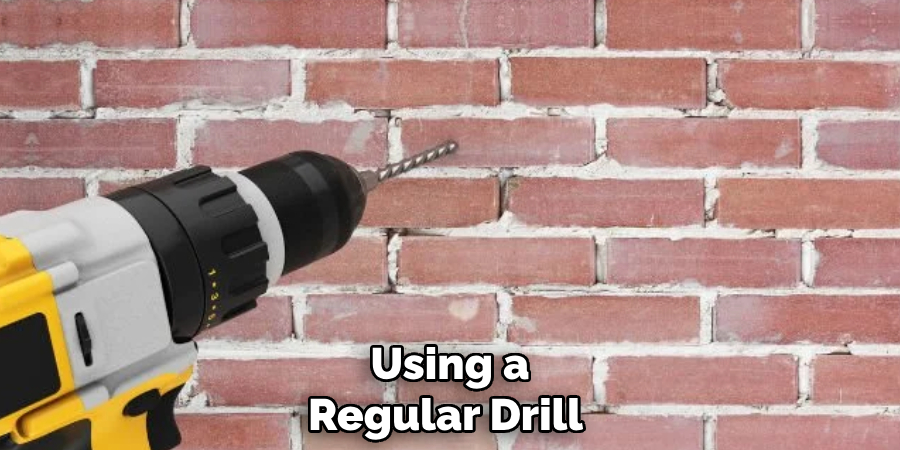
Another common mistake is not using the right tools or equipment for the job. This can lead to a frustrating and unsuccessful installation process. For example, using a regular drill instead of a hammer drill when drilling into concrete can result in a broken drill bit and uneven holes.
Not Following Instructions
While it may seem like a simple task, installing driveway lights in concrete requires following specific instructions for each type of light and installation method. Not following these instructions can result in incorrect placement, improper wiring, or even damaging the lights themselves.
Conclusion
Installing driveway lights in concrete is a great way to add additional style and safety to your home. This task is relatively easy, with the proper supplies and instructions.
By taking the time to consider all of the required steps before starting, you should have no trouble getting everything set up correctly. After gaining a better understanding of how to install driveway lights, you can take on the task with ease and confidence.
You’ll likely find that it can be done quickly and efficiently without sacrificing quality or burning through too much energy or resources. Don’t forget if this seems like a daunting task, reach out to an experienced electrician for help. Now that you are armed with the directions for how to install driveway lights in concrete, enjoy turning your home into a sparkling destination!

