Are you a dollhouse enthusiast looking for ways to take your miniature house to the next level? Have you always dreamt of adding lights to your dollhouse but didn’t know where to start?
Adding lighting to a dollhouse not only enhances its charm but also brings it to life with realistic illumination. Whether you’re creating a cozy miniature living room glow or adding a warm ambiance to a tiny kitchen, installing dollhouse lights is a rewarding process that can elevate your miniature craftsmanship.
With the right tools, materials, and a bit of patience, setting up electrical wiring and lights in your dollhouse can be a straightforward and enjoyable process.

This guide on how to install dollhouse lights will walk you through the basics of installing dollhouse lights step by step, helping you achieve a beautifully lit miniature space.
What are the Benefits of Installing Dollhouse Lights?
There are many reasons why you may want to install lights in your dollhouse. Here are a few benefits of adding this extra touch to your miniature project:
- Enhances Realism: Adding lights to your dollhouse can instantly improve the realism and make it look more life-like. It brings warmth, depth, and dimension to your miniature space.
- Adds Character: Lighting fixtures can add character and personality to your dollhouse. Whether you’re going for a modern or vintage theme, there are numerous options available that can help bring your vision to life.
- Provides Better Visibility: With proper lighting, you’ll be able to see every little detail in your miniatures without straining your eyes. This can be especially helpful for older collectors or those who enjoy working on their dollhouses in the evenings.
- Sets the Mood: Just like in a real home, lighting plays a crucial role in setting the mood and atmosphere of your miniature space. Soft, warm lights can create a cozy and inviting ambiance, while bright white lights can give off a more modern and sleek feel.
What Will You Need?
To add lighting to your dollhouse or miniature space, you’ll need a few essential tools and materials:
- LED Lights: These are small and energy-efficient lights that come in various colors and sizes. They are perfect for miniatures as they emit little heat, making them safe to use around delicate materials.
- Batteries or Power Supply: Depending on the type of LED lights you choose, you will either need batteries or a power supply to operate them. Make sure to have extras on hand so you don’t run out mid-project!
- Wires and Connectors: For a more professional-looking setup, you can use wires and connectors to hide the wiring behind your miniature. This will create a cleaner and more polished look.
- Soldering Iron: If you plan to use wires and connectors, you’ll need a soldering iron to connect them correctly. Make sure to use proper safety precautions when handling the hot iron.
- Switches: Adding a switch to your LED lighting setup allows you to easily turn them on and off without constantly plugging and unplugging the power source. There are many types of switches available, including toggle switches, push-button switches, and slide switches.
- Resistors: Resistors are essential for controlling the amount of current flowing through your LEDs. They can also help protect your LEDs from burning out due to too much current.

9 Easy Steps on How to Install Dollhouse Lights
Step 1. Plan Your Lighting Layout
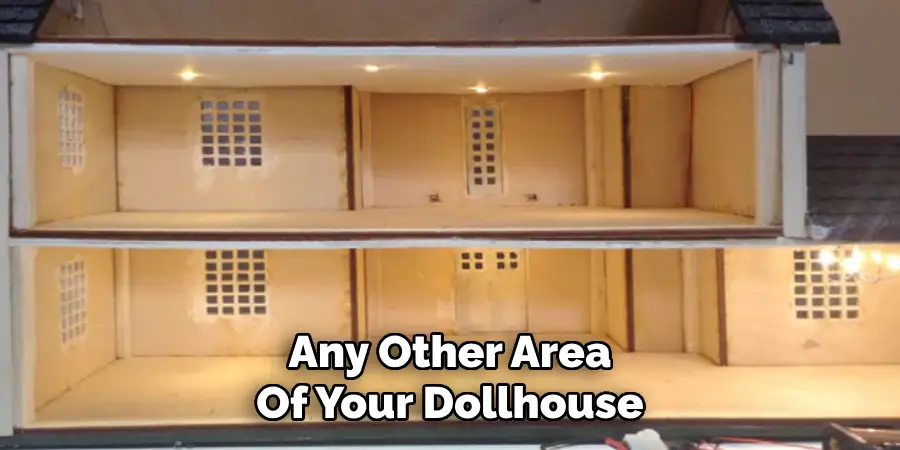
Before you begin, carefully plan the placement of your lights within the dollhouse. Consider where lighting would naturally be needed, such as in the living room, kitchen, bedroom, or any other area of your dollhouse.
Sketch a rough layout on paper or use a diagram of the dollhouse to mark where each light will be installed. This will help you determine how many lights you’ll need and where to position the wires to keep them hidden and neat. Additionally, decide if you want to use different types of lights for added realism, such as warm-toned lights for cozy spaces or brighter lights for work areas.
Proper planning at this stage will make the installation process smoother and ensure your dollhouse looks well-lit and realistic.
Step 2. Gather Your Materials
Before starting the installation, ensure you have all the necessary materials for the project. This typically includes miniature lighting fixtures, wires, a power source such as a battery pack or transformer, connectors, and a switch if you want the lights to be easily turned on and off. Additionally, you may need tools like a small drill, tape, glue, or a hot glue gun for securing wires and fixtures, as well as a screwdriver for assembling and connecting components.
Step 3. Drill Holes for Wiring
Carefully mark the spots where you plan to install the miniature lighting fixtures. This is particularly important to ensure precision and avoid mistakes that could compromise the overall design. Use a pencil or fine-tipped marker to make small, clear markings. Next, select a drill bit that is appropriately sized to match the diameter of your wires or fixture mounts. It’s crucial to avoid using a drill bit that is too large, as this may create gaps that look unpolished or allow the fixtures to move out of alignment.
Step 4. Install the LEDs
Carefully install the LEDs into the prepared holes, ensuring a snug and secure fit. Begin by gently inserting each LED, making sure the orientation aligns with the wiring plan.
Pay attention to the polarity of the LEDs, as incorrect placement could result in malfunction or the need for reinstallation. Once the LEDs are in place, use an adhesive or mounting clips as needed to hold them firmly in position. This step helps maintain consistency in the design and prevents the LEDs from shifting over time. Take care to handle the LEDs delicately to avoid damaging the components, as even small cracks or bends can compromise their functionality.
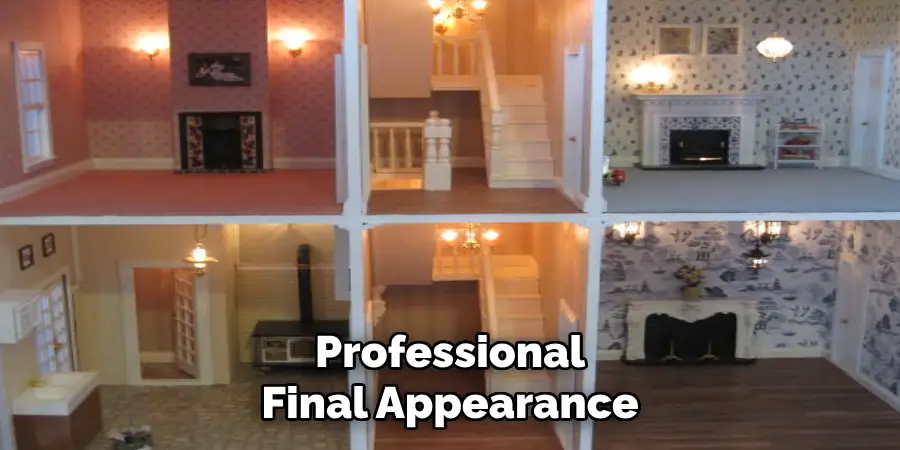
Lastly, double-check that all LEDs are aligned evenly and positioned according to your original design layout to achieve a polished and professional final appearance.

Step 5. Wire the LEDs
To wire the LEDs, start by preparing the necessary tools and materials, including wire cutters, a soldering iron, solder, and insulated wires. Identify the positive (anode) and negative (cathode) terminals on each LED, typically indicated by the longer leg being positive.
Carefully connect each LED in the desired configuration, whether it’s in a series, parallel, or a combination, depending on your project’s requirements. Ensure that all connections follow the circuit diagram to maintain functionality and efficiency.
Step 6. Connect the Switches
Connecting the switches is a crucial step in controlling the flow of electricity in your circuit. First, choose switches that best suit your design needs, such as toggle, push-button, or slide switches, ensuring they are compatible with the voltage and current of your circuit. Place the switches at points in the circuit where you want to control specific components or segments.
Begin by identifying the terminals on the switch—commonly labeled as “input,” “output,” or “common”—and refer to your circuit diagram to determine the correct orientation. Use insulated wires to connect the input terminal of the switch to the power source and the output terminal to the component or section of the circuit you wish to control. If using multiple switches, ensure each is securely wired in its designated location and test the connections with a multimeter.
Step 7. Organize and Hide the Wiring
Once all the connections have been securely wired, it’s essential to organize and tidy the circuit to ensure safety, accessibility, and a neat appearance. Start by grouping wires that run along the same path and bundling them using zip ties, cable sleeves, or wire clamps.
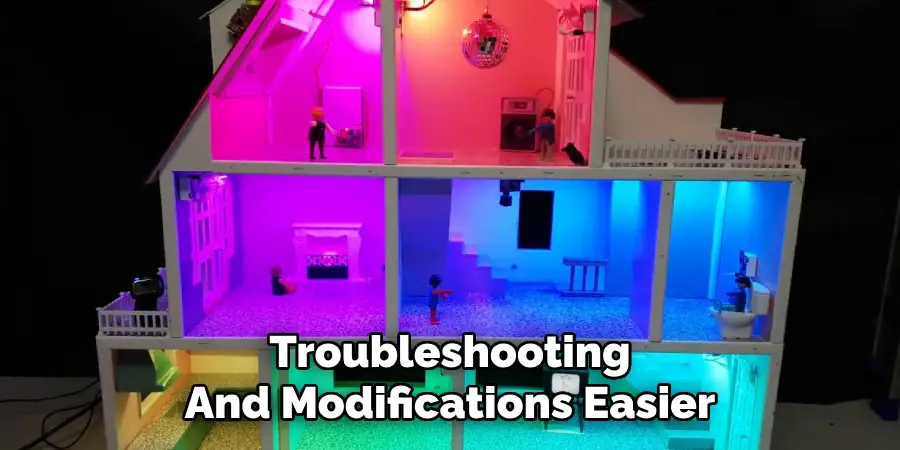
This minimizes clutter and reduces the risk of wires tangling or being accidentally disconnected. Label each wire or bundle clearly with tags or markers to make future troubleshooting and modifications easier.

For added protection, consider using cable conduits or raceways to conceal exposed wiring and guard against environmental factors, such as moisture or accidental wear. When routing wires near moving parts, keep them securely fastened and out of range to prevent damage. A clean and well-organized wiring setup not only enhances the functionality of your project but also ensures a longer lifespan for your components.
Step 8. Attach the Power Source
Now that your wiring is complete, it’s time to attach the power source. This can be a battery pack, an AC adapter, or any other suitable power supply.
Before connecting the power source, double-check all connections to ensure they are secure. Loose connections can lead to malfunctions or even cause damage to your components.
If you’re using a battery pack, consider adding an on/off switch for easy control of your project. This will also help preserve battery life when not in use.
When attaching an AC adapter, ensure you use one with the correct voltage and polarity for your project. It’s always a good idea to check the manufacturer’s specifications for recommended power sources.
Step 9. Test the System
Testing the system is a crucial step to ensure your project functions as intended. Begin by double-checking all connections to make sure they are secure and correctly positioned according to your design. Power on the system slowly, observing for any unusual behaviors such as flickering LEDs, overheating components, or unexpected movements in motors. If you identify any irregularities, turn off the system immediately and recheck your wiring and components for potential errors.
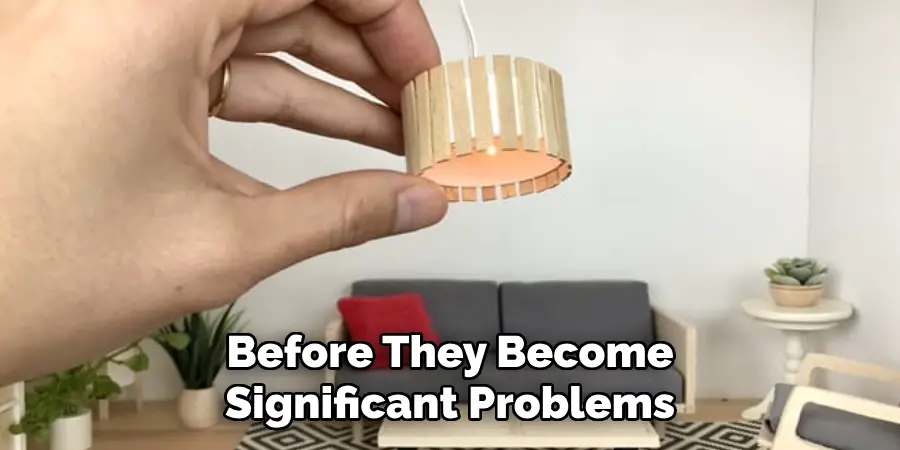
By following these steps, you can prevent potential damage to your project and troubleshoot any issues before they become significant problems.

Conclusion
How to install dollhouse lights requires careful planning, precision, and patience.
By ensuring proper wiring, securely positioning components, and thoroughly testing the system, you can create a beautifully illuminated dollhouse that enhances its aesthetic charm. Taking the time to double-check connections and address any irregularities during testing will help avoid potential issues and ensure your project is both safe and functional.
With these steps, you can successfully bring your dollhouse to life with lighting that adds warmth and realism.

